
How to Make a Pine Cone Christmas Tree
Create a cute pine cone Christmas tree craft with just paint, pom poms, and a little imagination! This easy DIY Christmas project is perfect for kids and adults and it's a fun and festive way to add handmade holiday charm to your home.
Yield: 1 pinecone Christmas tree
Cost: $1
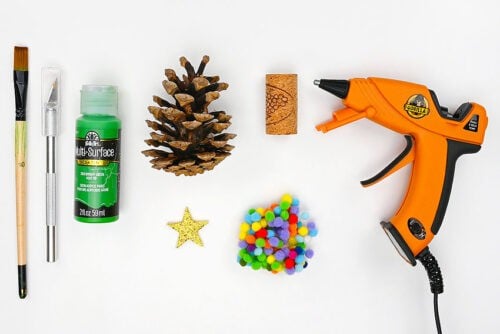
Materials
- Pinecone
- Multi-surface acrylic paint (green)
- Mini pom poms (5mm)
- Wine cork
- 2 Foam star sticker(s) (1-1/4 inch)
Instructions
Step 1: Find what you need
- Gather your supplies and materials.
Step 2: Paint the pine cone
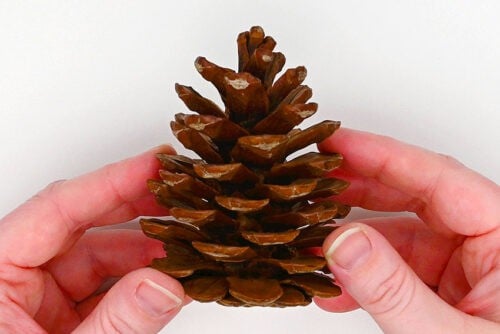
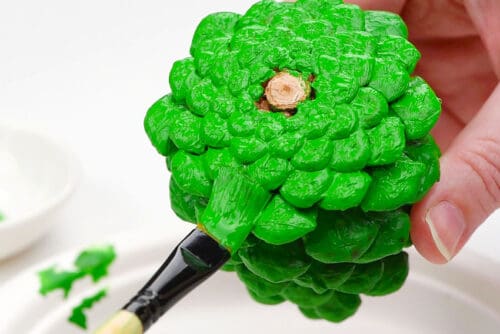
- To make your pine cone Christmas tree you'll need a pine cone that's between 3 and 4 inches tall.Try to choose one that has a nice tree-like shape and that sits fairly straight and flat.
- Paint the edges and the bottoms of each petal with acrylic multi-surface paint. (You can also use regular acrylic paint, but you might need to do more than 1 coat.)
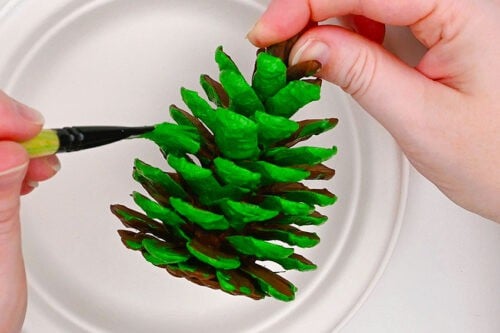
- Then paint the tops of the petals, so the whole pine cone is covered. Finish by setting it down and painting the top stem as well. Allow to dry.
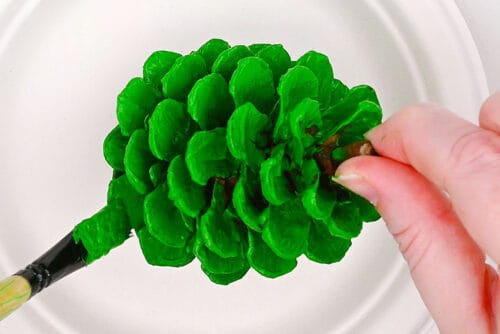
- Once the paint is dry, paint the bottom of the pine cone as well.(This is optional, and you don't have to paint the whole bottom like we did, but we do recommend painting around the bottom edges at least.)
Step 3: Decorate the tree
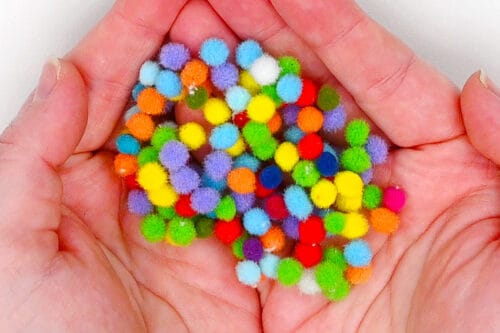
- Gather a bunch of 5mm pom poms in different colours to decorate the tree. See below for other "ornament" options.
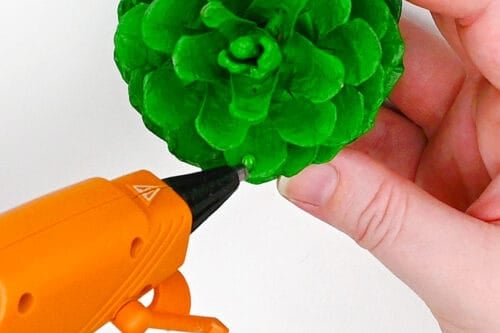
- Add a small dot of hot glue to one of the pine cone petals.
- Place a pom pom in the glue.
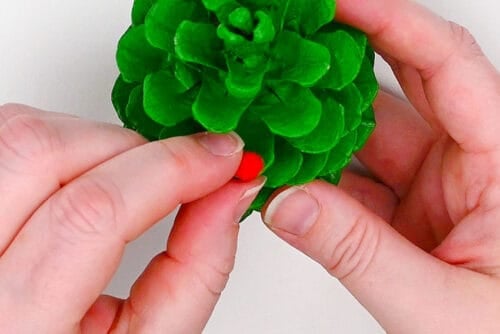
- Repeat, adding pom poms in different colours all around the tree. Try to fill up the space so it looks nice from the top and the side.You can put the pom poms on the tops of petals, on the edge of them, or even underneath them -- whatever creates the best spacing for the "ornaments".

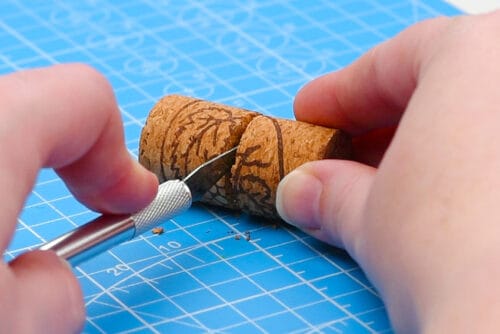
Step 4: Add a tree trunk and topper
- Cut a wine cork in half. One half will be the tree trunk.
- Add a generous amount of hot glue to the cut side of the cork.
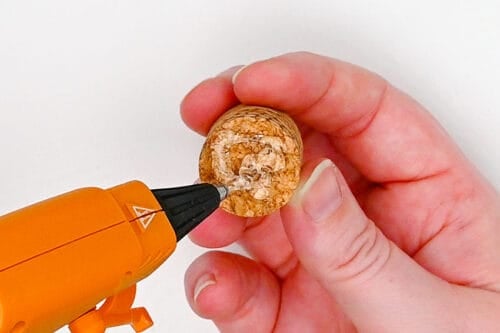
- Place the cork on the bottom center of the tree. You should set the tree down and ensure that it stands nicely and is balanced.

- Then put 2 glitter foam star stickers together and glue them to the top stem of the pine cone tree.

- Your pine cone Christmas tree is complete!

Notes
Looking for more pine cone crafts? Here's a few of our favourites:
Pipe Cleaner Pine Cones
Pine Cone Reindeer
Pom Pom Pinecone Ornaments