These no-sew sock bunnies are such an EASY way to make stuffed animals! And amazingly, there’s no sewing involved!
If you’re nervous about using a glue gun, don’t be! They are so easy to use! Glue guns are amazing. Seriously. They will stick together just about anything and best of all, the glue dries in less than a minute – so the results are practically instant!
I used to be scared of glue guns, mostly because my mom had this monster of a glue gun that got super hot and I always heard her say “OUCH!” at least once each time she used it.
But those days are gone. You can get mini, hand held glue guns that are totally easy to manage. Heck, you can even buy low temperature glue guns, which are safe enough that even (responsible) kids can use them. You can even find them at the dollar store!

With a few simple dollar store supplies you can make these no-sew sock bunnies in less than 20 minutes. I’ve sewn actual teddy bears before (faux fur and all…) and it takes foreeeeeeever.
These little bunnies are so simple to make, that no matter what your level of craftiness, I have full faith that you can pull this off! They’re super cute and such a simple way to make a small and adorable stuffed animal!
Check out our video for how to make No-Sew Sock Bunnies:
How to Make No-Sew Sock Bunnies
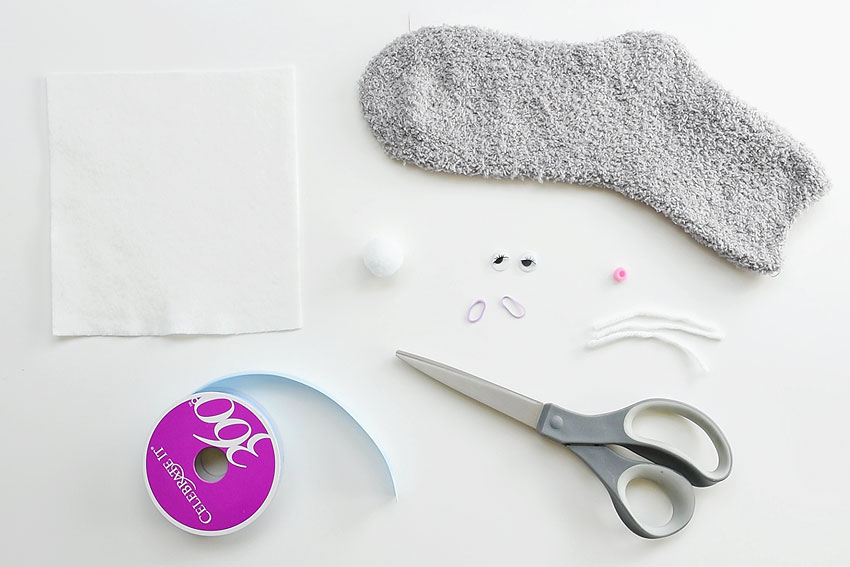
Here’s a list of what you’ll need. The affiliate links below will take you to products on Amazon that are similar to the supplies we used to make this craft:
- 1 Sock
- Teddy Bear Stuffing or Rice (I used the stuffing from an old pillow)
- White Felt
- Googly Eyes
- Pom Pom or Cotton Ball
- Tiny Elastics
- Pony Bead
- White Yarn
- Ribbon
- Glue Gun
I used women’s sized fluffy, cozy socks from the dollar store, but any type of sock will work – even kids sized socks. In fact, if you want to use rice as your “stuffing” kids sized would be much easier to work with.
I keep an old pillow in my craft cupboard for projects like this. You know, the old, flat pillows that no one wants to use anymore? Just cut a slit through the fabric at the end of the pillow, and you instantly have (FREE!) stuffing! I also included a link above if you want to buy fresh teddy bear stuffing. You can get it at any craft store.
Alternatively, you can also fill your socks with dry rice or beans. You might want to use socks with a tighter weave if you’re using rice. I think the rice might poke out the fabric of the type of socks I used? But there’s plenty of options at the dollar store that will work with rice.
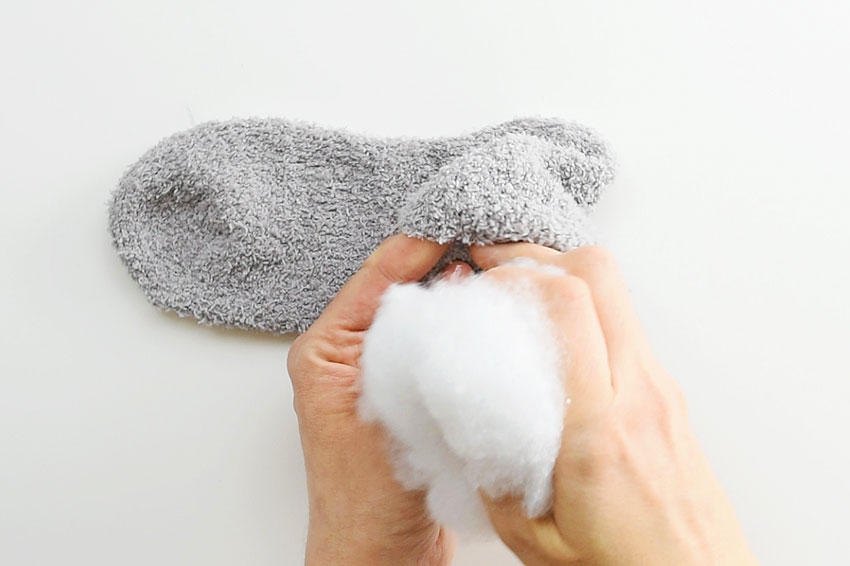
Take a good handful of stuffing and push it into the sock, right down to the toe – this will be the bunny’s body. If you’re not happy with the size of the body, add more stuffing. If you find that the extra stuffing makes the body look bumpy, pull out all the stuffing and work it together into a nicer looking ball before adding it back into the sock.
I used tiny hair elastics to hold everything together – also from the dollar store.
Since I used fluffy socks, the colour of the elastic really didn’t matter because it was hidden by the sock. If you’re using a less fluffy sock, you might want to look for clear elastics, or at least elastics that are the same colour as your sock.
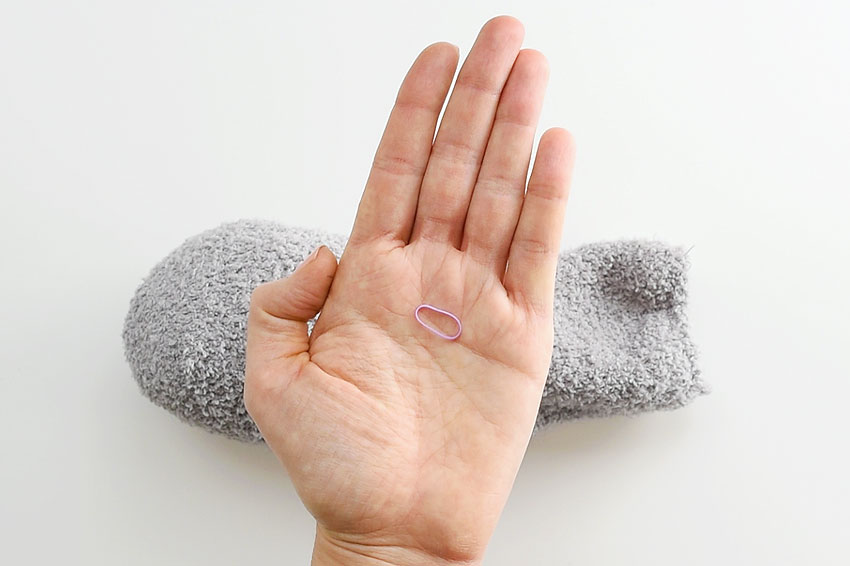
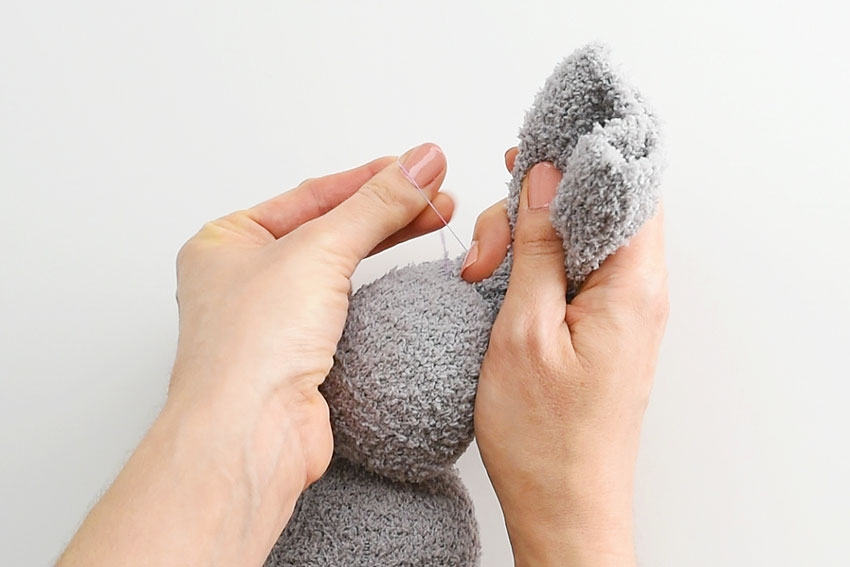
Pinch the sock tightly over top of the stuffing, then add the elastic band onto the sock to hold it all in place. I twisted the elastic two or three times.
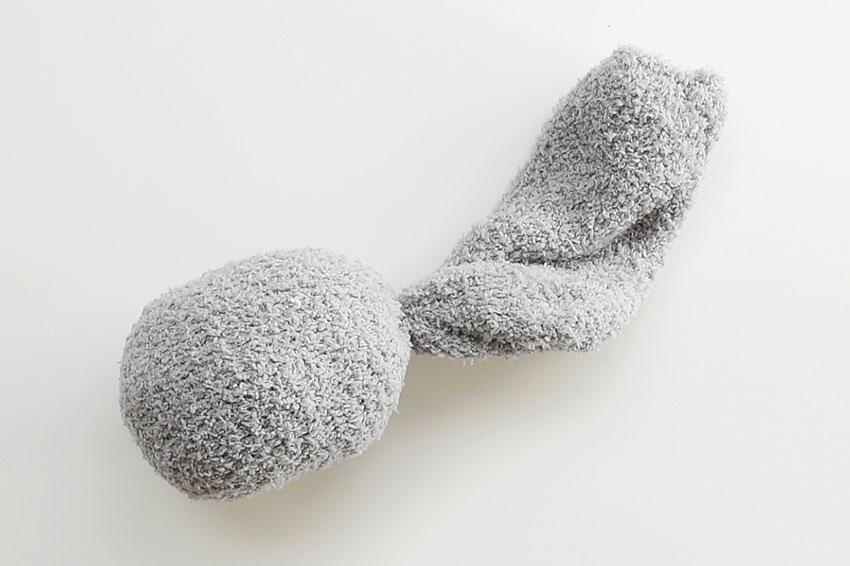
Add more fluff (or rice) to the inside of the sock to make the bunny’s head. The head should be slightly smaller than the body.
Then pinch together the top of the sock, over top of the head, and add another elastic to hold it in place. Again, I twisted the elastic two or three times.
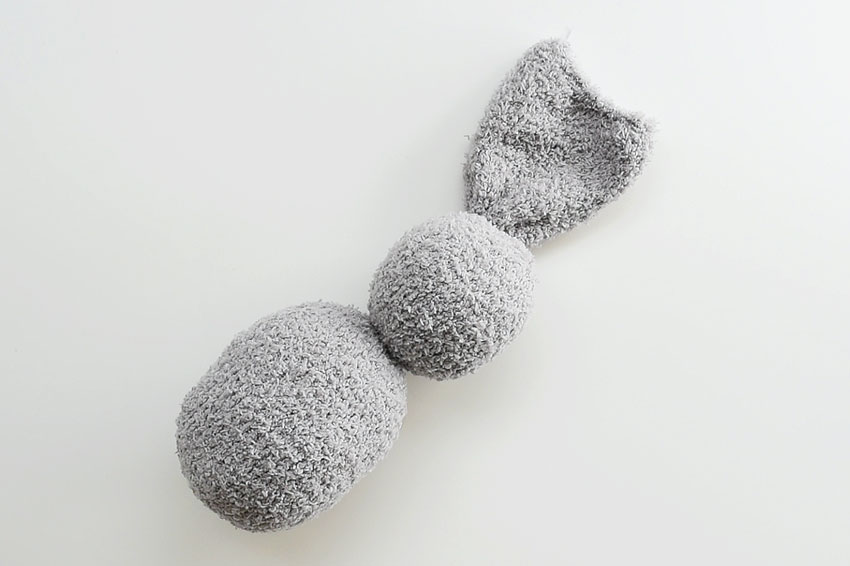
So at this point, your bunny should look like the photo below. It should have a larger body in the toe of the sock, with a smaller head on top (pretty much at the heel of the sock), with a nice size empty part at the opening of the sock.
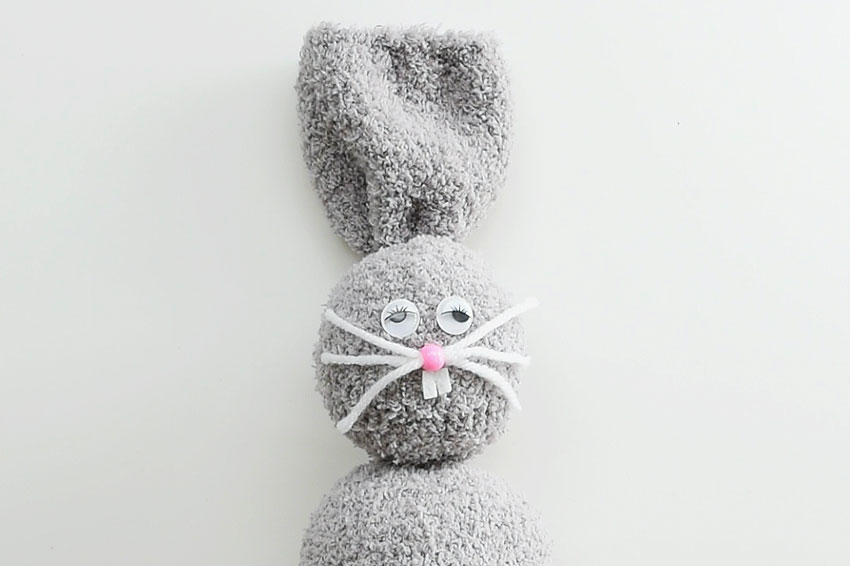
For the nose, I used a pink pony bead with 3 short pieces of white yarn pulled through the bead.
I also cut out a small rectangle of white felt and cut a small slit in one side to make teeth.
Attach the googly eyes, nose and teeth to the head part of the bunny using a glue gun.
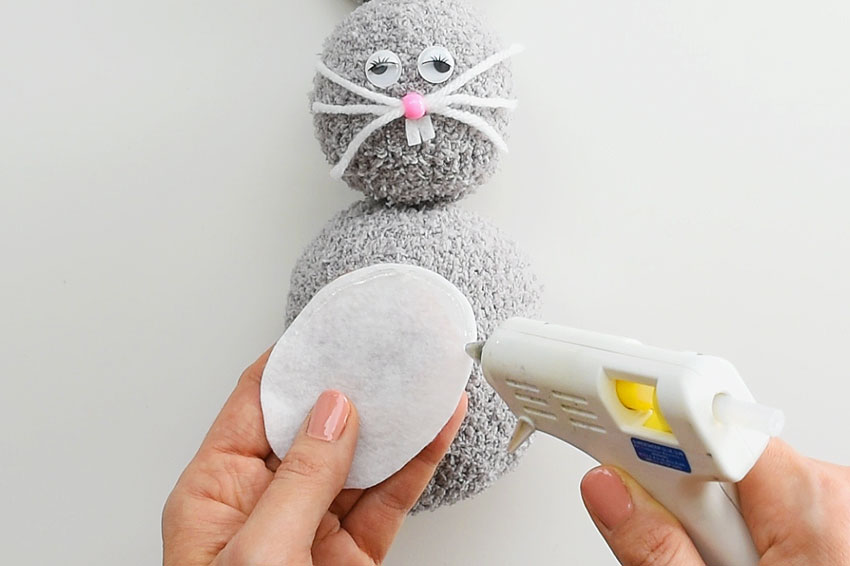
Cut out an oval from white felt. This will be the bunny’s tummy.
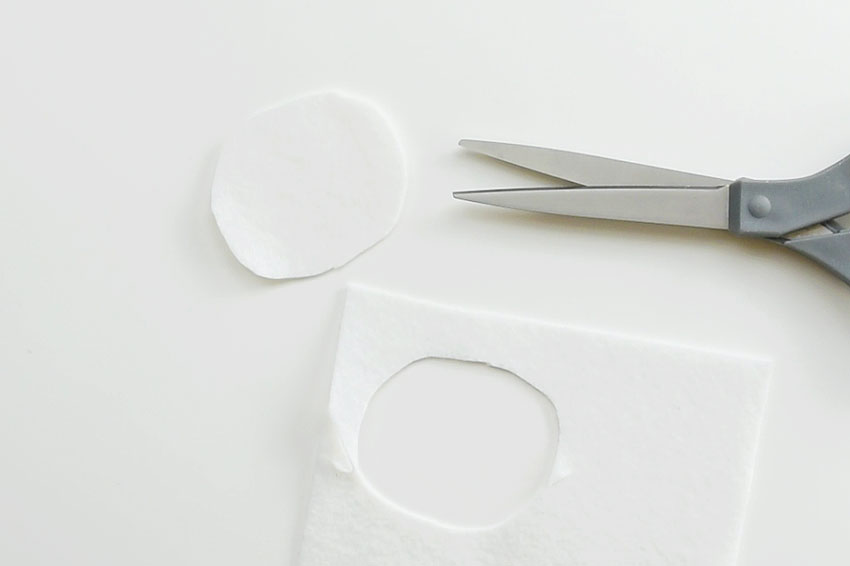
Using a glue gun, squeeze out a line of glue around the inside edge of the white oval. Then press it in place onto the bunny’s tummy.
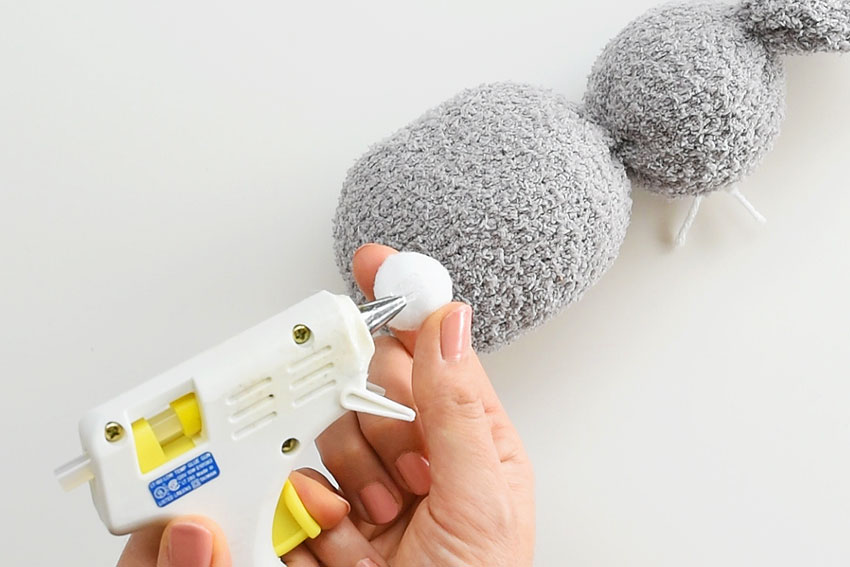
Attach a small white pom pom or a cotton ball to the back of the bunny’s body for the bunny’s tail, again using the glue gun.
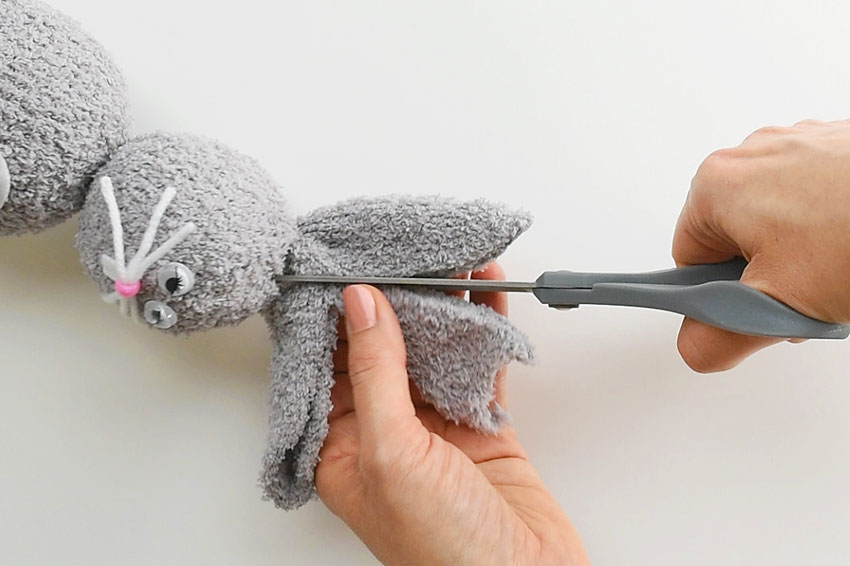
Cut the top of the sock to make two ear shapes for the bunny.
Finally, tie a ribbon around the bunny’s neck.

And your no-sew sock bunny is complete!

You can make your sock bunny a friend by using the other sock, or you can use a different coloured sock. There’s so many options for inexpensive socks, that you can get super creative. You can even use patterned socks!

I think the tail might be my favourite part about these sock bunnies!?

They look super cute from both the front AND the back!


These no-sew sock bunnies are SO EASY to make and they’re sooooo cute! Each one takes less than 20 minutes to make using simple dollar store materials. This is such a fun Easter craft idea for the kids and such a great way to make an easy stuffed animal! No fancy equipment or special skills required!
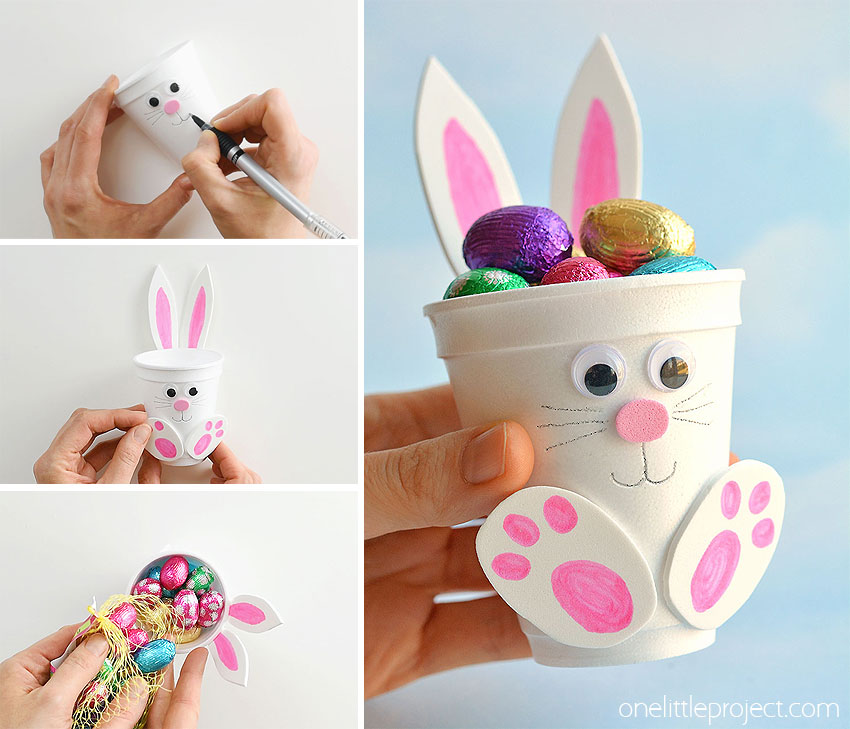
If you’re looking for more Easter themed bunny crafts, check out our foam cup bunnies. These are so adorable and so simple to make!
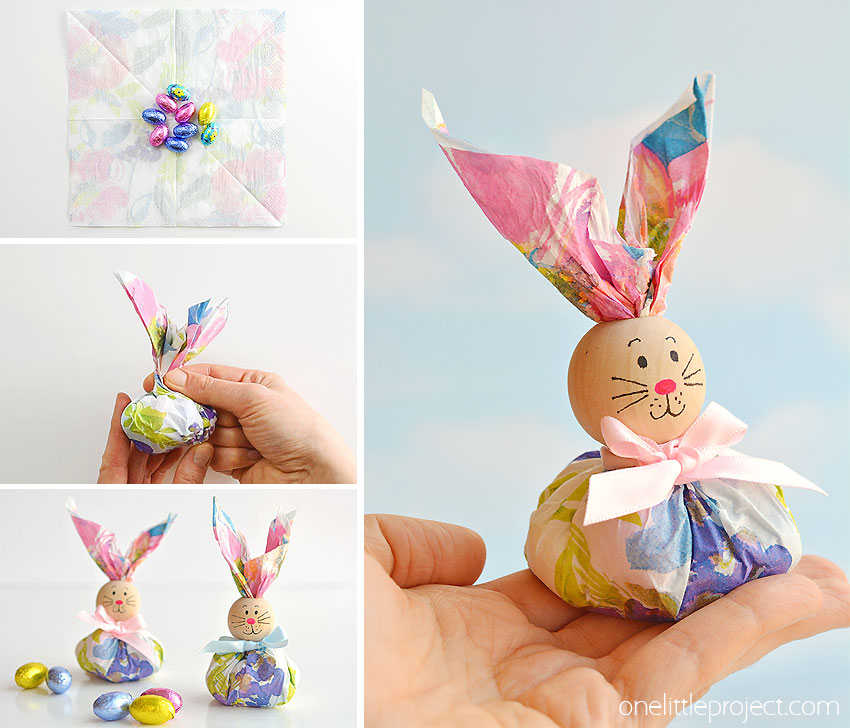
And have you seen our tutorial for making paper napkin bunny favors yet? These have gone crazy viral on Facebook and they’re so simple to make!
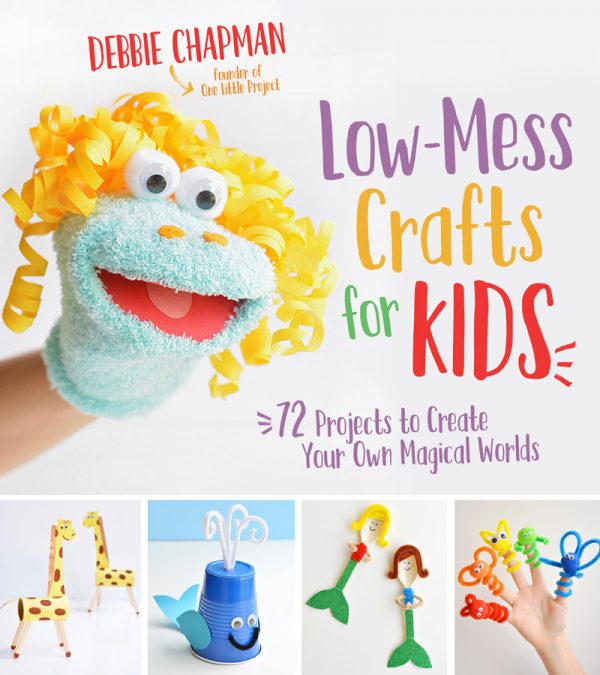
Be sure to check out our book Low-Mess Crafts for Kids for 72 fun and simple craft ideas for kids! The projects are fun, easy and most importantly low-mess, so the clean up is simple!

Where to buy:
You can purchase Low-Mess Crafts for Kids from Amazon, or wherever books are sold:
Amazon | Barnes and Noble | Books- A- Million | Indiebound | Indigo | Amazon Canada
Let us know what you think: