These paper napkin bunny favors are so easy to make. And aren’t they adorable?! They’d be super cute to give to the kids, grandkids, or even to the kids in the classroom at school this Easter. Each one takes less than 5 minutes to put together. I love easy crafts!
Our kids always seem to bring home all sorts of treasures from school on Easter. It’s usually some kind of candy, or dollar store pencils, or something similar. These would be so cute to send to school, and my kids would be so proud to give them out to their friends!
You can get pretty much everything but the wooden beads from the dollar store. You should be able to find wooden beads at most craft stores, or you can find them on Amazon.

My kids have been LOVING the craft videos I’ve been making lately. My 4 year old has been asking all week if I’ve finished the video for these paper napkin bunny favors. He’s such a sweet audience!
It doesn’t matter what he’s doing, if I ask him if he wants to see my newest video, he’ll stop and climb right into my lap to watch. It’s so cute and it makes my heart melt every time!
Check out our video for how to make Paper Napkin Bunny Favors:
How to Make Paper Napkin Bunny Favors
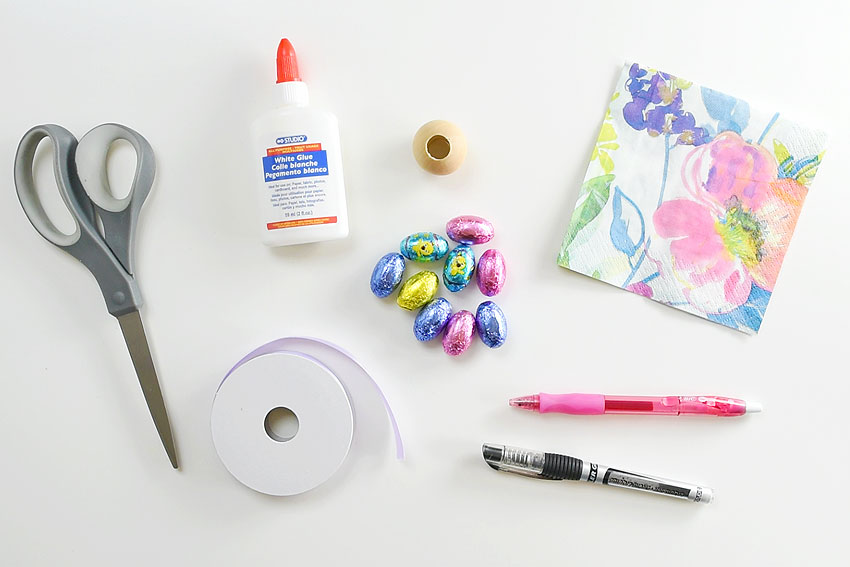
Here’s a list of what you’ll need. The affiliate links below will take you to products on Amazon that are similar to the supplies we used to make this craft:
- Small Paper Beverage Napkins
- 30mm Wooden Beads with 1/2″ hole
- Foil Covered Chocolate Eggs
- Satin Ribbon
- Pink and Black Gel Pens
I got the drink napkins from the dollar store. They are 5″ x 5″ folded (and 10″ x 10″ unfolded). Make sure you get the smaller drink napkins, rather than large dinner napkins.
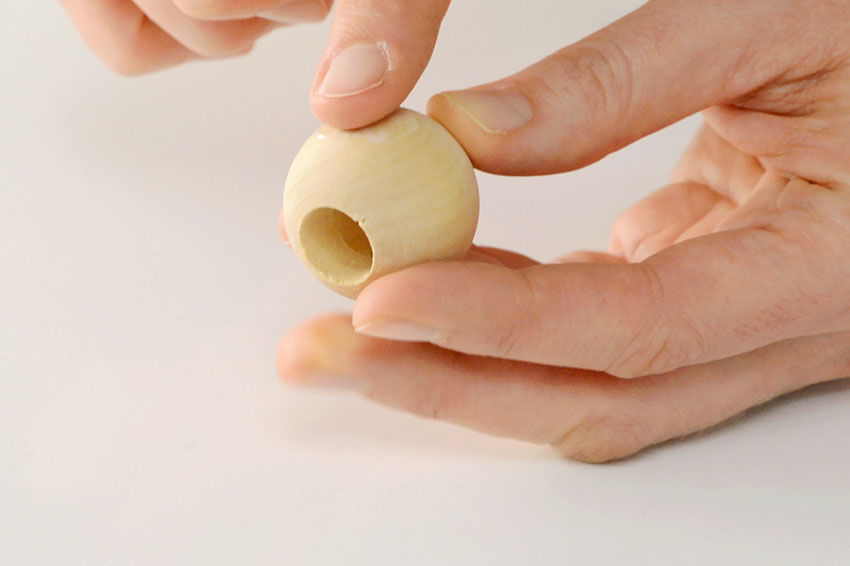
I got my wooden beads at Michael’s for $5 a pack. They are actually “wooden heads”, and the hole didn’t go all the way through. Using a 1/2″ drill bit, I drilled the hole the rest of the way through. You’ll need beads with at least a 1/2″ hole or you won’t be able to pull the napkin through.
My beads were exactly 30mm with 1/2 inch holes. If you can only find 1-1/2″ wooden beads, you can use slightly larger napkins and add more foil covered chocolate eggs inside.
Open up the paper napkin with the printed side facing down.
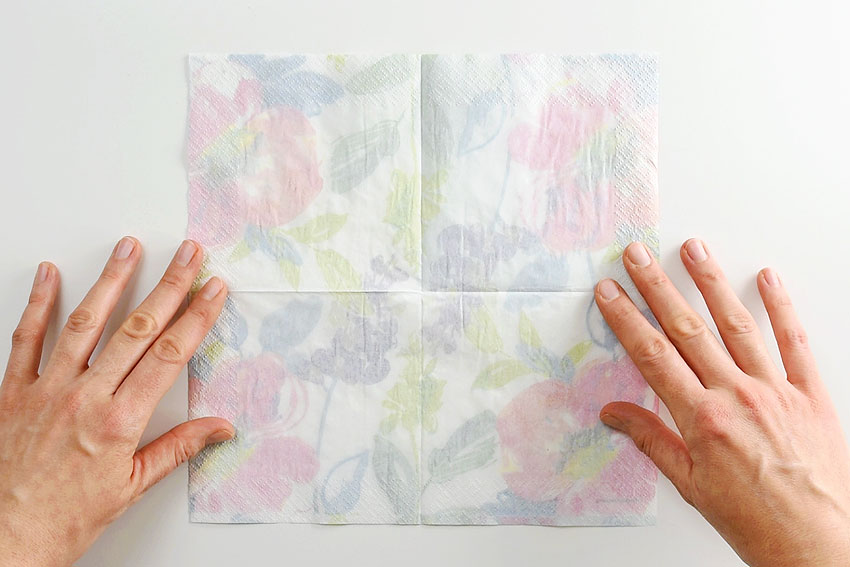
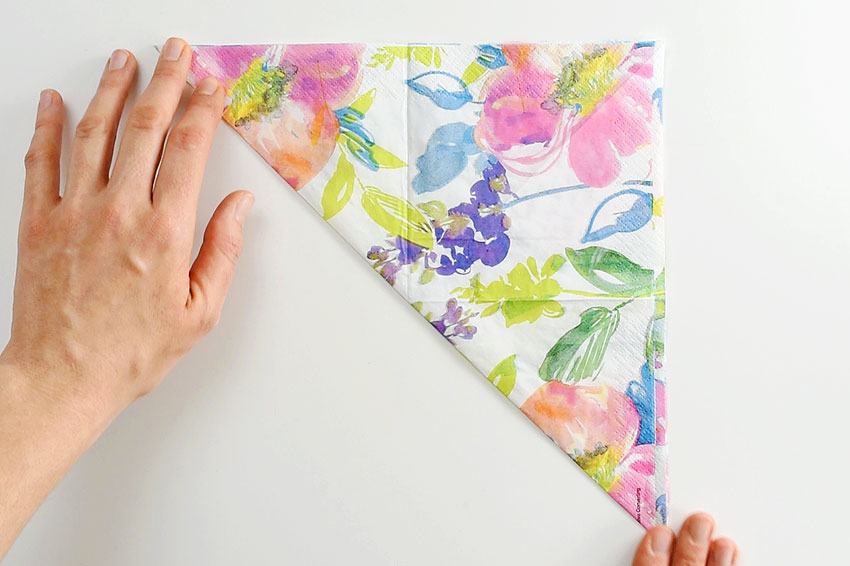
Fold it in half diagonally one way. Then open it up and fold it diagonally the other way.
This will help give you a fold as a guide when you’re making your bunny ears.
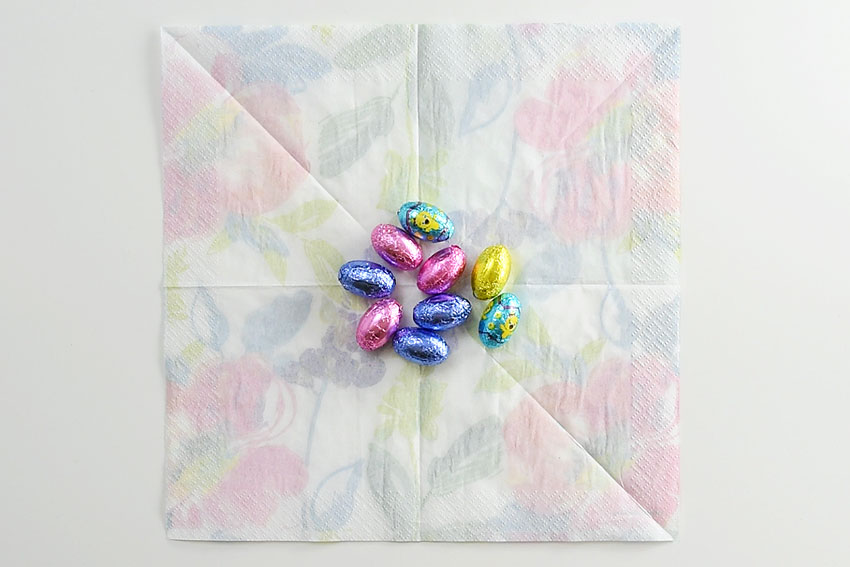
Open the napkin up again and place a few foil covered chocolate eggs (or other fun treats) inside.
With the size of napkins and wooden beads I used I found that 9 chocolate eggs fit perfectly.
Using those diagonal folds as a guide, bring two corners of the napkin together on one side.
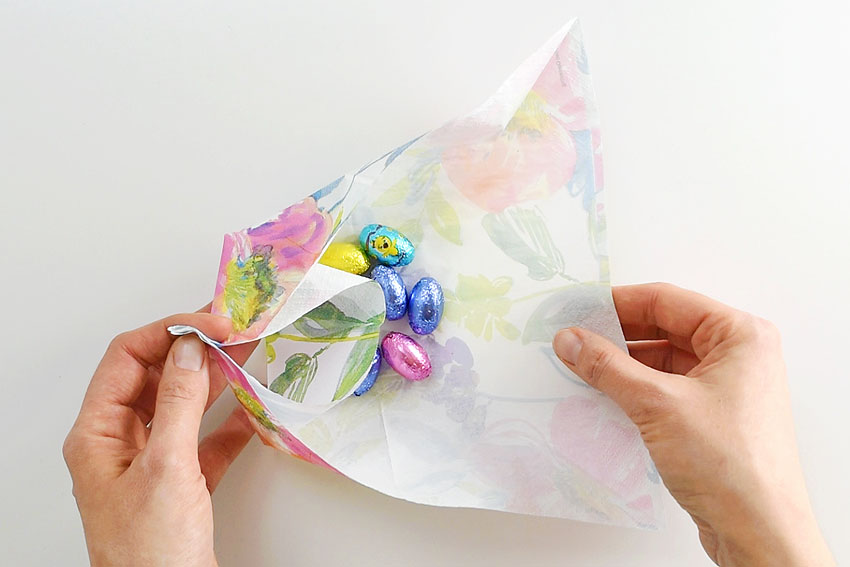
Then bring together the other two corners of the napkin in the other hand. You’ll end up with sort of a boat shape, with the chocolate eggs at the bottom.
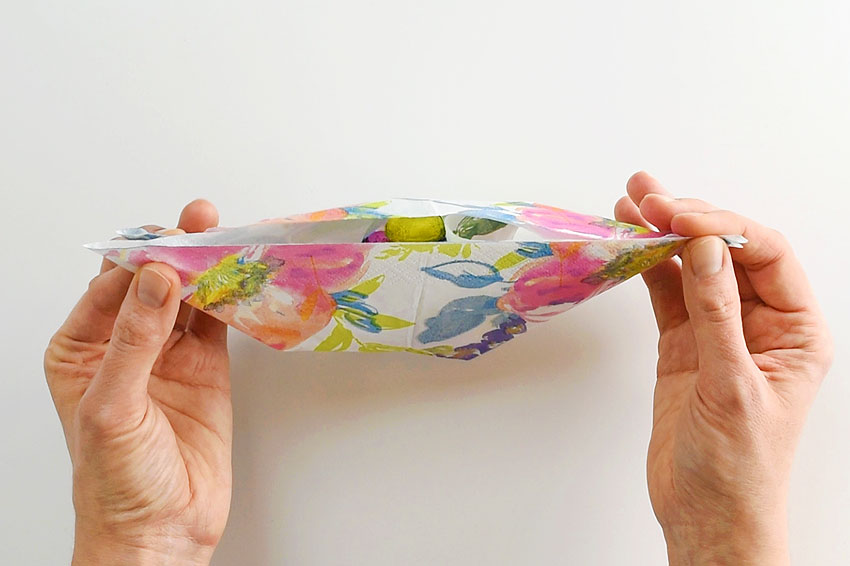
Carefully bunch everything together. It’s easier to see this in the video. You want to make sure you leave the two “ears” separate, so be careful not to bunch them together when you’re doing this.
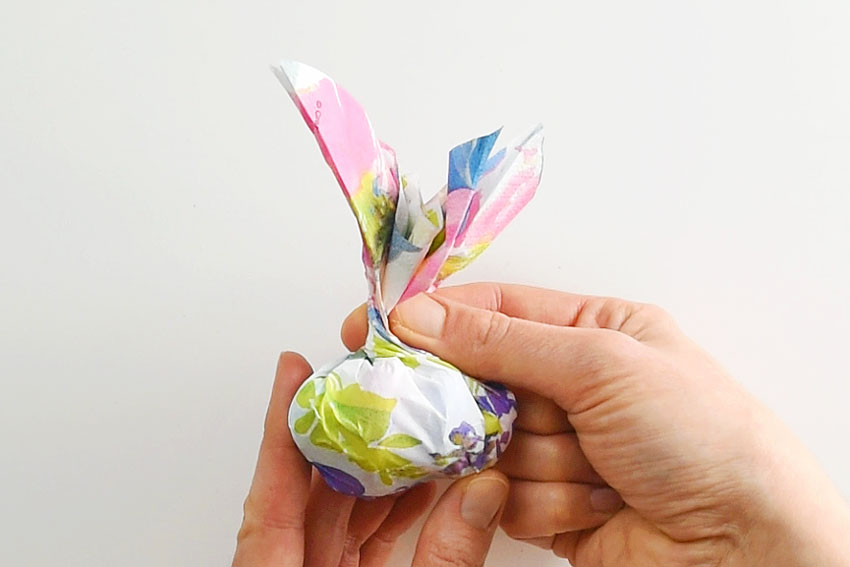
Twist the napkin a couple times right over top of the bundle of chocolate eggs to keep everything in place.
When you use gel pens on wood, often the ink runs into the little crevices in the wood and it ends up looking messy. To fix that, I recommend adding a small glob of white glue onto the wooden bead where you’re planning to draw the face.
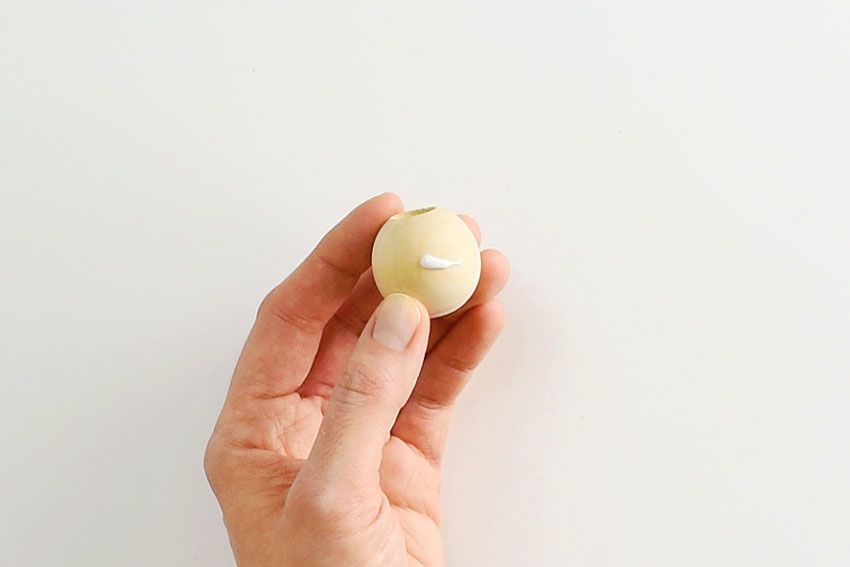
Use your finger to rub the glue into a thin layer over the surface of the bead. The glue will create a barrier and the ink from your pens won’t run.
It only takes about 5 to 10 minutes for the glue to dry before you can draw on it.
Draw a bunny face onto the wooden bead.
I used dollar store gel pens for my faces. I find that they work just as well as the more expensive gel pens, and they’re much cheaper.
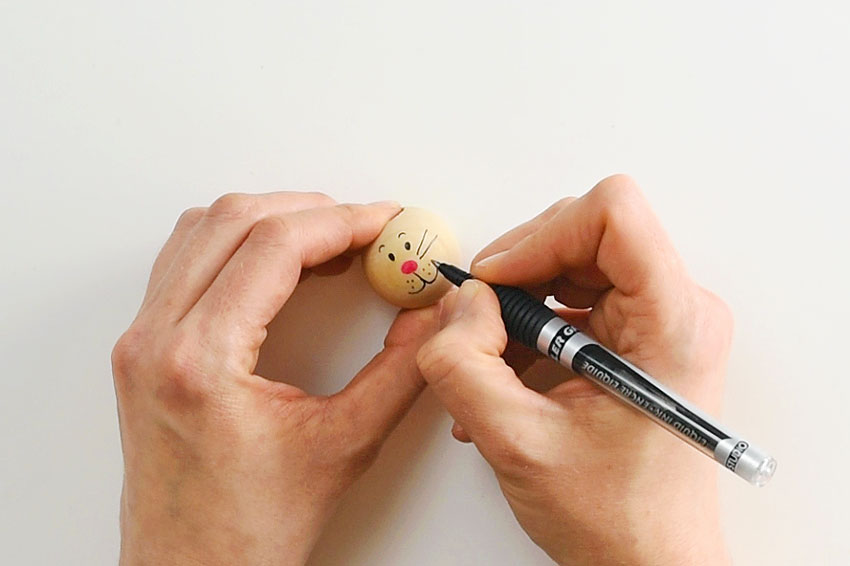
Make sure you wait for the face to completely dry.
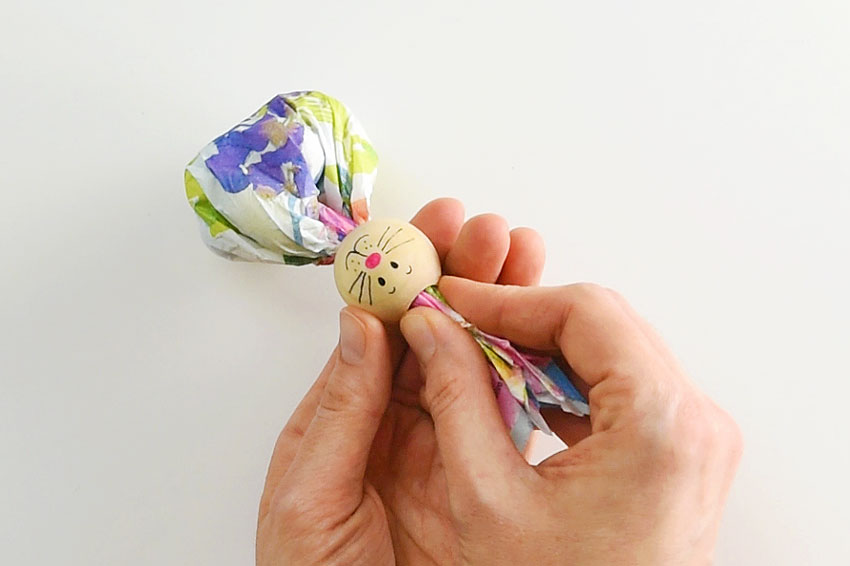
Then carefully twist the top of the paper napkin bundle until it’s small enough to fit through the hole in your wooden bead. Gently pull the napkin through the wooden bead and push it down so it’s sits at the top of the chocolate egg bundle.
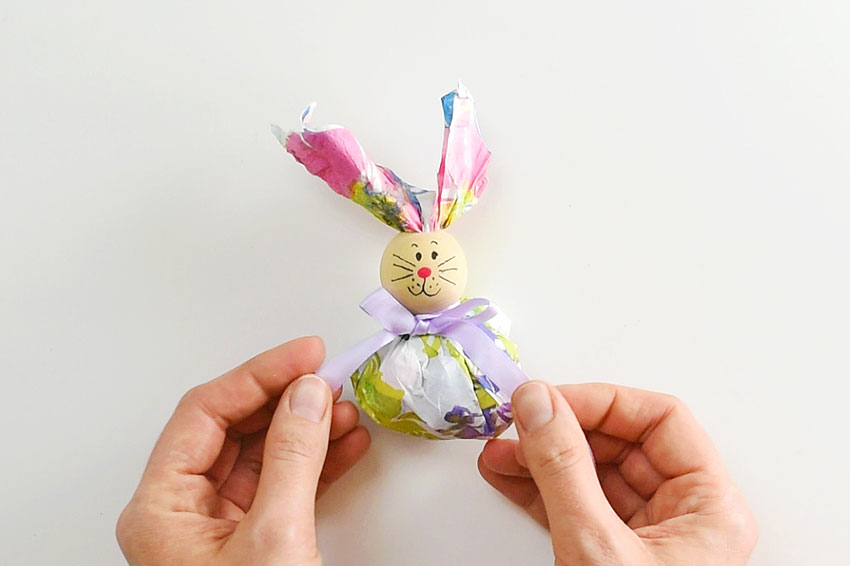
Pull apart the paper napkin “ears” at the top and shape them into your bunny ears.
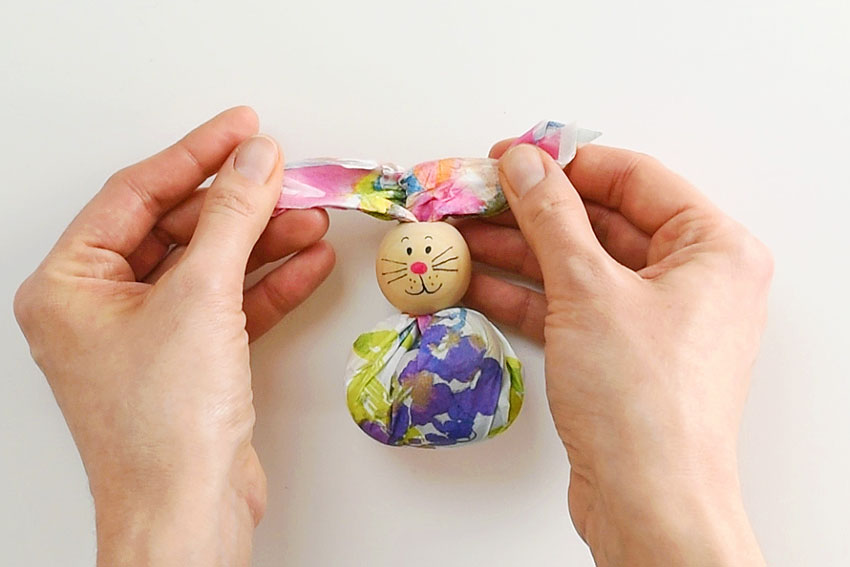
Tie a ribbon around the bunny’s neck into a bow.
Use different ribbon colours or different napkin colours to personalize your paper napkin bunny favors. You could even draw different faces and make them like bunny emojis – my kids would LOVE that!

These would look so cute as decorations for the Easter table!

Or you can give them out as small Easter treats.


They’re simple to put together and they make great Easter party favors!

These paper napkin bunny favors are SO CUTE! And they’re really easy to make! With dollar store paper napkins and foil covered chocolate eggs you can make adorable Easter treats to give away to the kids, grandkids or even to the classroom at school! They’d even make super cute decorations for the Easter table. This is such a fun and simple Easter craft idea.
Here’s even more Easter treat ideas:


Be sure to check out our book Low-Mess Crafts for Kids for 72 fun and simple craft ideas for kids! The projects are fun, easy and most importantly low-mess, so the clean up is simple!

Where to buy:
You can purchase Low-Mess Crafts for Kids from Amazon, or wherever books are sold:
Amazon | Barnes and Noble | Books-A-Million | Indiebound | Amazon Canada


Leave a Reply