Learning how to make clay is so easy! This homemade clay recipe uses simple ingredients you probably have in your kitchen already, and it’s so nice to work with!

How to Make Clay – Only 3 Ingredients!
Air dry clay is so easy and so inexpensive to make! Why spend tons of money on store bought clay, when learning how to make clay at home is so much cheaper and so much fun?!
We tested a few different clay recipes and this one was the BEST! And you only need 3 ingredients – water, cornstarch, and baking soda! You don’t need lotion and you don’t need glue.
This simple air dry clay recipe is super easy to work with. It’s smooth, doesn’t crumble, and it dries to a beautiful crisp white. It’s the perfect medium for both adult projects and kids crafts.
Learn how to make clay and so much more in our new course Clay Projects for Kids!
Check out our DIY Clay video tutorial:
*Note: Scroll down for the step-by-step photo tutorial.
Looking for more fun craft ideas? Here’s some of our favourites:

Here’s what you’ll need:
This post contains affiliate links. If you use these links to buy something we may earn a small commission which helps us run this website.
The full printable instructions are at the end of this post, but here’s a list of products on Amazon that are similar to the supplies we used:

Baking Tips: How to make the clay dry faster?
This clay will harden (air dry) in about 3 to 5 days. Or you can speed up the drying process by baking it in the oven. Generally with air dry clay you want to let it dry slowly to prevent cracking.
To bake it in the oven, preheat an oven or toaster oven to 200 degrees Fahrenheit. Place the items on a foil or parchment lined baking sheet and bake for 1 to 1 1/2 hours, flipping the objects over half way through. Turn off the oven and allow the items to cool to room temperature in the closed oven before taking them out.
What can I make out of this clay?
There are so many items you can sculpt out of air dry clay! You can make little pinch pots or plates, or you can create a jewelry holder.
Try using a rolling pin and cookie cutters to cut out clay ornaments. You can also sculpt little figurines, like a clay turtle or a clay frog, or even clay mushrooms.

How long will this homemade clay last?
This clay will last up to 2 weeks. Wrap the unused portion in plastic wrap and store it in an air tight container (the plastic wrap is important if you don’t want it to dry out).
A batch of clay that we made over a week ago is still soft and workable. This homemade clay is even nicer to work with after it sits for a few days.
Can this clay be coloured?
Much like with homemade playdough, food colouring works well to colour this homemade clay. If you want one colour of clay, add the food colouring to the water before mixing it with the dry ingredients.
For several colours of clay, wait until the clay has cooled to room temperature. Separate it into balls (4 balls for 4 colours, for example) and knead the food colouring into the clay until the ball is evenly coloured. You can do this kneading in a baggie to keep the mess to a minimum.
We chose to leave our clay white and painted our sculptures with acrylic paint to give them colour.

Want 4 weeks of easy summer activities already planned?
Our 4-Week Summer Boredom Buster Plan gives you 28 simple crafts, sensory play ideas, outdoor activities, printable challenges, supply lists, and quick backup ideas, all chosen, organized, and ready to use.
How to Make Homemade Clay
Materials:
- 1 cup Baking soda
- 1/2 cup Cornstarch
- 3/4 cup Water
Equipment:
Instructions:
Step 1: Cook the Clay
- Add baking soda, cornstarch, and water to a pot and stir together.
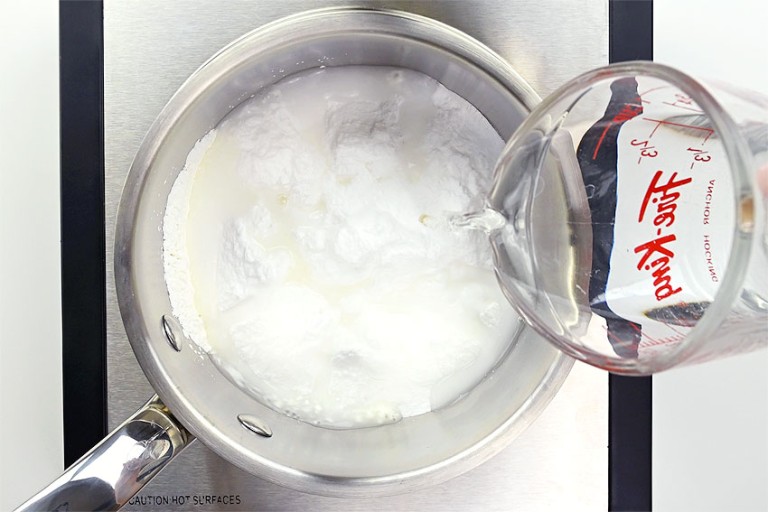
- Place the pot on a burner over low to medium heat. Stir continuously until the mixture starts to pull away from the pot and it forms a “mashed potato” consistency.Pull the pot off the heat immediately when it reaches this thickness. Do not overcook!
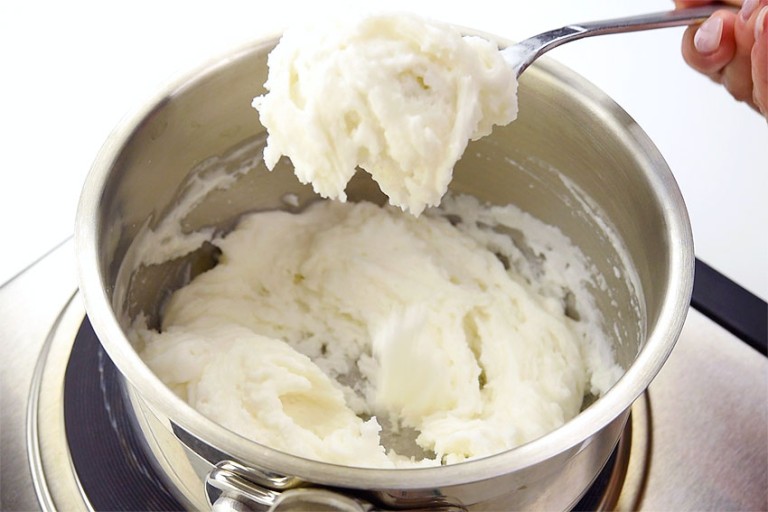
- Put the clay into a bowl or spread it out on a baking sheet to cool. Let the clay reach room temperature before working with it.It will take at least half an hour to cool down.

Step 2: Use the Clay
- The texture of the clay should be very soft and moldable, but not sticky. If the clay sticks to surfaces, or your hands, dust the work area with cornstarch.
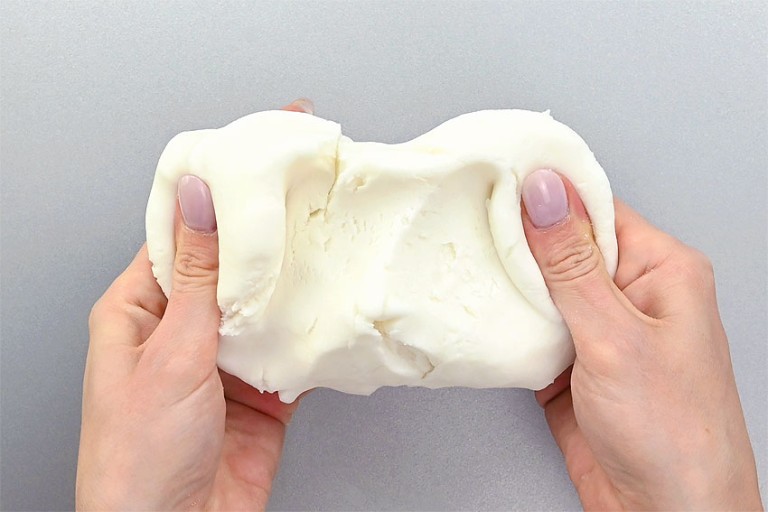
- You can roll out the clay or form it with your hands.
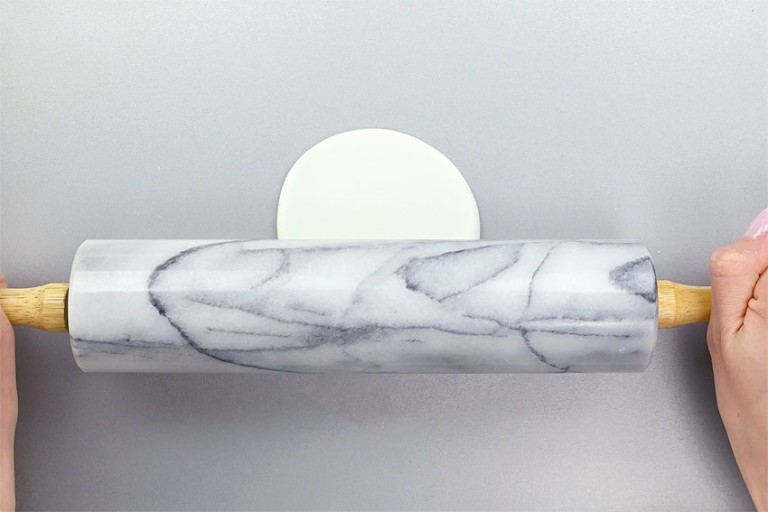
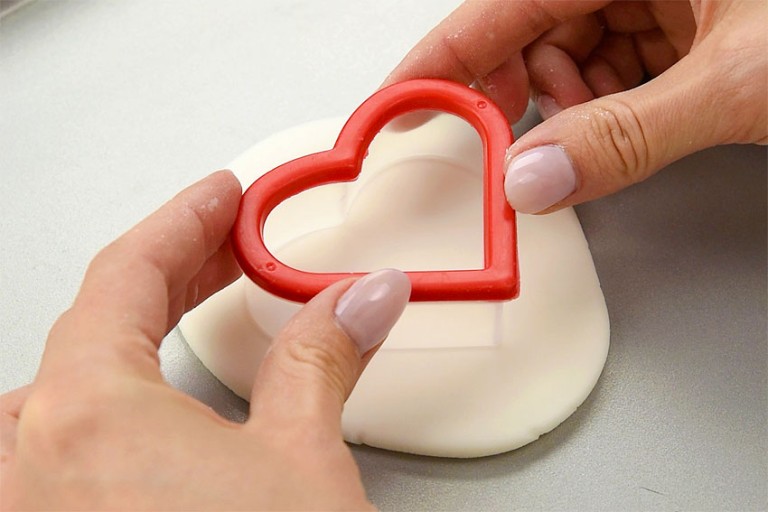
- Cookie cutters are a good tool for making shaped items, such as ornaments.Allow the clay to air dry for 3 to 5 days. Or bake it in the oven at 200F for 1 to 1.5 hours, flipping the piece half way through (see baking tips above).
- Your air dry clay recipe is complete!

Helpful Tip:

Making clay and working with it are very tactile, sensory activities that the whole family can appreciate. Since this clay is taste safe, kids of all ages can enjoy working with it.
You’ll have hours of fun with this clay made from three simple ingredients. Use the clay to sculpt little animals, make keepsake ornaments, and more!

Here’s even more fun craft ideas:


Our book Low-Mess Crafts for Kids is loaded with 72 fun and simple craft ideas for kids! The projects are fun, easy and most importantly low-mess, so the clean up is simple!

Where to buy:
You can purchase Low-Mess Crafts for Kids from Amazon, or wherever books are sold:
Amazon | Barnes and Noble | Books- A- Million | Indiebound | Indigo | Amazon Canada


Leave a Reply