Learn how to make a paper jet with our simple photo and video tutorials. In just a few minutes you can turn a regular piece of printer paper into a paper airplane jet that soars and glides across the sky!
These paper jet designs are super sleek and they’re SO EASY to make! Use a similar technique to make both planes, and then test them to see which jet flies the fastest and farthest! So fun!

This post contains affiliate links. If you use these links to buy something we may earn a small commission which helps us run this website.
Looking for more paper crafts? Here’s a few of our favourites:

How to Make a Paper Jet – The Star Glider
Materials:
- 1 piece Letter sized paper (white or colour of choice)
Watch the step-by-step video tutorial:
Instructions:
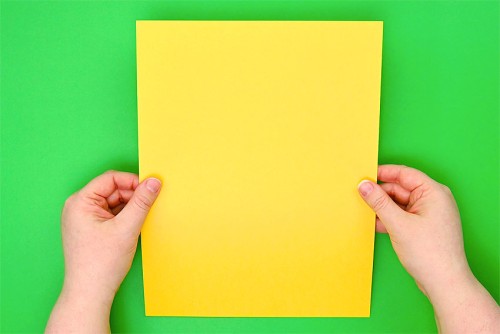
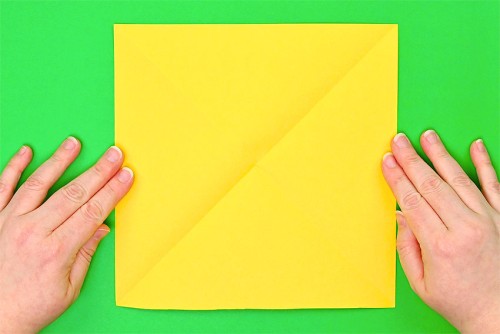
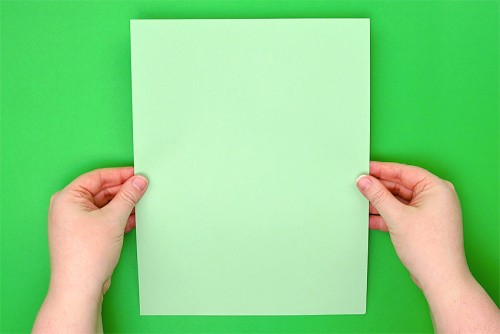
- All you need to make this paper jet is 1 piece of letter sized paper and a pair of scissors.

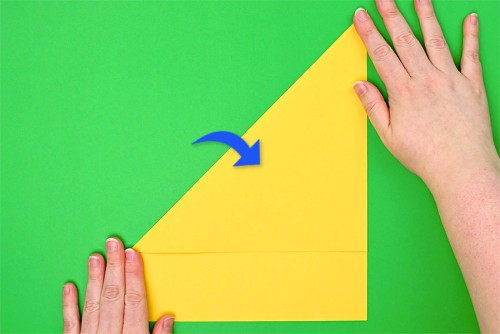
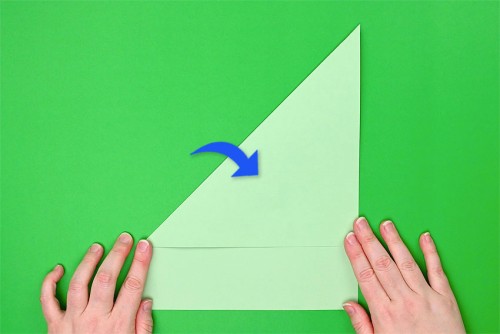
- Fold the top left corner down and right so that the top edge lines up with the right edge.
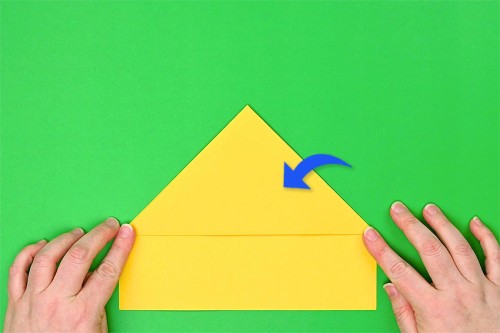
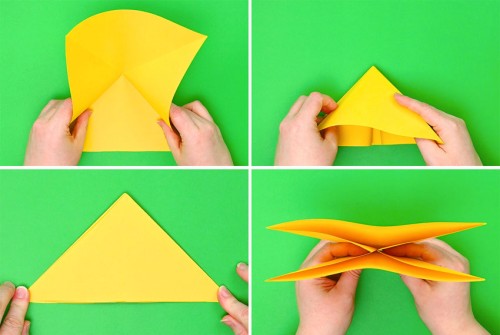
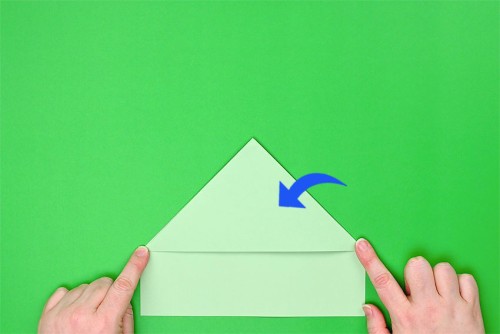
- Fold the top right corner down to the left, so that it lines up with the previous fold.

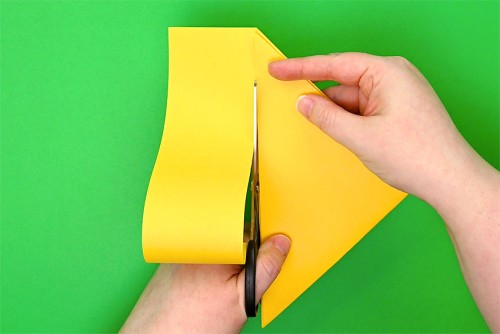
- Cut the bottom part of the paper off, leaving only the folded triangle.
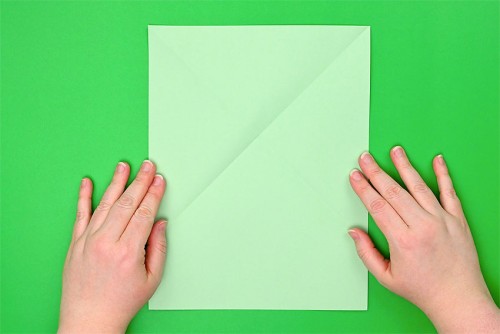
- Open up the previous 2 folds.
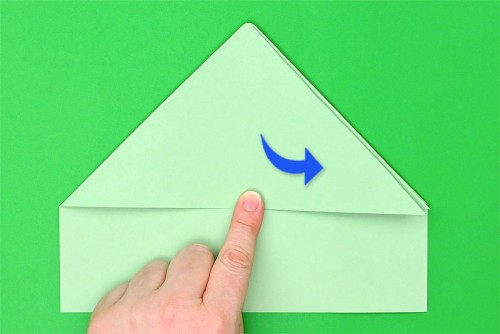
- Grab the center sides of the paper and push them down towards the bottom of the paper.Fold the edges so that they’re flat, and push down on the center so that the inside folds meet in the middle.You should now have a double layered triangle shape.

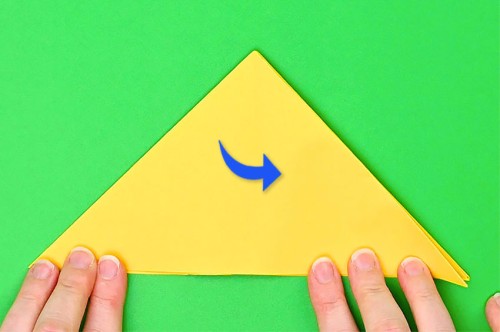
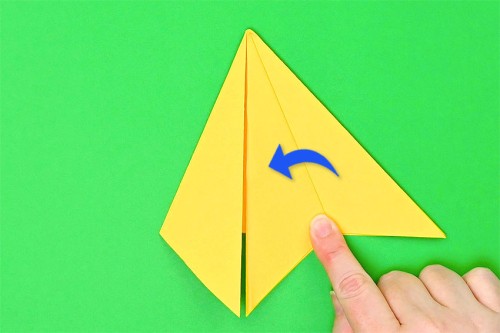
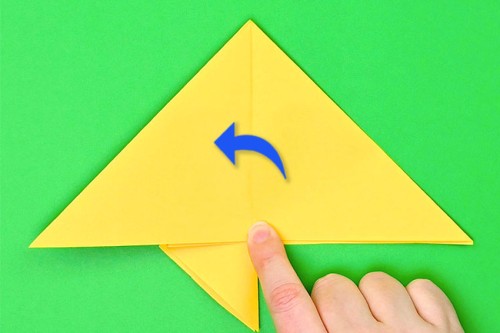
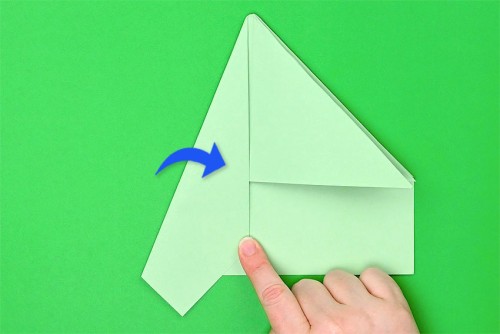
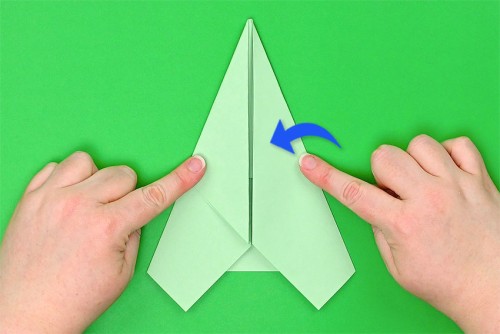
- Take the top left flap and fold it over to the right side.

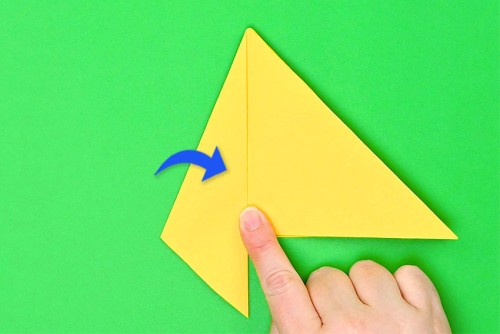
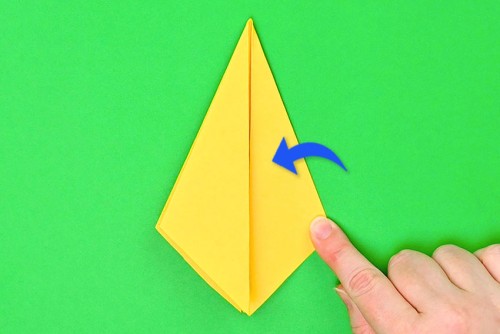
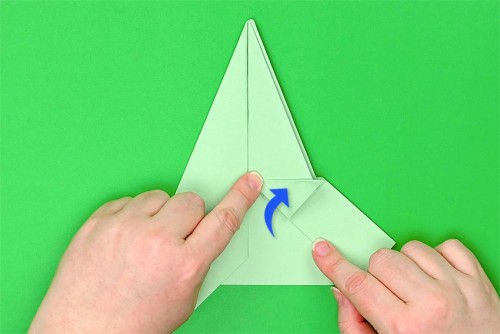
- Fold the left edge in so that it lines up with the center.
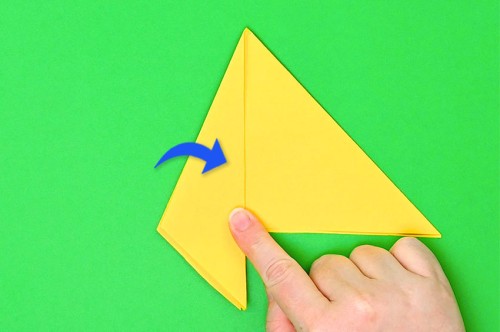
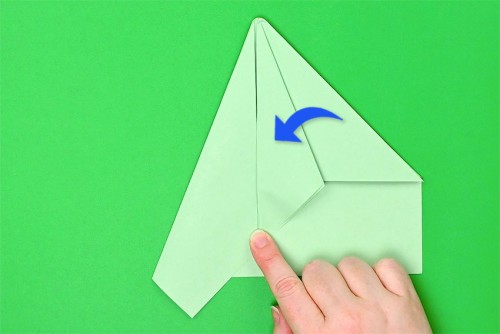
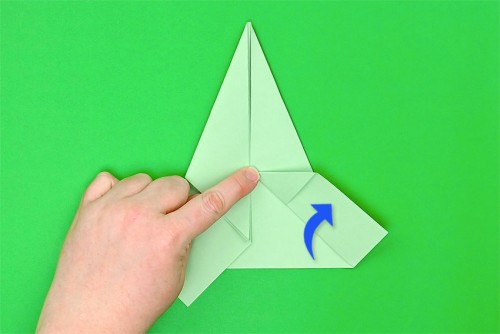
- Fold the top right flap in to line up with the center.
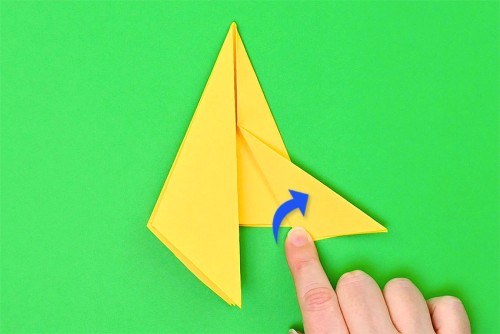
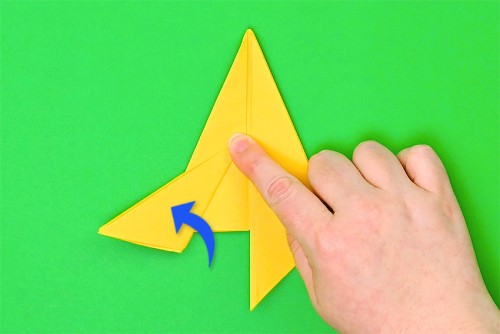
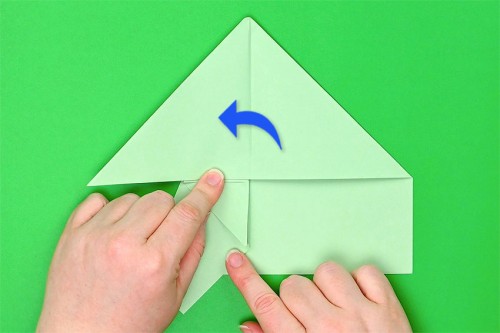
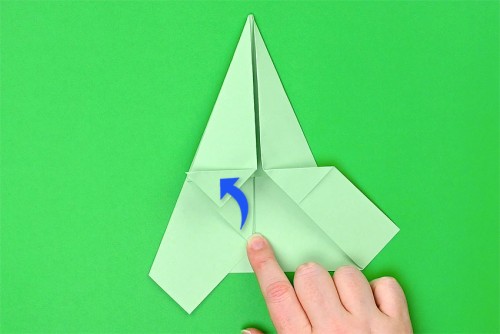
- Fold the top right flap over to the left, then fold the next right flap over to the left. There should only be one layer remaining on the right.
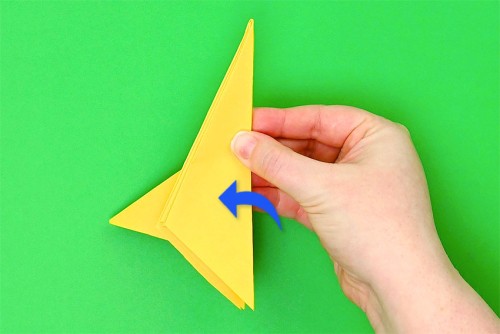
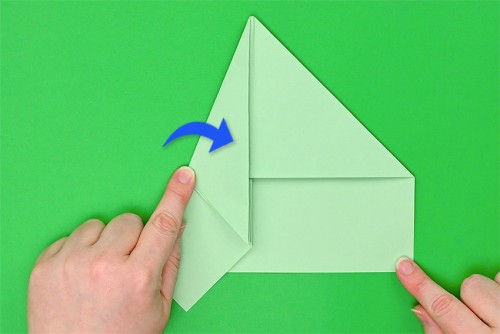
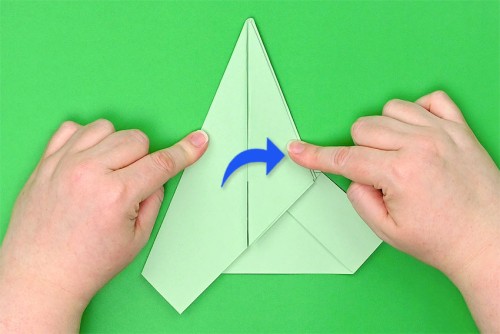
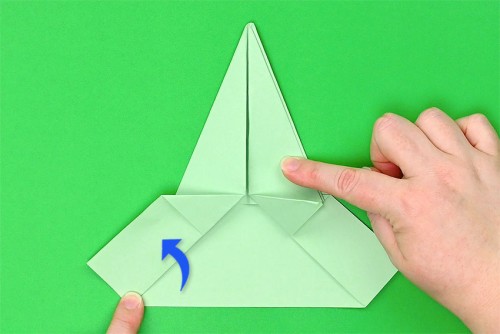
- Fold the top left flap in to the center.
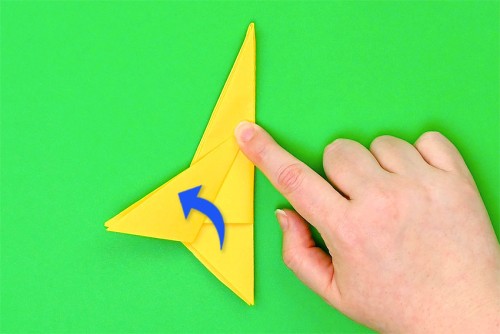
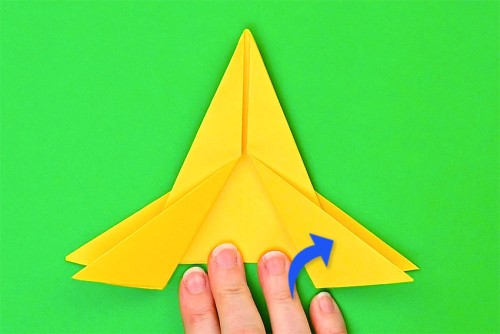
- Fold the right flap in to the center.
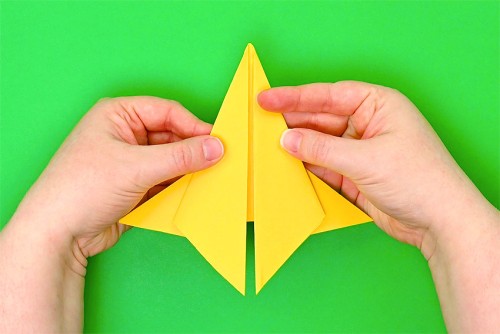
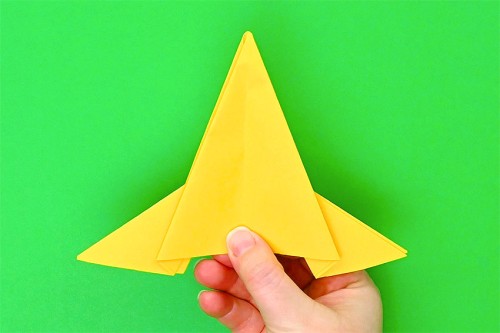
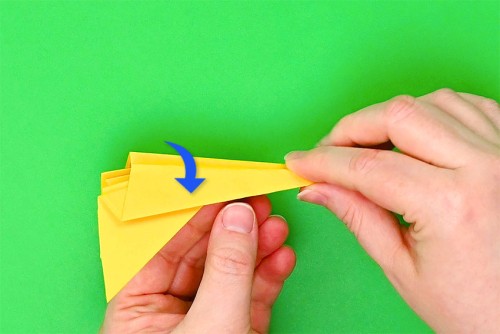
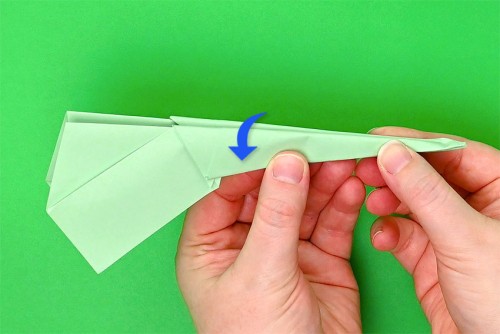
- Fold the top part of the right flap over to the right. Make the fold a little above the half way point, at about a 70 degree angle.
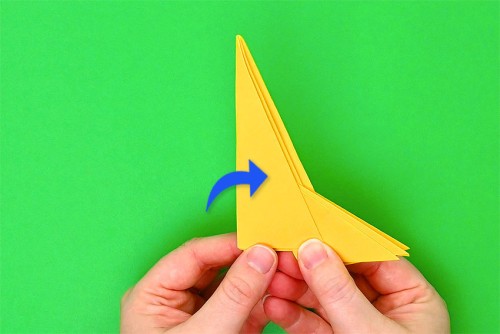
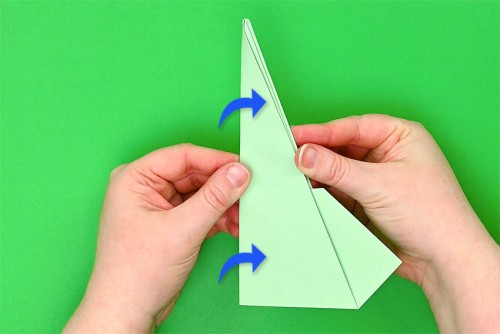
- Flip the paper over and fold it in half, bringing all the right layers over to the left.
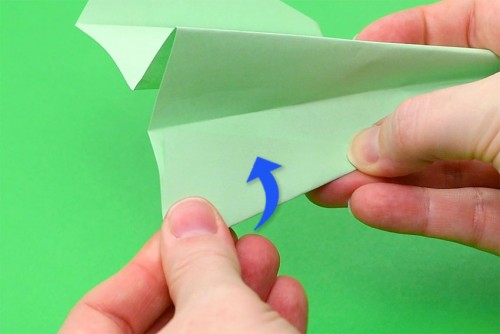
- Fold the top flap up to the left so that it lines up with the previous fold. This will ensure that the wings are at the same angle.
- Open up the plane by bringing the top 2 layers over to the right.
- Fold the top of the left flap up and to the left to meet the other fold.
- Repeat on the right side, folding the top part of the right flap over.
- Fold the top right flap over to the left. Now take the bottom left layer and bring it over to the right.You should have 2 layers on each side, with a center that is plain paper with a fold in the middle.
- Fold the plane in half inwards.
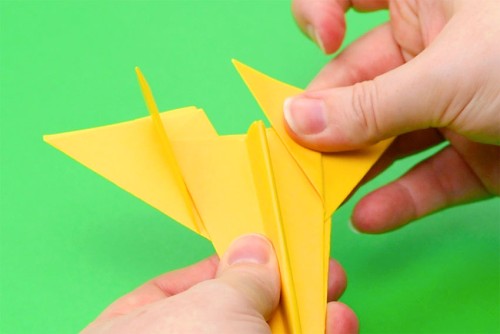
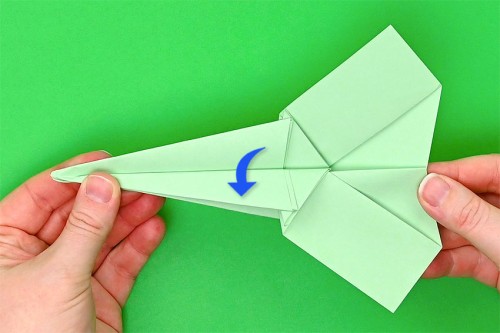
- Rotate the plane 90 degrees counterclockwise and fold 2 flaps down to meet the bottom of the plane body.
- Flip the plane over and repeat the wing fold.
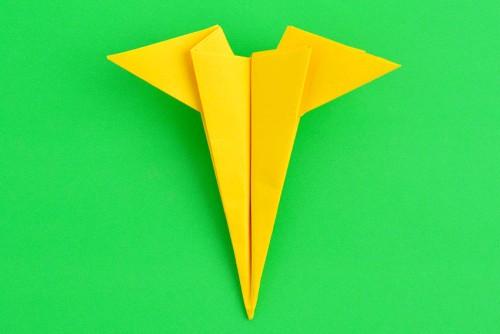
- Fold the bottom wing flaps down along the wing line so that tips are almost pointed at the ground
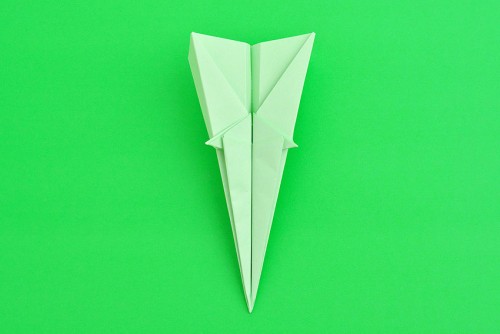
- Adjust the plane’s body so that the top wings are parallel to the ground.Your star glider paper jet is complete!


How to Make a Paper Jet – The Drifter
Materials:
- 1 piece Letter sized paper (white or colour of choice)
Equipment:
- Glue tape (optional: to keep jet together)
Watch the step-by-step video tutorial:
Instructions:
- All you need to make this paper jet is 1 piece of letter sized paper!
- Fold the top left corner down and right so that the top edge lines up with the right.
- Fold the top right corner down to the left, so it lines up with the previous fold.
- Open up the previous 2 folds.
- Grab the center sides of the paper and push them down towards the bottom of the paper.Fold the edges so that they’re flat, and push down on the center so that the inside folds meet in the middle.You should now have a double layered triangle shape with a bottom layer that’s longer.
- Take the top left flap and fold it over to the right side.
- Fold the left edge in so that it lines up with the center.
- Fold the smaller top right flap in to line up with the center.
- Fold the top right flap over to the left, then fold the next right flap over to the left. There should only be one layer remaining on the right.
- Fold the top left flap in to the center.
- Fold the right flap in to the center.
- Fold the top right flap over so that the top edge of the fold is as far up as it can go while being at a 90 degree angle from the center line.
- Mirror the fold with the top left flap, folding it up and left. The fold should line up with the bottom left edge.
- Flip the left flaps over to the right twice.
- Fold the edge of the top right flap over to the right, matching it up with the other folds.
- Fold the left edge over in the opposite way, so the top fold is at a 90 degree angle from the center line.It should be easy to know where to make this fold, because you can match it up with the line on the right side.
- Fold the plane in half inwards.
- Rotate the plane 90 degrees counterclockwise and fold 2 layers of wings down to meet the bottom of the body.
- Flip the plane over and repeat the wing fold with the other 2 layers.
- While looking at the bottom of the plane, fold the outside edges down along the edge of the wing.Then adjust these folds so that they’re pointing at the ground when you hold the plane.
- Adjust the body of the plane so that the wings are parallel to the ground.Your drifter paper jet is complete!

Helpful Tips:
- Add glue tape, or double sided tape, to the center of the paper jet’s body to keep it together for a smoother, longer flight.
- Make your folds extra crisp and clean by pressing the creases down with a ruler or a paper creaser.

How can I make a paper jet that flies far and straight?
We found that having the wings evenly folded is the key to making the jet plane fly straight. You also want to make sure that the wings are parallel to the ground (at a 90 degree angle from the plane’s body).
Adding a little bit of extra weight can also make a huge difference in how your paper jet flies. Attach a paper clip onto your paper jet to help it soar farther!
Experiment by placing the paper clip on different areas of the jet’s body. We found that the Star Glider flies well with a paper clip attached at the back!

What kind of paper is best for making a paper jet?
We used coloured letter size (8.5 x 11 inch) printer paper in 20 lb weight to make these paper jets, and it worked really well!
We also folded some paper airplane jets with heavier 24 lb paper. These jets also flew well, but they’re a bit harder to fold neatly because the paper is thicker.

What’s the difference between a paper airplane and a paper jet?
There isn’t a lot different between a paper airplane and a paper jet – after all, they’re both made by folding paper into something that can fly. But we think of paper jets as something a bit sleeker than a regular paper plane.
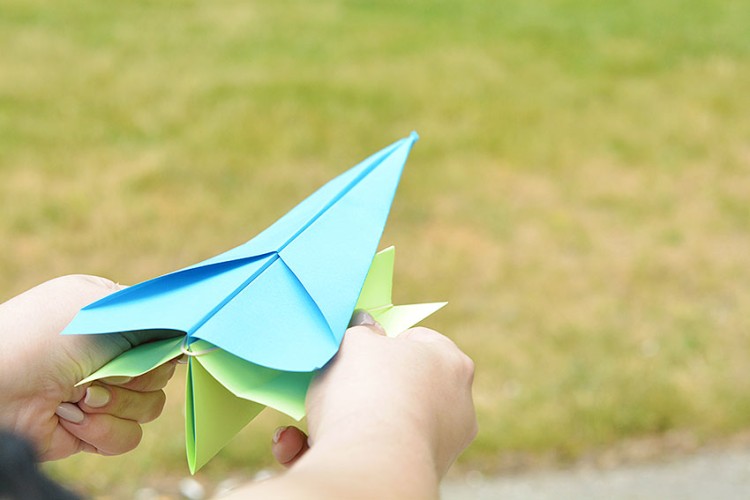
These paper jets have a long, thin nose and wings that get larger at the back. And they fly smoothly and glide quickly across the room, just like a fighter jet!

Learn how to make a paper jet in just a few minutes, and create hours of fun! Make paper jets with your friends and see whose jet plane flies the farthest.
Fly the planes inside on a rainy day, or outside in the summer sunshine – either way it’s a great paper craft for kids of all ages.

Here’s even more paper airplane ideas:


Our book Low-Mess Crafts for Kids is loaded with 72 fun and simple craft ideas for kids! The projects are fun, easy and most importantly low-mess, so the clean up is simple!

Where to buy:
You can purchase Low-Mess Crafts for Kids from Amazon, or wherever books are sold:
Amazon | Barnes and Noble | Books-A-Million | Indiebound | Amazon Canada


Leave a Reply