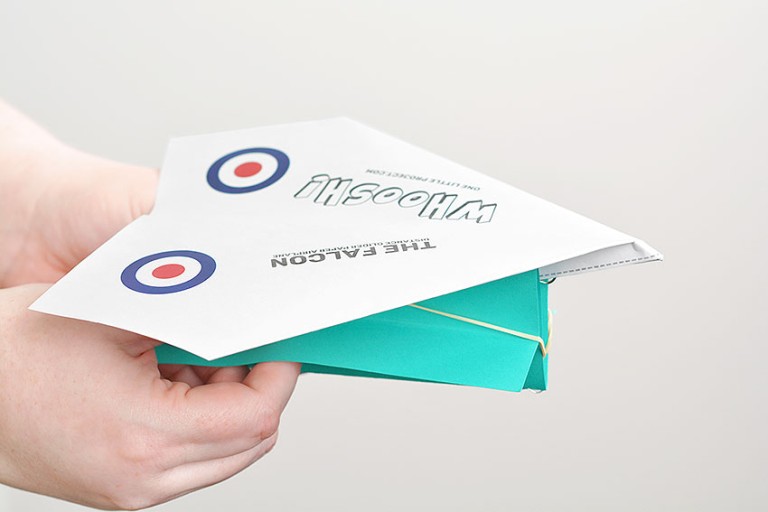
Did you know you can build a paper airplane launcher to make your paper airplanes fly even faster!? All you need are simple supplies like a paper clip, stapler, and a rubber band!
It’s SO MUCH FUN and such a great STEM experiment! Follow the easy step-by-step instructions below and take your paper airplane game to a whole new level!

This post contains affiliate links. If you use these links to buy something we may earn a small commission which helps us run this website.
Check out our Paper Airplane Launcher video tutorial:
Looking for more paper airplane ideas? Here’s a few of our favourites:

How to Make a Paper Airplane Launcher – Cardstock and Elastic
Materials:
Instructions:
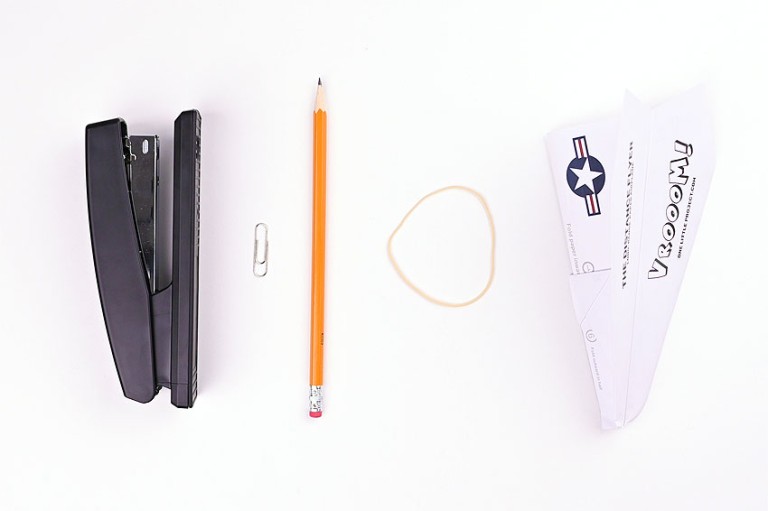
Step 1: Find what you need
- Gather your supplies and materials.


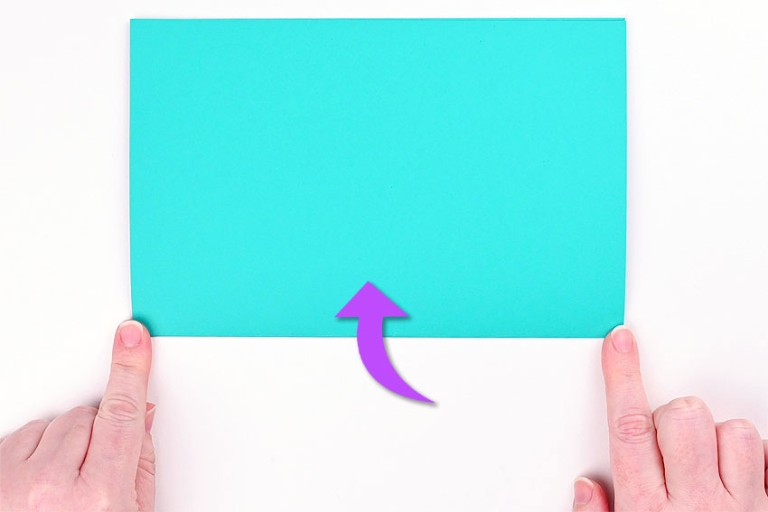
Step 2: Fold the cardstock
- Fold a piece of cardstock in half.
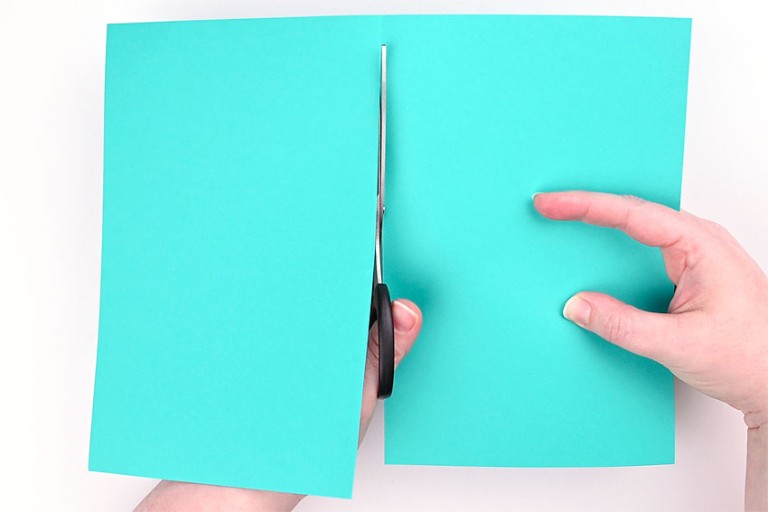
- Cut on the fold line and discard one half.
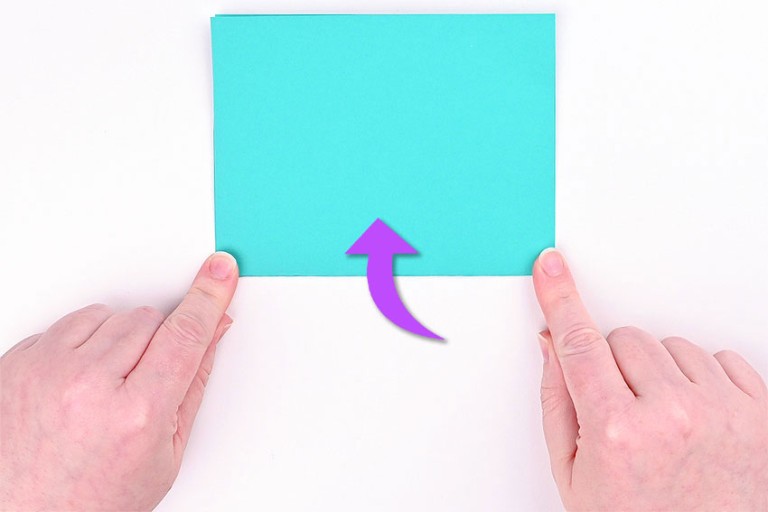
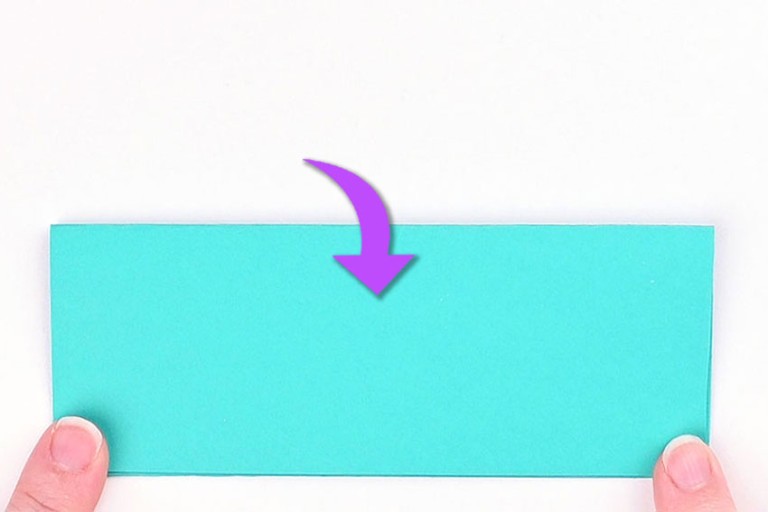
- Fold the half piece of paper in half.
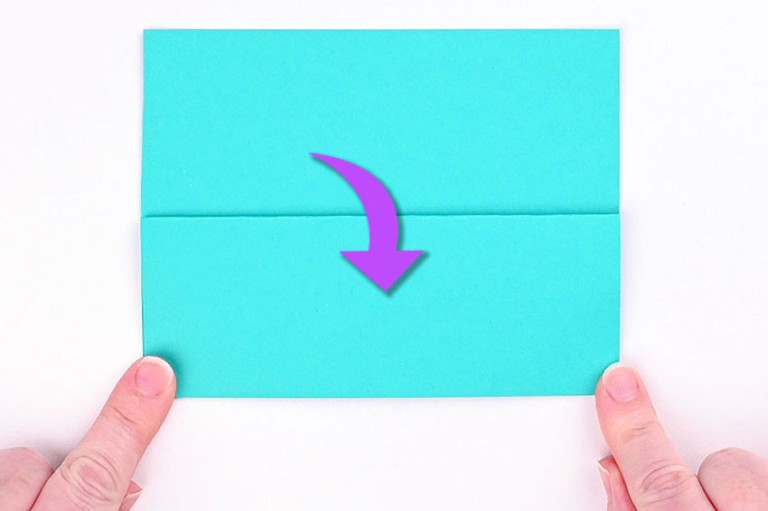
- Fold the top edge down to line up with the bottom fold.

- Flip over and repeat, folding the other top edge down to the bottom fold.
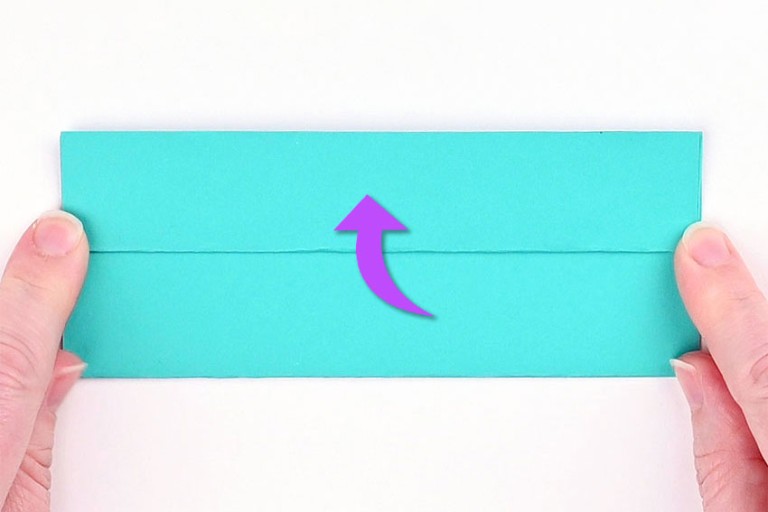
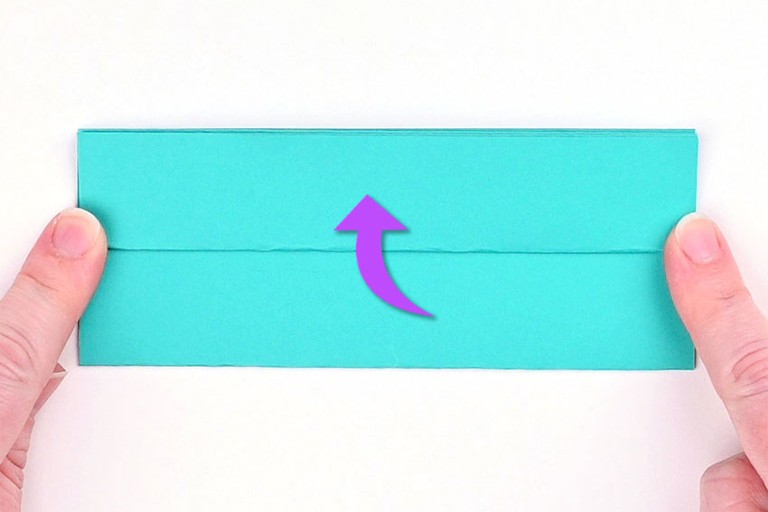
- Fold the top layer of paper up to meet the top edge.
- Flip over and repeat, folding the top layer up to the top edge.
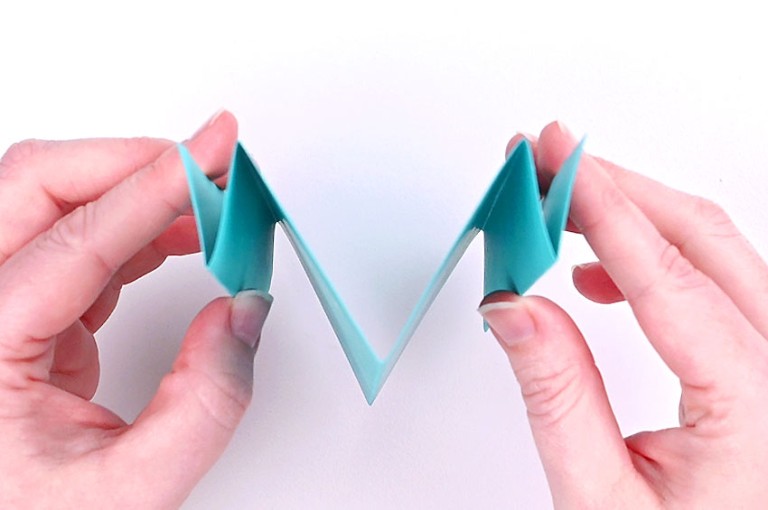
- When you open up the folds the paper should have a big “V” shape in the middle with 2 little “V” shapes beside it like in the photo below.

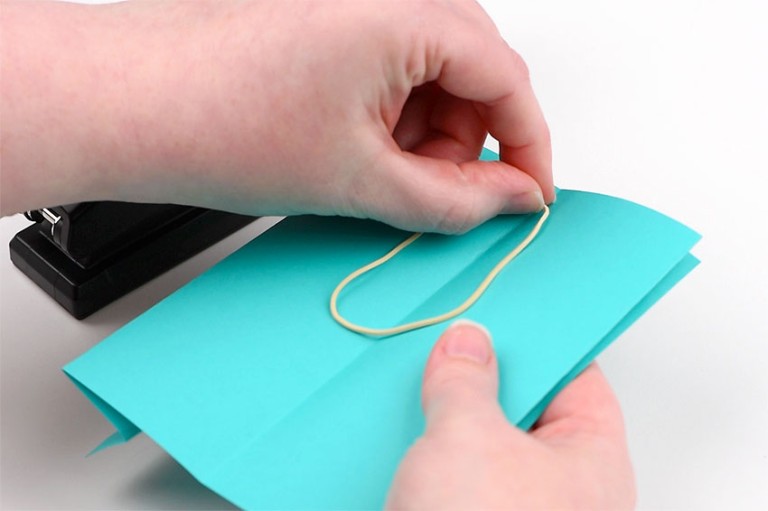
Step 3: Attach the elastic
- Open up the cardstock and plastic a rubber band at the middle fold, close to one edge.
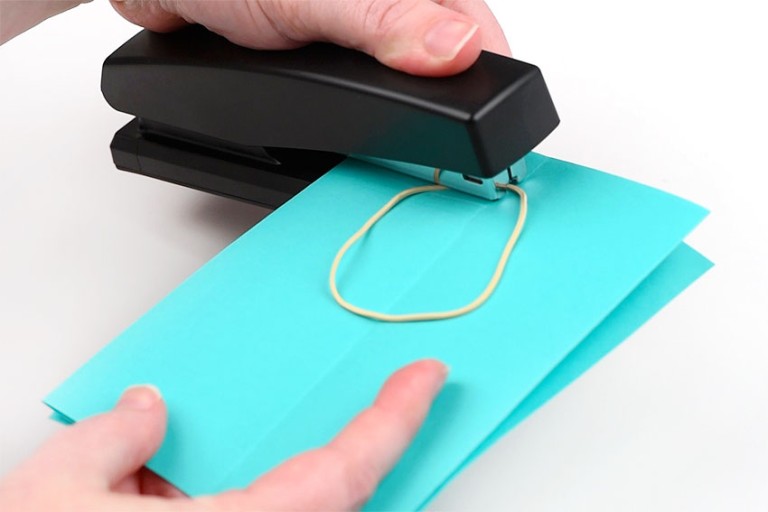
- Staple the elastic in place. Be careful not to accidentally staple through any of the other layers in the folded paper.
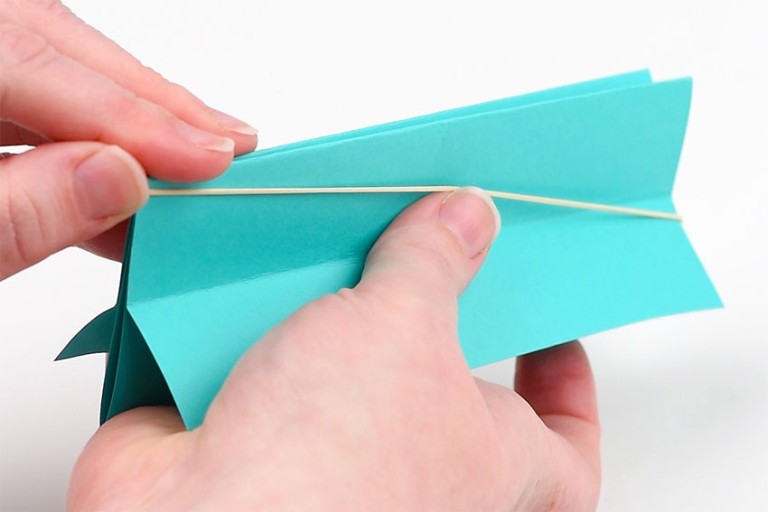
- Close the middle fold, then stretch the rubber band around the outside of the cardstock and onto the back. Make sure the elastic is close to the top at the back.
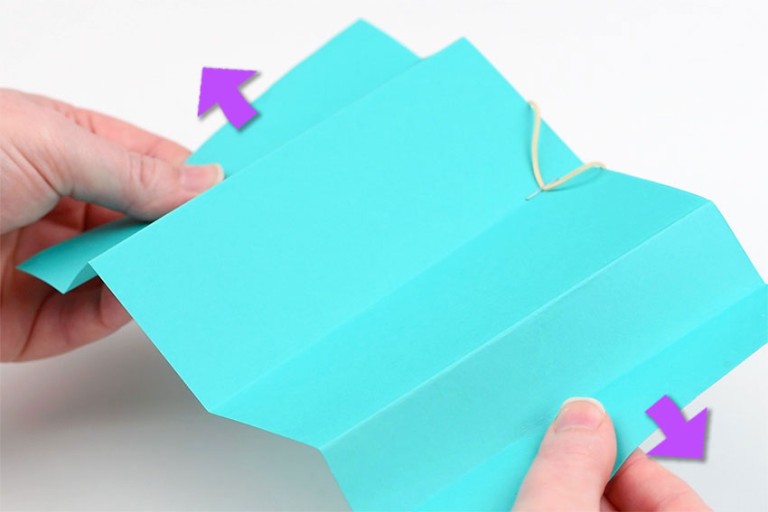
- Once you put the plane inside the launcher you will pull on the side tabs of the launcher. The elastic will fly forward and shoot the paper airplane into the air.
- To use the launcher, place the body of the plane in the center of the cardstock and up against the elastic at the back. Pull the tabs and send your plane flying!Your cardstock launcher is complete!
Helpful Tip:

How to Make a Paper Airplane Launcher – Paper Clip and Elastic
Equipment:
Instructions:
Step 1: Find what you need
- Gather your supplies and materials.
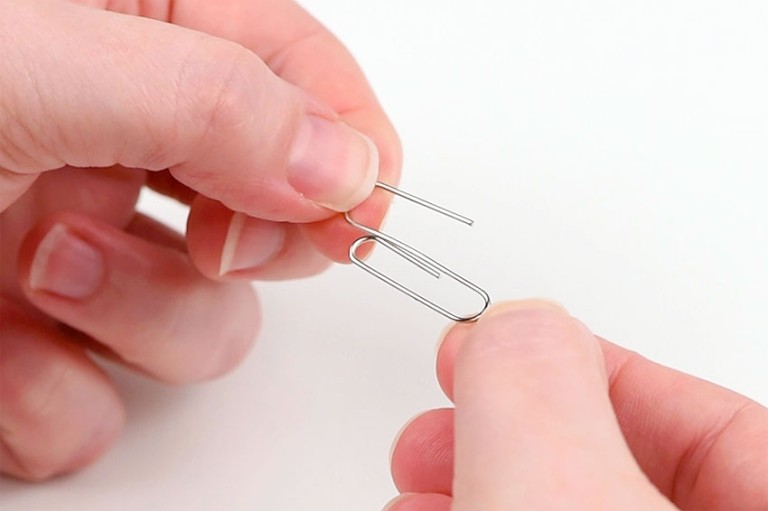
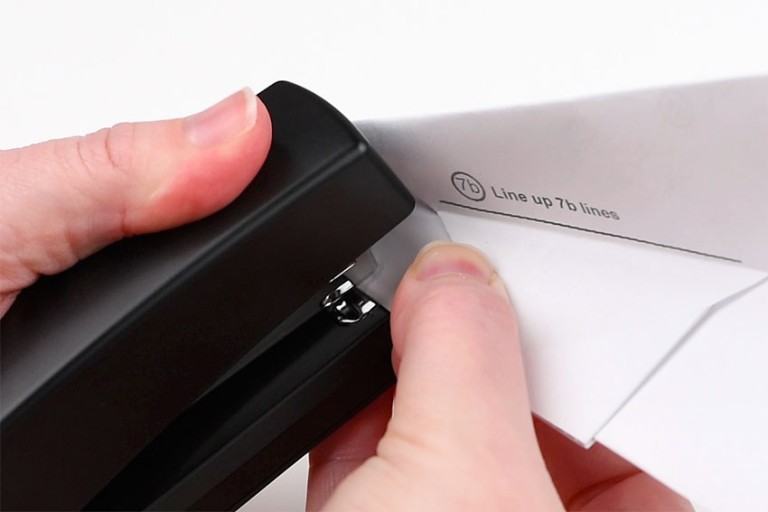
Step 2: Attach a paper clip to the paper airplane
- Bend the outside of a paper clip around and upwards like in the photo below.
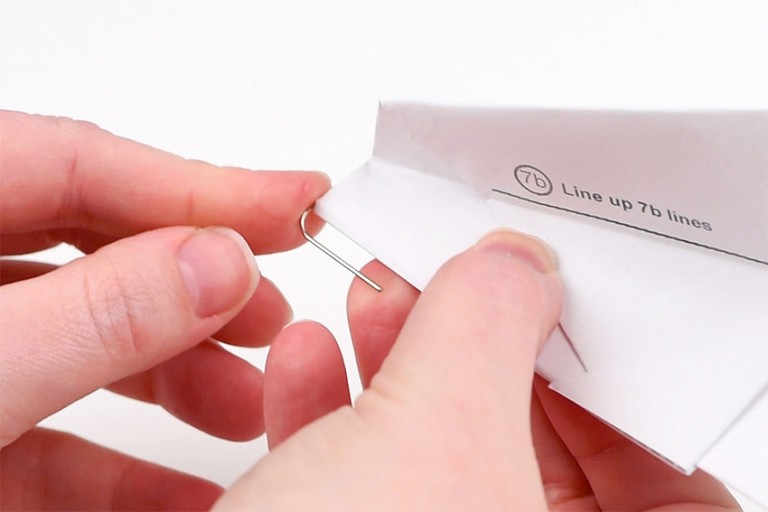
- Slide the looped part of the paper clip inside the middle fold of your paper airplane’s nose.
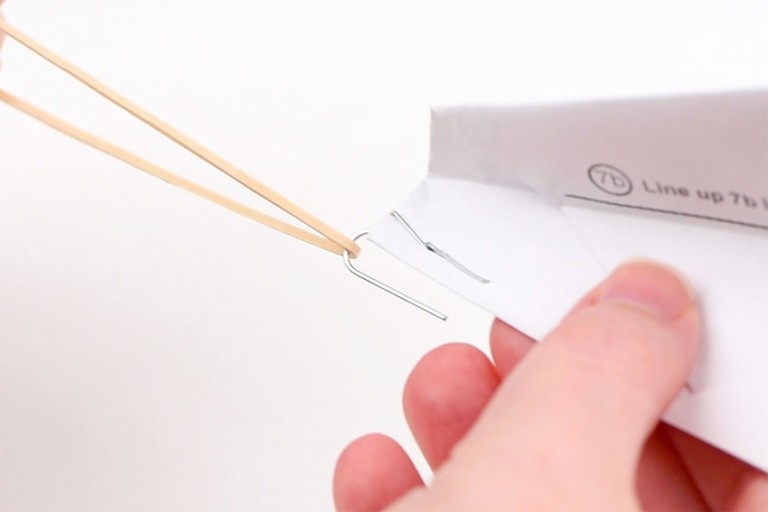
- Staple over the paper clip a few times to keep the paper clip in place.Pull on the paper clip to test if it will stay attached to the airplane. Staple a few more times, if necessary.
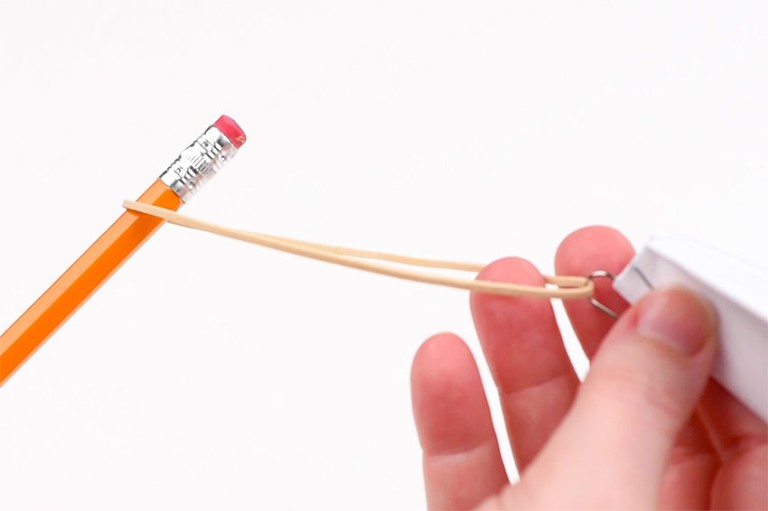
Step 3: Connect the rubber band
- Put a rubber band on the paper clip.
- Put a pencil on the other side of the elastic.(When you actually shoot the airplane you’ll want to put the elastic closer to the top of the pencil.)
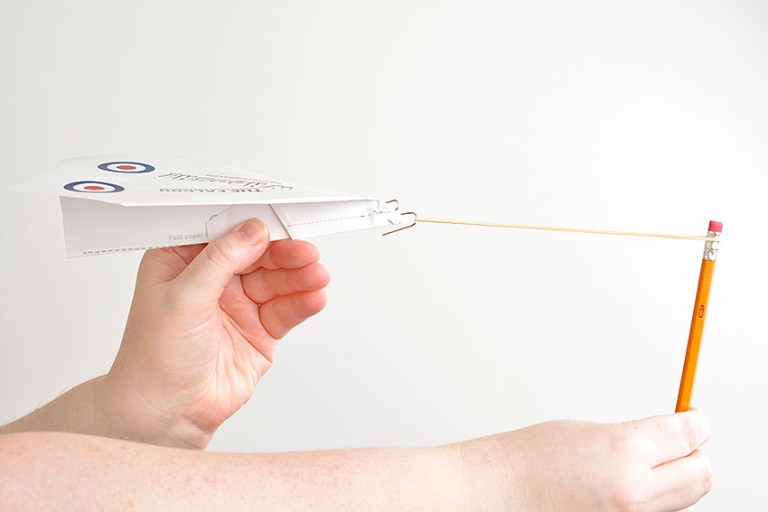
- Hold the pencil in front of you, and then draw the plane back with your other hand. Let the plane go and watch it soar!Your paper clip launcher is complete!
Helpful Tip:

Why does a paper airplane launcher send planes further than throwing them?
The answer is simply that rubber bands can store a lot more potential energy than your hand or your arm. That potential energy gets transformed into kinetic energy (aka motion) as you send the plane flying.
More energy equals more lift for the plane, which means a faster airplane. The elastic gives the plane extra speed, which allows it to accelerate over a shorter distance.
How can I make a paper airplane for this plane launcher?
Whether you want to make a paper airplane or a paper jet, we have lots of fun and easy tutorials for you to follow. You can even use one of our free, printable paper airplane templates!
There are so many great paper airplanes, but for distance and speed we highly recommend making The Distance Flyer!

Which paper airplane launcher worked best?
We found that shooting the planes with the elastic, pencil, and paper clip worked a lot more reliably than the card stock launcher. With the elastic and pencil method our planes went really fast and flew really far!
The cardstock launcher was definitely fun to try, but it was hit or miss with our paper airplanes. Sometimes they’d fly far. And sometimes they’d curve and crash down.

Compare the 2 paper airplane launchers and see which launcher sends your paper airplane flying the fastest and farthest. It’s such a fun activity for at home or in the classroom!

Here’s even more paper airplane ideas:


Our book Low-Mess Crafts for Kids is loaded with 72 fun and simple craft ideas for kids! The projects are fun, easy and most importantly low-mess, so the clean up is simple!

Where to buy:
You can purchase Low-Mess Crafts for Kids from Amazon, or wherever books are sold:
Amazon | Barnes and Noble | Books-A-Million | Indiebound | Amazon Canada


Leave a Reply