Learn how to make a paper airplane with our simple step by step photo and video tutorials. It’s SO FUN to transform a simple piece of paper into a soaring paper plane!
We have 3 different paper airplane designs for you to make, each of them simple and perfect for all ages. Fold a classic dart nosed airplane, an acrobatic plane that spins and flips in the air, or a flat nosed airplane that flies fast and far!

This post contains affiliate links. If you use these links to buy something we may earn a small commission which helps us run this website.
Want to take your paper airplanes to the next level? Here’s a few fun options for you:

How to Make a Paper Airplane – The Classic
Materials:
- 1 piece Letter sized paper (white or colour of choice)
Equipment:
- Glue tape (optional)
Watch the step-by-step video tutorial:
Instructions:
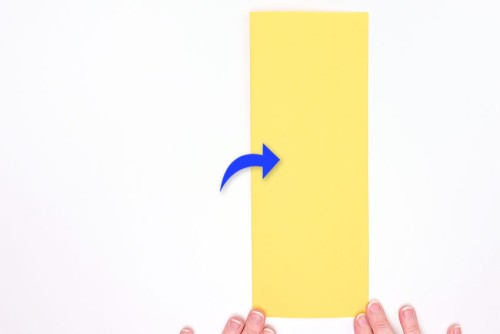
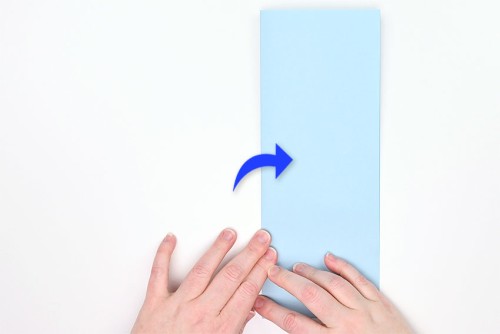
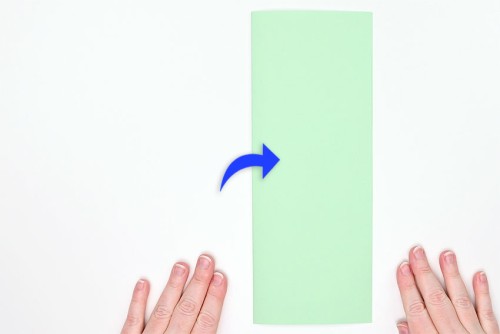
- Fold the paper in half lengthwise.

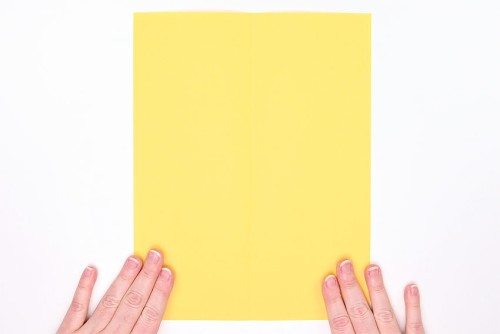
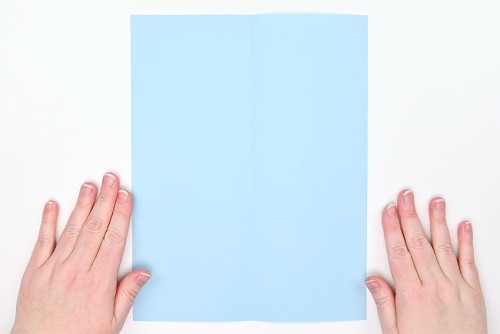
- Open the paper back up.
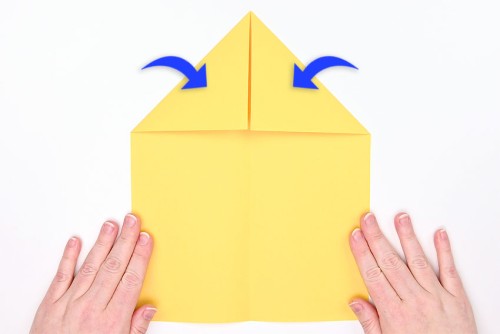
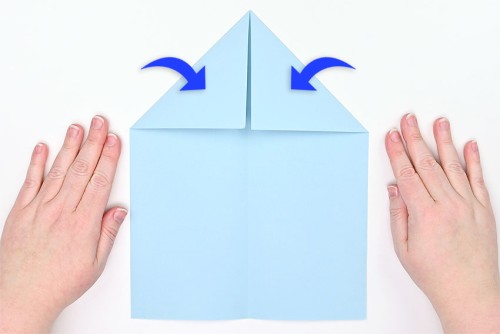
- Fold the top outside corners down to meet the center line.
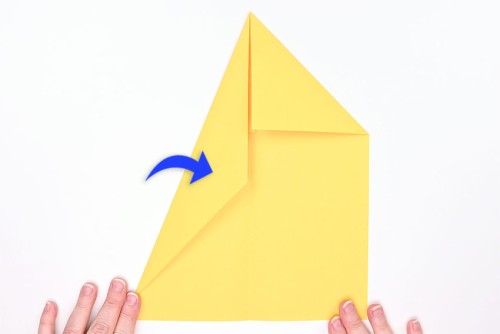
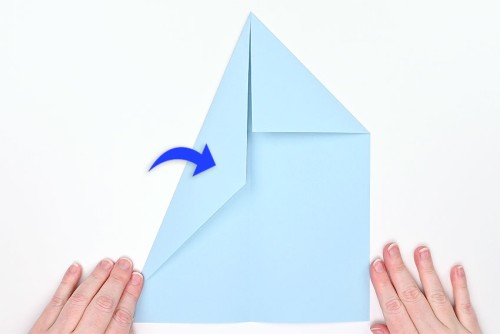
- Fold the top left edge in to the center line.
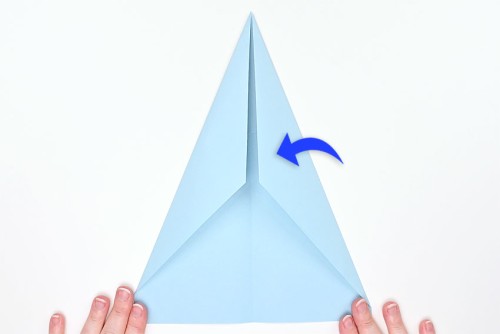
- Repeat on the right side.
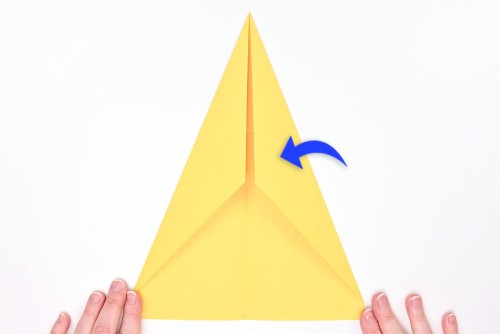
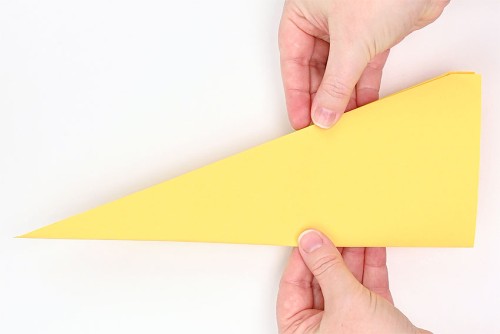
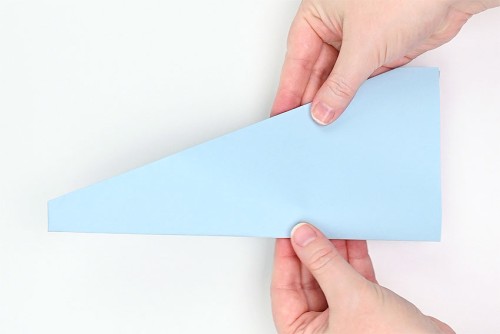
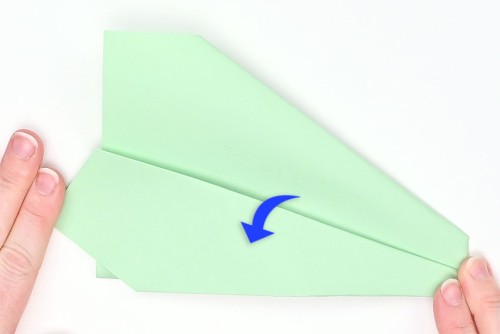
- Fold the plane in half along the first fold line – your previous folds will now be inside.Rotate the plane 90 degrees.
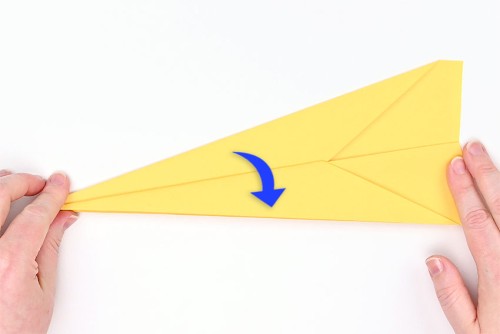
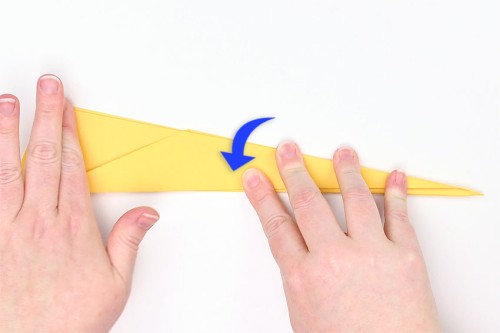
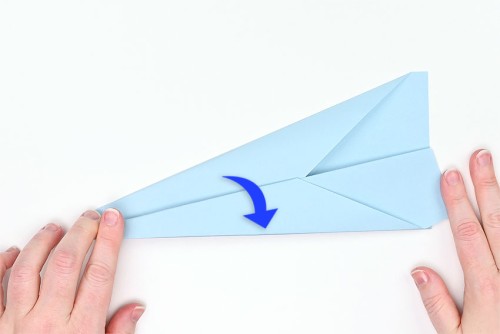
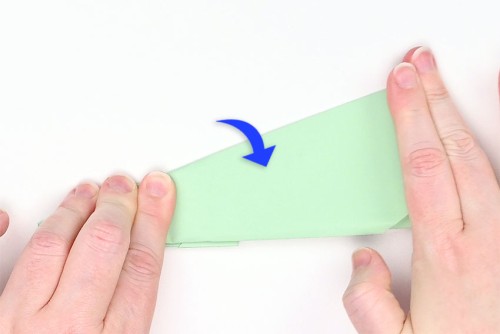
- Fold the top edge down to meet the center (bottom) fold.
- Flip the plane over and repeat the same wing fold on the other side.

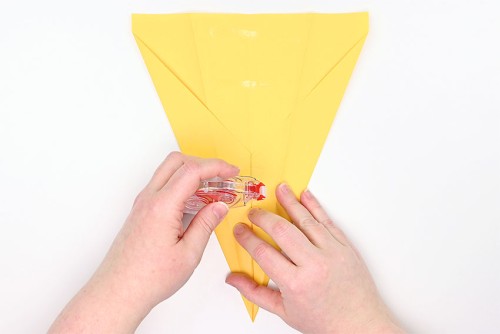
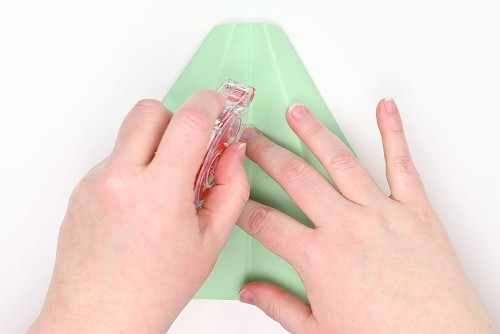
- Optional: Apply glue tape, double sided tape, or a glue stick to the inside of the plane to keep the body together.
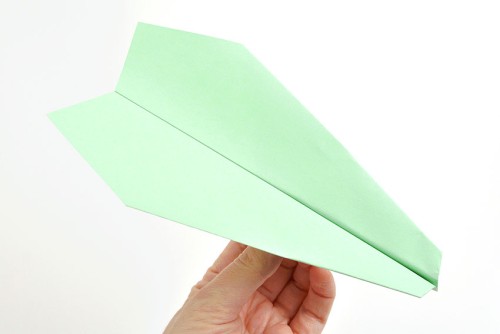
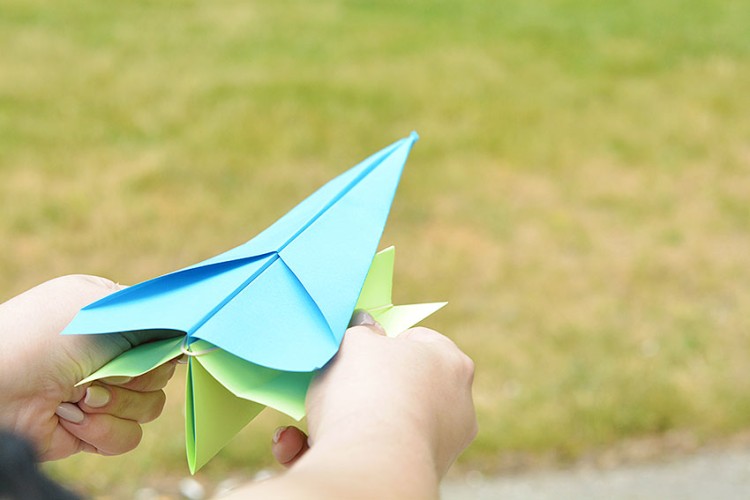
- Your classic paper airplane is complete!


How to Make a Paper Airplane – The Acrobat
Materials:
- 1 piece Letter sized paper (white or colour of choice)
Equipment:
- Glue tape (optional)
Watch the step-by-step video tutorial:
Instructions:
- Fold the paper in half lengthwise.
- Open the paper back up.
- Fold the top outside corners down to meet the center line.
- Fold the top left edge in to the center line.
- Repeat on the right side.
- Fold the top point down about 2 inches, keeping the point straight on the center line.
- Fold the plane in half along the first fold line – your previous folds will now be inside.Rotate the plane 90 degrees.
- Fold the top edge down to meet the center (bottom) fold.
- Flip the plane over and repeat the same wing fold on the other side.
- Fold the back of the right wing up by about 1/2 inch and fold the back of the left wing down by 1/2 inch (so the flaps point in opposite directions – this is what will make the plane spin).
- Optional: attach glue tape, double sided tape, or a glue stick to the inside of the plane to keep the body together.
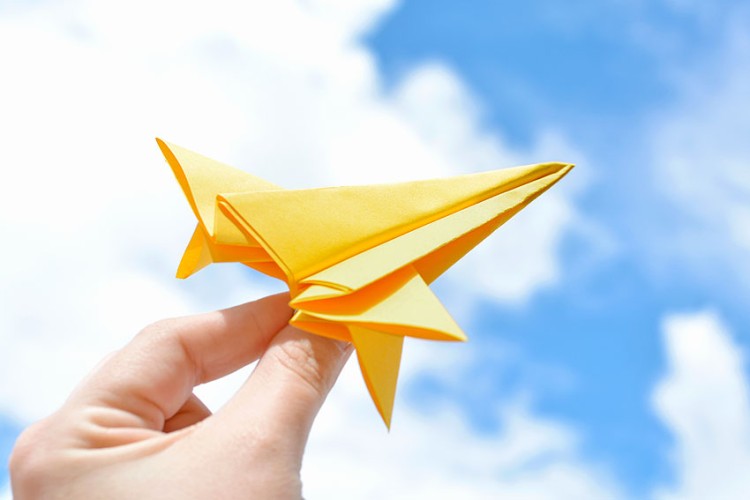
- Your acrobatic paper airplane is complete!


How to Make a Paper Airplane – The Distance Flyer
Materials:
- 1 piece Letter sized paper (white or colour of choice)
Equipment:
- Glue tape (optional)
Watch the step-by-step video tutorial:
Instructions:
- Fold the paper in half lengthwise.
- Open the paper back up.
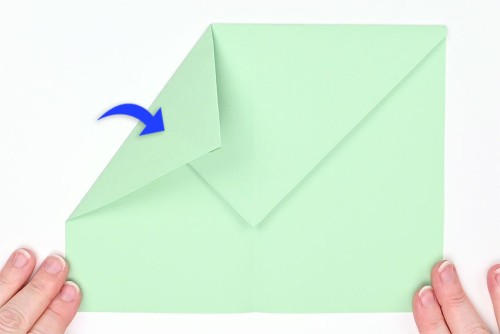
- Fold the top outside corners down to meet the center line.
- Fold the top point down to just below the doubled paper, keeping the point at the center fold.
- Bring the top left corner in to meet the center fold, about 3/4 inch above the point.
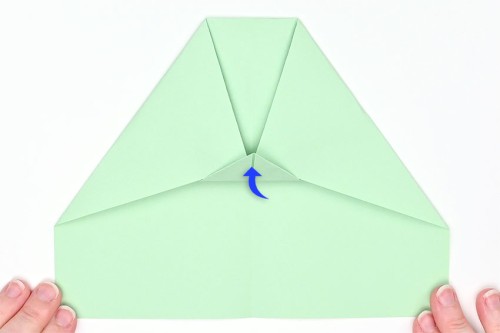
- Fold the right corner in to meet the left point.
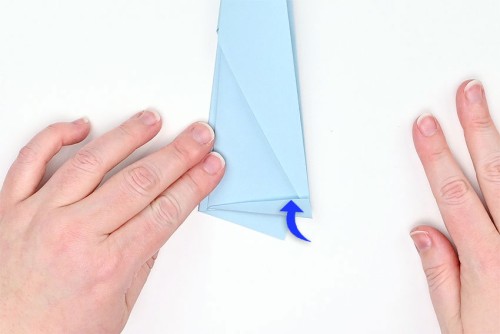
- Fold the center point up to hold the previous folds, creating a little triangle.
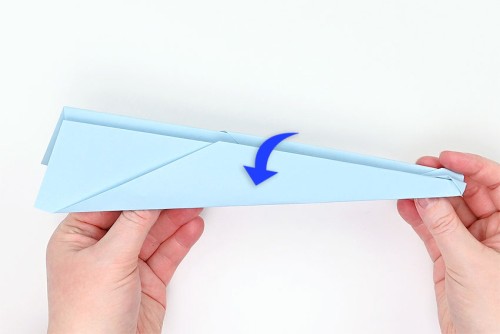
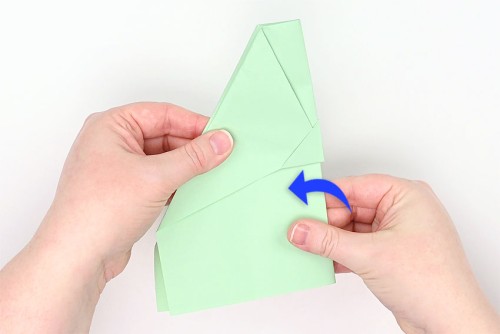
- Fold the plane in half, the opposite way from your first fold (the triangle folds should be on the outside).
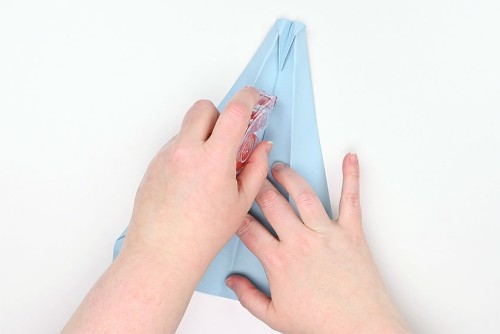
- Rotate the plane 90 degrees and beginning at the nose of the plane, fold the top edge down to meet the center (bottom) fold.
- Flip the plane over and repeat the same wing fold on the other side.
- Optional: attach glue tape, double sided tape, or a glue stick to the inside of the plane to keep the body together.
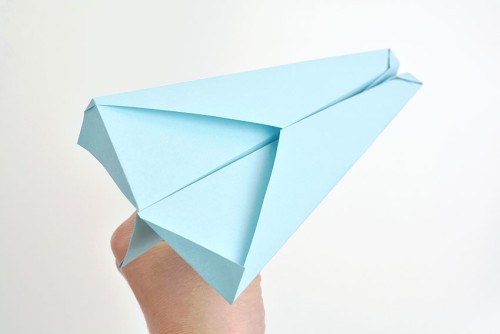
- Your distance flyer paper airplane is complete!


Helpful Tips:
- Make your folds extra crisp and clean by pressing the creases down with a ruler or paper creaser.
- You can fold the wings down at different angles and widths. Make a plane with a smaller (or larger) body and see how it compares!
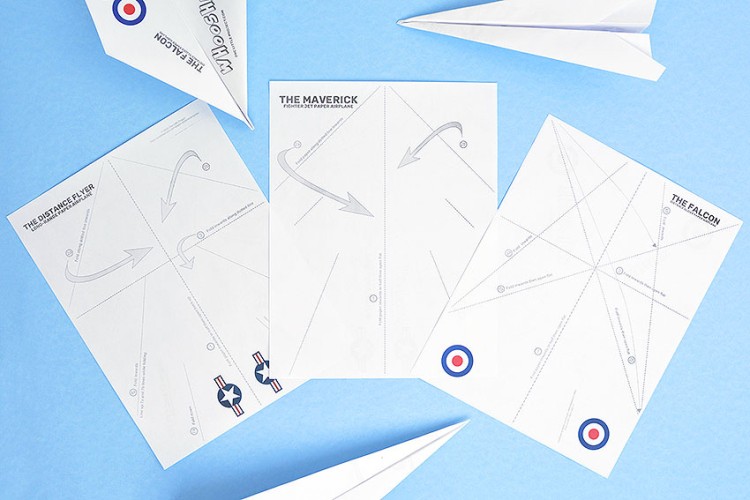
- You can also use one of our printable paper airplane templates to make these paper planes!

What kind of paper is best for making a paper airplane?
We used coloured 8.5 x 11 inch, letter sized, printer paper (20 lb weight) to make these paper airplanes and it worked really well!
We also made some planes with heavier 24 lb paper. The planes made with this paper also fly great – they’re just a bit harder to fold because the paper is thicker.
What factors affect the speed of the paper airplanes?
The design of the paper airplane is a big part of how far and how fast it will fly. The glue tape we’ve added to the inside body of the planes will stop it from unfolding midflight, which helps it maintain its speed and altitude.
If your plane has its center of balance too far forward it will dive, and if it’s too far backward it will stall in the air. You can add a paper clip onto your paper airplane to adjust the center of mass.
Try throwing the paper airplane outside, with the wind at your back, for some extra speed and distance. Some acrobatic planes will do better thrown into the wind or straight in the air. Experiment to see what works best with your plane!

It’s so fun to learn how to make a paper airplane! Both kids and adults will have a blast with this simple origami activity. All you need is a regular piece of paper and you can make a paper airplane within minutes!

Here’s even more paper craft ideas:


How to Make a Paper Ninja Star

Our book Low-Mess Crafts for Kids is loaded with 72 fun and simple craft ideas for kids! The projects are fun, easy and most importantly low-mess, so the clean up is simple!

Where to buy:
You can purchase Low-Mess Crafts for Kids from Amazon, or wherever books are sold:
Amazon | Barnes and Noble | Books-A-Million | Indiebound | Amazon Canada


Leave a Reply