Do you want to build a snowman? These resin snowman coasters are such a cool way to sprinkle some yuletide joy around your space! Whether you’re an experienced crafter or looking to try something new, these DIY coasters will bring a smile to your face and add some personality to your coffee table.
Once your melted snowman coasters are done, you’ll be ready to raise a glass to your new creation! These adorable resin coasters are perfect for adding some seasonal cheer to your tables. They’re such a fun addition to holiday parties and they also make a unique homemade gift. Get ready to drink in all the compliments from your friends and family!

This post contains affiliate links. If you use these links to buy something we may earn a small commission which helps us run this website.
How to Make Resin Snowman Coasters
Materials:
- Casting resin
- Iridescent glitter (assorted sizes)
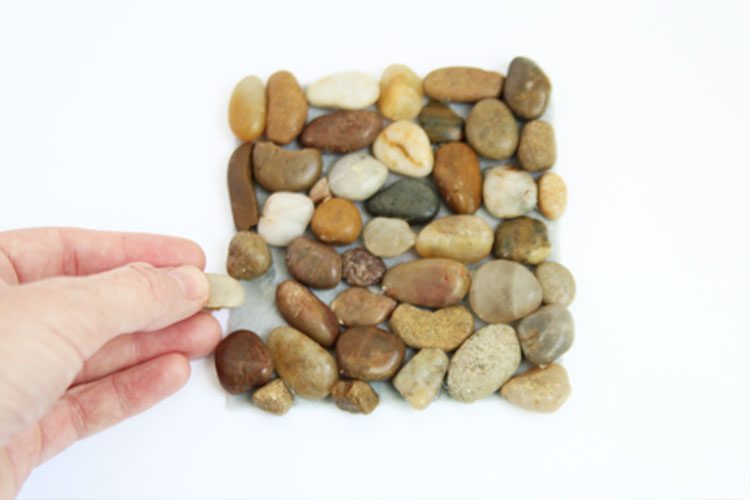
- Snowman parts
- Black beads (6mm)
Equipment:
Watch the step-by-step video tutorial:
Instructions:
Step 1: Find what you need
- Gather your supplies and materials.


Step 2: Mix the epoxy resin
- Before working with resin, protect your working surface with a drop cloth and/or a silicone mat. Always wear protective nitrile gloves and eye protection.Work in a well-ventilated space and wear a respirator if your resin requires it. Read your resin’s label for safety requirements.
- Mix the amount of resin needed for the amount of snowman coasters you’d like to make. We mixed about 40 ml per coaster, though this did give us some resin leftover. Begin by adding 1 part of Part A to a silicone measuring cup or small disposable plastic cup. The amount of Part A should be half the total amount needed. (In our case, 20 ml.)Follow your specific resin’s instructions for ratios, drying times, and curing times.
- Add an equal amount of Part B to the measuring cup. Or whatever ratio your brand of resin suggests. (In our case, 20 ml.)
- Mix the resin and hardener together with a popsicle stick or a reusable resin stir stick. Stir slowly, scraping down the sides and bottom of the measuring cup. Continue mixing for 3 to 5 minutes or until the mixture is clear.


Step 3: Add glitter
- Pour the resin into a disposable mixing cup.This will prevent your mixing cup from getting glitter in it.

- Add various sizes of iridescent glitter to the resin. We used about 1/2 teaspoon of glitter total, which keeps the resin fairly transparent.
- Stir the glitter into the resin until it’s well mixed.


Step 4: Create the snowman
- Place the silicone geode coaster mold on the silicone mat and pour the glittery resin into the mold until it’s half full. Use a popsicle stick to spread the resin, if needed.Pop any air bubbles in the resin with your popsicle stick or a toothpick. You can also run a heat gun over the resin to remove bubbles.
- Add the snowman pieces into the resin. Use a popsicle stick to adjust the position of any pieces, if needed.
- Allow the resin to cure according to your resin’s instructions. (Ours took about 18 hours). Do not demold it.


Step 5: Pour a clear layer of resin
- Mix another small batch of clear resin (between 10 to 20 ml).Pour it into the mold, on top of the hardened resin.
- Use a popsicle stick to spread the resin to the edges of the mold.
- Allow the new resin to cure.


Step 6: Demold the snowman coaster
- Once the resin snowman is completely dry you can demold it.Grab the side of the mold and stretch it a bit as you pull it back. The snowman coaster should come out easily.
- Your resin snowman coaster is complete!Don’t use your coaster until the full curing time is complete (72 hours, for our resin). If there are any rough edges on the coaster, sand them off, and then enjoy!


Helpful Tips:
- Pour resin only in a well ventilated area and be sure to protect your working surface. Wear basic PPE: nitrile gloves, eye protection, and long sleeves. Some resin also requires wearing a respirator.
- We made adjustments to some of the snowman parts from the kit we used. We cut the plastic hat in half with a dremel rotary tool so it would fit the coaster mold. We also cut the small piece from the end of the carrot nose. For the snowman’s eyes and buttons, we used 6mm black beads instead of the ones that came with the kit.
- Usually the top of the coaster (or the “right side”) is at the bottom of the mold when you’re working with resin. For our resin snowman coasters we worked “as is”, so the top of the coaster is what you’re looking at as you work.

What can I use for snowman parts in my melted snowman coaster?
We used a snowman kit we bought from Amazon, but you can definitely gather parts for your snowman from other sources. Here are some fun ideas:
- Make a hat out of craft foam.
- A carrot nose can also be made from craft foam, or you can sculpt one using polymer clay.
- Small twigs can be used for arms. Make sure they’re completely dry before adding them to the resin.
- Beads or buttons make great snowman eyes.
- Use real buttons or substitute small beads or balls of polymer clay.

Can I colour my resin snowman coaster?
Yes! We kept ours transparent, but you can use mica powder, acrylic paint, alcohol ink, or food colouring to change the colour of your coaster. There are also special dyes specifically made for resin that come in both liquid and powder forms.
We still recommend pouring a clear layer to be the front of the coaster, but a coloured background would look really nice!

How much resin will I need for my resin snowman coaster?
We poured about 60ml of resin total for this coaster, but we had 10 to 20ml leftover. The exact amount of resin needed will vary, of course, based on your specific mold.
To find out exactly how much resin to mix, fill the mold with water first. Then pour the water from the mold into a measuring cup.
This will show how much resin you need to mix total. Be sure to dry your mold well before adding resin to it.
You can also measure the size of your mold and use a resin calculator to determine the amount of resin needed.

These resin snowman coasters are snow cute! Use them to bring a splash of fun to your table, tuck them into a gift basket of hot cocoa supplies, or give a set of them as a cute holiday surprise for a friend.

Here’s even more resin craft ideas:


Our book Low-Mess Crafts for Kids is loaded with 72 fun and simple craft ideas for kids! The projects are fun, easy and most importantly low-mess, so the clean up is simple!

Where to buy:
You can purchase Low-Mess Crafts for Kids from Amazon, or wherever books are sold:
Amazon | Barnes and Noble | Books-A-Million | Indiebound | Amazon Canada


Leave a Reply