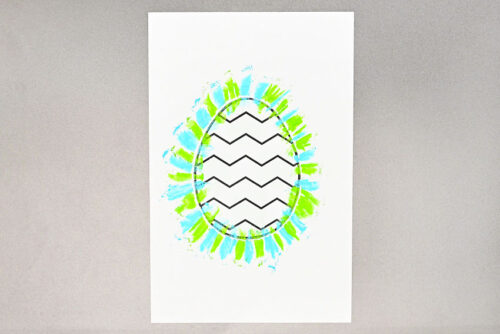
This Easter chalk art is bright, bold, and so much fun to make! Using simple chalk pastels and an easy silhouette technique, kids can create colourful Easter eggs and bunnies with a beautiful glowing effect. The contrast between the soft, blended colours and the background makes each design really pop!
This Easter art project is perfect for classrooms, art time at home, or a creative spring activity. It’s simple enough for younger kids to enjoy, but the results look impressive at any age. If you’re looking for an Easter craft that’s creative, a little messy in the best way, and full of vibrant spring colour, this chalk art is a great choice.

This post contains affiliate links. If you use these links to buy something, we may earn a small commission at no extra cost to you. This helps support our website and allows us to keep creating fun, free content.
How to Make Easter Chalk Art
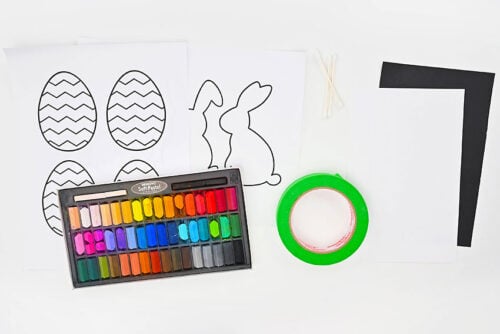
Equipment:
See the craft in action:
Instructions:
Step 1: Find what you need
- Gather your supplies and materials

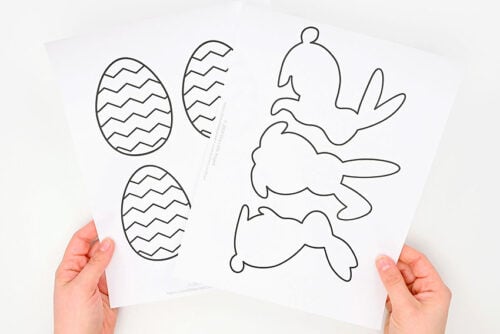
Step 2: Print and attach the Easter egg template
- Print some of our fun Easter templates! Find one link in the materials list above, with more details below the tutorial.
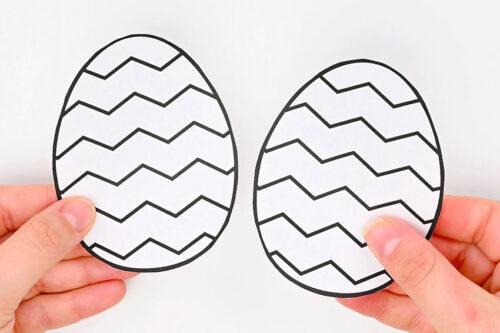
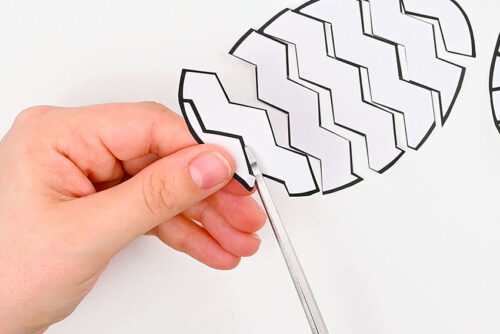
- To make Easter egg chalk art cut out 2 of the same egg.

- Cut one of the eggs into multiple pieces, following the inside design.Keep the other egg whole.
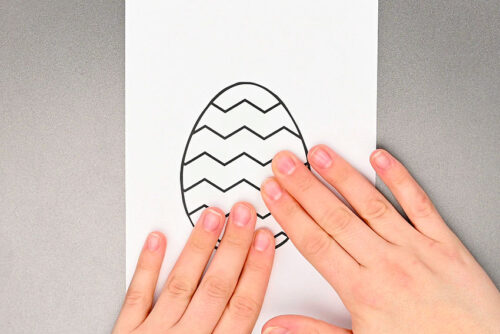
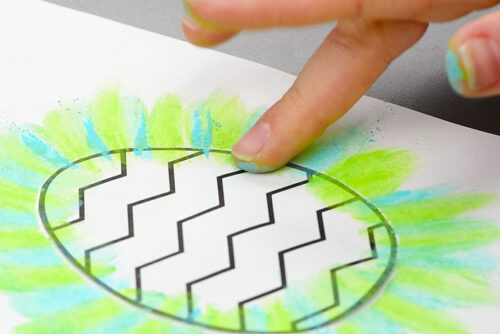
- Add painter’s tape to the back of the whole Easter egg.
- Place the template in the center of the paper. Smooth it down to make sure it stays in place.
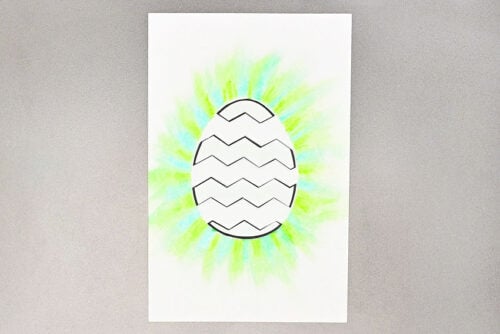
Step 3: Colour around the Easter egg
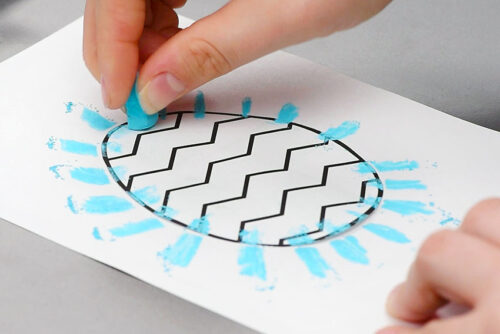
- Use soft pastel to colour from the edge of the template onto the paper, pressing firmly and extending the colour out at least 1/2 inch.
- Add a second colour around the outside of the egg.
- Use your finger to smudge the chalk outwards, away from the template. Use a light touch and continue until you’re happy with how it looks.
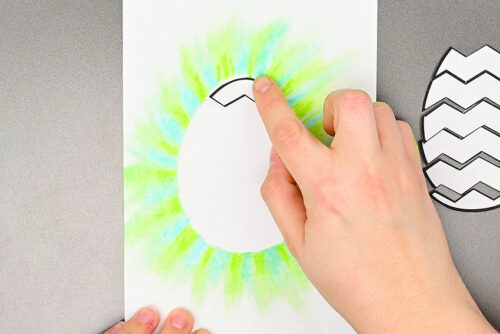
- Carefully remove the template from the page.
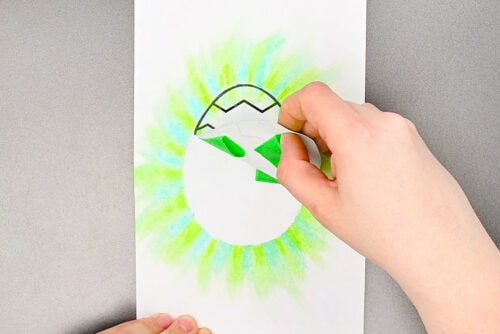
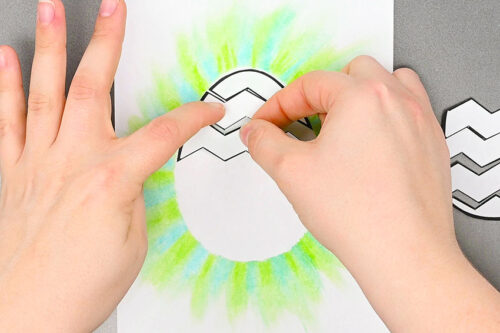
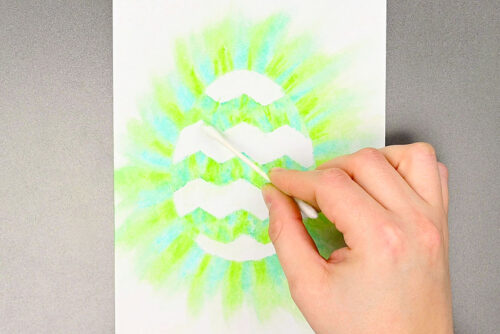
Step 4: Add detail inside the Easter egg
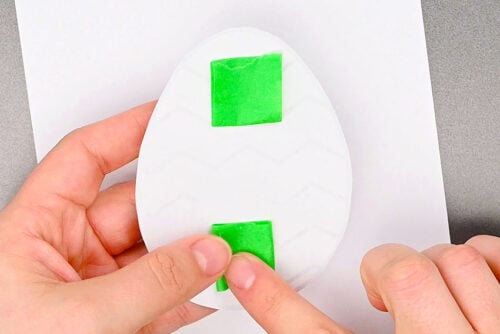
- Now grab the Easter egg pieces that you cut apart. Add tape to the top of the egg and attach it inside the chalk outline.
- Set the second piece down, but don’t tape it. Tape the third piece below the second.
- Repeat until you’ve taped every other piece to the inside of the egg. Remove the loose pieces.
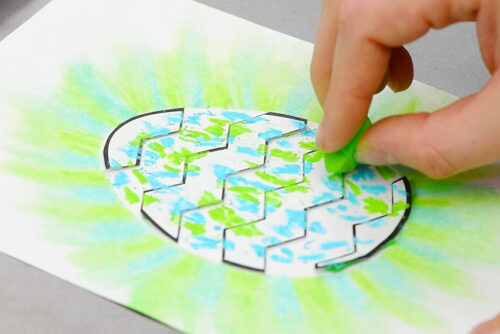
- Colour chalk details inside the egg.
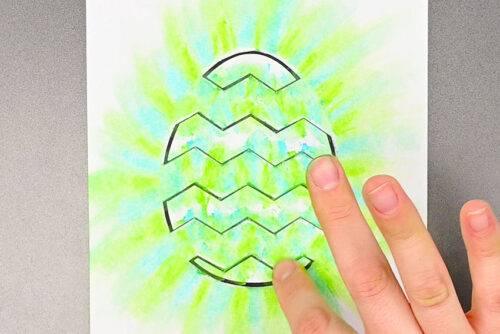
- Use your finger to smudge the chalk. Then remove the template pieces.
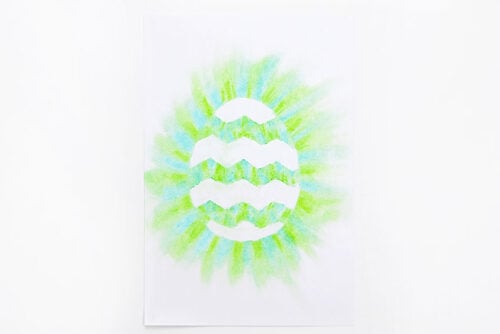
- Optional: Use a Q-tip to brush away any chalk dust that’s inside the silhouette.
- Your Easter chalk art is complete!
Helpful Tips:
- Use tools for blending: If you don’t want to use your fingers, try a Q-tip or cotton ball to spread the chalk. Just swipe lightly, since these tools can lift more colour than your finger and will soften the “glow effect” more quickly.
- Play with colour combinations: You can use one solid colour around your outline, blend different shades of the same colour for depth, or combine complementary colours to create a bold, glowing look around your Easter shape.

Where can I find templates for my Easter chalk art project?
We have 12 types of Easter egg templates with different designs available for you to print in all different sizes. We also have 6 different bunny templates which work perfectly for an Easter bunny outline!
There’s a flying bird template on our bird outlines post that looks just like a peace dove, and you can find a lily picture on our flower coloring pages if you’d like to try a more detailed outline.

What type of paper works best for making Easter chalk art?
We used black paper and white cardstock. Regular printer paper definitely works, but it may wrinkle slightly if you blend heavily.
Cardstock works especially well because it’s thicker, holds up to blending, and hangs nicely for display.

What type of chalk should I use for this Easter chalk art?
Soft pastels (also called chalk pastels) work best for this project because they’re highly pigmented and blend beautifully.
Sidewalk chalk or regular school chalk can be used in a pinch, but the colours won’t be as bright or vibrant.

Easter chalk art is such a fun way to celebrate the season while creating something truly eye-catching. From bunnies that symbolize new life to eggs that represent fresh beginnings and springtime renewal, these simple shapes carry sweet Easter meaning. The soft, blended colours glowing around each silhouette make every piece feel special and unique.
Best of all, this is an easy craft that delivers beautiful results every time. With just a few supplies and a simple technique, kids can create bold, vibrant Easter artwork they’ll be proud to display. It’s a creative, hands-on way to celebrate spring — and those striking silhouettes make it look far more advanced than it really is!
Here’s even more Easter art project ideas:


Now available
Low-Mess Crafts for Kids Book
72 cute and fun crafts that kids and parents alike can enjoy. All with as little mess as possible!
Where to buy:
You can purchase Low-Mess Crafts for Kids from Amazon, or wherever books are sold:
Amazon | Barnes and Noble | Books-A-Million | Indiebound | Amazon Canada


Leave a Reply