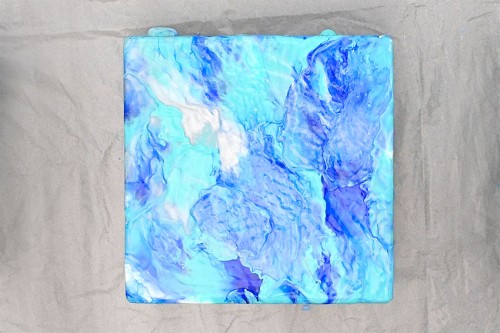
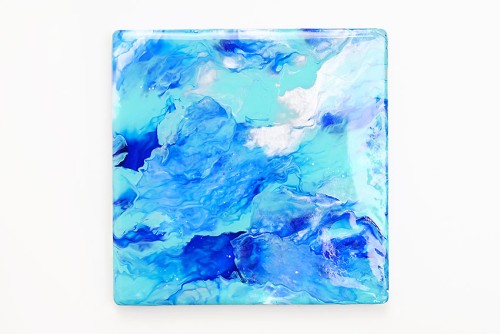
These Dutch pour painting coasters are SO PRETTY! Learn this simple fluid acrylic painting technique to create a beautiful, marbled DIY coaster.
This easy art project is fun for both kids and adults, with no painting or pour painting experience necessary! These colourful coasters will add style to your space as they protect your tables. And they also make an awesome homemade gift!

This post contains affiliate links. If you use these links to buy something we may earn a small commission which helps us run this website.
How to Make Dutch Pour Painting Coasters
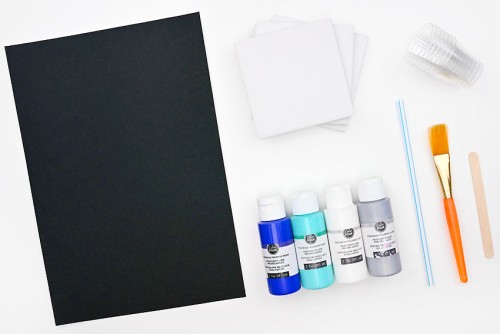
Materials:
Check Out The Video Tutorial:
Instructions:
Step 1: Find what you need
- Gather your supplies and materials.

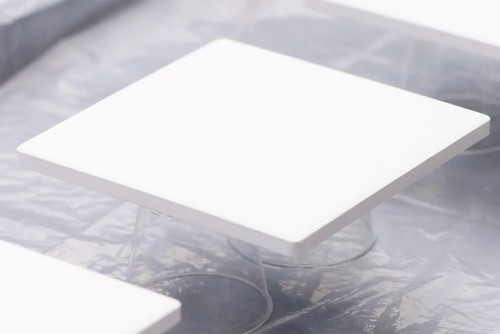
Step 2: Prepare your workspace and add a base colour
- Balance your coaster on an upside-down cup or two, raising it above a baking sheet or other protected surface.This will allow the paint to flow off the sides cleanly instead of pooling around the edge of the coaster.
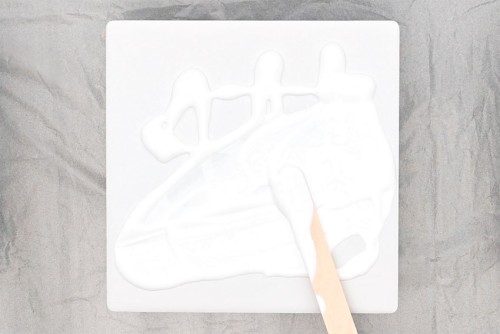
- Create a base layer on your coaster with white pour paint. You can also use black or another colour if it matches your colour scheme better.Use a popsicle stick to spread the paint across the whole surface of the coaster. This allows the other colours of paint to flow more easily, resulting in more even colour distribution.
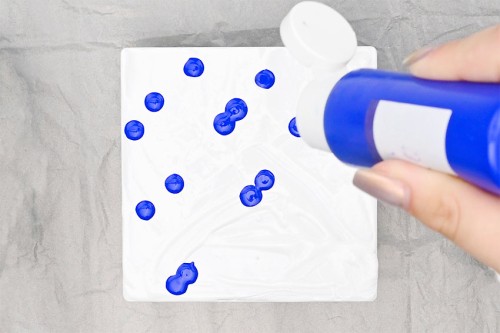
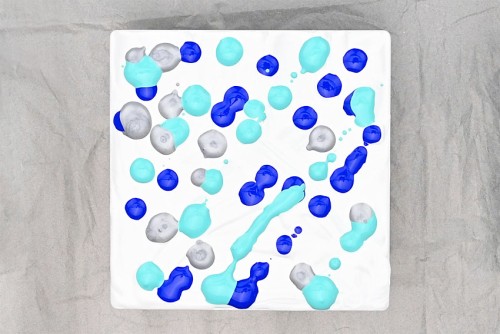
Step 3: Add dots of pour paint
- Drip your first colour of pour paint (link above) straight from the bottle onto the coaster.Add small dots of paint across the coaster, leaving white areas in-between.

- Add more colours of pour paint to the coaster. You can make random dots, or strategically place the colours to make patterns.Don't be afraid to overlap or layer some of the colours as you go.
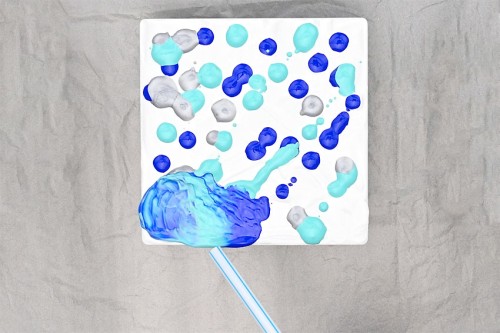
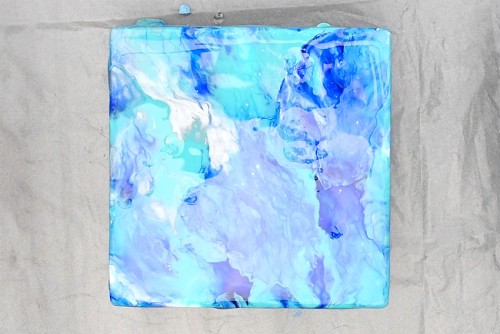
Step 4: Spread the paint around
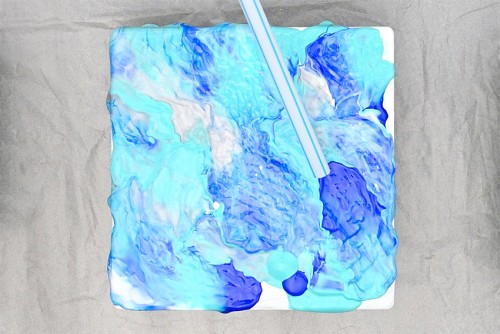
- Use a straw to blow the paint around the coaster, guiding it towards the edge.
- Turn your tray or approach the coaster from different directions, blowing the paint until the whole surface is covered.Add more paint if/when it's needed. Continue moving the paint around until you're happy with the look.
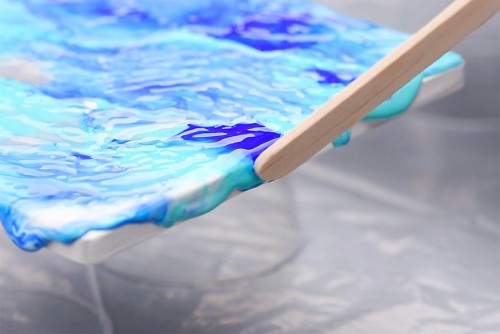
- Use a popsicle stick to spread the dripping paint on the sides of the coaster until the sides are completely covered and the paint is even (as opposed to bumpy).If there are harsh lines in the paint from doing this, blow through the straw again to blend the colours.
- Allow to dry.Our coaster took about 3 hours to dry, but the temperature and humidity of your space will affect the time needed.
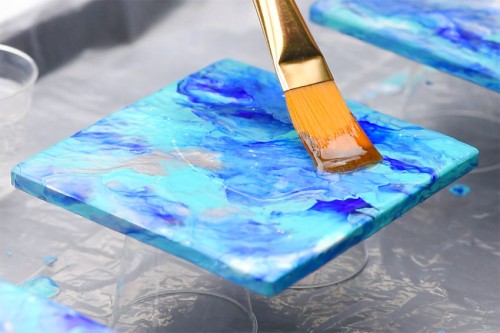
Step 5: Add a top coat sealer
- Once the paint is completely dry, use a paint brush to apply an even layer of the polyurethane sealant.Make sure the sealer is even and that the sides of the coaster get coated as well.
- Allow the sealant to dry overnight, or according to the directions on the package.
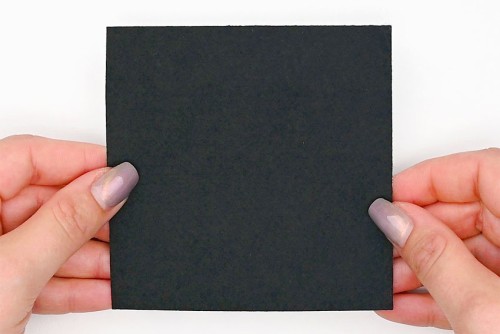
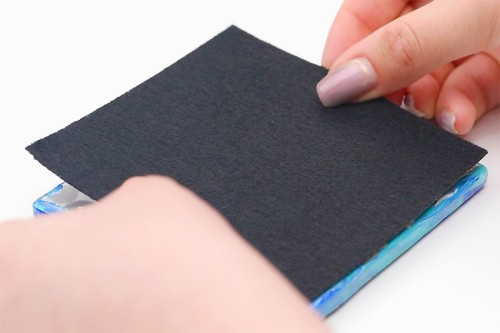
Step 6: Add a backing to the coaster
- Cut a piece of self-adhesive felt to be just smaller than the size of your coaster. You can also use an adhesive cork backing.
- Peel the backing off the felt and press it onto the bottom of your coaster.
- Your Dutch pour painting coaster is complete!Be sure to check your sealer's recommended cure time and don't use your coasters until this period is over.
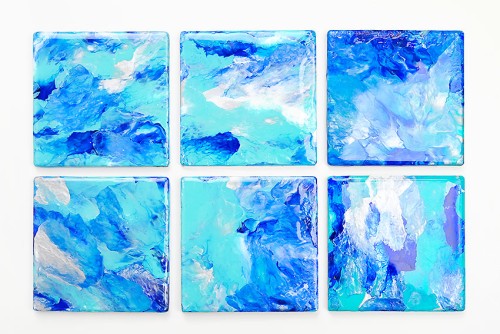
- Repeat these steps to make a beautiful collection of DIY tile coasters. Even with the same colour palette, each coaster is unique!
Helpful Tips:
- Choose complementary colours or different shades of one colour to decorate your coasters.
- If you’re looking for a different shape of coaster you can also buy round coaster blanks or hexagon tile coasters.

What is Dutch pour painting?
Dutch pour painting is a fluid art technique where pouring paint is moved around the canvas (or coaster!) with air. You can use a hair dryer, compressed air, an air brush, a dust blower, or simply a straw and air from your lungs!
Pour a base layer of paint and then add different colours, either in lines, circles, or a layered puddle. Finally, use your air source to move the paint around until you’re happy with the outcome.
Where can I get a coaster base to make these Dutch pour painting coasters?
You can buy white ceramic coaster blanks at craft stores or online. Or you can even purchase white ceramic tiles from the hardware store, like we did for our Sharpie dyed coasters.

What type of paint is used to decorate these DIY tile coasters?
We used acrylic pouring paint, which is already thinned out and ready to be spread across the coasters easily.
You can also use acrylic paint and mix it with a special pouring medium. This allows you to use any colour of paint you already have. Follow the instructions on the bottle of pouring medium and combine with each colour separately before adding them to the coaster.
Some people do Dutch pour painting using only paint and water. Simply add small amounts of water to your acrylic paint until it reaches a fluid pouring consistency.
What backing is best for fluid art coasters?
We cut a piece of adhesive felt to fit the back of our coasters. You can also use felt furniture pads on the corners of the coaster.
Sticky cork backing is another great option for coasters, since it protects the table and makes the coaster non-skid.

Do I need to seal my paint pouring coasters?
Yes, it’s recommended that you seal your paint poured coasters. This will protect the paint from chipping, creating a durable finish. It also gives the coasters a glossy look, enhancing the vibrancy of the paint colours.
Sealing your coaster will make the coaster waterproof, or at least water resistant, and will make the coaster last for years to come.
What sealer is best for pour painting coasters?
We used a polyurethane top coat on our coasters, but you can also use polycrylic. These are water resistant sealers that come in matte, semi-gloss, or glossy finishes.
You can also use an acrylic or enamel spray varnish, epoxy resin, or even Mod Podge. Keep in mind that Mod Podge can leave brush marks on the coaster’s surface.

Grab a blank tile coaster and use pouring paint and a straw to create these eye-catching Dutch paint pour coasters. It’s such a fun and creative way to experiment with colour in your home decor!

Here’s even more DIY coaster ideas:


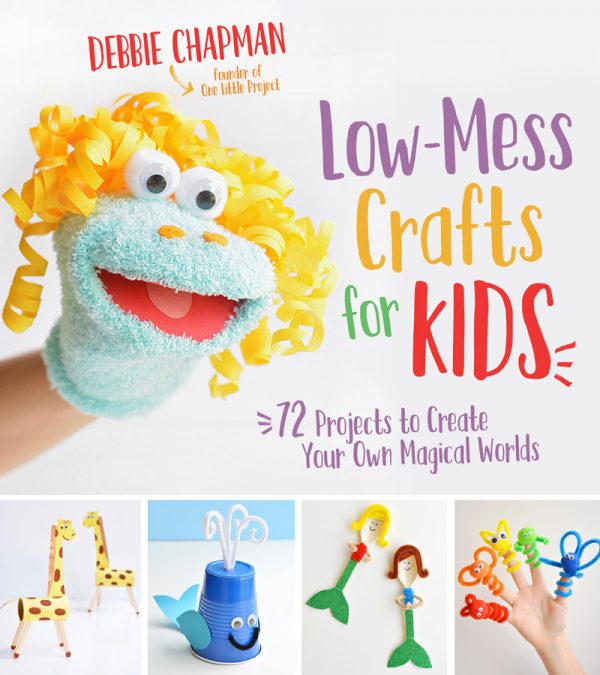
Our book Low-Mess Crafts for Kids is loaded with 72 fun and simple craft ideas for kids! The projects are fun, easy and most importantly low-mess, so the clean up is simple!

Where to buy:
You can purchase Low-Mess Crafts for Kids from Amazon, or wherever books are sold:
Amazon | Barnes and Noble | Books-A-Million | Indiebound | Amazon Canada
Let us know what you think: