
How to Make Dutch Pour Painting Coasters
Follow our simple step by step tutorial to make these beautiful coasters. You only need a few simple supplies to make these DIY Dutch pour painting coasters.
Yield: 1 DIY paint pour coaster
Cost: $2
Materials
Instructions
Step 1: Find what you need
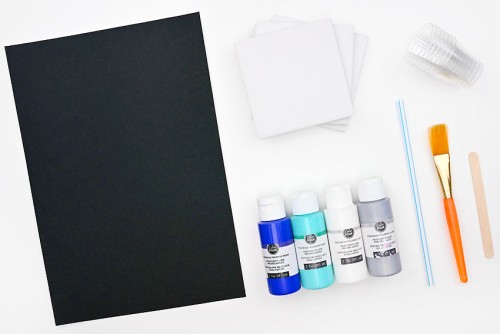
- Gather your supplies and materials.
Step 2: Prepare your workspace and add a base colour
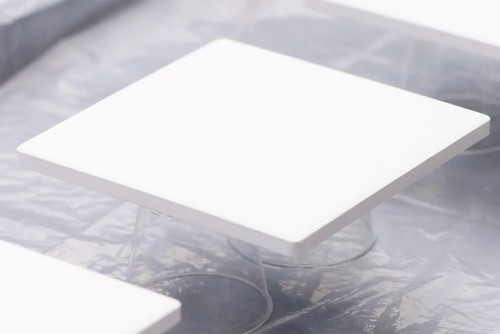
- Balance your coaster on an upside-down cup or two, raising it above a baking sheet or other protected surface.This will allow the paint to flow off the sides cleanly instead of pooling around the edge of the coaster.
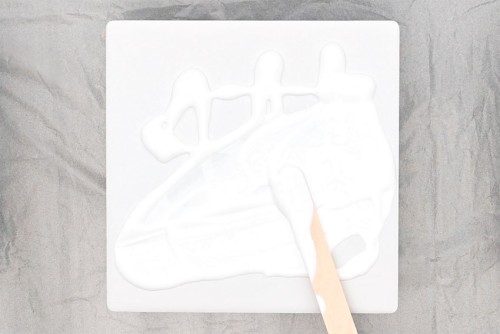
- Create a base layer on your coaster with white pour paint. You can also use black or another colour if it matches your colour scheme better.Use a popsicle stick to spread the paint across the whole surface of the coaster. This allows the other colours of paint to flow more easily, resulting in more even colour distribution.
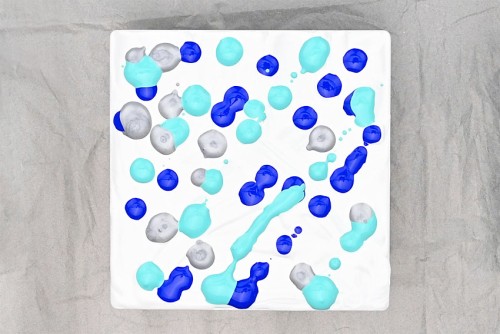
Step 3: Add dots of pour paint
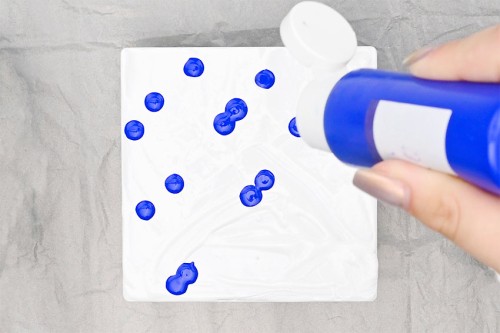
- Drip your first colour of pour paint (link above) straight from the bottle onto the coaster.Add small dots of paint across the coaster, leaving white areas in-between.
- Add more colours of pour paint to the coaster. You can make random dots, or strategically place the colours to make patterns.Don't be afraid to overlap or layer some of the colours as you go.
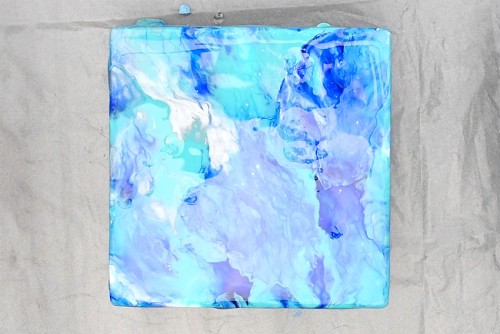
Step 4: Spread the paint around
- Use a straw to blow the paint around the coaster, guiding it towards the edge.
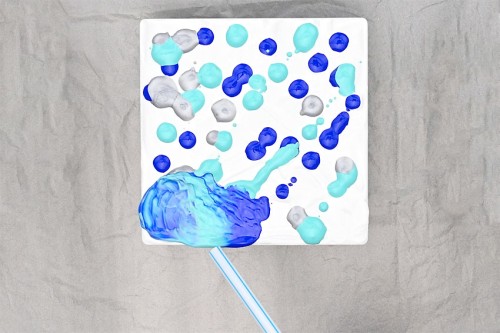
- Turn your tray or approach the coaster from different directions, blowing the paint until the whole surface is covered.Add more paint if/when it's needed. Continue moving the paint around until you're happy with the look.
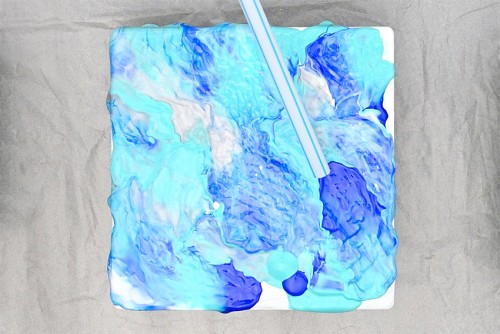
- Use a popsicle stick to spread the dripping paint on the sides of the coaster until the sides are completely covered and the paint is even (as opposed to bumpy).If there are harsh lines in the paint from doing this, blow through the straw again to blend the colours.
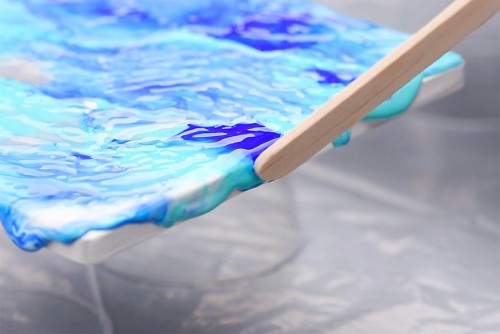
- Allow to dry.Our coaster took about 3 hours to dry, but the temperature and humidity of your space will affect the time needed.
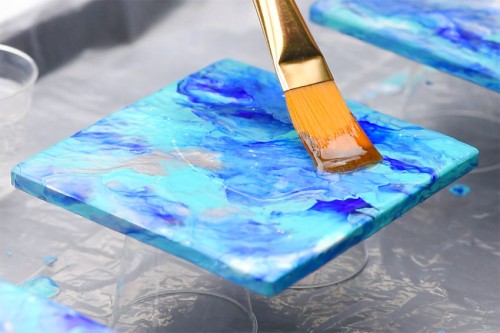
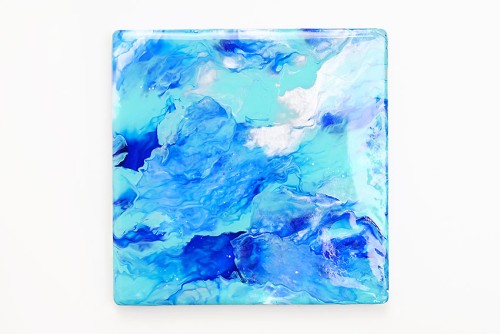
Step 5: Add a top coat sealer
- Once the paint is completely dry, use a paint brush to apply an even layer of the polyurethane sealant.Make sure the sealer is even and that the sides of the coaster get coated as well.
- Allow the sealant to dry overnight, or according to the directions on the package.
Step 6: Add a backing to the coaster
- Cut a piece of self-adhesive felt to be just smaller than the size of your coaster. You can also use an adhesive cork backing.
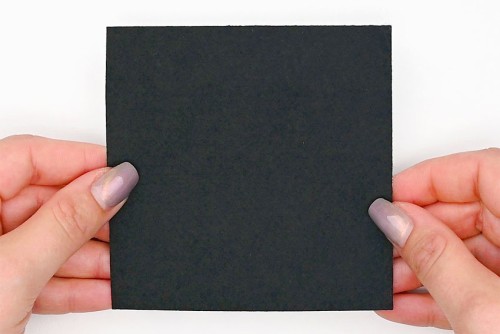
- Peel the backing off the felt and press it onto the bottom of your coaster.
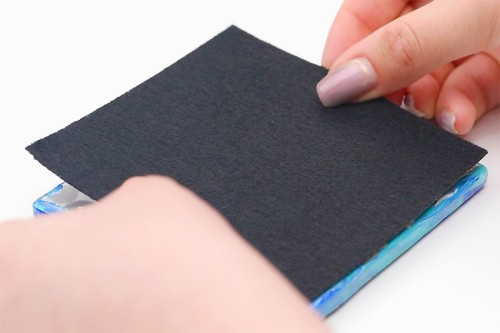
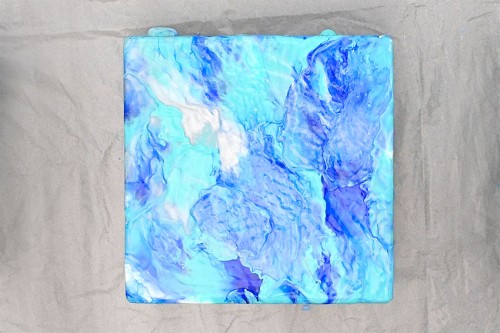
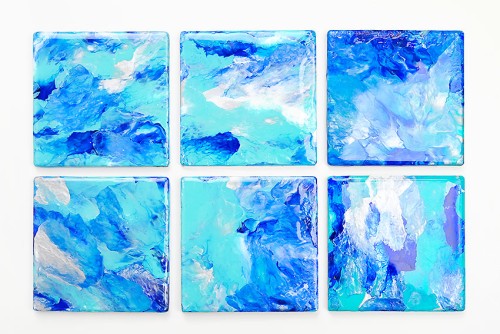
- Your Dutch pour painting coaster is complete!Be sure to check your sealer's recommended cure time and don't use your coasters until this period is over.
- Repeat these steps to make a beautiful collection of DIY tile coasters. Even with the same colour palette, each coaster is unique!
Video
Notes
Looking for more easy art projects? Here's a few of our favourites:
Paint Pouring on Terracotta Pots
Cat Squeegee Painting
Glue Gun Art Flowers