It’s SO EASY to make a DIY banner for your next special occasion! This paper banner is super cute, made of simple and inexpensive supplies, and you don’t need any previous crafting experience to make it.
Create custom party decor with our FREE printable banner templates! We have 2 different styles of banners available, as well as multiple printable phrases and letters for you to spell your message. Have fun making a customized bunting banner, no cutting machine or special tools required!

This post contains affiliate links. If you use these links to buy something we may earn a small commission which helps us run this website.
DIY Banner
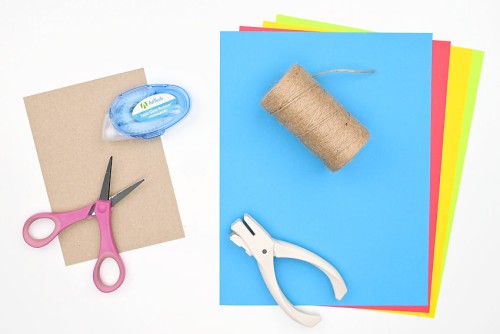
Materials:
- FREE Printable Banner Template (more templates below)
- FREE Printable Happy Birthday Template (more letters below)
- Coloured printer paper
- Printer paper
- Glue tape
- Twine
Equipment:
- Cardboard
Watch the step-by-step video tutorial:
Instructions:
Step 1: Find what you need
- Gather your supplies and materials.

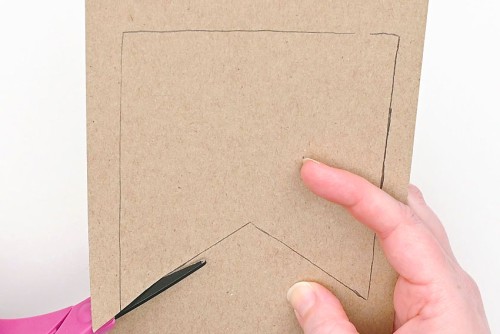
Step 2: Make a cardboard banner template
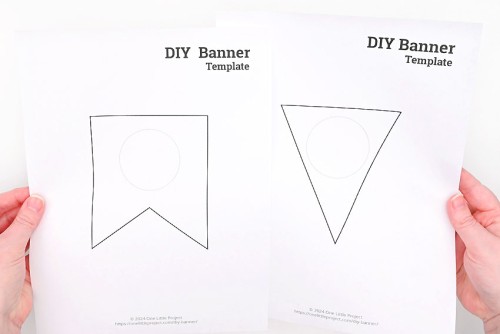
- Print the banner template of your choice! Find one of the links in the materials list above, with more templates found below this tutorial.If you print the banner templates directly onto coloured paper you can skip all of Step 2!
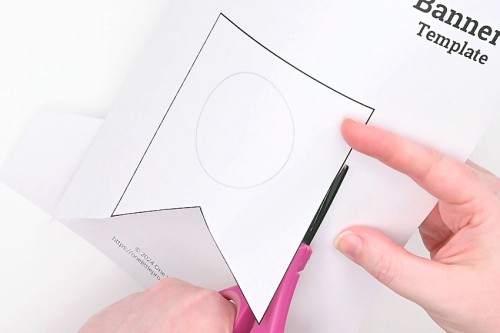
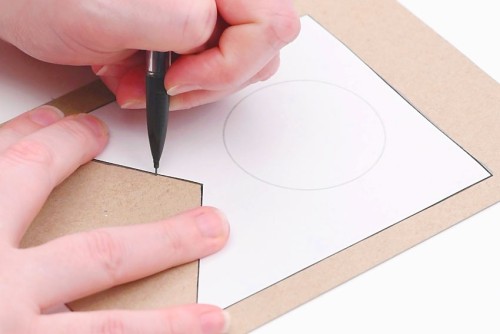
- Cut out the banner template shape.

- Place the template on a piece of cardboard and trace around it.A cereal box, soda case, or Amazon box from your recycling will work nicely.
- Cut out the traced banner template.
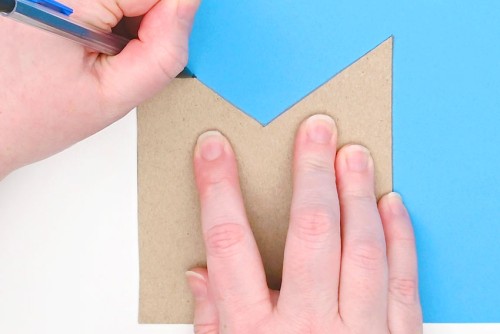
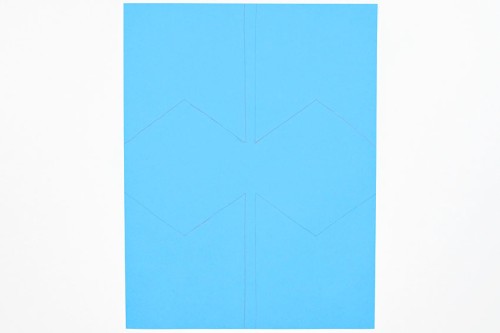
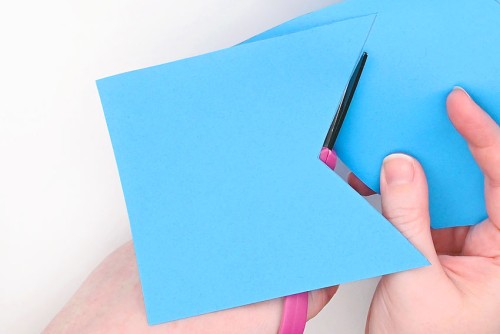
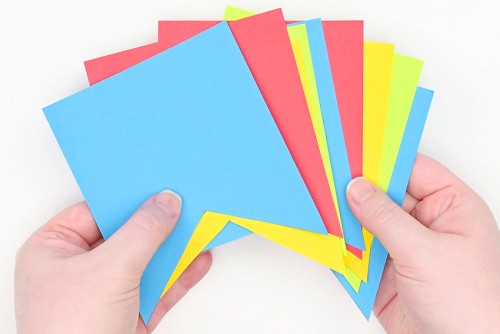
Step 3: Cut banner pieces in multiple colours
- Trace the banner template onto coloured paper.
- You can fit 4 banner pieces onto a piece of 8.5 x 11 inch printer paper.
- Cut out the banner pieces.
- Repeat with different colours of paper until you have enough pieces for the length of banner you’d like to make. (Or for the number of letters in your message.)
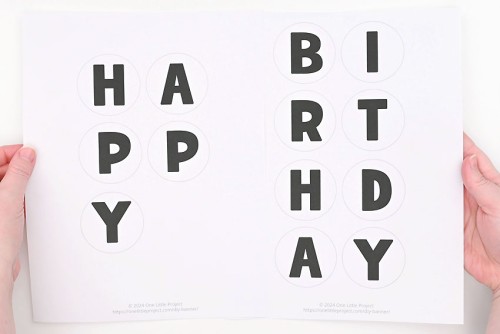
Step 4: Cut letters and attach them to your banner pieces
- Print our free letter templates!We’re making a Happy Birthday banner here, but we have more word options for you to download and print below the tutorial.
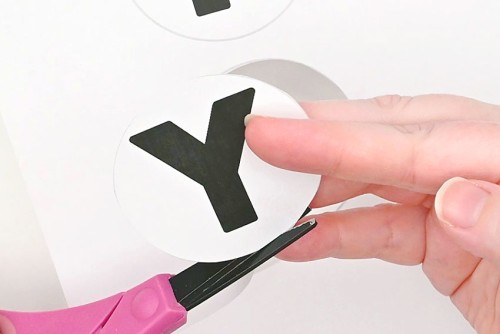
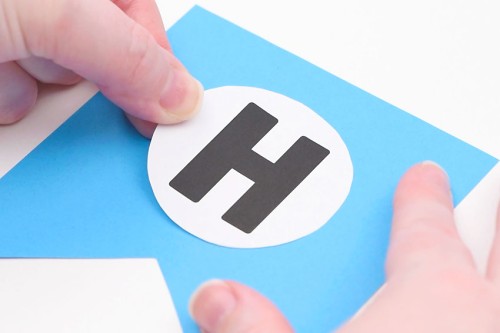
- Cut out each of the letters.We recommend using short bladed detail scissors for a nice circle shape.
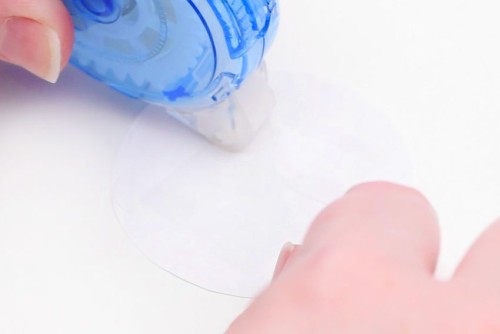
- Add lines of glue tape to the back of your first letter.
- Attach the letter to a banner piece.
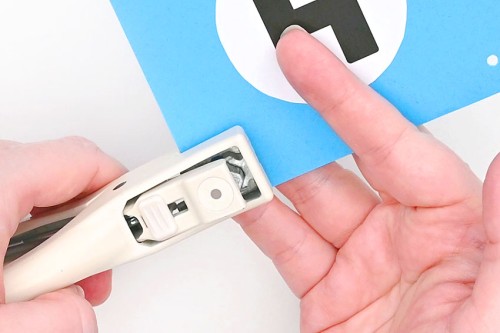
- Use a one hole punch to make holes at the top of the banner piece, on either side.We used a smaller hole punch (1/8 inch), but a regular single hole punch also works.
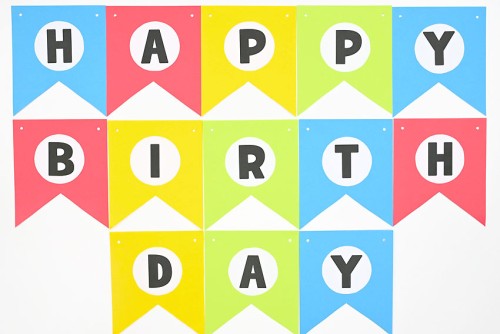
- Continue adding the rest of the letters to your banner pieces.Before gluing on the letters, we recommend laying out your pieces to see what order of colours you like the best.We made a pattern of blue, red, yellow, green.
Step 5: String the banner onto twine
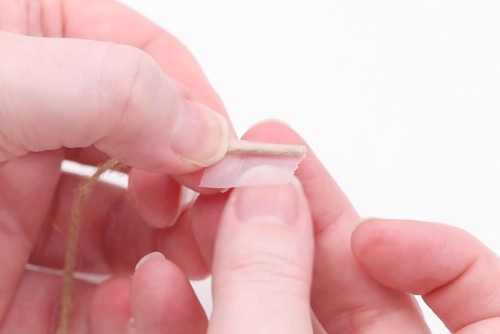
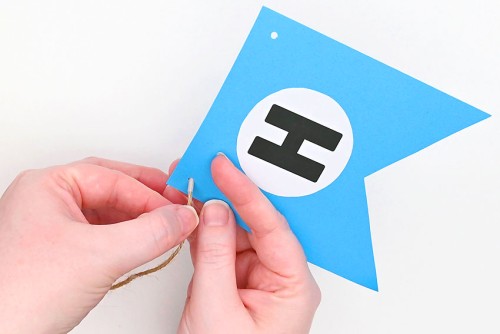
- Choose what type of string you’d like your banner attached to. We like the natural look of twine, but you can also use ribbon or yarn.Roll a piece of tape around the end of the twine to make it easier to string through the holes of the banner.
- Unless you know the exact length you’ll need, keep the twine attached to the roll as you string the banner pieces on.Start with the first letter of your banner, and bring the twine down through the left hole (from the front).
- Then bring the twine up through the other hole, bringing it to the front of the banner.
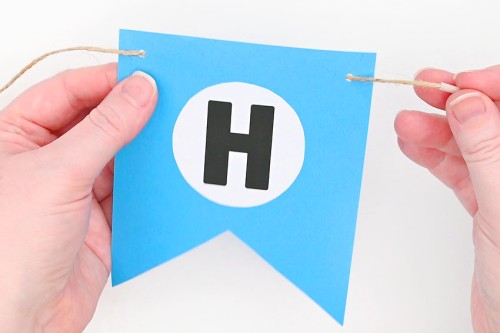
- Move the first letter down the twine and attach the next letter in the same way.
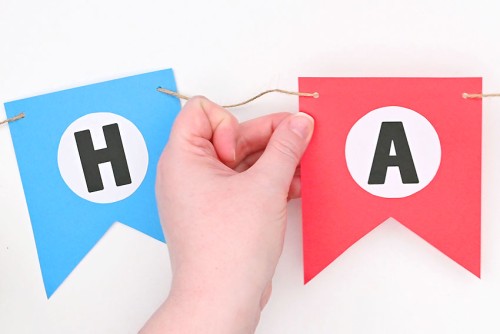
- Repeat with all the pieces of the banner.If you have a banner with two words you can string them onto 2 separate twine pieces, like we did here, so that one word can hang above the other.
- Hang up your banner on the wall, above the fireplace, in a doorway, or above your party table.Your DIY banner is complete!


Helpful Tips:
- You can also make this banner out of felt and use fabric paint to write on the letters.
- Print the banner template directly onto coloured paper and skip having to trace the cardboard template.
- Using a paper cutter makes cutting out the banner pieces really easy, while detail scissors help to create perfectly round letters.

Happy Birthday Banner Printable Templates:
Click on the links or pictures below to download a free, printable banner template! We have 2 different styles of banners available for you to choose from.
The PDF file will open in a new window. Then simply print the template on 8.5 x 11 (letter size) printer paper.
>>> Printable Banner Template #1 <<<

>>> Printable Banner Template #2 <<<

Download our free printable banner letters:
Click on the links below to download free, printable banner letters! We have 4 different phrases available for you to download, as well as the whole alphabet (and numbers!) so you can make a banner for every occasion.
The PDF files will open in a new window. Then simply print the template on 8.5 x 11 (letter size) printer paper.
>>> Happy Birthday <<<
>>> Happy Anniversary <<<
>>> Congrats <<<
>>> Congratulations <<<
>>> Letters A – Z <<<
>>> Numbers 0 – 9 <<<

What’s the best paper for making a DIY banner?
We made our DIY banner on coloured copy paper. If you’d like to re-use your banner and not have it bend easily, you can also use coloured cardstock.
If you want to add a pattern or pizzazz to your banner, try using glitter scrapbook paper, or a patterned paper themed to the right season (Easter, fall, Christmas, etc) or interest (sports, music, etc).

What’s the best glue for attaching letter templates to a DIY banner?
We definitely recommend using glue tape to attach the letters to your banner. Glue tape is a roll-on adhesive that’s great for paper crafts.
Glue tape is easy to use and sticks the letters on really well, keeping them flat to the paper, with no wrinkling. Double sided tape would also work well.
We also tried gluing the letters onto our banner with a glue stick, and maybe it was just our particular glue stick, but it didn’t stick as well as the glue tape. The glue stick also left wrinkles/bumps in the paper and made it curl up a bit.

Have fun making a DIY banner for every occasion. These homemade paper banners are really easy to make, and they’re sure to add a pop of colour to your party or special event!

Here’s even more DIY party ideas:


Our book Low-Mess Crafts for Kids is loaded with 72 fun and simple craft ideas for kids! The projects are fun, easy and most importantly low-mess, so the clean up is simple!

Where to buy:
You can purchase Low-Mess Crafts for Kids from Amazon, or wherever books are sold:
Amazon | Barnes and Noble | Books-A-Million | Indiebound | Amazon Canada


Leave a Reply