
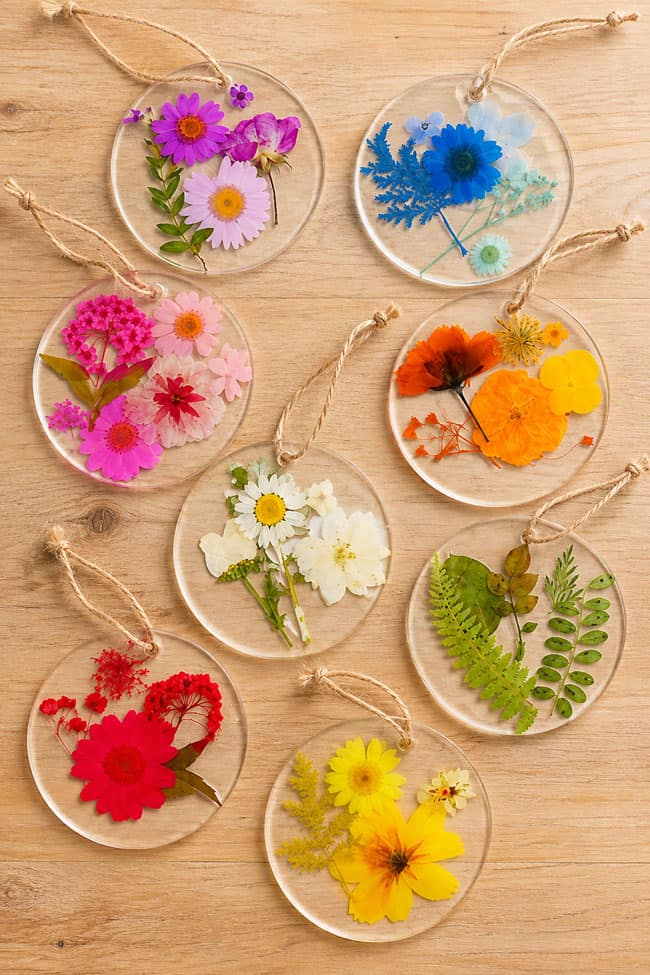
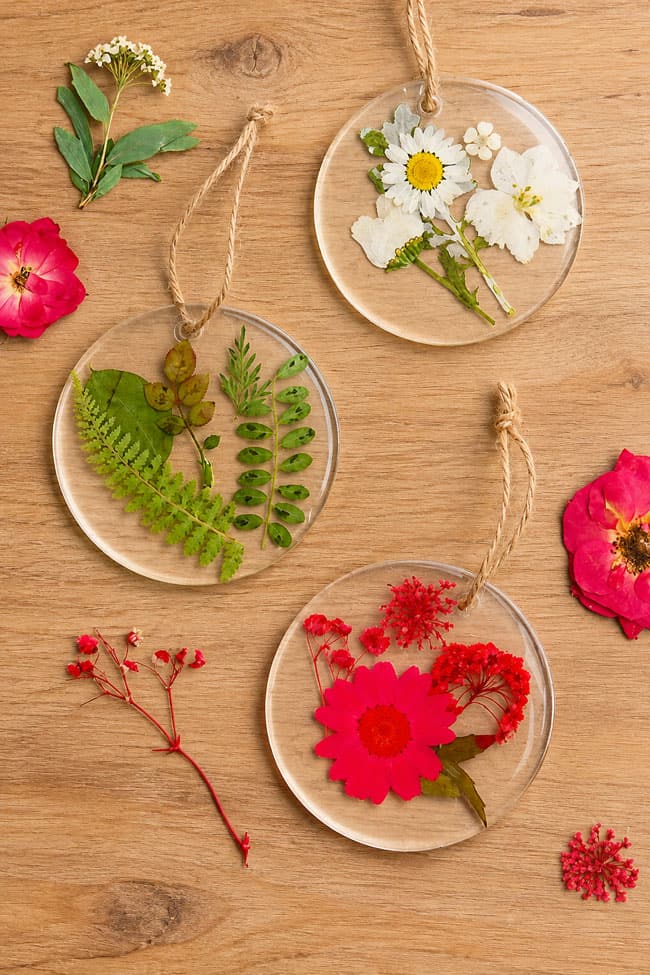
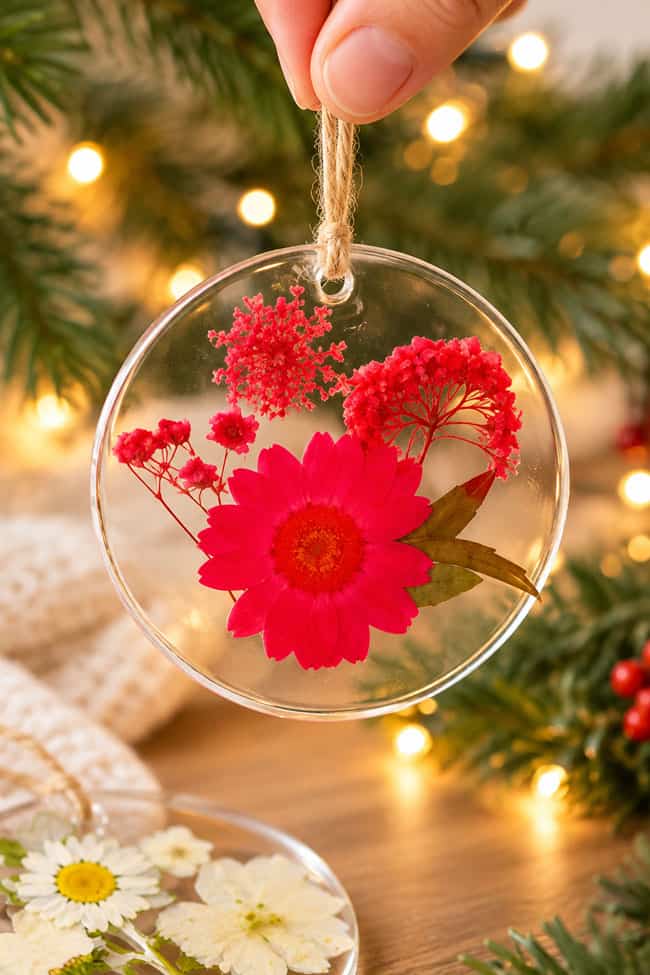
These dried flower resin ornaments are like little pieces of a flower garden, preserved forever! With colourful pressed flowers suspended in crystal-clear resin, each ornament is a beautiful, one-of-a-kind decoration. They’re so pretty hanging on a Christmas tree, but you can also display them in a window or enjoy them as lovely decorations year round!
Making your own resin pressed flower ornaments is easier than you might think, and it’s so much fun arranging the flowers into different colour combinations and designs. Choose your favourite blooms, mix and match colours, or use flowers you’ve pressed yourself to create a special keepsake. These DIY resin ornaments also make thoughtful handmade gifts for friends, family, or anyone who loves flowers!
This post contains affiliate links. If you use these links to buy something, we may earn a small commission at no extra cost to you. This helps support our website and allows us to keep creating fun, free content.
How to Make Dried Flower Resin Ornaments
Materials:
See the craft in action:
Instructions:
Step 1: Find what you need
- Gather your supplies and materials.

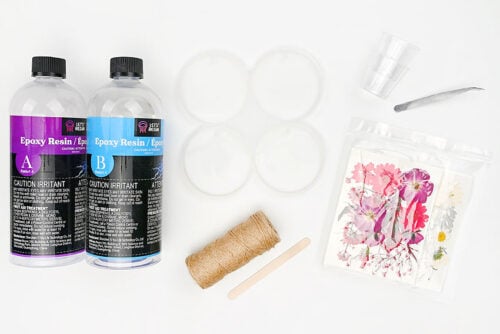
Step 2: Prepare the resin
- Before working with resin, protect your working surface with a drop cloth and/or a silicone mat. Always wear protective nitrile gloves and eye protection.Work in a well-ventilated space and wear a respirator if your resin requires it. Read your resin’s label for safety requirements.
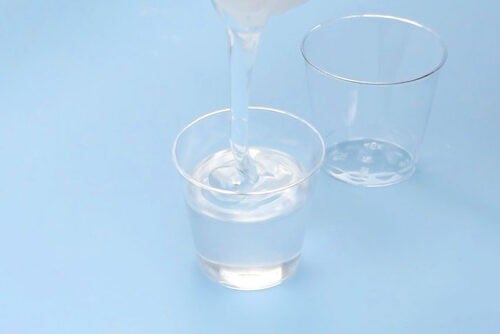
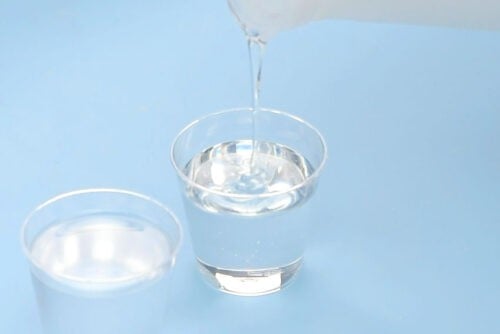
- Mix the amount of resin needed for the amount of ornaments you’d like to make. We mixed 2 ounces total, which is enough to make 3 ornaments.Begin by adding 1 part of Part A to a small mixing cup or silicone measuring cup. The amount of Part A should be half the total amount needed. (In our case, 1 ounce.)Follow your specific resin’s instructions for ratios, drying times, and curing times.
- Add an equal amount of Part B (or whatever ratio your brand of resin suggests) to another cup. (In our case, 1 ounce.)
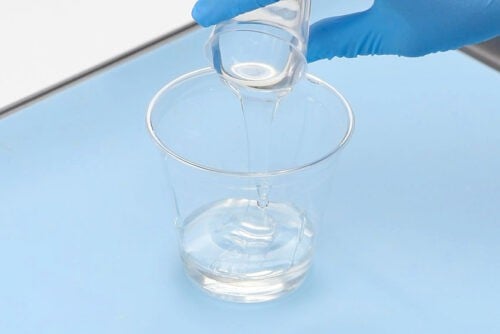
- Combine Part A and Part B in a larger cup.
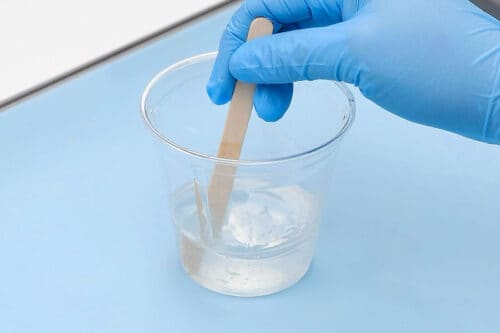
- Mix the resin and hardener together with a popsicle stick or a reusable resin stir stick.Stir slowly, scraping down the sides and bottom of the measuring cup. Continue mixing for 3 to 5 minutes or until the mixture is clear.


Step 3: Fill the molds
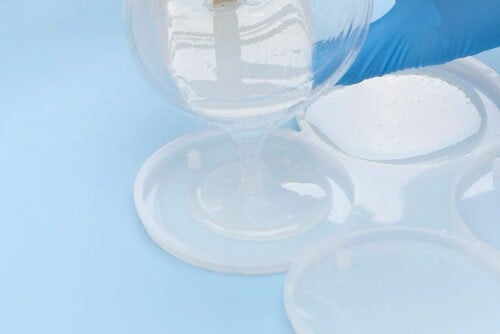
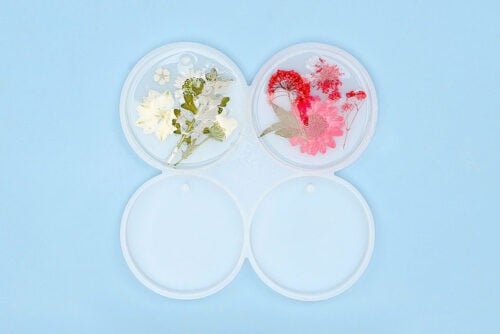
- Pour a thin layer of resin into an ornament mold.
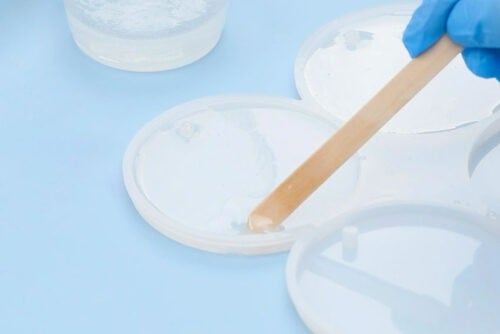
- Use a popsicle stick or resin stir stick to spread the resin across the bottom of the mold, covering it evenly.
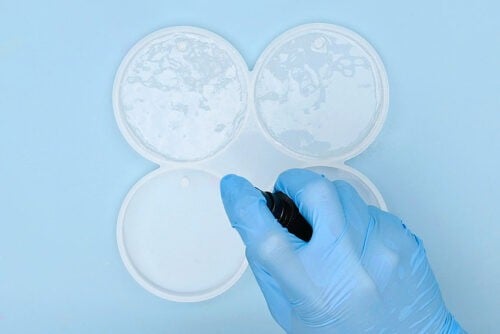
- You can spray the surface of the resin with rubbing alcohol to pop any small air bubbles.
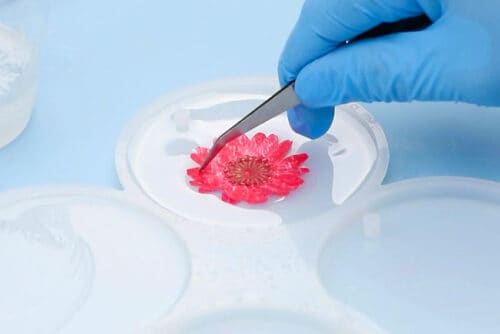
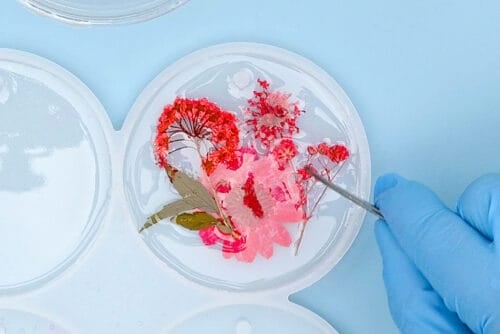
- Begin placing pressed flowers into the resin. You can use tweezers or a popsicle stick with resin on it to pick up and place the flowers.Keep in mind when placing that the bottom of the mold will be the front of the ornament.
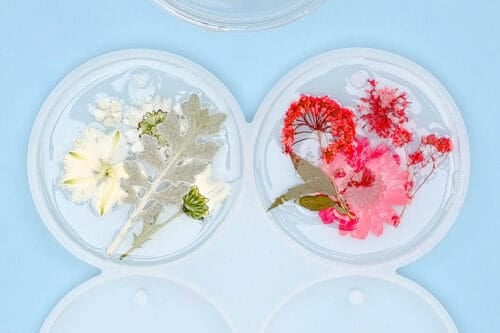
- Repeat, adding flowers until you’re happy with the design.You can use the same colour across the ornament or create a colourful arrangement.
- Repeat Step 3 for however many ornaments you’d like to make.2 ounces of resin should make about 3 ornaments, depending on the size.
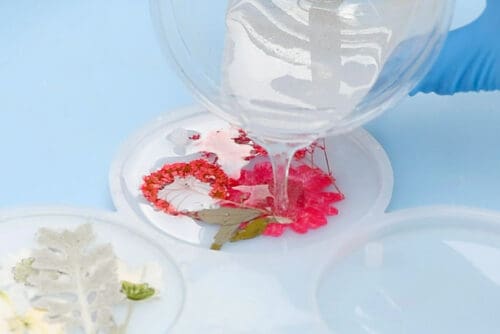
- Slowly pour another layer of resin on top of the flowers, filling the mold.
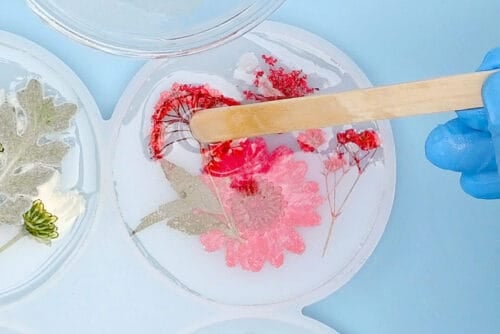
- Use the popsicle stick to move the flowers back into place, as they can float a bit when you pour the second layer.(Another option is to wait a few hours before doing the second pour with fresh resin.)
- Pop any surface bubbles with a toothpick or by spraying rubbing alcohol on the surface.Allow the resin to dry for 18 to 24 hours, untouched.
Step 4: Add an ornament hanger
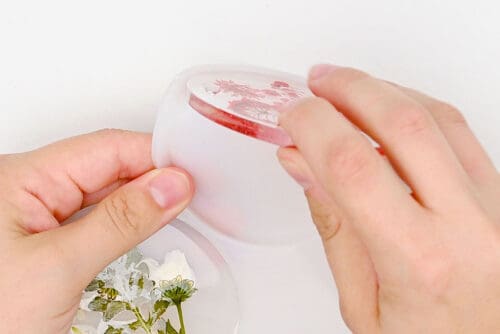
- Demold the ornaments by grabbing the side of the mold and stretching it.
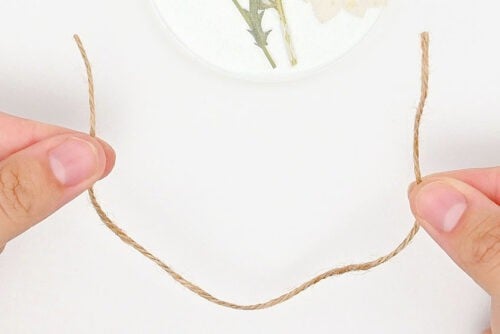
- Cut a piece of twine (or ribbon) abut 8 inches long
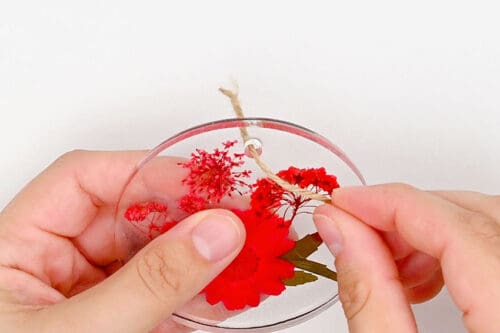
- Insert the twine through the hole in the top of the ornament.
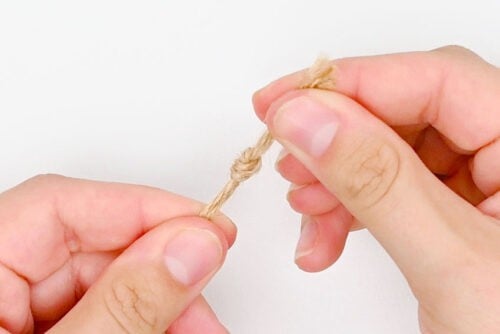
- Tie the twine in a knot, creating an ornament hanger.Repeat for any other ornaments you’ve made.
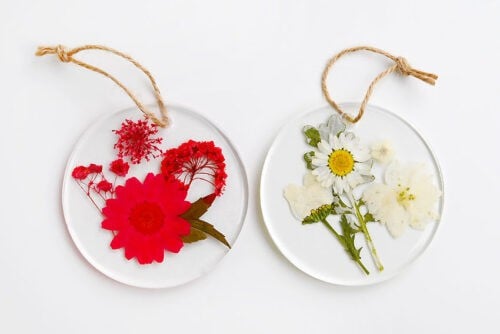
- Your dried flower resin ornaments are complete!
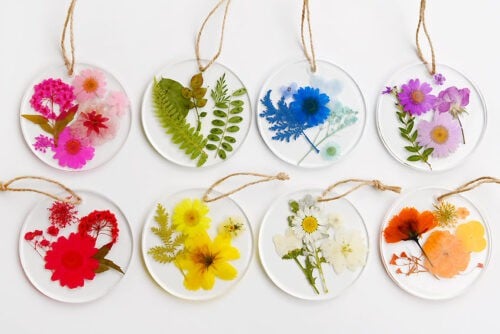
- Have fun making these DIY Christmas ornaments in all the colours of the rainbow!
Helpful Tips:
- Pour resin only in a well ventilated area and be sure to protect your working surface. Wear basic PPE: nitrile gloves, eye protection, and long sleeves. Some resin also requires wearing a respirator.
- Add red flowers and greenery to make your ornament extra Christmassy, or stick to your favourite colours of flowers. You can create an all-pink ornament, for example, or make up a cute arrangement with red, white, and pink.
What flowers are best for making dried flower resin ornaments?
Pressed flowers work best for making these flat resin ornaments because they lie nicely inside the thin layer of resin. You can buy packs of colourful pressed flowers online or press and dry your own flowers to create a more personal keepsake.
Make sure your flowers are completely dry before adding them to the resin. Fresh flowers contain moisture that can cause them to brown, rot, or develop mold inside the finished ornament.
What type of resin should I use to make these dried flower ornaments?
We used two-part epoxy casting resin to make our ornaments. Casting resin works well for embedding pressed flowers and creating a beautiful, crystal-clear finish.
Deep pour resin is designed for thicker projects, generally over 1/2 inch, and isn’t necessary for these thin ornaments. So if you’re buying resin specifically for this project, you can choose one that’s suitable for shallow pours and molds.
How much resin do I need to make dried flower resin ornaments?
We mixed 2 ounces of resin, which was enough to make three ornaments measuring 3 inches in diameter and just under 1/4 inch thick.
The exact amount you’ll need will depend on the size and depth of your ornament molds. If you’re making more ornaments, you can mix additional batches of resin as needed, following the manufacturer’s instructions.
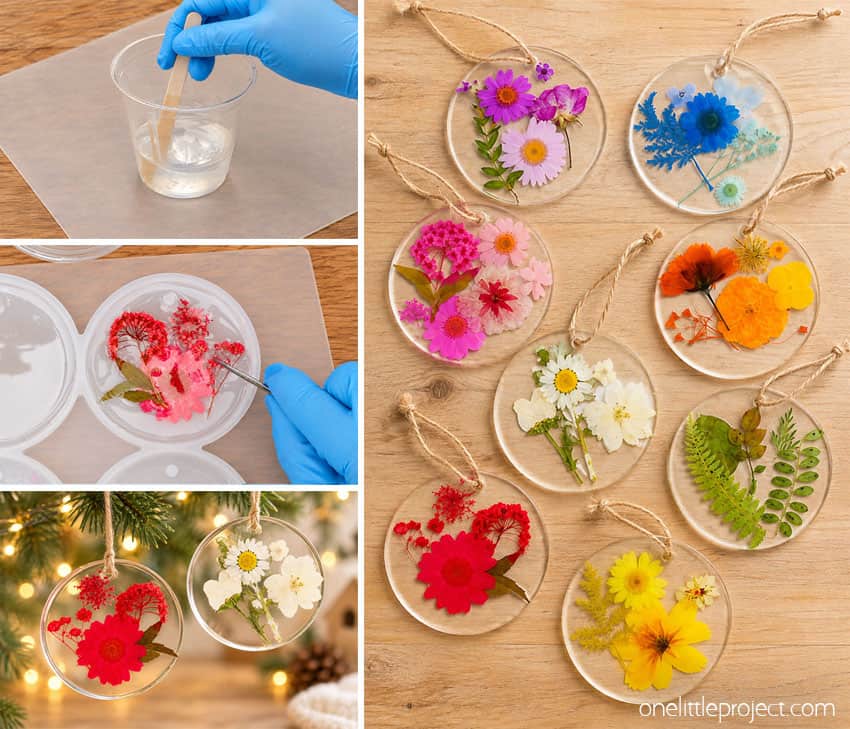
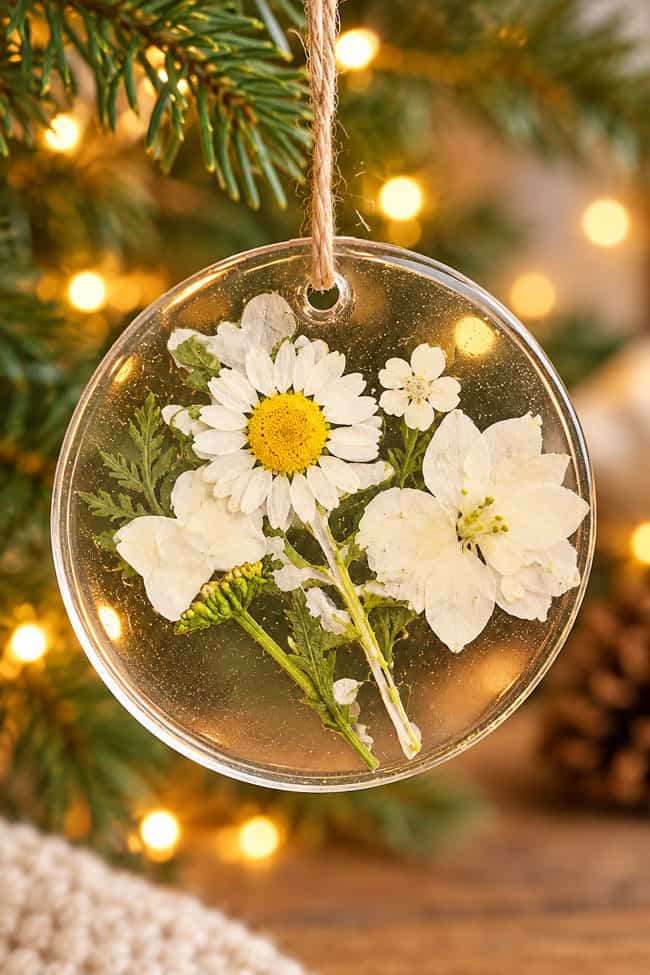
These dried flower resin ornaments are such a beautiful way to preserve your favourite blooms and enjoy their colours for years to come! Every ornament turns out a little different, making each one a unique piece of handmade art.
Hang them on your Christmas tree, display them in a sunny window, or give them as thoughtful homemade gifts. They’re like tiny botanical treasures, capturing the beauty of flowers in a keepsake you can enjoy season after season!
Here’s even more pressed flower craft ideas:

Now available
Low-Mess Crafts for Kids Book
72 cute and fun crafts that kids and parents alike can enjoy. All with as little mess as possible!
Where to buy:
You can purchase Low-Mess Crafts for Kids from Amazon, or wherever books are sold:
Amazon | Barnes and Noble | Books-A-Million | Indiebound | Amazon Canada



Leave a Reply