
How to Make Dried Flower Resin Ornaments
These dried flower resin ornaments are SO PRETTY! Have fun making these simple DIY Christmas ornaments with a botanical flair. Follow our step-by-step tutorial below!
Yield: 2 resin ornaments
Cost: $5
Materials
Instructions
Step 1: Find what you need
- Gather your supplies and materials.
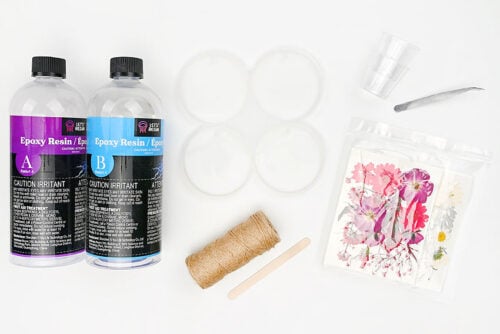
Step 2: Prepare the resin
- Before working with resin, protect your working surface with a drop cloth and/or a silicone mat. Always wear protective nitrile gloves and eye protection.Work in a well-ventilated space and wear a respirator if your resin requires it. Read your resin’s label for safety requirements.

- Mix the amount of resin needed for the amount of ornaments you’d like to make. We mixed 2 ounces total, which is enough to make 3 ornaments.Begin by adding 1 part of Part A to a small mixing cup or silicone measuring cup. The amount of Part A should be half the total amount needed. (In our case, 1 ounce.)Follow your specific resin’s instructions for ratios, drying times, and curing times.
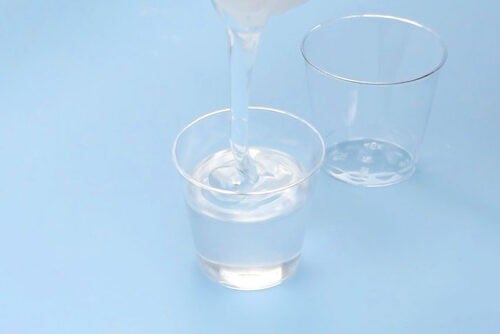
- Add an equal amount of Part B (or whatever ratio your brand of resin suggests) to another cup. (In our case, 1 ounce.)
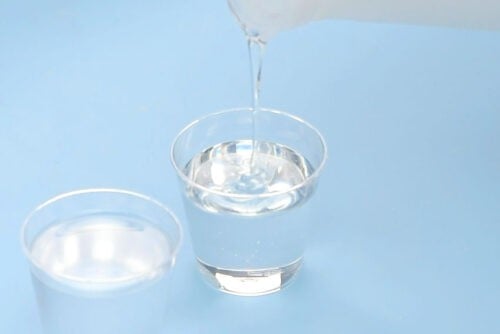
- Combine Part A and Part B in a larger cup.
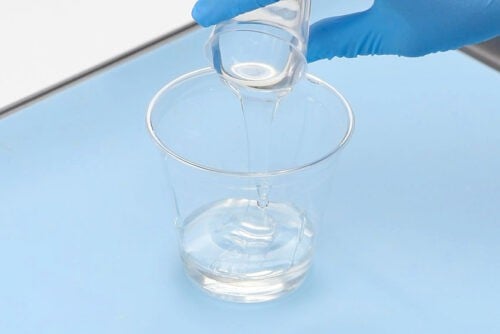
- Mix the resin and hardener together with a popsicle stick or a reusable resin stir stick.Stir slowly, scraping down the sides and bottom of the measuring cup. Continue mixing for 3 to 5 minutes or until the mixture is clear.
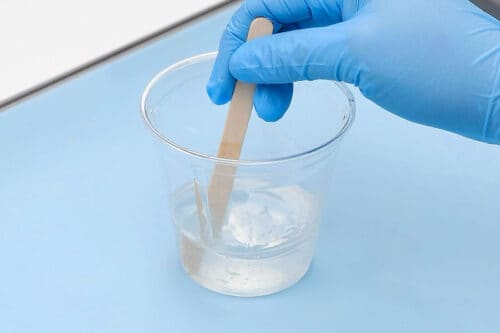
Step 3: Fill the molds
- Pour a thin layer of resin into an ornament mold.
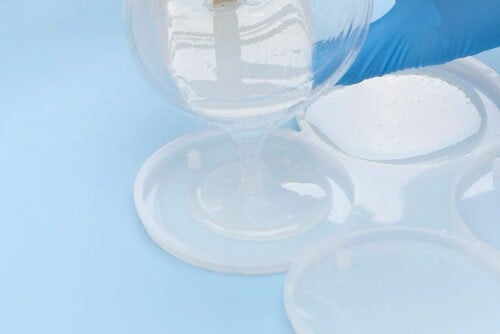
- Use a popsicle stick or resin stir stick to spread the resin across the bottom of the mold, covering it evenly.
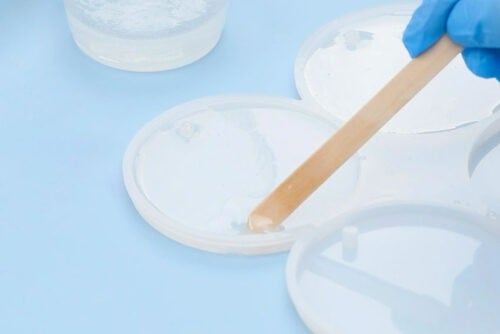
- You can spray the surface of the resin with rubbing alcohol to pop any small air bubbles.
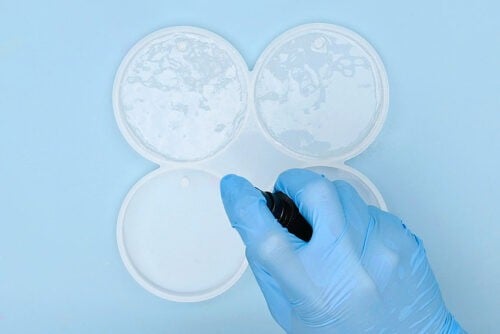
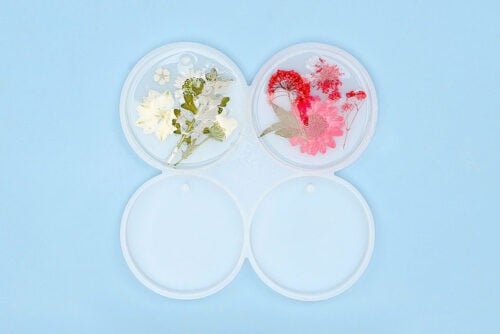
- Begin placing pressed flowers into the resin. You can use tweezers or a popsicle stick with resin on it to pick up and place the flowers.Keep in mind when placing that the bottom of the mold will be the front of the ornament.
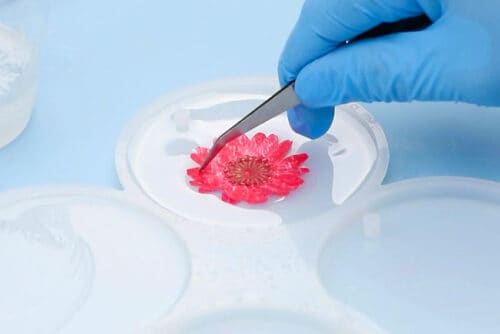
- Repeat, adding flowers until you're happy with the design.You can use the same colour across the ornament or create a colourful arrangement.
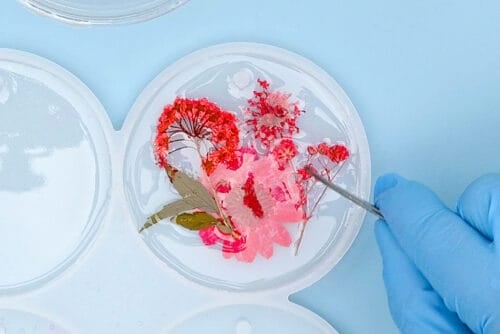
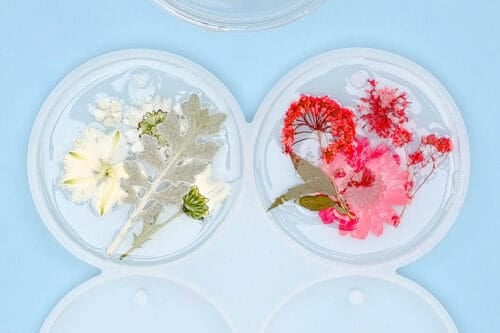
- Repeat Step 3 for however many ornaments you'd like to make.2 ounces of resin should make about 3 ornaments, depending on the size.
- Slowly pour another layer of resin on top of the flowers, filling the mold.
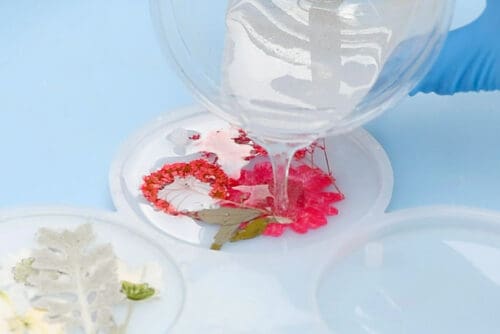
- Use the popsicle stick to move the flowers back into place, as they can float a bit when you pour the second layer.(Another option is to wait a few hours before doing the second pour with fresh resin.)
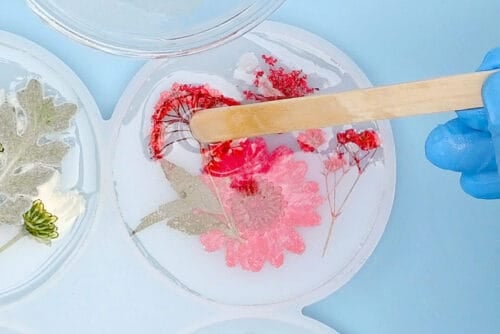
- Pop any surface bubbles with a toothpick or by spraying rubbing alcohol on the surface.Allow the resin to dry for 18 to 24 hours, untouched.
Step 4: Add an ornament hanger
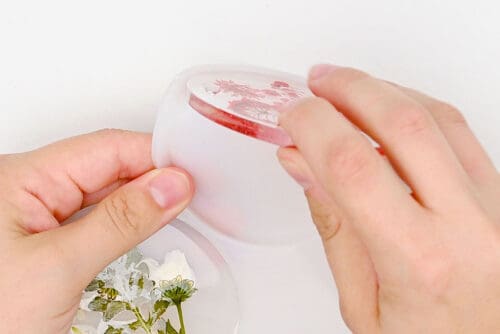
- Demold the ornaments by grabbing the side of the mold and stretching it.
- Cut a piece of twine (or ribbon) abut 8 inches long
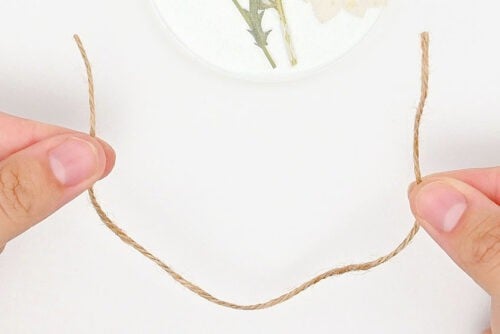
- Insert the twine through the hole in the top of the ornament.
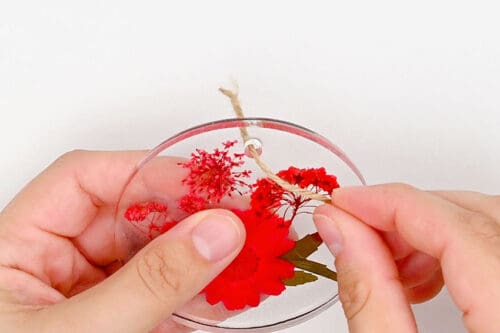
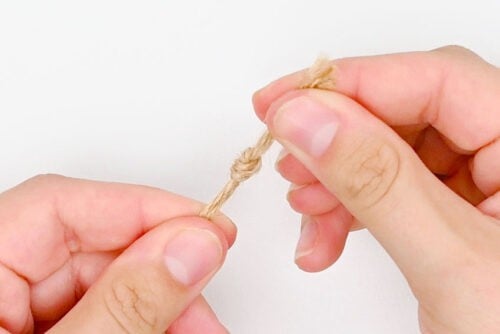
- Tie the twine in a knot, creating an ornament hanger.Repeat for any other ornaments you've made.
- Your dried flower resin ornaments are complete!
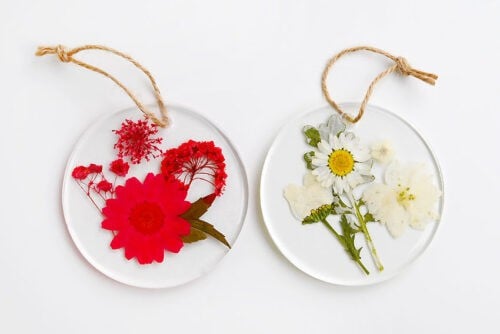
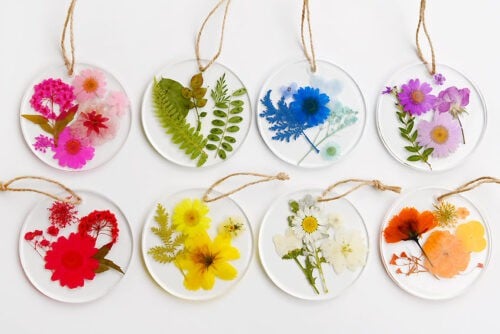
- Have fun making these DIY Christmas ornaments in all the colours of the rainbow!
Video
Notes
Looking for more resin crafts? Here's a few of our favourites:
Resin Snowflakes
DIY Resin Ornaments
Resin Snowman Coasters