
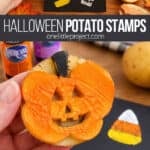
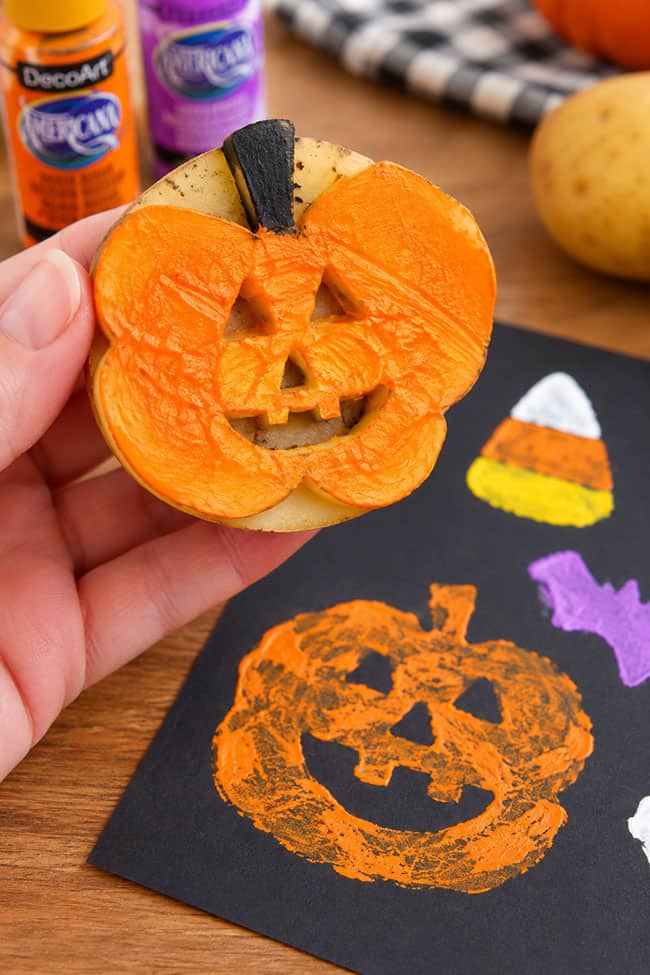
Looking for a fun Halloween craft for kids? These easy Halloween potato stamps turn ordinary potatoes into spooky pumpkins, ghosts, skulls, and more. Simply carve the shapes into halved potatoes, add paint, and press them onto black paper to create colourful Halloween artwork with lots of texture and personality.
Halloween potato stamps are a great process art activity for kids because every print comes out a little different. Make repeating patterns, create a whole page of spooky characters, or mix and match the stamp designs to create your own Halloween scene. It’s an inexpensive craft that uses simple supplies and is perfect for classrooms, parties, or a creative afternoon at home.
This post contains affiliate links. If you use these links to buy something, we may earn a small commission at no extra cost to you. This helps support our website and allows us to keep creating fun, free content.
How to Make Halloween Potato Stamps
Materials:
Equipment:
Instructions:
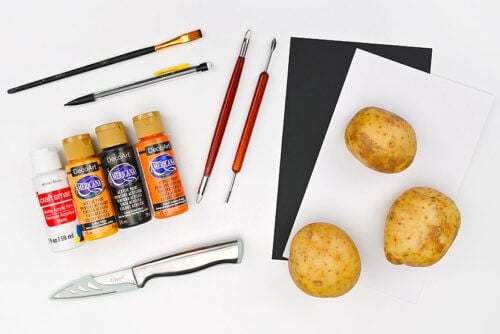
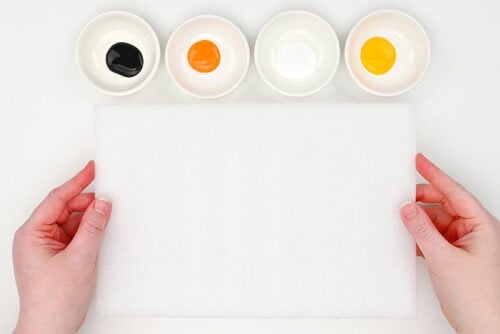
Step 1: Find what you need
- Gather your supplies and materials.

Step 2: Carve the potato
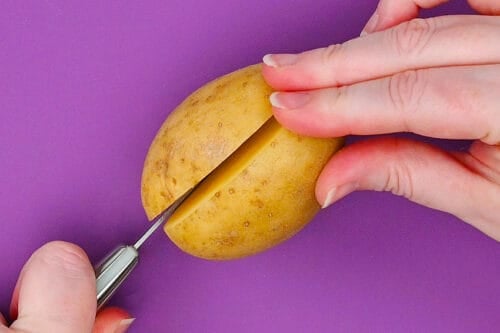
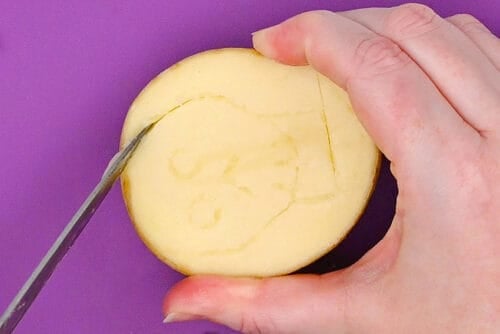
- Cut a potato in half lengthwise, using a paring knife.

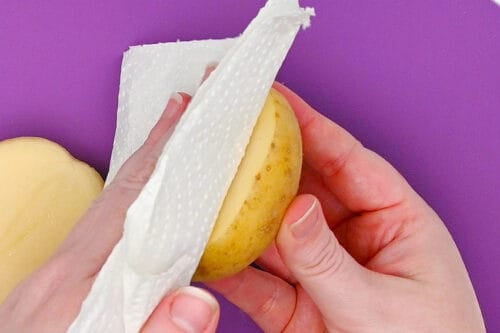
- Pat the cut paper with a paper towel to remove the excess liquid.
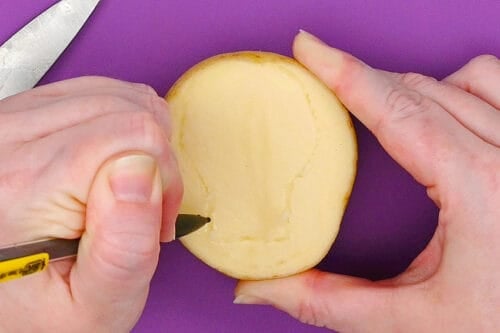
- Use a pencil to draw the outline of your Halloween shape. We’re using the plastic end of a mechanical pencil, but a regular pencil should work too.
- Then use the pencil to add details inside the shape.
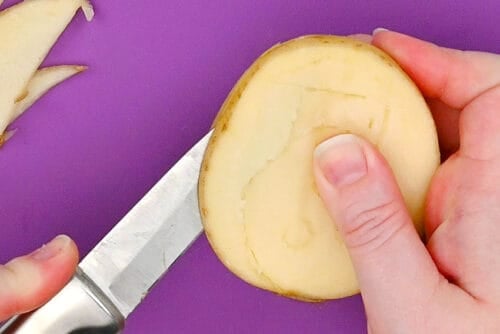
- Use the paring knife to cut down into the shape’s outline, wiggling it back and forth a bit.
- Then cut from the side of the potato, going down a bit less than 1/4 inch. This will give you an outline of the shape that sticks up from the outside of the potato.
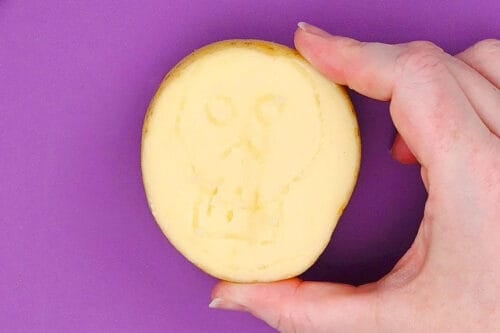
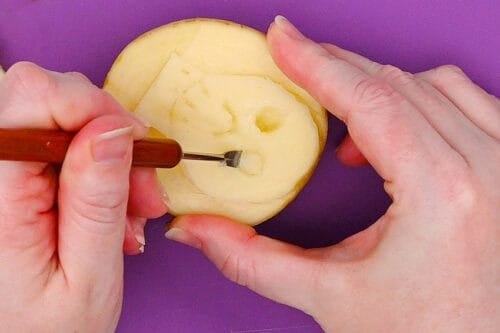
- Then use a smaller knife or other clay sculpting tools to remove the details inside the shape. These tools are aren’t sharp, so they’re easier to use to make small details.
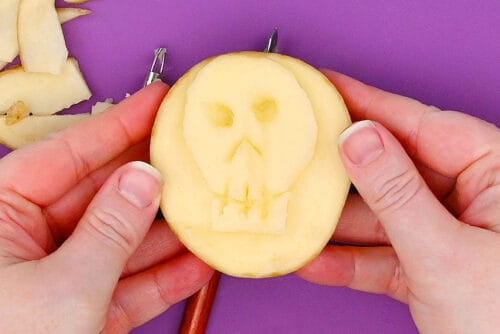
- Repeat until you’re happy with the shape, making sure the carved details are as crisp as you can make them. Continue to dab with a paper towel to remove excess liquid.
Step 3: Stamp the potatoes
- Place a piece of foam on your work surface. This will allow the stamp to transfer more cleanly.
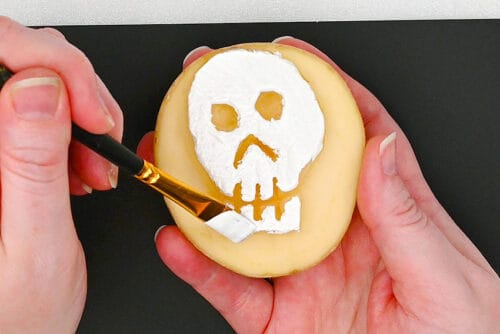
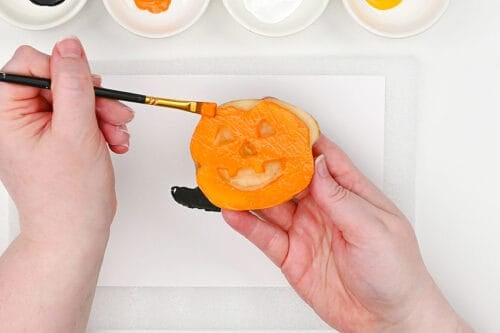
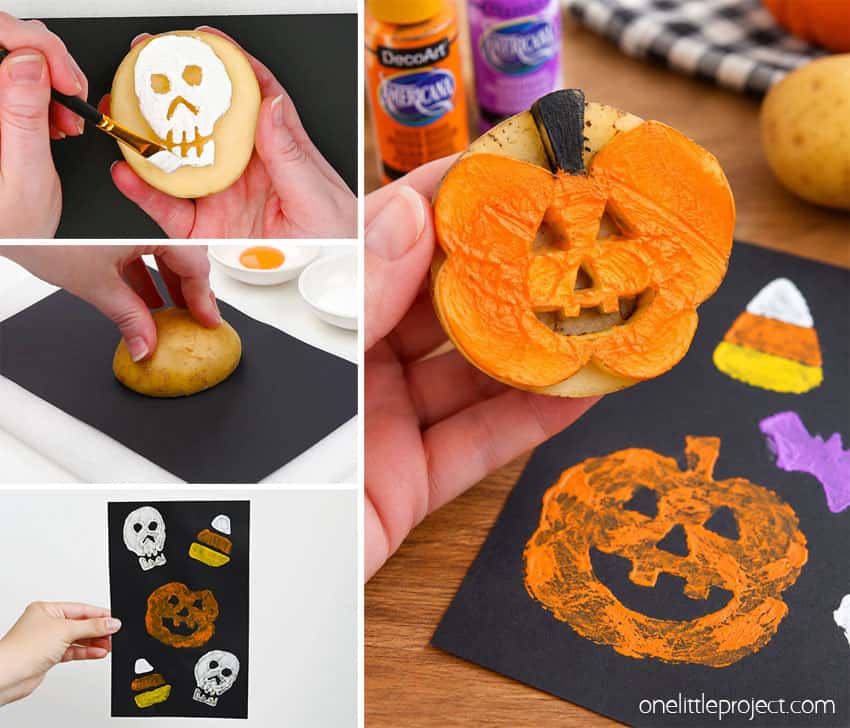
- Use a paintbrush to add paint to the raised areas of the potato.
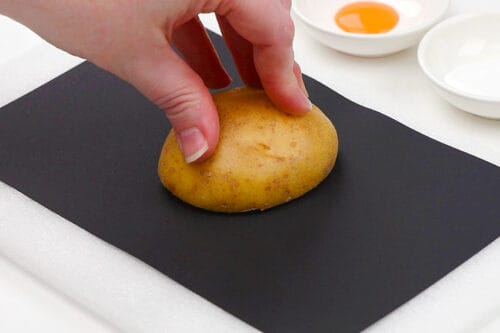
- Carefully flip the potato upside-down and place it on a piece of cardstock or watercolor paper.Push down on it with some pressure. Try to keep it in 1 place so it doesn’t slide around the paper.
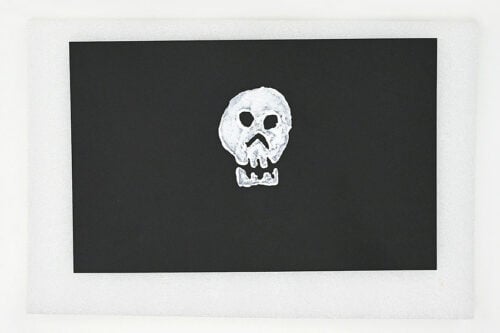
- Lift the potato up carefully to reveal your stamp!
- Repeat with other stamp designs.You can also use a stamp more than once. You can usually stamp 2 times before adding more paint to the stamp.
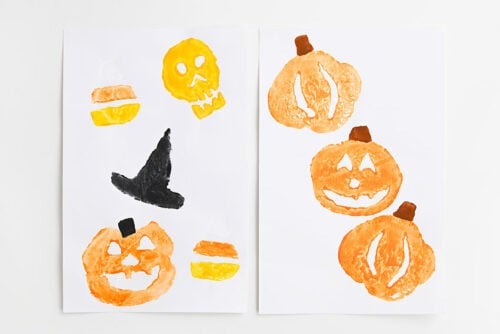
- If you stamp on a white or lighter coloured paper you can use a lot of colour on your stamps.
- Your potato stamp Halloween designs are complete!
Helpful Tips:
- Cut the potato to suit your design: We cut our potatoes lengthwise for these Halloween potato stamps, but the best direction can depend on the shape of the potato and the design you want to carve.
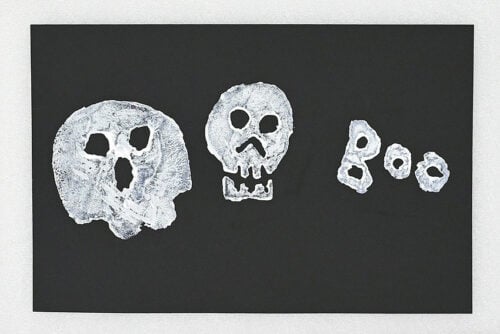
- Carve word stamps backwards: If you want to stamp a word, carve the letters in reverse so they read correctly once printed. Words like “BOO” are especially easy because the letters can be read either way.
What tools do I need to make Halloween potato stamps?
A basic paring knife and mechanical pencil are really all you need. Use the pencil tip to sketch or press details into the potato, then carefully cut away the areas you don’t want to print.
Clay sculpting tools are also helpful for finer details. Ribbon tools work well for making small circles, while little sculpting knives can help with narrow cuts and detailed shapes.
You can also press a cookie cutter into the cut side of the potato, then use a knife to carefully cut away the potato around the shape.
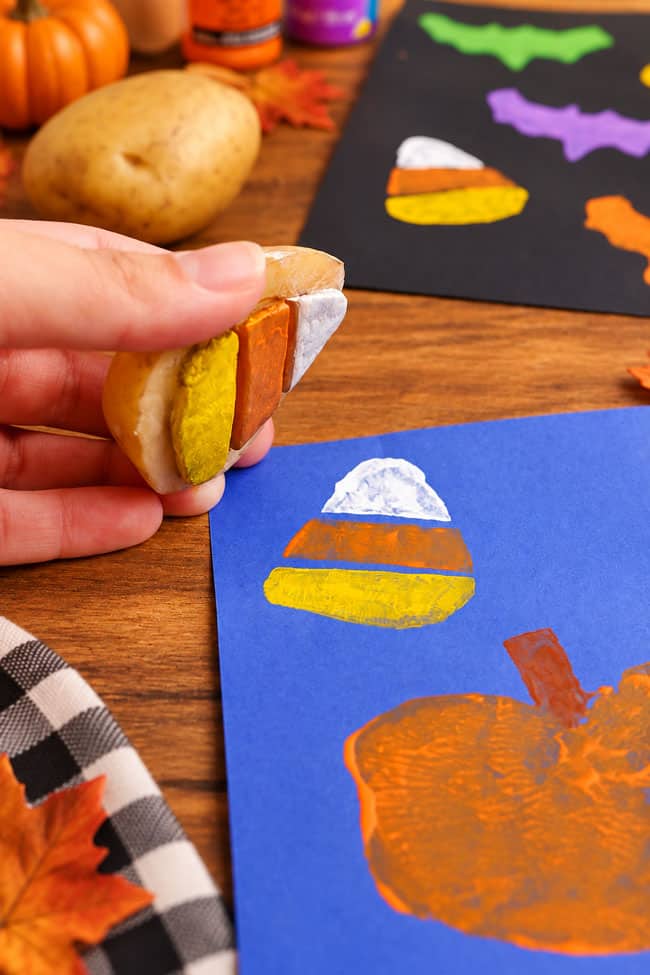
How many times can I use a potato stamp before adding more paint?
You can usually make about 2 to 3 prints before you need to add more paint. The first print will normally be the boldest, while the next few may have a slightly lighter or more textured look.
If you want to switch colours, rinse the potato stamp with water and wipe it thoroughly with a paper towel before adding the new paint.
How long are Halloween potato stamps good for?
Potato stamps are definitely best when used the same day they’re cut, ideally during the same crafting session.
If you want to use them again the next day, wipe away any leftover paint, wrap the potatoes tightly in plastic wrap, and store them in the fridge overnight. We’ve done this successfully and the stamps still worked well. Dab away any excess moisture with a paper towel before adding paint again.
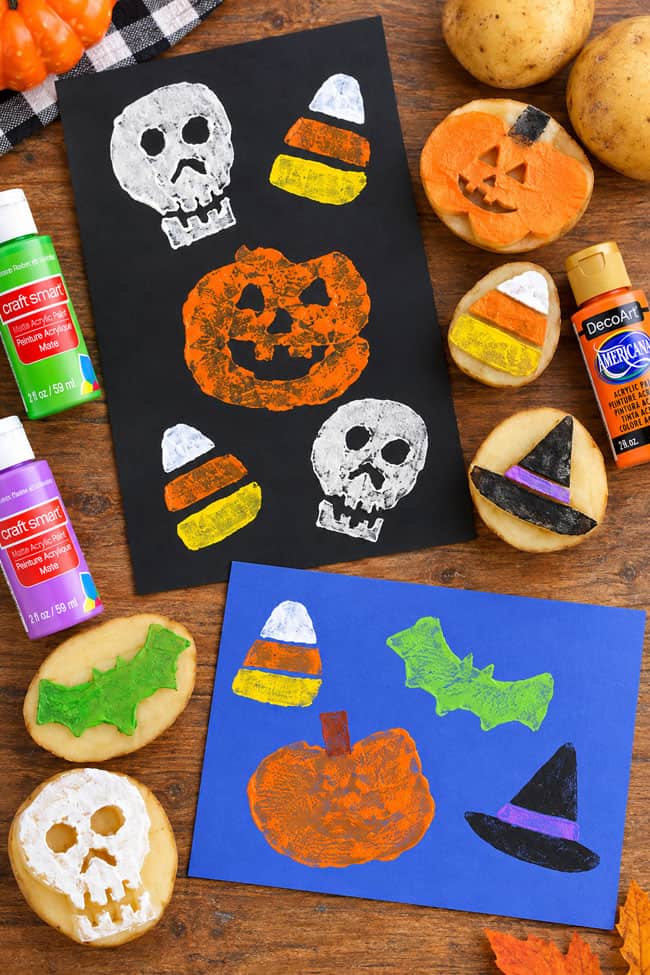
What Halloween shapes can I make with potato stamps?
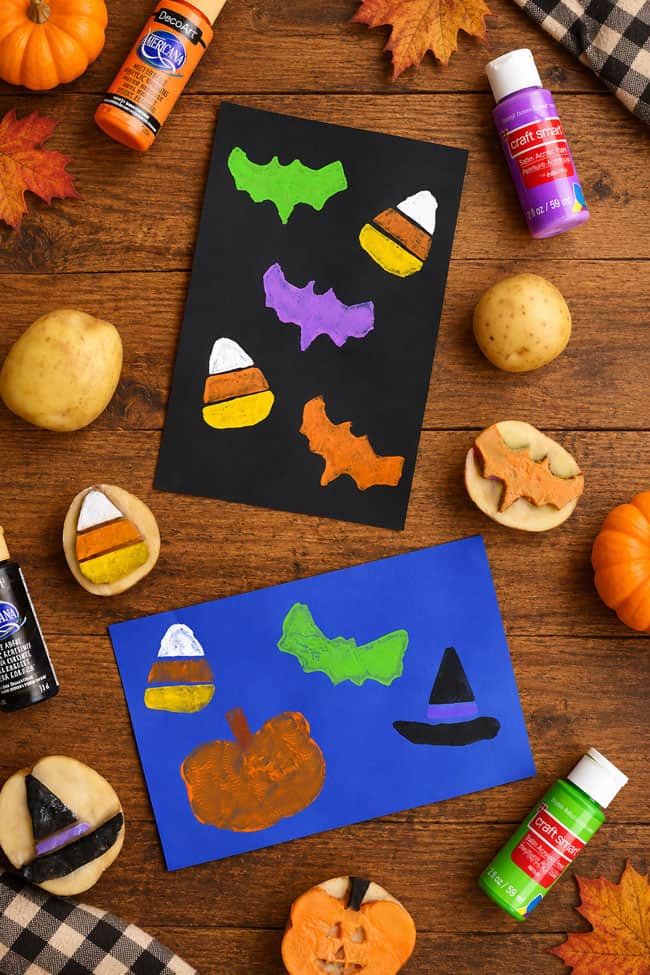
There are lots of easy Halloween shapes that work well as potato stamps. Try making:
- Spider
- Witch hat
- Pumpkin
- Jack-o-lantern
- Skull
- Ghost
- Candy corn
- Bat
- Black cat
Simple silhouettes and bold shapes tend to stamp the best, but you can add carved details to make each design as simple or intricate as you like.
These Halloween potato stamps are such a fun way to turn a simple kitchen staple into a creative seasonal craft. Kids can experiment with different shapes, colours, and patterns, and no two stamped pictures will ever look exactly the same.
Use the finished prints to make Halloween cards, classroom art, wrapping paper, or spooky decorations for the fridge. With a few potatoes and some paint, it’s an easy activity that’s perfect for getting creative with classic Halloween shapes!
Here’s even more Halloween art project ideas:
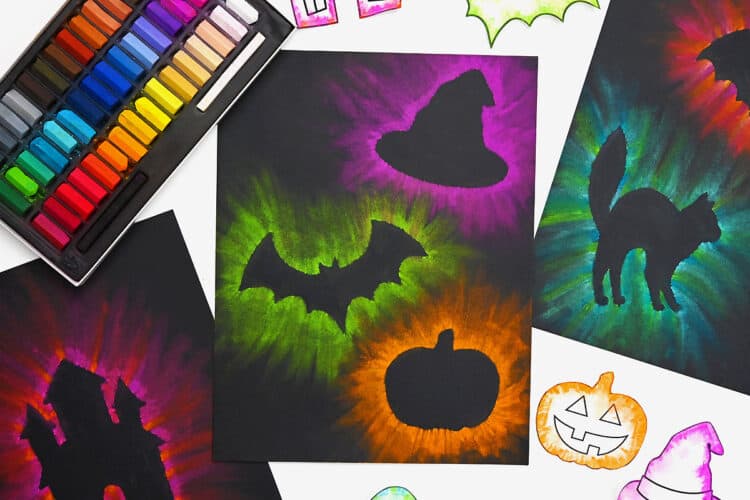
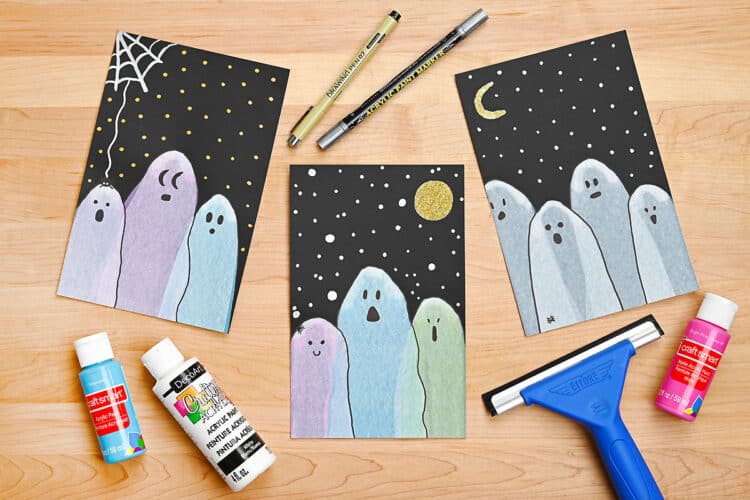
Halloween Chalk Art Silhouettes
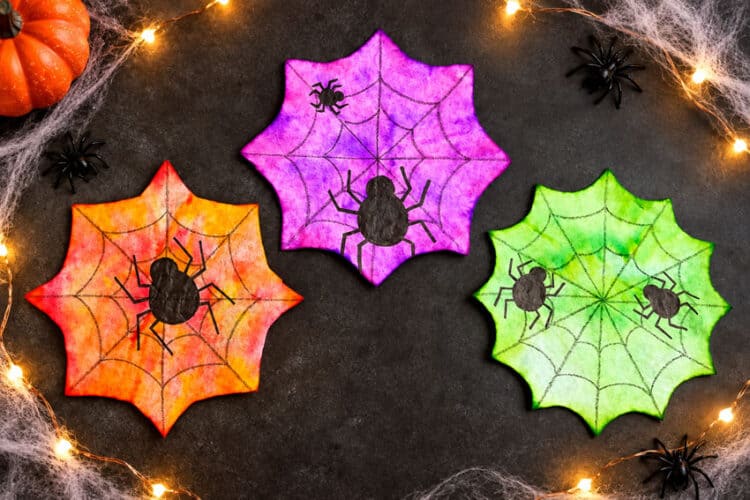
Coffee Filter Spider Suncatchers
Now available
Low-Mess Crafts for Kids Book
72 cute and fun crafts that kids and parents alike can enjoy. All with as little mess as possible!
Where to buy:
You can purchase Low-Mess Crafts for Kids from Amazon, or wherever books are sold:
Amazon | Barnes and Noble | Books-A-Million | Indiebound | Amazon Canada


Leave a Reply