These coffee filter butterflies are such a classic craft! I love how easy they are to make and how the bright colours of the Mr. Sketch markers blend together to make gorgeous looking butterfly wings! (Don’t worry, you can use regular washable markers too).
Do you remember Mr. Sketch markers from when you were a kid? I was walking down the craft aisle at Walmart last year and saw them on display — I was so excited to see that they still make them! I opened up the package, took the lid off of one of the markers and smelled it, and it was like I was 8 years old again.
They’re scented markers and they smell exactly how I remember them – still a little weird and kind of hard to guess the smell unless you read the label on the marker (“ohhhh, it’s supposed to smell like green apple!”). But my kids love colouring with them. Don’t you love when your kids play with something you had when you were little?!

If you don’t have Mr. Sketch markers and you have no idea what I’m talking about, by all means — go ahead and use washable Crayola markers when you make your coffee filter butterflies.
We’ve made these butterflies with both Mr. Sketch markers and with regular washable markers. I found the colours with the Mr. Sketch markers were way brighter and much more vivid. If you have them at home, that’s what I’d recommend using. But if you only have regular markers, they will definitely work too – just make sure they’re washable markers or the colours won’t blend.
Check out our video on How to Make Coffee Filter Butterflies:
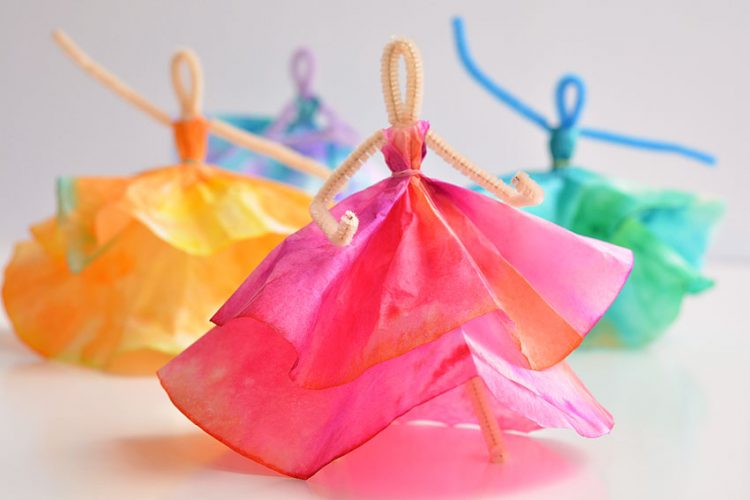
If you already have all the supplies out anyway, here are a few similar crafts that would be great to make at the same time as these coffee filter butterflies:
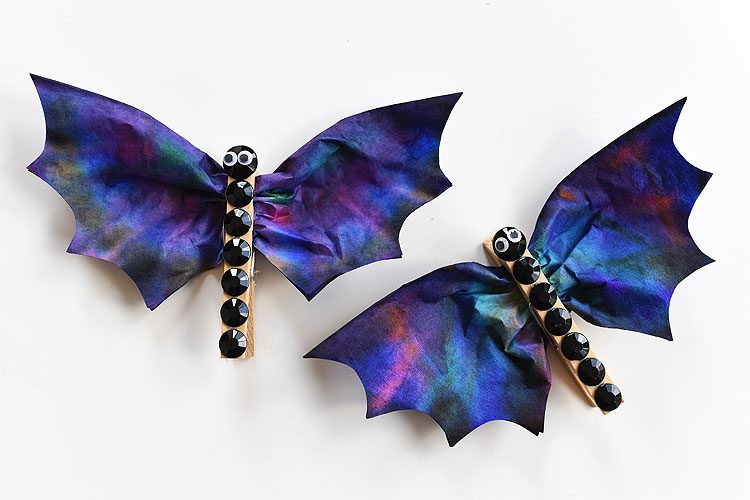
How to Make Coffee Filter Bats
How to Make Coffee Filter Butterflies
This is one of those crafts that is soooo perfect for summer. 1 – It’s easy. 2 – It’s relatively low mess. 3 – It’s even a bit of a science experiment when you wet the coffee filter and watch the colours blend. Yes, my friends, this craft has it all!
Here’s what you’ll need:
- 2 coffee filters
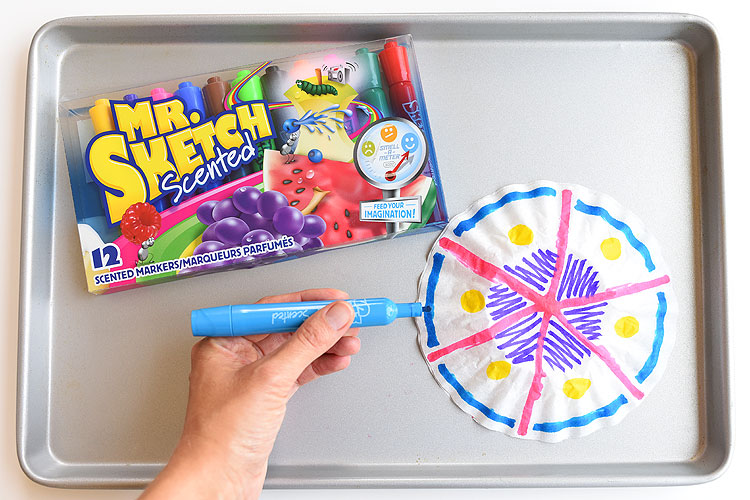
- Washable markers (we used Mr. Sketch, but Crayola will work too)
- Water
- An eye dropper or small measuring spoon
- 1 pipe cleaner (12″ long)
You will need TWO coffee filters for this craft. Place one inside the other so they fit together well. We used the coffee filters meant for small 4 to 6 cup coffee makers.
I recommend placing the coffee filters on a cookie sheet to keep the mess contained.
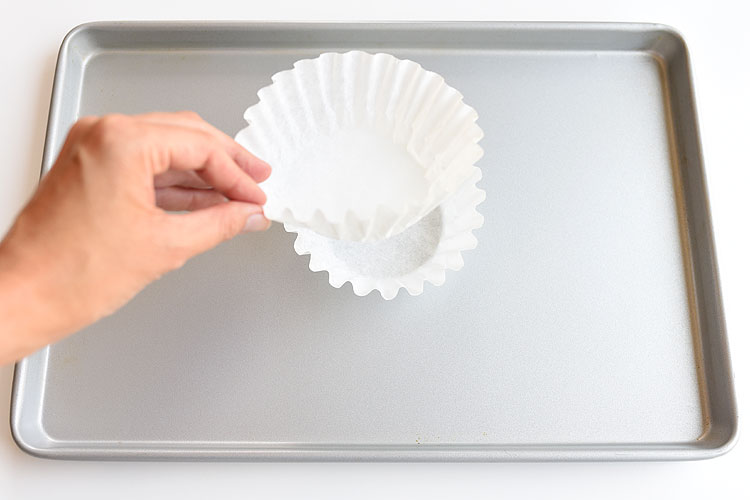
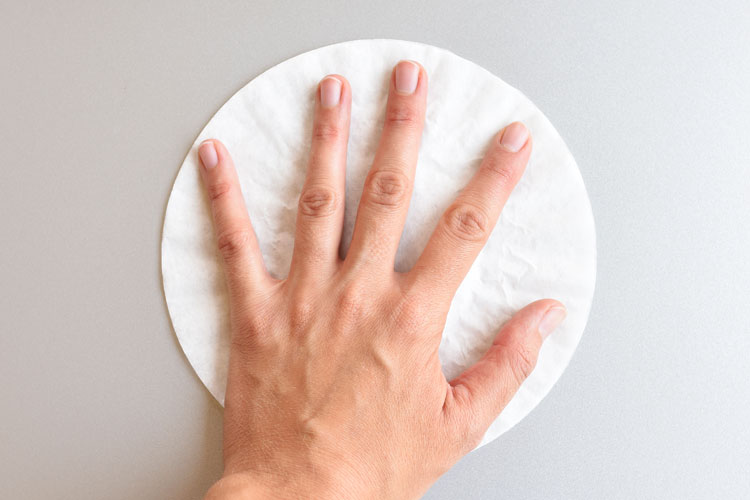
Flatten out the coffee filters a little. They don’t have to be perfectly flat, just flat enough that you can colour on them.
Colour your creative designs onto the coffee filters. You’ll be colouring on 2 layers, and some of the marker will leak through to the bottom coffee filter.
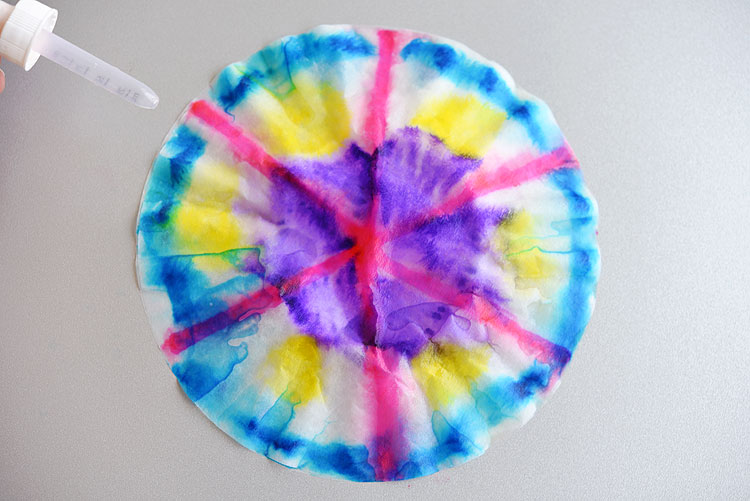
Then take an eye dropper or small measuring spoon and drip water onto the marker until the coffee filter is completely wet. Once the coffee filter is completely wet, stop adding water. If you add a big pool of water the colours will mix together too much, plus it will take forever to dry.
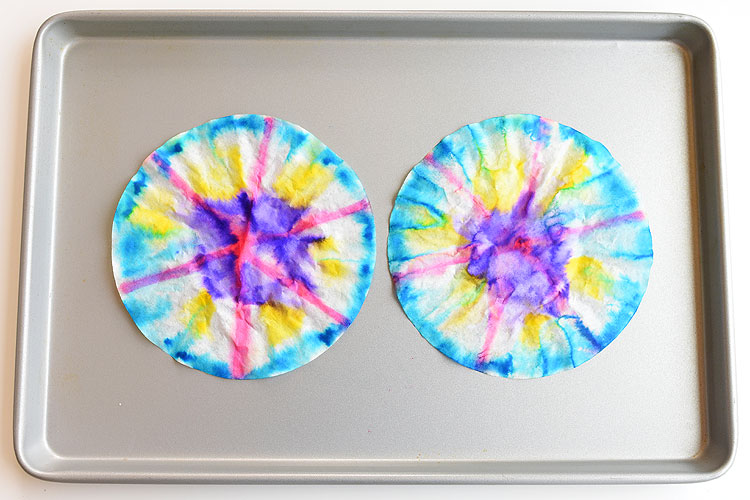
It was a sunny 91F (33C) day outside, so I placed my baking sheets outside in the sun to dry – they were completely dry in half an hour! If you’re drying them indoors, it will take several hours, or even overnight, depending on how much water you added.
Once they are dry and you pull apart the two coffee filters, you’ll end up with two very similar looking layers.
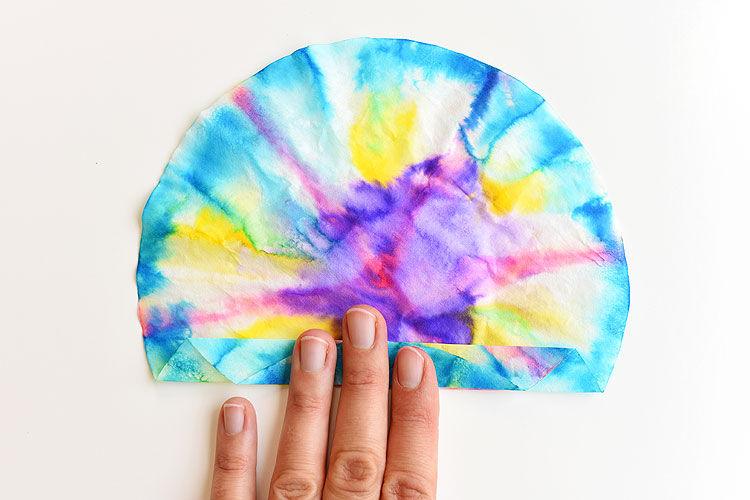
Fold each one back and forth, accordion style, in about 1/2″ folds. (Just make sure the coffee filters are completely dry first or you’ll end up with messy fingers!)
Keep folding until the end, so you have two strips that look like this:
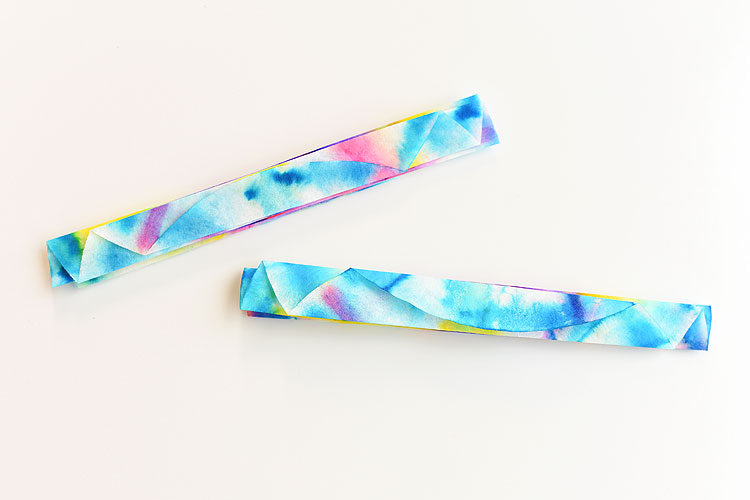
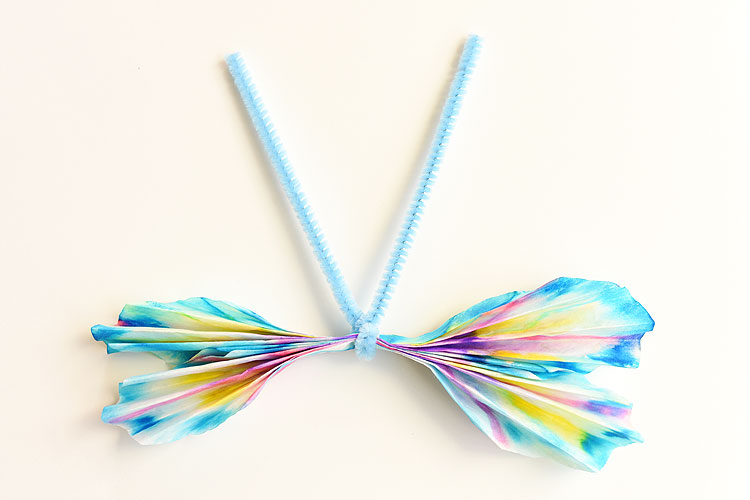
Put the two folded strips on top of each other.
Twist a pipe cleaner around the middle so that the two ends point upwards in a big letter “V”. Trim the ends to make them even if you need to.
Next, pinch the end of each pipe cleaner and curl it outwards to make a small spiral.
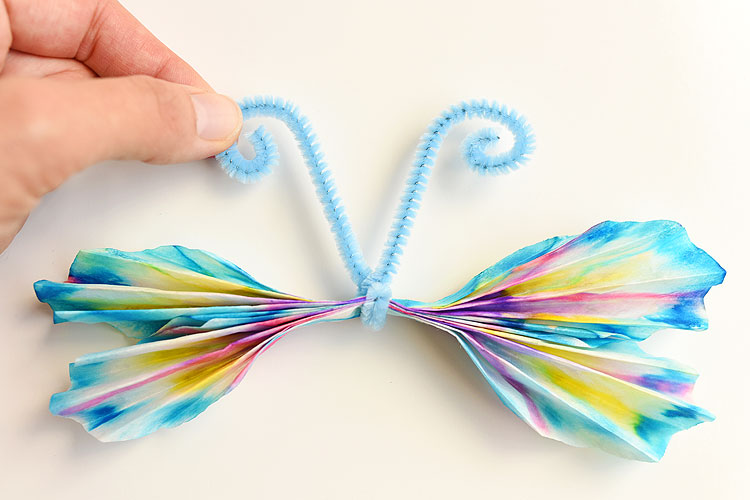
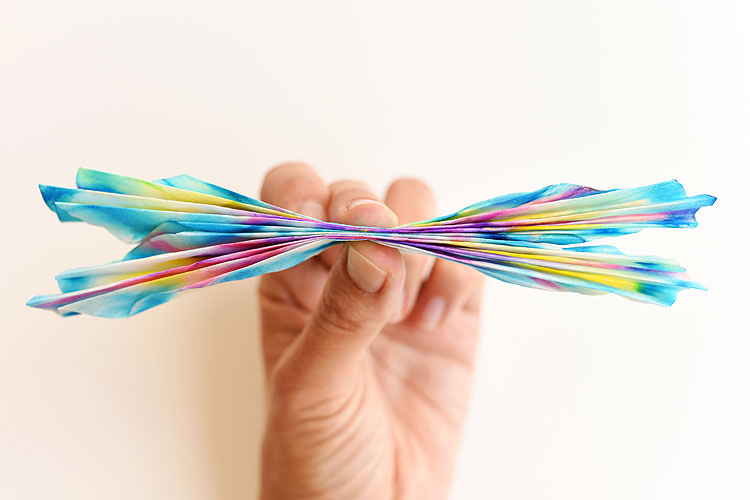
Finally, pull apart the folds in the coffee filter to open them up and shape your butterfly.

Just a heads up, the lighter pink Mr. Sketch marker didn’t seem to “run” very much when it got wet. You can see in the photo above that the pink lines still look very much like pink lines, and not little clouds of colour like I was hoping.
I used the darker pink marker in the butterflies below and it worked MUCH better than the light pink.

My little tip:
The less white space you leave on the coffee filters, the brighter your butterflies will be. I recommend colouring more of the coffee filter with marker than what I showed in the tutorial photo above.
Just make sure you leave at least a little bit of white space between the colours (about 1/4″). My 6 year old daughter covered her entire coffee filter with dark marker with zero white space and made a butterfly that was almost all navy and black… still pretty, but not quite what we were going for!

My second batch of butterflies where I covered way more of the coffee filter with marker ended up looking so pretty!

I wish I had remembered to take photos of the coffee filters before I added water! Basically the entire coffee filter was coloured in with markers with just enough white space between the colours for the markers to bleed.

These coffee filter butterflies are so easy to make and they look so beautiful! This is such a great summer craft idea for kids and such a fun low mess activity!
Here’s even MORE fun craft ideas:

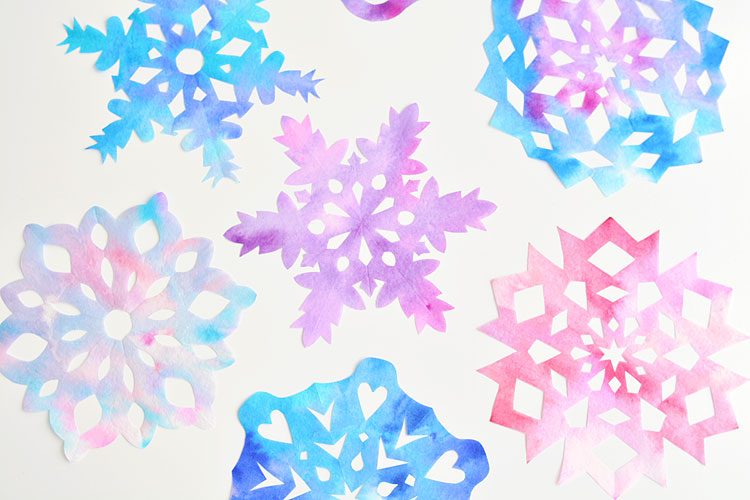
How to Make Coffee Filter Snowflakes:
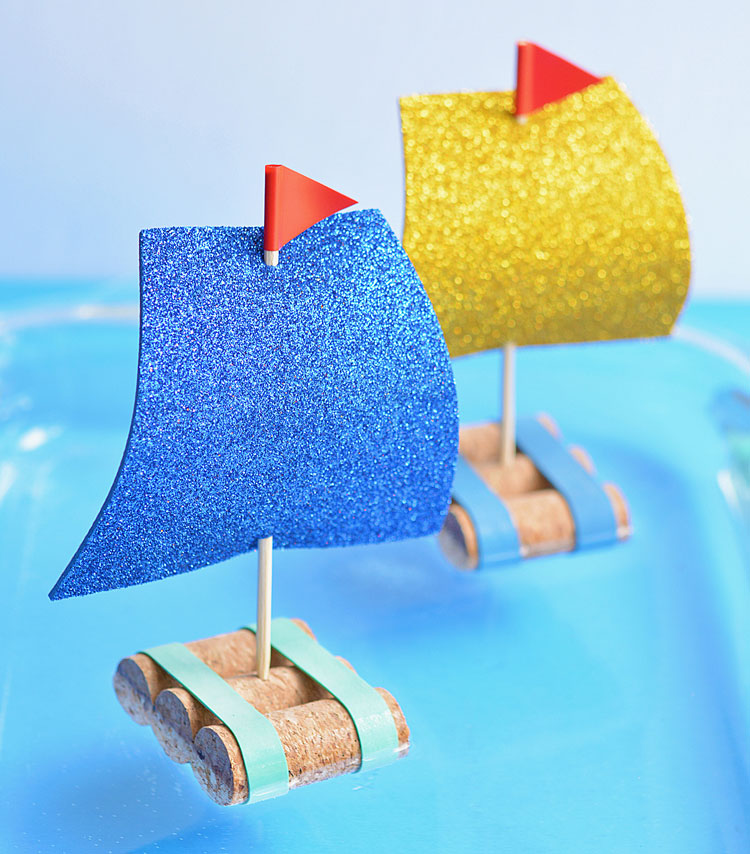
And if you’re looking for more summer craft ideas, check out our 1 minute video tutorial for how to make wine cork sailboats. These are super simple to make and they actually float on water!
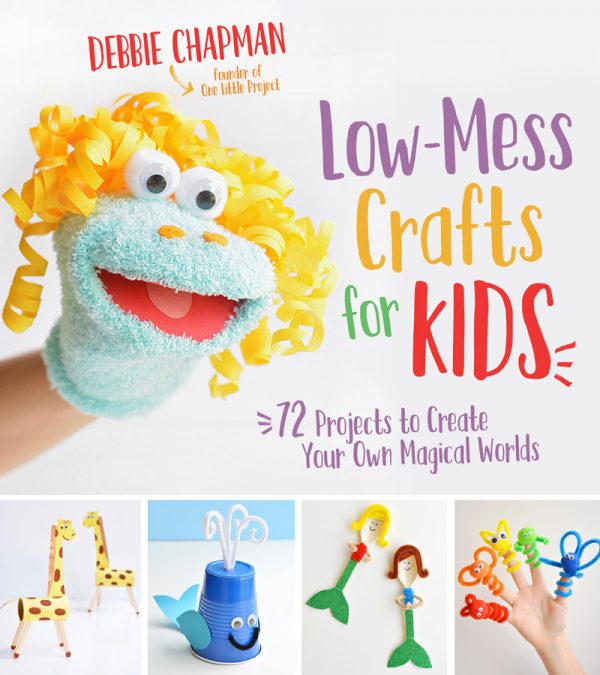
Don’t forget to check out our new book Low-Mess Crafts for Kids for 72 fun and simple craft ideas for kids!

Where to buy:
You can purchase Low-Mess Crafts for Kids from Amazon, or wherever books are sold:
Amazon | Barnes and Noble | Books- A- Million | Indiebound | Indigo | Amazon Canada
Thank you for this brief explanation and very nice information. Well, got a good knowledge. You can use this essay writing service for any kind of academic writing work. Valuable and excellent post, as share good stuff with good ideas and concepts. lots of great information and inspiration. I just would like to say thanks for your great efforts.I appreciate your excellent post. Great site and a great topic as well i really get amazed to read this.
Its really good.
Cute!
I recently acquired a box full of random craft supplies and there was a bag of coffee filters in it that I wasn’t sure what to do with (they don’t fit my coffee maker). Now I have an idea. Thanks!
I just finished a week of doing crafts with 8 – 13-year-olds at a choir camp. We created the coffee filter butterflies and the variety of results was amazing. Some were muted colours and others were very bright. Each camper made two butterflies and these were hung by crochet cotton on sticks to create mobiles, which were then hung around the area where the final concert was held. Very effective.
BTW even the boys enjoyed their creations.
In the midst of everything going on I found your beautiful butterflies. We have 5 grand kids under the age of 5! They have recently received butterfly habitats and had their butterflies hatch. These butterflies were the perfect Mothers Day gifts.
You never know when you will make a difference in someone’s life, but you sure did for all of us. Thanks so much for sharing.
Huge Texas Thank you
Leslie
Muy Bonito !!
Thank you!