It’s SO EASY to make a wire wrapped pendant! These DIY wire wrap pendants are super pretty and you only need a few simple supplies to make them.
Choose your favourite colour and shape of stone and wrap wire around it to create a beautiful and unique piece of homemade jewelry. Follow our simple step by step photo and video tutorials to make these wire wrapped necklaces — it’s so fun!

This post contains affiliate links. If you use these links to buy something we may earn a small commission which helps us run this website.
How to Wire Wrap Pendants
Materials:
Check Out The Video Tutorial:
Instructions:
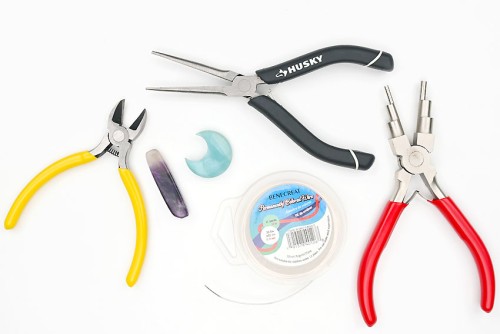
Step 1: Find what you need
- Gather your supplies and materials.

Step 2: Make a spiral
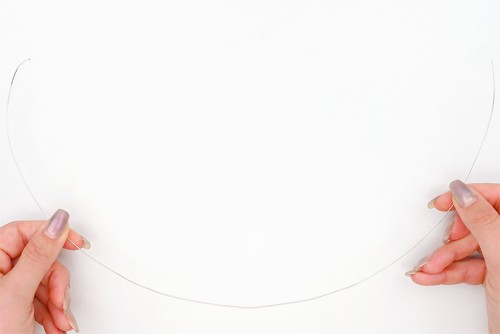
- Begin by cutting a 20 inch piece of wire.
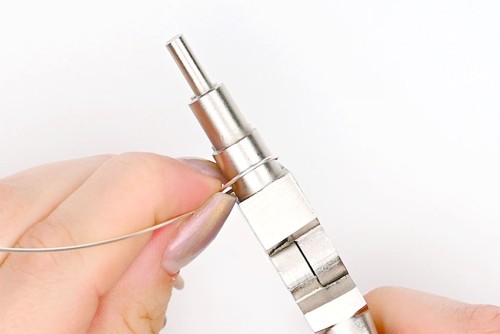
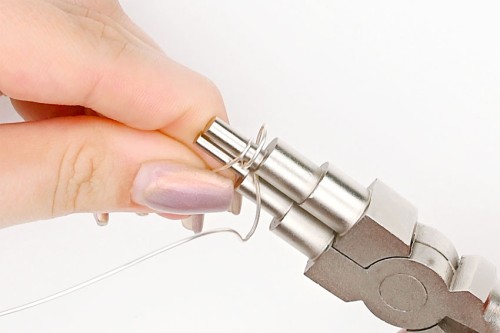
- Starting about 4 inches from one end, wrap the wire around the 9mm section of the bail making pliers, creating a loop.You can also wrap your wire around a dowel, pencil, wooden spoon handle, etc.
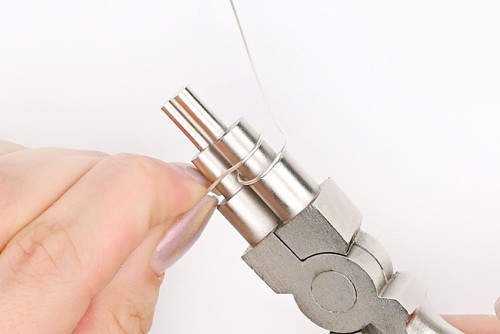
- Slide the wire loop onto the 6mm section of the bail tool and wrap the next section of wire (towards the end) around that.You should now have 2 loops (the small over the large).
- Slide the wire loops onto the smallest (2mm) section of the tool. Wrap the wire end around it to create a third loop.

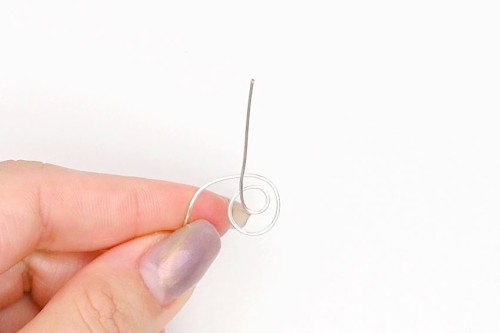
- Flatten the down the loops to make a spiral.
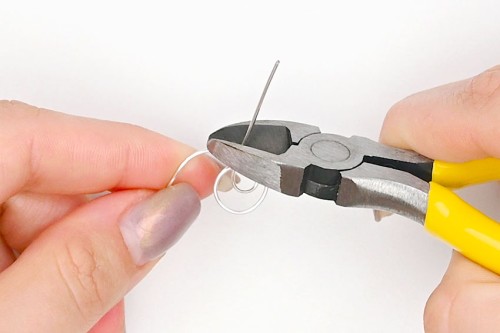
- Use wire cutters to cut the wire off at the center of the spiral, leaving about 2mm extra.
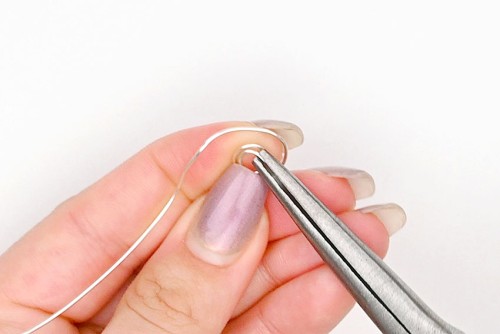
- Refine the loops with needle nose pliers and curl the extra wire into the center, following the spiral.
- You should now have a 3 loop swirl on one end of the wire.

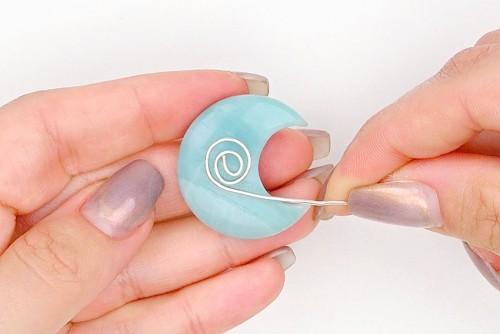
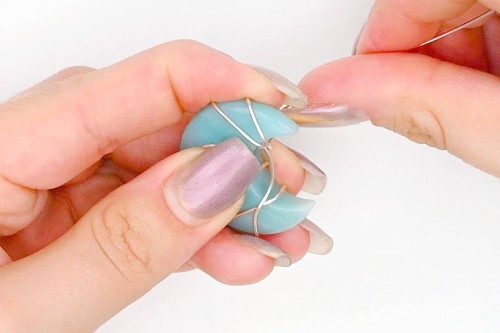
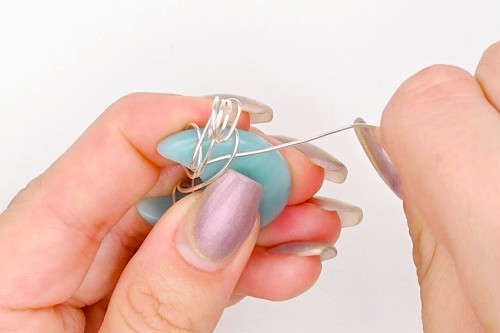
Step 3: Connect and wrap the wire around the stone
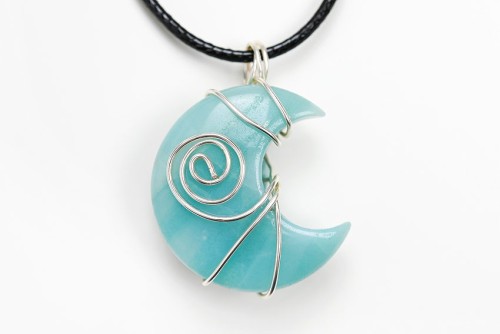
- Choose which side of the stone you'd like to be the front of your pendant.Place the swirl onto the stone where you'd like it to sit.
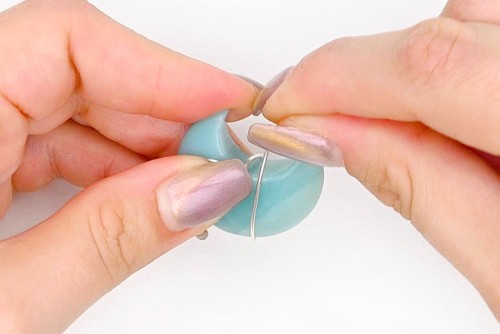
- Hold the spiral in place and begin wrapping the other end of wire around the stone, following the contours.Firmly press on the wire so that it turns and conforms to the stone shape as tightly as possible.We prefer to start wrapping around the bottom of the stone.
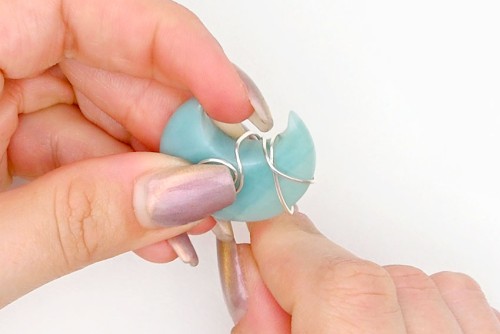
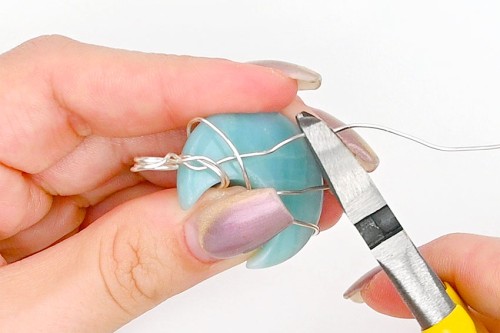
- Continue wrapping the wire around the stone, catching the wire on previously wrapped parts and the grooves of the stone. This will keep the wire steady.
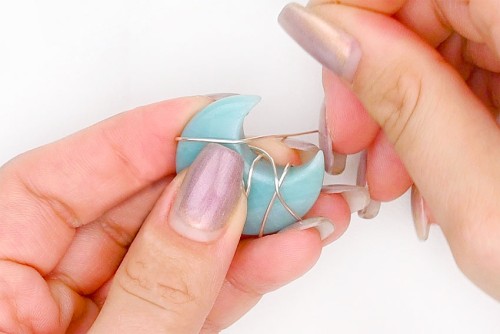
- Work your way up to the top of the stone, ensuring that your wraps are tight and that they're secure, hugging the stone tightly.
- Wrap your stone one last time near the top, ending where you'd like the pendant to hang from.
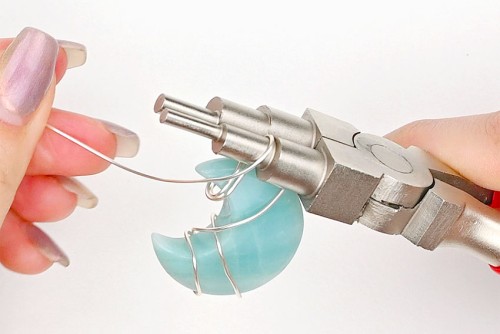
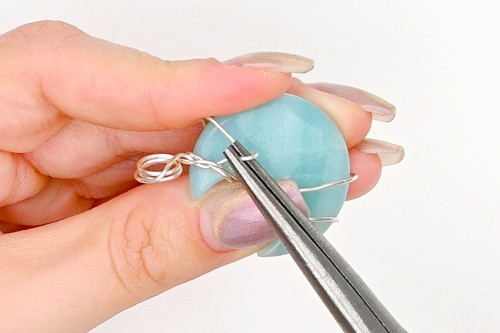
Step 4: Make the bail
- Start the bail by wrapping the wire around the 6mm section of the bail making tool.In jewelry terms, a bail is the secure loop component on a pendant that connects it to a chain or cord.
- Wrap the wire around the pliers 3 times to make a sturdy bail.
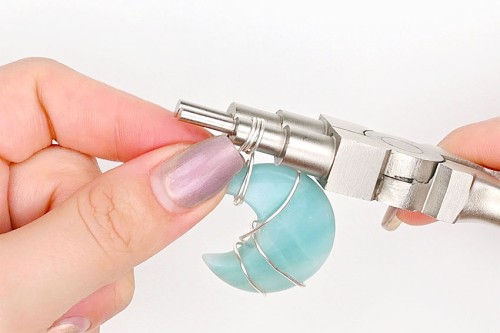
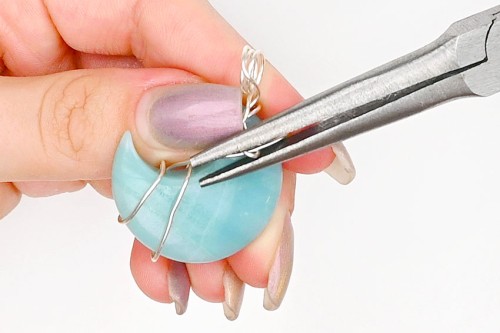
Step 5: Secure the wire ends
- Once your bail is made and in place, pull the end of the wire down and through a couple of the earlier wraps.This will help secure the wire end in place.
- Pull the end of the wire taut and ensure that it's secure. Loop it through again, if needed.
- Cut the remaining wire off, leaving about 1cm (about 3/8 inch) extra.
- Curl the wire end with the needle nose pliers, bending it so that the sharp end goes in towards the stone. This will also keep it from coming undone.
- Use the pliers to flatten down the wire end as much as possible.
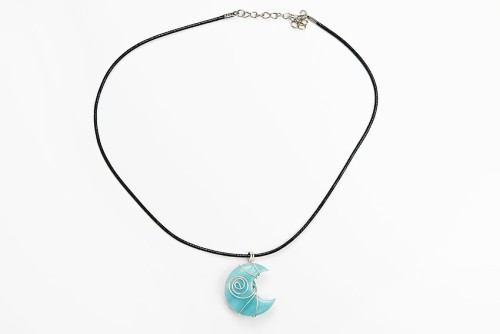
- Add a chain or cord through the bail, turning your pendant into a necklace.
- Your wire wrapped pendant is complete!
Helpful Tips:
- Remove any kinks or bends from the wire before you begin wrapping with it.
- If you’re new to wire wrapping, start with the easy technique described above. It’s good to start simple and get a good idea for how the wire bends and exactly how to use the pliers before moving on to to more intricate designs.
- This wire wrapping pattern can be used on any type or shape of stone, as long as it has 1 flat side!

What’s the best wire for wire wrapped pendants?
We recommend starting with 20 gauge wire. It’s a slightly thicker wire, making it easier for beginners to work with. Smaller gauges of wire (22 or 24) are great for adding more intricate designs.
You can buy jewelry wire that’s specifically labeled as “wrapping wire”. This type of wire will hold a bend, but isn’t too stiff to work with. You may also see the term “dead soft”, which refers to how flexible and malleable the wire is. Dead soft wire is very forgiving and makes great coils and spirals.
Copper wire is very soft and easy to work with, but we definitely recommend using a plated or coated wire to reduce tarnishing on your finished piece. If you want to make a hypoallergenic pendant, use stainless steel wire. This wire is very strong, which is good, but it also means it’s harder to work with.

What type of stone or crystal is best for wire wrapping?
You can wrap pretty much any type of stone, crystal, sea glass, or rock. But you definitely need to consider the size and weight of the stone. Make sure the crystal you choose is a good size for wearing, and that it isn’t too heavy.
For wire wrapping beginners, we recommend staying away from smooth circles, since they’re a lot more difficult to wrap precisely. Choose a shape that has grooves or edges for the wire to easily grab onto.
We recommend using a raw stone, or shaped stones like you can see in our photos – stars, moons, or long stones with flat edges.
What tools are needed for making a wire wrapped pendant?
Wire wrapping is really easy to get into because you don’t need to invest in a lot of specialized tools to get started. All you really need are wire cutters, needle nose pliers, and something round to wrap the wire around.
We do highly recommend buying bail making pliers. They make it so easy to make even loops, and you can buy an inexpensive pair at the craft store or online.
You can also use a mandrel. A mandrel is a cylinder shaped tool that helps make precise and consistent loops, coils, or spirals.
But if you don’t have these specific tools you can also use items you find around the house. Use dowels, pencils, or wooden spoon handles to make the bail.

How are the long wire wrapped pendants made?
You can wrap these stones (the purple one in the photo above) in almost the same way as the moon. Begin by making the swirl pattern on your bail making pliers.
Then, instead of flattening it, use the spiral to support the bottom of the stone. Rest the bottom of the crystal on the layered spiral and begin to wrap the wire up the stone in any way you see fit. Finish by making a bail above the stone.
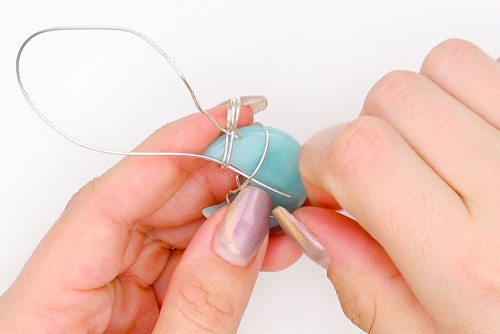
How is the star wire wrapped pendant made?
To make the star pendant, fold your wire in half and create a 6mm bail in the middle of the wire. Then twist the 2 sides of wire around each other to the length of your stone.
Set the bail at one point of the star, with the twisted part at the back of the stone. Wrap the two wire lengths around the bottom center of the star and separate them off into different directions.
Bring them to the top concave areas (between points), and then cross them over the back. Continue wrapping and switching directions until you have a wire star design on the front, finishing your wires on the back.
Wrap one wire strand through and around the back of the bail 3 to 4 times, and wrap the other strand around the bottom of the bail and the top point of the star. Trim off the excess wire and push the ends flat on the back.

Bend and twist a length of wire around a stone to make a beautiful wire wrapped necklace! Wire wrapping is such a creative and versatile artform, and you can use a simple, beginner friendly technique to make these wire wrapped pendants!

Here’s even more DIY jewelry craft ideas:


How to Make Polymer Clay Beads

Our book Low-Mess Crafts for Kids is loaded with 72 fun and simple craft ideas for kids! The projects are fun, easy and most importantly low-mess, so the clean up is simple!

Where to buy:
You can purchase Low-Mess Crafts for Kids from Amazon, or wherever books are sold:
Amazon | Barnes and Noble | Books-A-Million | Indiebound | Amazon Canada

Let us know what you think: