
These coffee filter roses are a stunning and simple craft and they look impressively realistic! Using only a few inexpensive materials, you can create beautiful DIY flowers that are perfect for centerpieces, bouquets, or springtime decor. The edges of the petals naturally darken as the watercolour dries, giving each flower a gorgeous ombre effect.
This fun and creative project is surprisingly beginner-friendly and perfect for older kids, teens, adults, and seniors. Whether you’re making a full bouquet for a handmade gift or crafting a single bloom to dress up your desk, these paper roses are a satisfying way to spend an afternoon.

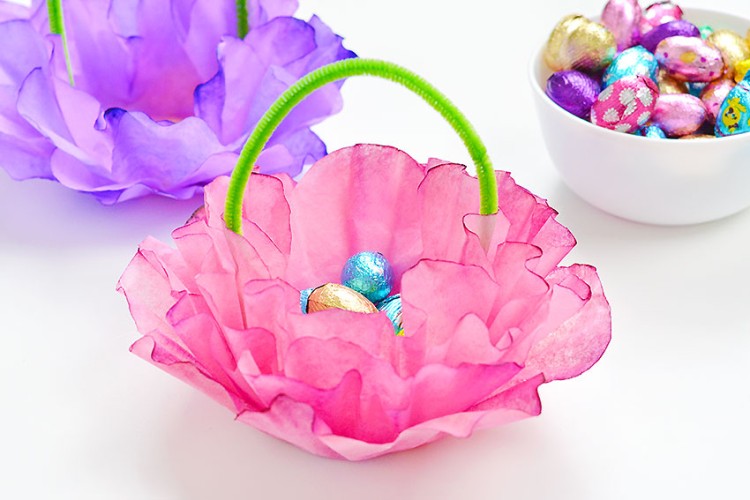
This post contains affiliate links. If you use these links to buy something, we may earn a small commission at no extra cost to you. This helps support our website and allows us to keep creating fun, free content.
How to Make Coffee Filter Roses
Watch the step-by-step video tutorial:
Instructions:
Step 1: Find what you need
- Gather your supplies and materials.


Step 2: Cut the coffee filters
- Make a stack of 5 coffee filters.Fold them in half, in half again, and in half one last time (3 folds total).

- Then cut the wider end into a rounded petal shape.
- Unfold the coffee filters to reveal a flower shape!


Step 3: Colour the coffee filters
- Set a drinking glass upside-down on a baking sheet or other protected surface. Then set the coffee filters on top of the glass, with the petals pointing down.

- Add about 10 drops of red liquid watercolor paint to a small amount of water (about 2 Tablespoons).Be generous with the paint for darker coloured roses (they lighten in colour as they dry).
- Stir the liquid watercolor paint and use an eyedropper to grab some.
- Add paint to the coffee filters, beginning in the middle.Be generous to ensure the paint will go through all the layers and there won’t be any white spots on the coffee filters.
- Continue adding paint to the coffee filters until they’re completely saturated.Allow to dry, overnight.


Step 4: Cut the coffee filters into petals
- Here’s what the coffee filters will look like once they’re dry.The top coffee filter gets a lot of colour, so discard this one. (You can also keep it if you like the dark colour.)
- Fold the 4 remaining coffee filters in half again and cut down the fold. This will give you a stack of 8 layers.
- Fold in half again and cut down this fold as well.
- This will give you 16 heart shaped sections with 2 petals each.


Step 5: Prepare the stem
- Cut a piece of gardening wire to be about 8 inches long.
- Use pliers to shape the end of the wire down into a curved loop.
- Then wrap the wire in green floral tape, starting with the curved end.Secure the ends of the tape with glue, if needed. This is the stem of the rose.


Step 6: Assemble the flower
- Fold the bottom point of a heart up to the center, in-between the 2 petals.
- Add a line of hot glue along the bottom fold of the petals.
- Set the curved end of the stem into the glue on one edge and begin rolling the coffee filter around the stem. Keep the bottom of the petals fairly tight and even around the stem, if you can.Continue until the petals are completely wrapped around the stem. This is the center of your rose.
- Fold another point of a petal section up. You’ll do this for each piece.Add glue along the bottom and begin wrapping it around the previous petals.
- Continue adding petal sections one by one, making sure you line up the bottoms of the petals.
- Now fluff the petals outward, starting with the outside layer. Continue until you’re happy with the look of your rose.
- Your coffee filter rose is complete!


Helpful Tips:
- If you want to have more control over the shape of your rose, you can also cut the petals individually.
- Don’t be afraid to experiment with colour! Try making roses of different colours, using orange, blue, or purple on their own, or blending them with red liquid watercolour to create stunning variations. Each filter takes on the paint differently, so every rose will be one of a kind!

Do I need liquid watercolour paint to make realistic paper roses?
No, food colouring also works well for making a coffee filter flower bouquet! Just dilute the food colouring with a bit of water and use the same eye dropper technique. For a bolder look, use less water and more colour.
You can also colour dry coffee filters with washable markers and drop water on them (or use a spray bottle) to spread the colour.

What type of coffee filters should I use for my DIY coffee filter roses?
For this coffee filter rose tutorial, flat-bottom, basket-style coffee filters work best. We use the 4 cup size. These coffee filters are easy to fold and cut, and the paper absorbs colour beautifully.
Avoid cone-shaped filters, which are harder to shape into petals.

How can I display my coffee filter roses?
You can arrange your DIY coffee filter roses in a vase, use them in a bouquet, or attach them to a wreath. For extra flair, try mixing them with faux greenery or wrapping a few stems with ribbon for a handmade gift.
For an extra sensory element, add a drop or two of your favourite essential oil to the inside of the flower or the stem after it’s fully assembled and dry. It’s a simple way to make your rose smell as lovely as it looks!

These DIY coffee filter roses are surprisingly realistic and simply gorgeous! With just a little time and a few craft supplies, you can create beautiful blooms that never wilt.
Whether you’re decorating for a special event or just adding a bit of floral fun to your space, these paper roses are a budget-friendly way to brighten any room.
Here’s even more coffee filter flower ideas:


Now available
Low-Mess Crafts for Kids Book
72 cute and fun crafts that kids and parents alike can enjoy. All with as little mess as possible!
Where to buy:
You can purchase Low-Mess Crafts for Kids from Amazon, or wherever books are sold:
Amazon | Barnes and Noble | Books-A-Million | Indiebound | Amazon Canada


Leave a Reply