
These snowy Christmas wine bottles are a beautiful and easy way to add holiday sparkle to your home! Decorated with “snow”, twine, and a touch of holiday greenery, they make stunning centerpieces or mantel decorations. The soft glow of twinkle lights inside adds a magical, wintery touch that feels perfectly festive!
This simple Christmas craft is perfect for adults or teens who love creating upcycled holiday decor. Whether you gift them, display them at a dinner party, or light them up on a cozy evening, these glowing bottles add warmth and handmade charm to any indoor space.

This post contains affiliate links. If you use these links to buy something, we may earn a small commission at no extra cost to you. This helps support our website and allows us to keep creating fun, free content.
How to Make Snowy Christmas Wine Bottles
Materials:
Equipment:
See the craft in action:
Instructions:
Step 1: Find what you need
- Gather your supplies and materials.


Step 2: Mix the “snow”
- Add 1/2 cup of Epsom salts to a bowl.
- Pour in a good amount (about 1-1/2 teaspoons) of white iridescent glitter. We used both fine and chunky glitters.

- Stir the salt and glitter together so it’s nicely combined.


Step 3: Add the snow to the bottle
- For this craft you’ll need an empty and clean clear wine bottle. Remove the label and soak the bottle to get rid of any glue residue.
- Paint a generous coat of matte Mod Podge onto the bottle, covering from the very top to about 4 inches below the neck.
- Then sprinkle the “snow” mixture over the bottle, making sure all of the Mod Podge is covered.
- Press the “snow” down, so it really adheres to the bottle. Then allow to dry completely, about 2 hours.
- Use your thumb to lightly brush off some of the snow at the bottom. Don’t push too hard or knock all of it off — just remove enough so there’s a bit of an ombre contrast.
- Then rub off a small spot of snow at the bottom of the neck. This will give you a place to glue the decorations later.
- Spray with a sealer and allow to dry. We recommend doing this outside on top of newsprint, or at the very least in a well ventilated room.


Step 4: Decorate the Christmas bottle
- Cut 2 pieces of twine, each about 2 feet (24 inches) long.
- Hold the pieces together and tie them into a bow.
- Next you’ll need a piece of faux greenery with a mini pinecone and holly berries.We cut ours off a candle ring from the dollar store, but you can also glue or wire separate pieces together to create your decoration.
- Add hot glue to the base of the greenery and attach the center of the bow on top.
- Add hot glue to the bottle, in the spot you cleared before. Then press the decoration in place, holding it until the glue dries.
- Place twinkle lights in the bottle, leaving the battery pack at the back of the bottle.You can choose to leave it hanging (from the front it’s hidden by the snow) or glue it in place so it doesn’t move at all.
- Then press the cork into the bottle opening.
- Your snowy Christmas wine bottle is complete!


Helpful Tips:
- Use clean bottles: Make sure your wine bottle’s label is removed and it’s thoroughly cleaned before starting. Any residue or oil can prevent the faux snow from sticking evenly.
- Mix and match: Try using bottles of different shapes and sizes to create a more interesting display or centerpiece.

What type of bottle works best for making snowy wine bottles?
Any empty wine bottle or glass bottle will work, but clear bottles specifically let the lights shine through most beautifully. You can also use green or frosted bottles for a slightly different look. Just make sure the surface is smooth and clean before adding glue and faux snow.

Can I re-use the same bottles for other seasonal decor?
Yes, you can remove the twine and greenery and then scrape off the majority of the “snow”. Soak the bottles in warm, soapy water before scrubbing them clean. Wipe with rubbing alcohol before adding more paint or decorations.
What type of snow should I add to these Christmas wine bottles?
We used a combination of Epsom salt and glitter, which gives a lovely icy sparkle. You can also glue on store-bought faux snow, extra-chunky glitter by itself, or even wisps of cotton stuffing.

What lights should I add to my snowy Christmas wine bottles?
LED fairy lights (also called twinkle lights) work best for this craft — they’re bright, safe, and flexible enough to fill the entire bottle for an even glow. They also cover more vertical space than a single light source, giving your snowy bottles that magical, twinkling look.
If you prefer a softer glow, you can use balloon lights instead (make sure they’re small enough to fit into your bottle) for a more subtle glow effect. You can also place glow sticks inside, though these have a one-time use.

These snowy Christmas wine bottles are such a beautiful way to bring sparkle and warmth to your holiday decor. With just a few simple supplies, you can turn empty bottles into glowing winter accents that feel both festive and timeless. Have fun making this classy wine bottle decor and display them to capture the cozy magic of the season!
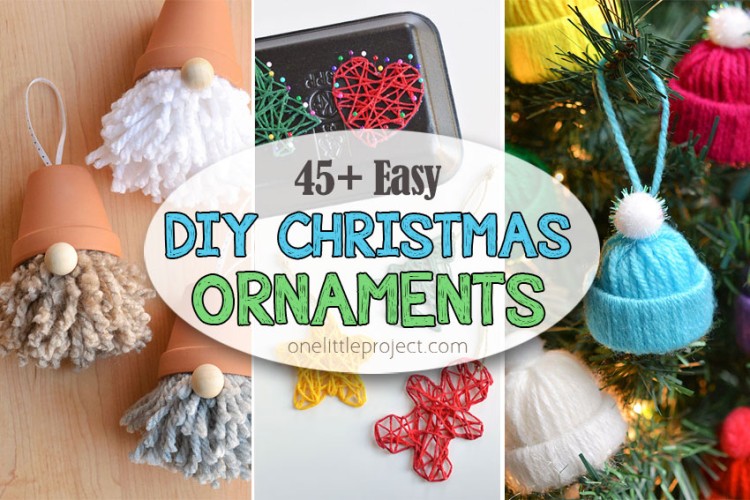
Here’s even more DIY Christmas decor ideas:


Now available
Low-Mess Crafts for Kids Book
72 cute and fun crafts that kids and parents alike can enjoy. All with as little mess as possible!
Where to buy:
You can purchase Low-Mess Crafts for Kids from Amazon, or wherever books are sold:
Amazon | Barnes and Noble | Books-A-Million | Indiebound | Amazon Canada


Leave a Reply