Celebrate winter with a snowflake salt painting! These salt painted snowflakes are SO FUN to make, and they’re also super pretty.
Use our free snowflake templates or draw your own snowflake designs. Then use white glue and salt to create 3D art. When you add the liquid watercolour paint it spreads like magic across the raised salt — it’s so cool!

This post contains affiliate links. If you use these links to buy something we may earn a small commission which helps us run this website.
How to Make Salt Painted Snowflakes
Equipment:
- Small bowls (or deep paint palette)
Watch the step-by-step video tutorial:
Instructions:
Step 1: Find what you need
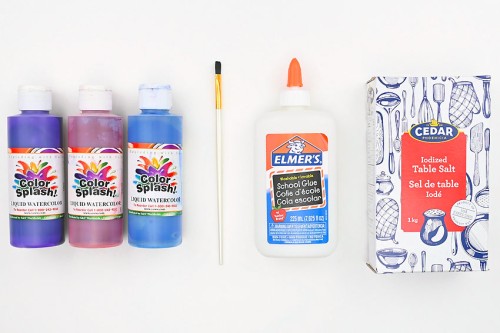
- Gather your supplies and materials.

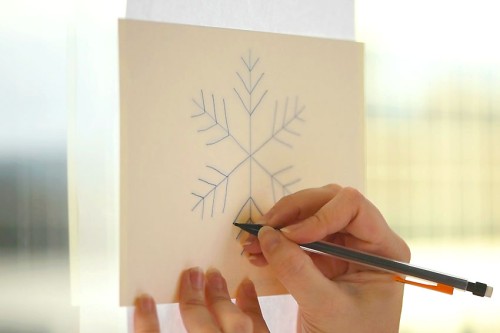
Step 2: Print and trace the template
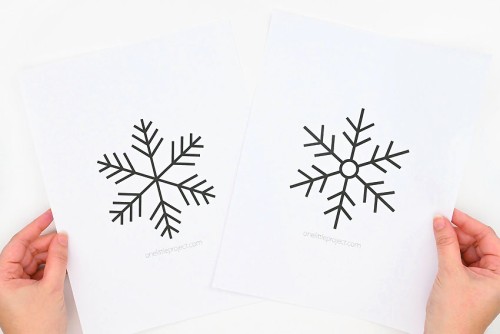
- Choose and print your snowflake templates. We have 12 different snowflakes available for you (find the link in the materials list above). You can also draw your own snowflake designs.

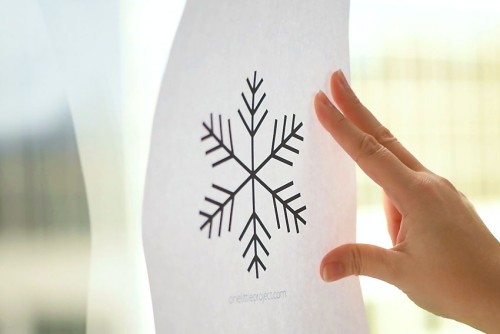
- To trace the snowflake, place it against a well lit window.You can also put it over a tablet or computer monitor with a blank white screen and the brightness turned up high.
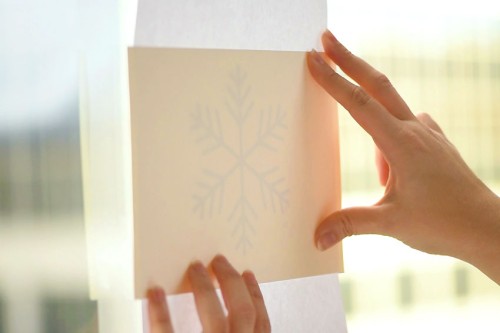
- Next place a piece of watercolor paper on top of the template. You should be able to see the snowflake through the paper.
- Use a pencil to trace the lines of the snowflake onto the watercolor paper.
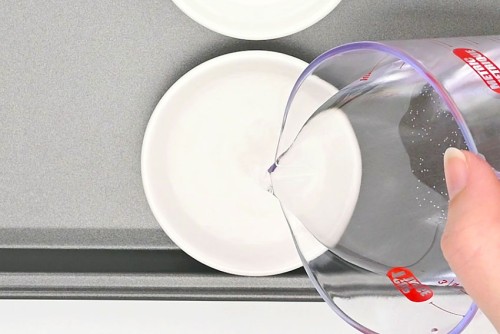
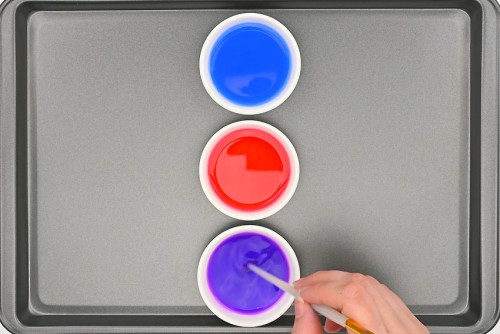
Step 3: Mix the liquid watercolor paint
- Pour a little bit of water into a deep paint palette or into small bowls (1 section or bowl per colour).
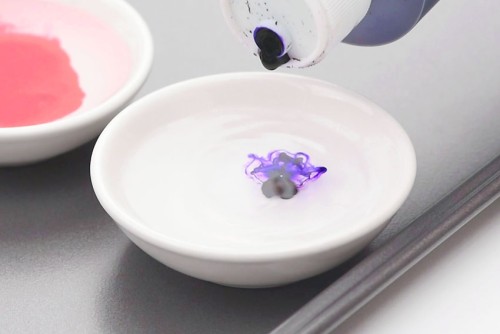
- Add 1 – 2 drops of paint to each bowl. This will create a pastel colour.If you’d like brighter coloured snowflakes try to make a mixture of 3 parts water to 1 part paint.
- Use the top end of the paintbrush to mix the paint into the water.
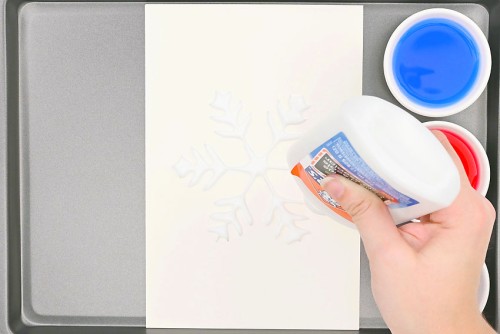
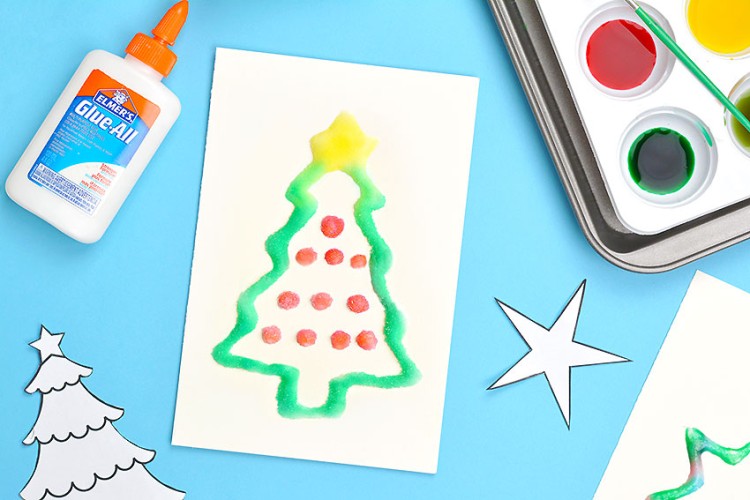
Step 4: Add glue and salt to the paper
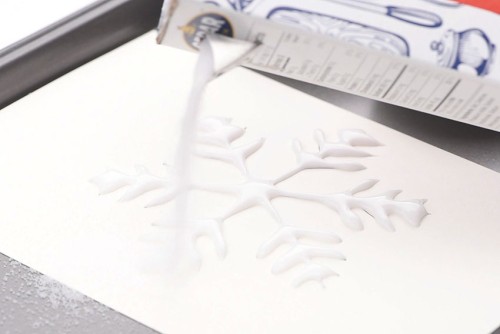
- Trace the lines of the snowflake with white glue.
- Pour a generous amount of salt on the glue, making sure it’s completely covered.
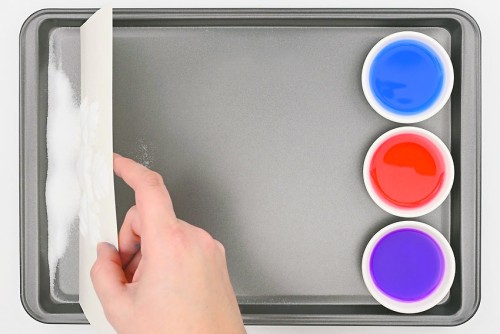
- Tilt the paper and let the extra salt fall off.You can put the paper upside-down briefly, but don’t tap or shake the paper — it can cause too much salt to fall off, and the glue may flatten.You can re-use this extra salt for your next painting.
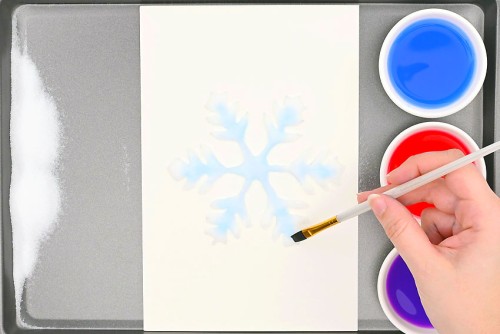
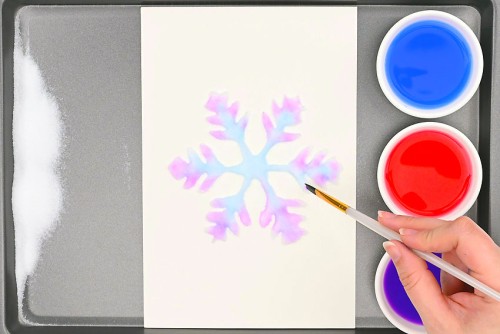
Step 5: Add paint to the raised salt
- Dip your paintbrush in the paint. Then lightly touch the brush to the salt-covered glue.Watch as the paint spreads, like magic, across the salt!
- Continue adding a little bit of paint at a time, and enjoy watching the paint spread across the salt.
- You can use different colours of paint on one snowflake. For this snowflake we added a second colour to the tips.
- Your snowflake salt painting is complete!Have fun experimenting with different designs and colours.


Helpful Tips:
- Instead of a paintbrush, use an eyedropper to add paint to the salt.
- Make a single coloured snowflake, or use colours that blend and complement each other.
- If you want to design and draw your own snowflake, remember that they have 6 sides!

Free printable templates for snowflake salt painting:
Click the link below to find the snowflake templates we used to make our salt painted snowflakes! The templates are free to download and print.
>>> Snowflake Templates <<<

My snowflake salt paintings look wet. How can I get the crystal look?
Your snowflake salt painting may look quite wet, especially if you’re painting with light colours. To get a more crystal-like look, rather than puddles of wet and salty glue, you can pour more salt on top of the wet paint and salt, then tilt off the extra.
You can also add more paint into the water to make stronger colours. We find the snowflakes look better with lighter colours, but bold colours can still look beautiful.
How long does a snowflake salt painting last?
This art project is more about the process of watching the paint spread across the salt than the end result. The snowflake salt paintings are pretty to look at once they’re complete, but they aren’t meant to last more than a day or so.
As the salt dries it will start to fall off the paper if the paper is bent in any way. So don’t count on saving these art projects long term — just enjoy the process of making them!

What type of paper is best for salt painting?
You need to use a thick paper that can handle glue and moisture without warping too much. We like to use watercolor paper for salt painting, because of how thick it is, and because it’s made to absorb liquid.
However, cardstock will work as well, and it’s a lot less expensive. We used white watercolor paper to make our snowflakes, but you could also use different shades of blue cardstock to represent the sky.
Do you have to let the glue dry when making salt painted snowflakes?
We don’t wait for the glue to dry when making salt art — we like to paint on the salt right away. However, you can definitely wait a few hours, or even overnight, to allow the glue to dry.
The salt and glue can smudge easily when the glue is still wet, so you need to just barely touch it with the brush. So painting the salt once the glue is dry might be a good way to make this art project easier for younger kids.

Snowflake salt painting is such a fun activity, perfect for when the blustery winter weather keeps you indoors. This process art project for kids is great for at home or during a weather unit at school.

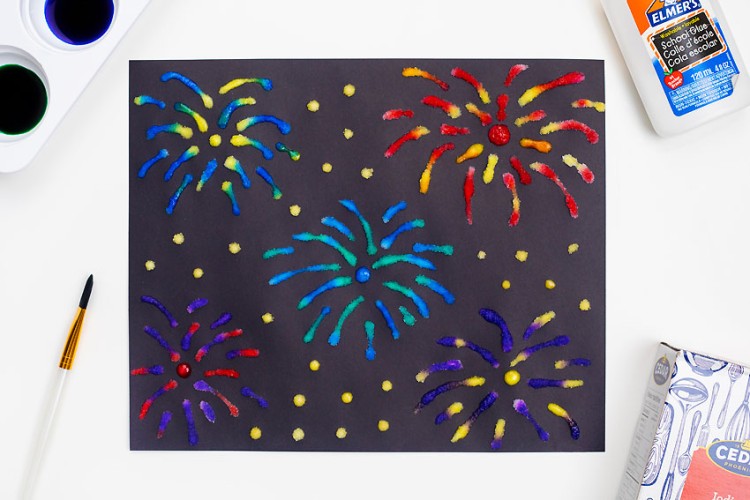
Here’s even more salt painting ideas:
Salt and Watercolor Snowflake Art


Our book Low-Mess Crafts for Kids is loaded with 72 fun and simple craft ideas for kids! The projects are fun, easy and most importantly low-mess, so the clean up is simple!

Where to buy:
You can purchase Low-Mess Crafts for Kids from Amazon, or wherever books are sold:
Amazon | Barnes and Noble | Books-A-Million | Indiebound | Amazon Canada


Leave a Reply