These painted salt sculptures are SO COOL! Did you know that you can press salt mixed with water into a mold to make sandcastle-like salt structures that actually harden?
Once they dry, you can paint them bright colours with an eye dropper! The colour spreads like a magical ripple across the dried salt. It’s such a fun and mesmerizing art project!

This post contains affiliate links. If you use these links to buy something we may earn a small commission which helps us run this website.
How to Make Painted Salt Sculptures
Materials:
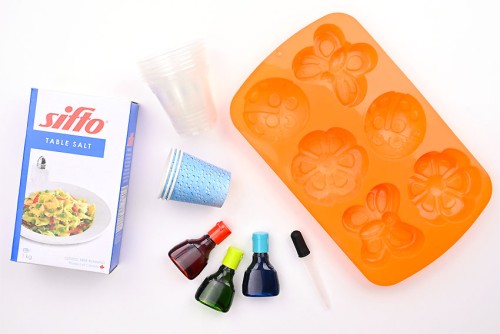
- 3 cups Salt
- 3 Tablespoons Water
- Food colouring (diluted in water)
Equipment:
- Dixie cups (optional)
- Disposable plastic cup(s) (or small bowls)
Watch the step-by-step video tutorial:
Instructions:
Step 1: Find what you need
- Gather your supplies and materials.

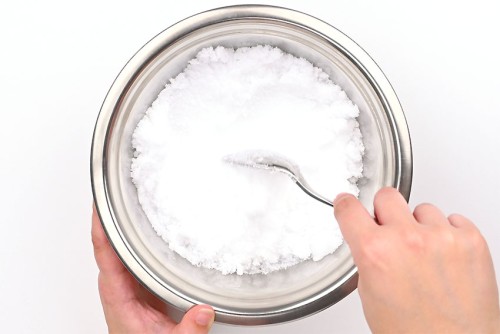
Step 2: Make the salt sculptures
- Combine the salt and water in a mixing bowl.
- Stir well, with a spoon, until the mixture is wet and crumbly. Make sure that there aren’t any dry spots.
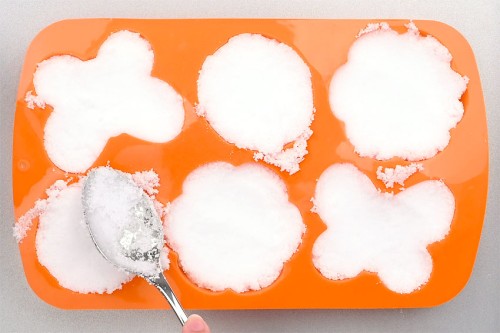
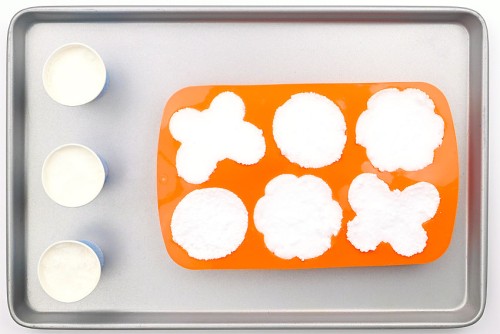
- Fill the silicone molds with the salt mixture and pack it down. Fill the molds tightly, like you would a sand castle.

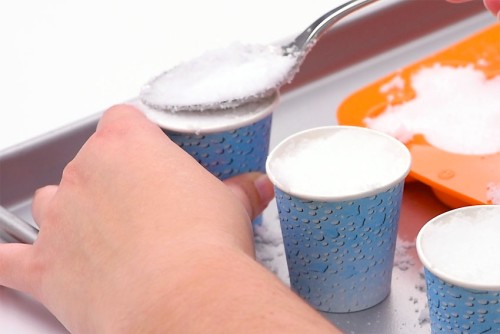
- You can also fill Dixie cups to make little sand castle structures.
- Allow the salt sculptures to dry overnight.

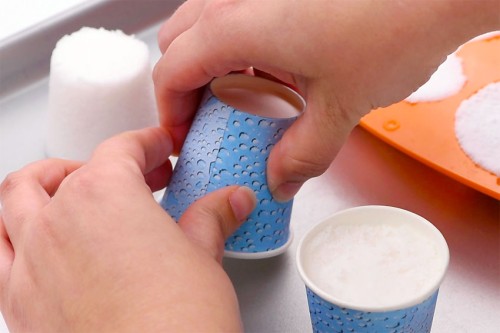
Step 3: Unmold the salt sculptures
- To unmold the Dixie cups, flip them upside-down. The salt sculpture should come out easily, but you can squeeze the sides of the cup gently to help it come out.
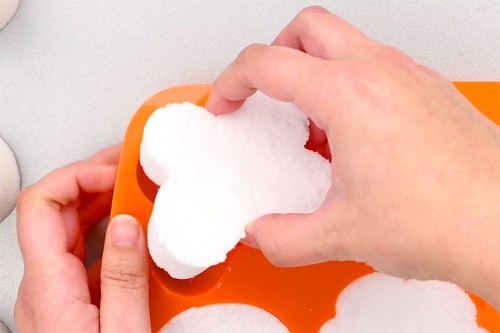
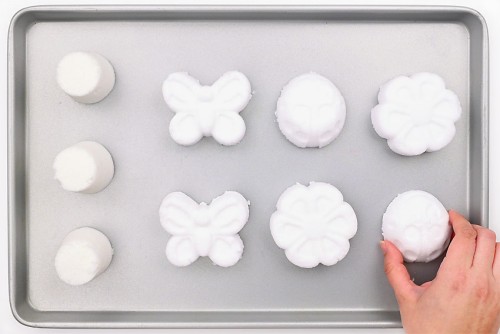
- To remove the salt sculptures from the silicone molds, carefully push up from the bottom of the mold and gently pull the salt sculpture out of the mold.
- Set the unmolded salt sculptures onto a baking tray or other flat surface that can handle food colouring.
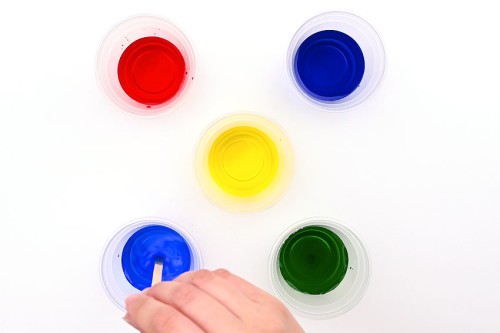
Step 4: Mix up the food colouring
- Add about 1/4 cup of water to small bowl or cup. Prepare 1 bowl for each colour you’d like to paint with (eg. 5 bowls for 5 colours).Then add 5 – 10 drops of food colouring to each bowl.
- Stir the food colouring and water until mixed.

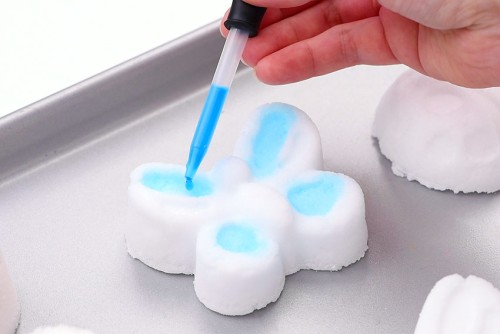
Step 5: Have fun painting your salt sculptures
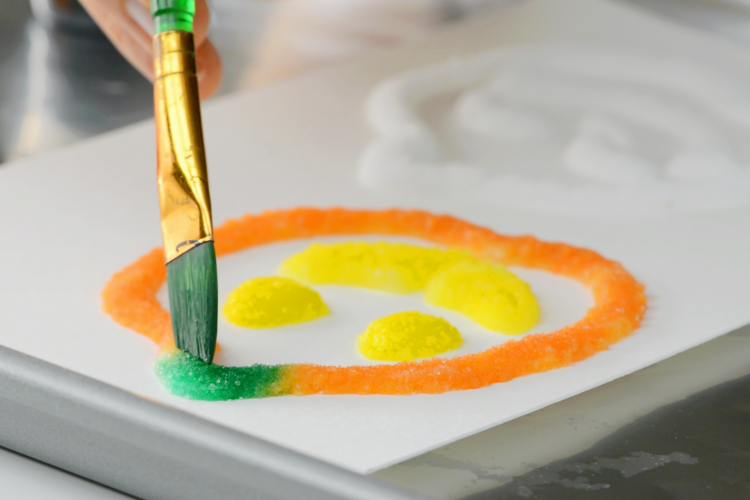
- Use an eyedropper to squeeze drops of “paint” onto your salt sculpture. Then watch the color spread across the salt.
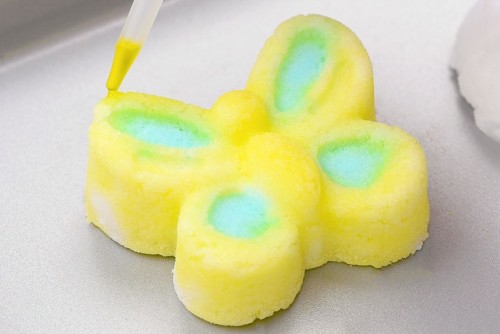
- Add a second, and even a third, colour to your salt sculpture. Silicone molds with ridges allow for some colour separation, but generally the colours will start to blend where they meet.
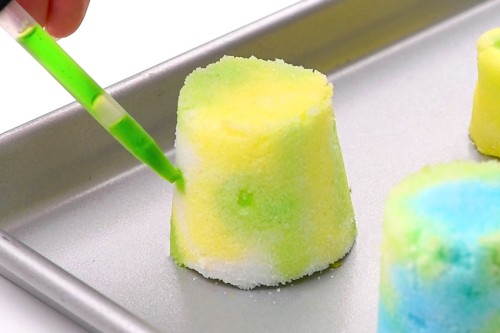
- Continue adding colour to your salt sculptures. Experiment with colour mixing and abstract patterns.Allow the salt sculptures another 12 hours to dry before handling them.
- Your painted salt sculptures are complete!
Helpful Tips:
- Keep your salt sculptures out of reach from any curious pets! Salt causes dehydration, which can be life threatening for our furry friends.
- Really pack down the salt in the molds so that it comes out cleanly without breaking or crumbling.
- If you still have moisture on the tops of your sculptures, after removing them from the molds, allow them to dry for another 12 hours, wet side up.

What kind of paint do you use to create these painted salt sculptures?
We actually used food colouring to paint our salt sculptures, because we liked the colors better! But if you don’t want to use food colouring, you can also use liquid watercolor paint! It works just the same way.

What molds are the best for making these painted salt sculptures?
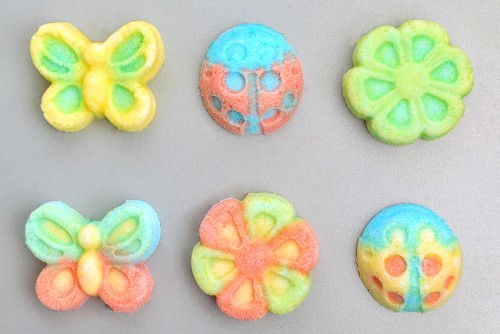
We used silicone molds to make fun sculptures like butterflies, ladybugs, and flowers. We also made some small “sand castles” using Dixie cups.
You don’t need fancy molds. You can easily use use plastic bowls or cups, sand castle molds, or other beach toys. Glass or ceramic cups and bowls will work as well, but it’s more difficult to get the sculptures out in one piece.

What can I do with my painted salt structure?
Display your salt sculptures just as you’d display something you made out of clay. Some people leave out salt for protection, to absorb negative energy, so this could be a fun way of doing that!
You can also use these salt sculptures as part of sensory play. Kids can use a toy hammer or toothpicks to break apart the salt structures. Then they can play with the salt, making note of the colours and the texture.

Watch the food colouring spread like magic across these painted salt sculptures! Process art is so cool, because it’s all about playing and trying out new techniques. Use an eyedropper and experiment with colour mixing, creating abstract designs and shapes. It’s so much fun!

Here’s even more salt craft ideas:


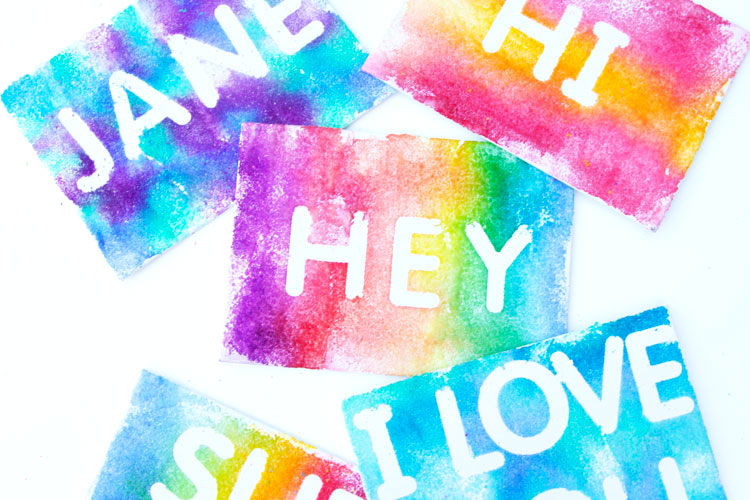
Magic Salt and Watercolor Snowflake Art

Our book Low-Mess Crafts for Kids is loaded with 72 fun and simple craft ideas for kids! The projects are fun, easy and most importantly low-mess, so the clean up is simple!

Where to buy:
You can purchase Low-Mess Crafts for Kids from Amazon, or wherever books are sold:
Amazon | Barnes and Noble | Books-A-Million | Indiebound | Amazon Canada


Leave a Reply