
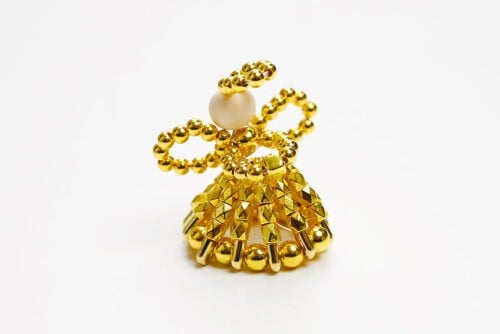
Add a touch of sparkle to your holiday season with this safety pin angel craft! Made from simple materials like safety pins, beads, and wire, these dazzling little angels make beautiful Christmas ornaments, gift toppers, or keepsakes.
This DIY beaded angel is a lovely project for adults, teens, or anyone who enjoys creating handmade holiday decor. These shimmering angels catch the light beautifully and bring a bit of handmade elegance to your Christmas. Thanks to Zevy Joy for the wonderful idea!

This post contains affiliate links. If you use these links to buy something, we may earn a small commission at no extra cost to you. This helps support our website and allows us to keep creating fun, free content.
How to Make a Safety Pin Angel
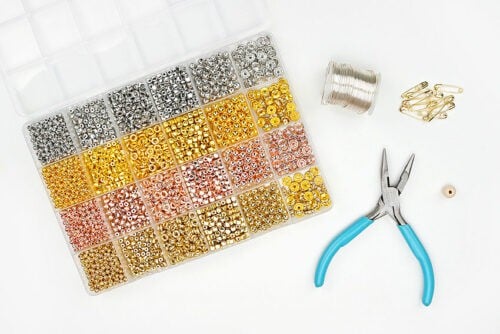
Materials:
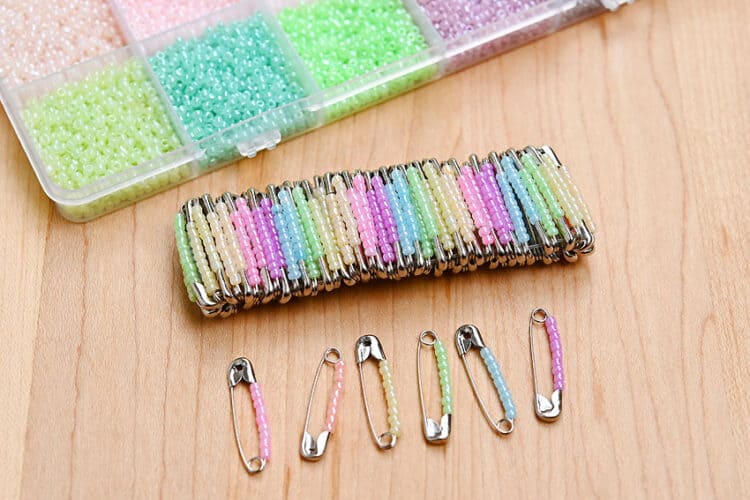
- Gold safety pins
- Metallic bracelet beads (various sizes and shapes)
- 24 gauge Wrapping wire
- Wooden bead(s) (10mm)
Equipment:
See the craft in action:
Instructions:
Step 1: Find what you need
- Gather your supplies and materials.

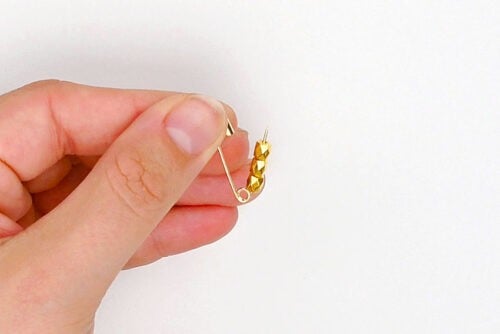
Step 2: Make the angel’s skirt
- Add gold beads to fill a gold safety pin. We were able to fit three 4mm faceted spacer beads, but this will differ based on the exact size of your beads.
- Close the safety pin and repeat, making 11 more beaded pins (for 12 total).

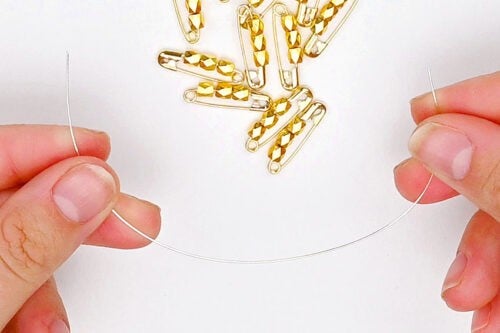
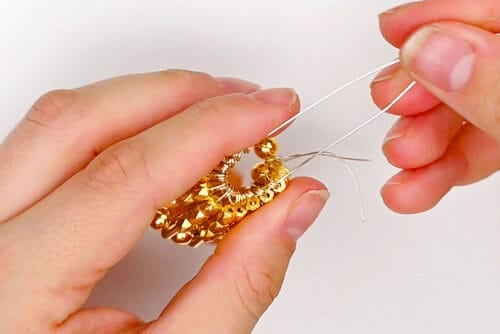
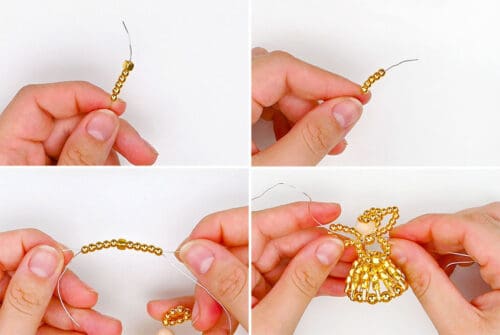
- Cut a 5 inch piece of 24 gauge wire.
- Add a safety pin to the wire through the hole by the clasp.
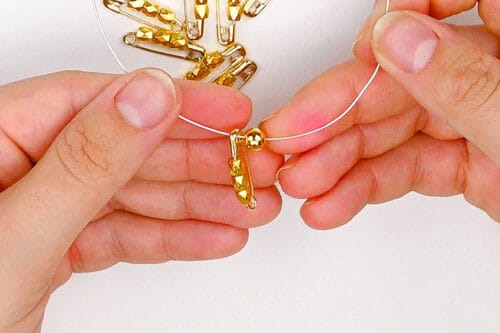
- Then add a 6mm round bead to the wire.
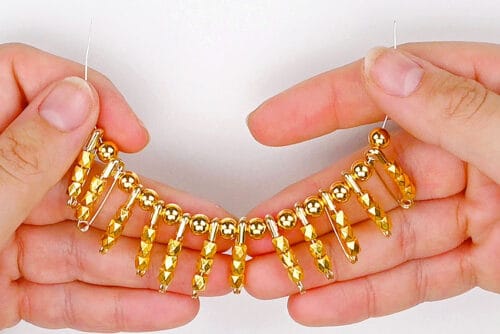
- Repeat this pattern (pin, bead, pin, etc.) until all the pins are added.Make sure the beads are facing the same direction as you add the pins, and end with a 6mm bead.
- Form the wire into a circle and twist it together right next to the pins, securing the shape.Make sure the pins and beads are nice and snug next to each other — you want a tight circle.
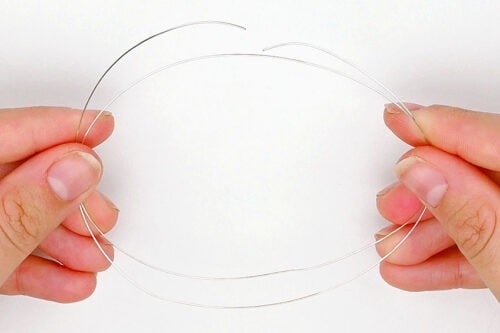
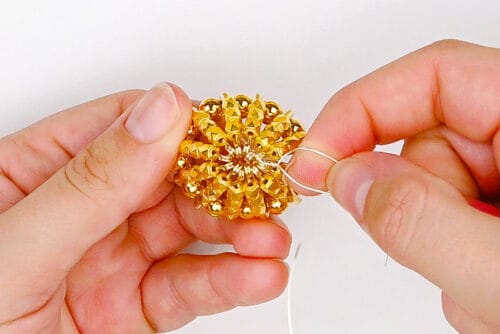
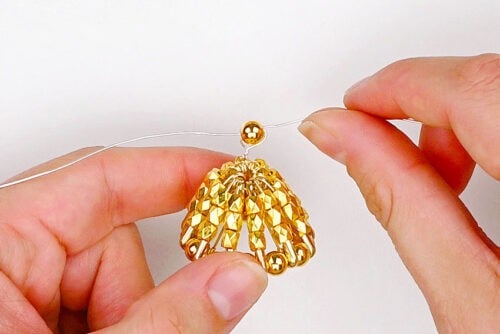
- Now cut a 24 inch piece of wire.
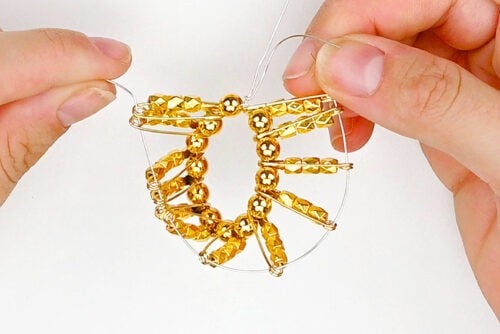
- Thread this wire through the bottom of each safety pin.
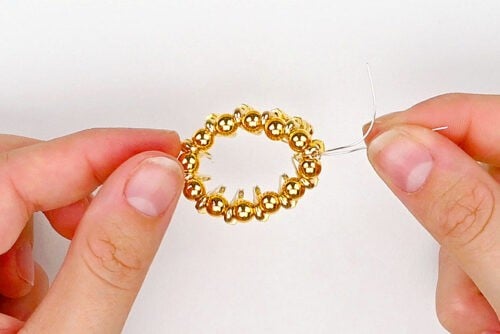
- Arrange the wire so there’s an even amount on each side of the pins, pushing and pulling the wire through to do this.
- Tighten the pins together into a circle and twist to secure. This is the angel’s skirt.
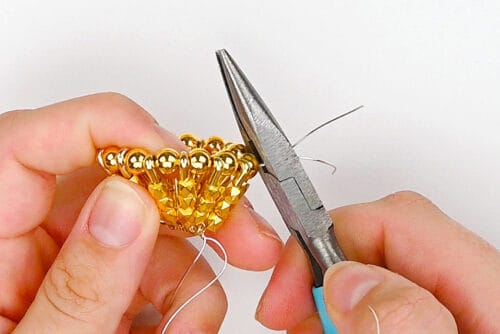
- Cut off the excess wire at the base of the skirt (from the first piece of wire).Leave the second wire long. We’ll be working with it next.


Step 3: Make the body, wings, and head
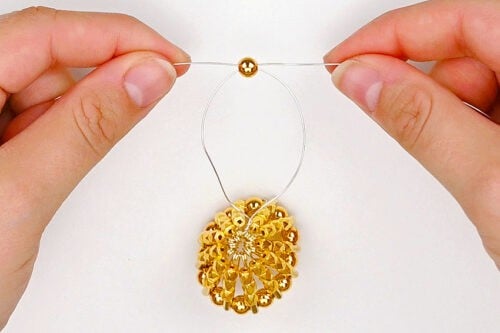
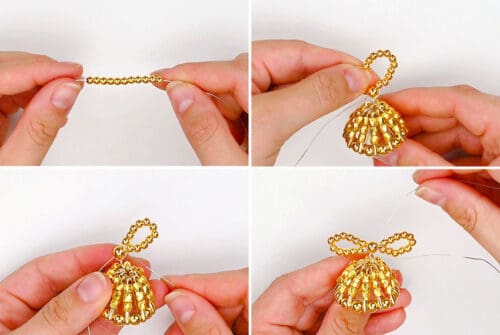
- Add a 6mm round bead onto one piece of the wire. Then push the second wire through in the opposite direction.
- Pull to tighten the wires, bringing the bead down as close to the skirt as possible.
- Add eleven 3mm round beads onto one of the wires. Form it into a loop and twist it together near the round bead.Repeat on the other wire to create the angel’s wings.

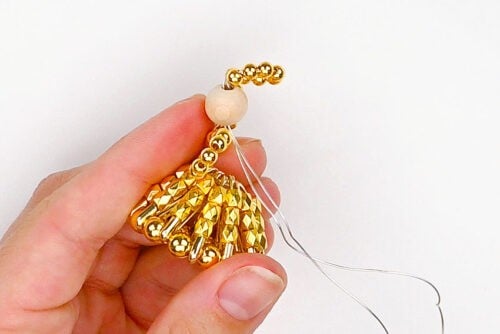
- Twist the two wires together a few times above the wings and then add a 10mm wood bead onto both wires. Let it slide down next to the wings, creating the angel’s head.
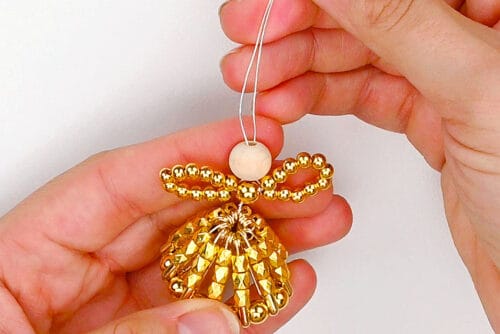
Step 4: Form the halo and arms
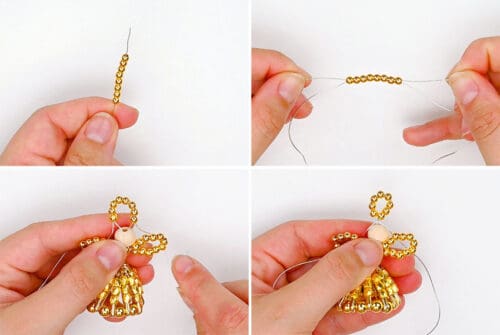
- Add eight 3mm beads to one wire. Thread the second wire through the beads in the opposite direction.Pull the wires tight, leaving a 2mm gap between the head and these beads. Twist the wires together under the beads, creating the round halo.
- Now push the ends of the wire back down through the wood bead.
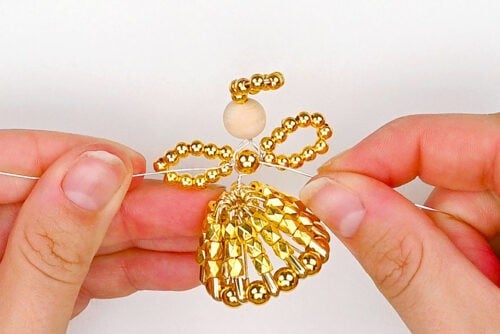
- Bend the halo down so it looks like it’s floating above the head.
- Now thread each wire so they go through opposite sides of the body (6mm round) bead. Pull them tight.
- Add five 3mm round beads to one wire. Place the same on the other wire, and then add a 4mm cube spacer bead as well.Thread each wire through the beads on the opposite wire. Pull the wires tight to create rounded arms.
- Secure the wires together at the back of the angel by twisting them several times. Then cut off the excess wire.
- Your safety pin angel is complete!
- Now have fun making a whole chorus of angels in different metallic colours!


Helpful Tips:
- Use the right size safety pins: We used 1 inch safety pins to make this mini angel. To use larger pins, simply size up your beads so the proportions stay balanced.
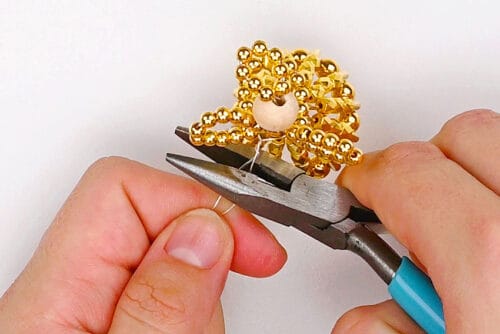
- Use pliers for tricky spots: If you find it hard to thread the wire through the beads, a pair of needle-nose pliers can make the job much easier. They’ll help you guide the wire neatly through each bead and keep your angel’s shape crisp and secure.

What beads are needed to make this safety pin angel?
We used these exact bracelet beads to make our mini angels. Here’s a list of what you’ll need to make one:
- 36 × 4mm faceted spacer beads (for the safety pins)
- 13 × 6mm round beads (for the skirt and body)
- 1 × 10mm wooden bead (for the head)
- 18 × 3mm round beads (for the halo and arms)
- 1 × 4mm cube spacer bead (for the arms)
Your bead shapes don’t need to match perfectly to ours — just try to keep the sizes close to these measurements so the angel’s proportions look even and balanced.

What size angel does this safety pin Christmas craft make?
Your finished angel will measure about 1-3/4 inches tall and 1-1/2 inches wide at the base.
It’s the perfect size for a little nativity scene, it makes a sweet protector for your desk at work, or you can add a small loop to the halo to hang it as a Christmas tree ornament.

What wire is best for making a safety pin angel?
We recommend using 22 or 24 gauge wrapping wire. The wire needs to be strong enough to hold its shape, but thin and flexible enough to fit easily through your beads and allow for gentle shaping.

This DIY safety pin angel is a timeless holiday favourite and a fun Christmas craft for church groups or Bible study. You only need a few simple supplies to make these mini angels, but the result is sparkling, beautiful, and full of handmade charm.
Whether you’re experienced with wire and beads, or are new to crafting, you can have fun making this safety pin angel. Follow our step-by-step instructions to make this cute holiday craft and put it on display for a beautiful reminder of the joy and creativity that make the season so special.
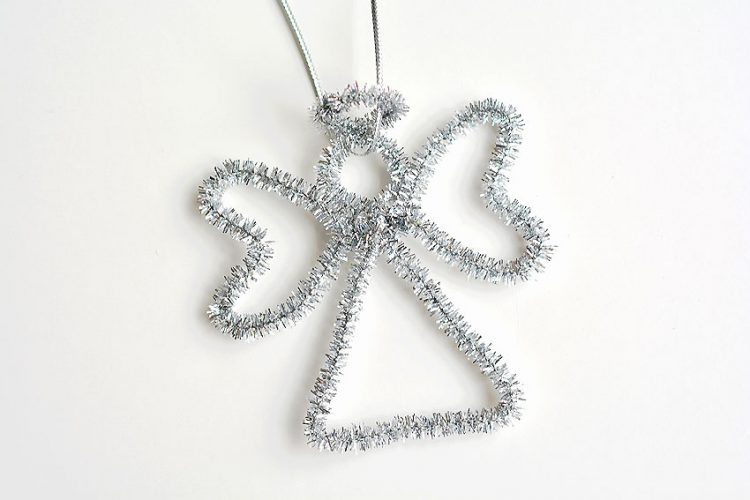
Here’s even more angel craft ideas:


Now available
Low-Mess Crafts for Kids Book
72 cute and fun crafts that kids and parents alike can enjoy. All with as little mess as possible!
Where to buy:
You can purchase Low-Mess Crafts for Kids from Amazon, or wherever books are sold:
Amazon | Barnes and Noble | Books-A-Million | Indiebound | Amazon Canada


Leave a Reply