It’s so fun to make a paper shamrock decoration for St. Patrick’s Day! All you need is paper, a stapler, and a bit of glue to make this lucky paper craft.
Make tiered paper hearts for the shamrock’s leaves and glue them together to create a 3D paper shamrock. It’s such a quick and easy St. Patrick’s Day craft for kids!

This post contains affiliate links. If you use these links to buy something we may earn a small commission which helps us run this website.
How to Make a Paper Shamrock
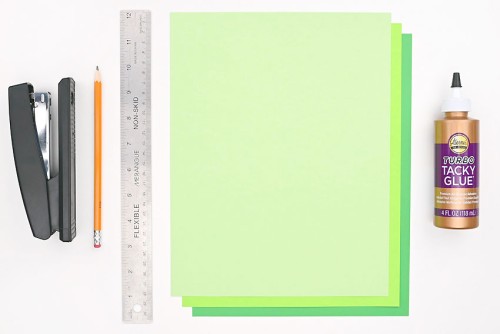
Materials:
- Green cardstock (3 shades)
- Tacky glue
Equipment:
- Scissors (or paper cutter)
- Paper clip(s) (optional)
Watch the step-by-step video tutorial:
Instructions:
Step 1: Find what you need
- Gather your supplies and materials.

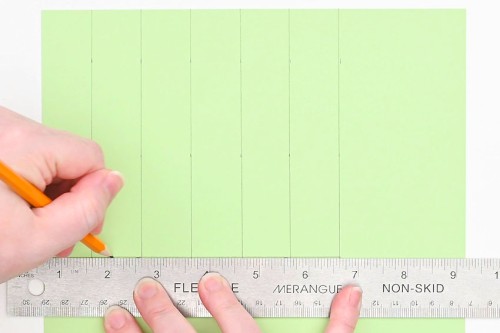
Step 2: Cut the pieces and make the paper bundle
- On the light green cardstock, measure 6 strips that are 1 inch across and 5 inches long.

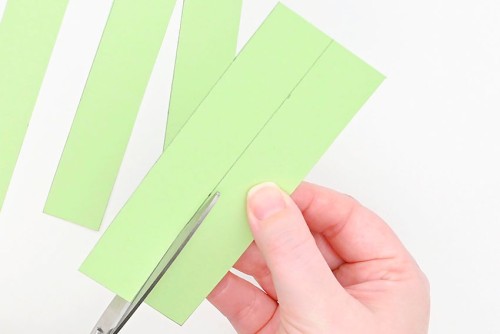
- Cut out the strips of paper.
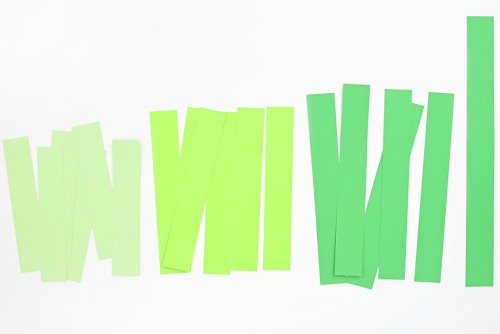
- Repeat, cutting 6 strips from medium green that are 1 inch across and 6 inches long.Cut another 6 paper strips from dark green that are 1 inch across and 7 inches long.Cut one final dark green piece of paper that is 1 inch across and 10 inches long for the shamrock’s stem.
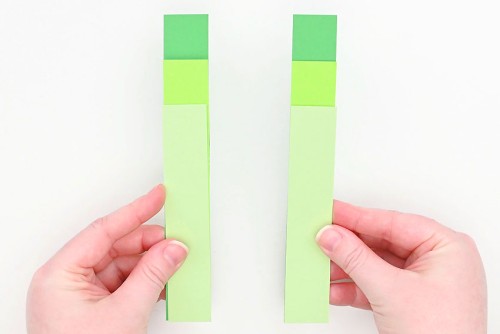
- To make one of the shamrock’s leaves you’ll need 2 strips of each colour.Make 2 piles of paper strips. Start with the 7 inch pieces (dark green), then the 6 inch piece (medium green), and finally the 5 inch piece on top (light green).
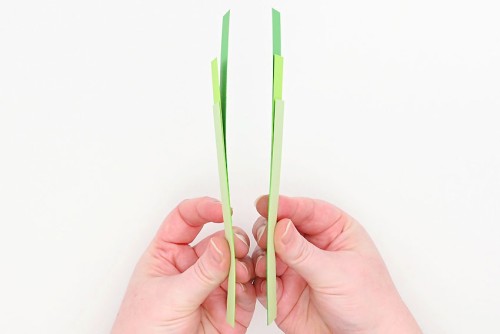
- Bring the two piles together with the 2 longest pieces sandwiched in the middle.
- Staple the bundle of paper strips together where the ends are all lined up.
Step 3: Make the heart shaped leaves and stem
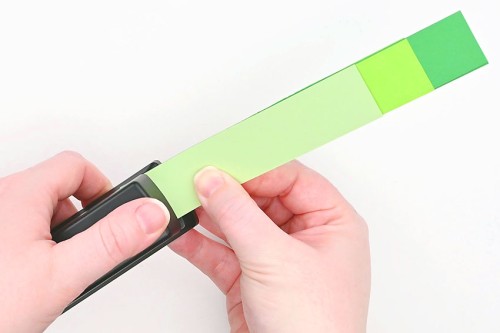
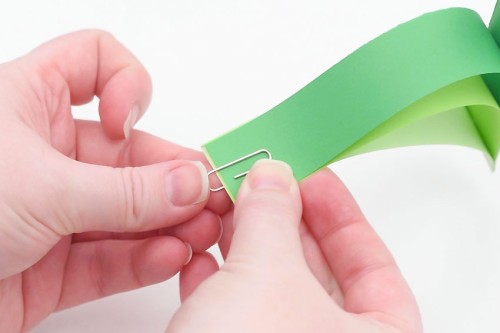
- Line up the ends of the top 3 paper strips.
- Place a paper clip on these strips of paper to keep them in place.
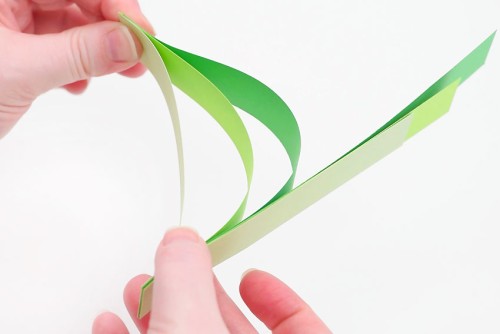
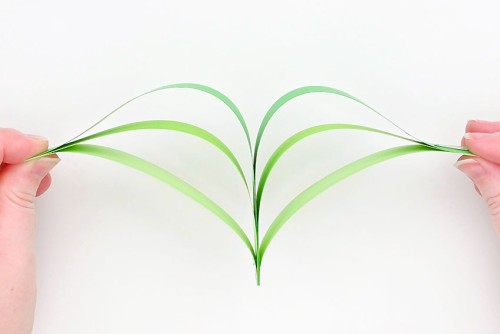
- Line up the ends of the other 3 paper strips. (There’s no need to clip this side together.)
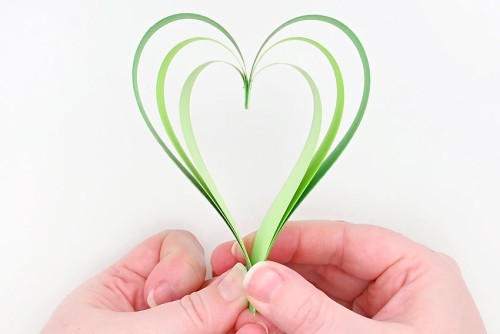
- Bring the two ends down and together to create a heart shape.
- Remove the paper clip and staple the lined up ends of the paper strips together.
- Repeat, using the remaining paper strips to make 2 other heart shaped leaves. (Cut 2 more pieces of each colour if you’d like to make a 4 leaf clover.)
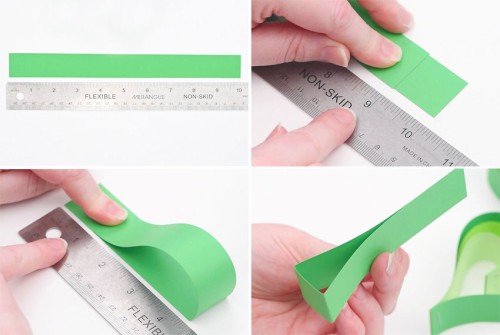
- To make the stem, place the 10 inch dark green strip above a ruler. Fold the left side over to the 9 inch mark. Open the paper and fold the right edge over to the 1 inch mark.This creates a shamrock stem with a flat bottom.


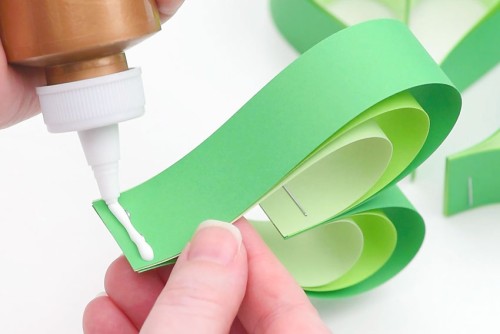
Step 4: Glue the paper shamrock together
- Add tacky glue over top of the staple on one side of a leaf.
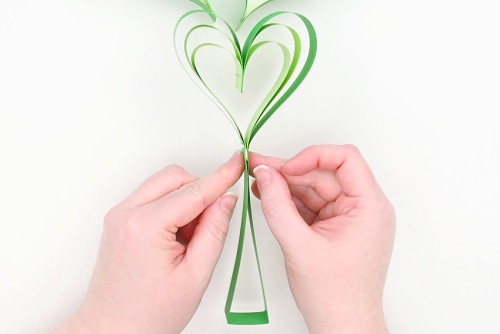
- Place one end of the stem over the glue and hold it in place until it stays on its own.
- Repeat on the other side, enclosing the bottom of the leaf in the stem.
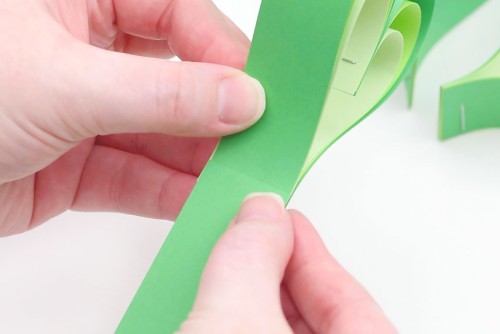
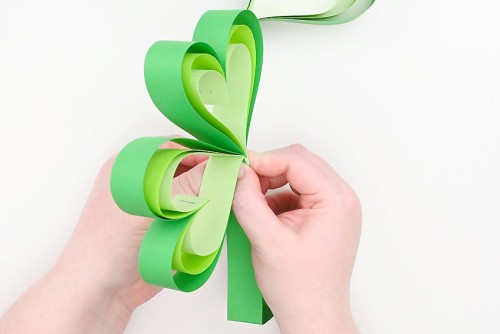
- Fold the edge of one of the other leaves down, just above the staple.
- Add glue onto the folded edge and press the leaf onto the side of the stem.
- You’ll need to hold the leaf in place for about 30 seconds to keep the pieces together.
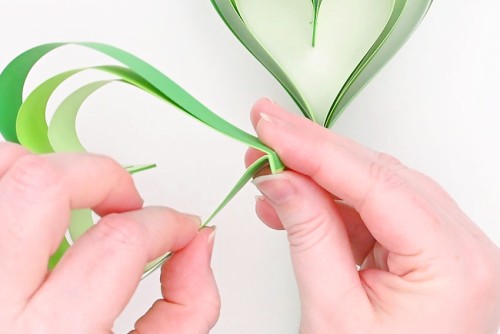
- Repeat, folding and gluing the last leaf to the other side. Allow the glue to dry.
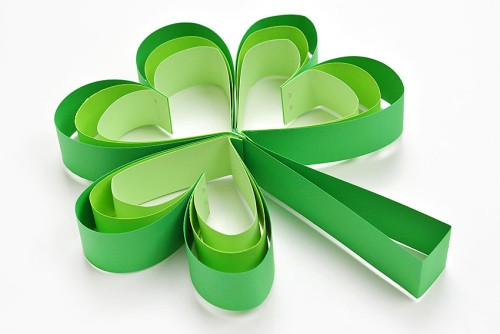
- Your paper shamrock is complete!


Helpful Tips:
- To make a 4 leaf clover simply cut 2 more of each paper length (minus the stem, of course).
- Using a paper cutter will make this craft a lot more quick and easy, but it’s definitely still possible without one!
- Looking for shamrock shapes to go along with your 3D shamrock? Check out our shamrock template page for a bunch of fun shapes!

What type of paper is best for making a paper shamrock?
We used cardstock to make our paper shamrocks because there were more colour options. Construction paper would also be a really easy and inexpensive option. You can also use thinner printer paper or scrapbook paper (as long as it’s two sided).
Do I need to make each paper shamrock leaf 3 layers?
If you don’t like the 3 layered shamrock leaves you can also make one with 2 (or even 1) layers of paper — it just depends on what you like the best!

Do I need to use 3 shades of green to make a paper shamrock?
You can use whatever combination of green you’d like to make these paper shamrocks. Make a shamrock in all one shade of green, or make the outside a darker shade, while the inside is lighter – or vice verse.
Plus you don’t have to stick to green shamrocks. You can make paper shamrocks in a rainbow of colours!

What is a shamrock?
A shamrock is a type of 3 leaf clover and also the national plant of Ireland. Shamrocks are strongly associated with St. Patrick’s Day and St. Patrick himself, who used the 3 leafed plant to teach about the Holy trinity.
The word shamrock comes from the Gaelic word seamróg, which means “little clover”. Shamrocks typically have 3 leaves, but it’s considered lucky to find the 4 leaf variation! (Known as a four leaf clover!)

This paper shamrock is sure to bring the luck of the Irish your way! Hang your paper shamrock from ribbon, yarn, or fishing line — or string multiple shamrocks to form a DIY banner!

Here’s even more St. Patrick’s Day craft ideas:


Our book Low-Mess Crafts for Kids is loaded with 72 fun and simple craft ideas for kids! The projects are fun, easy and most importantly low-mess, so the clean up is simple!

Where to buy:
You can purchase Low-Mess Crafts for Kids from Amazon, or wherever books are sold:
Amazon | Barnes and Noble | Books-A-Million | Indiebound | Amazon Canada


Leave a Reply