
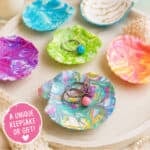
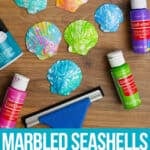
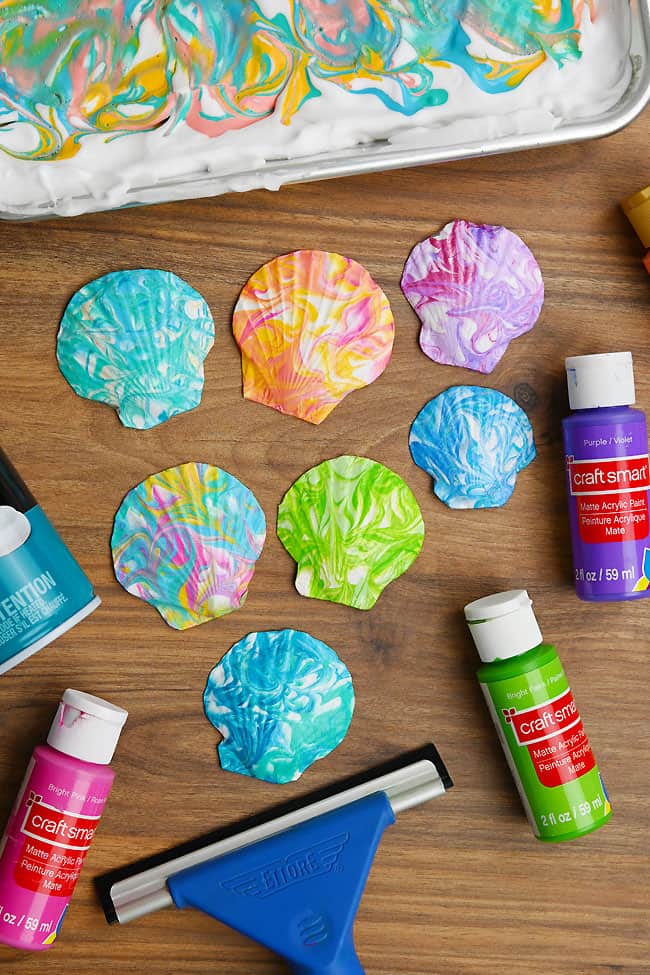
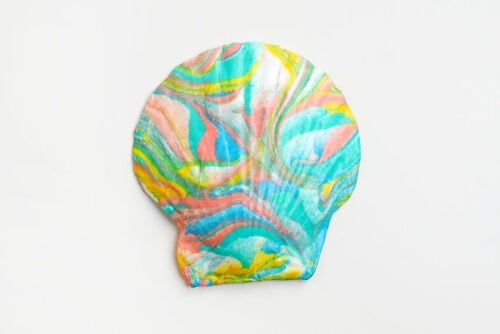
This marbled seashell craft is such a fun way to turn simple shells into colourful little works of art! The shaving cream marbling creates beautiful swirls on the tissue paper, and once it’s decoupaged onto the shells, the pattern takes on a smooth, glossy finish that makes the colours really pop.
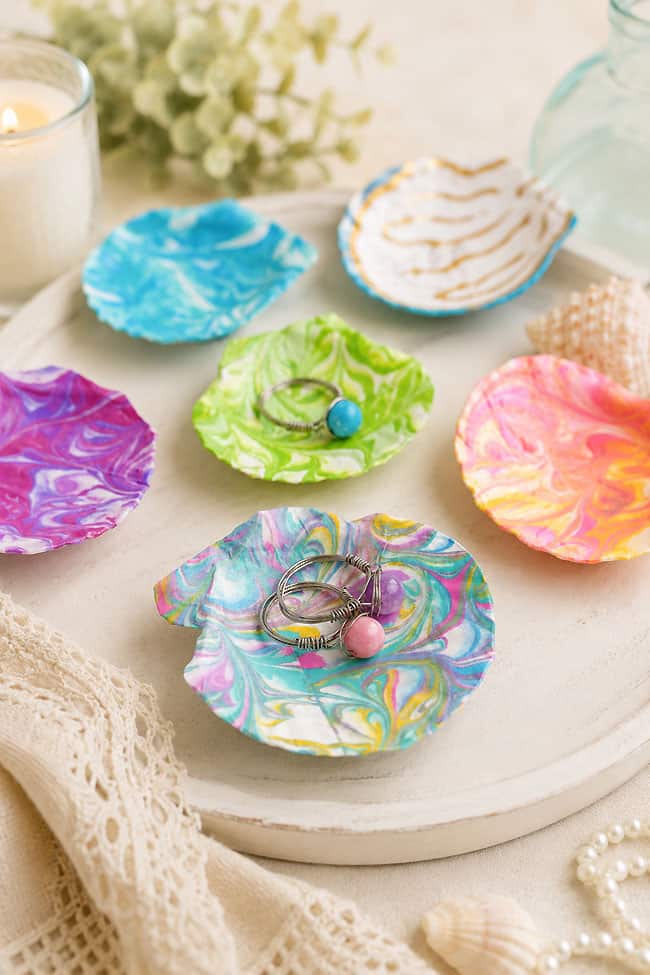
Use soft ocean blues, bright tropical colours, or dreamy pastel shades to make a set that fits your style. The finished shells are perfect little trinket dishes for holding rings and tiny treasures. They can also decorate a beach-themed space, or give them as handmade gifts. And since no two shells turn out exactly the same, each one feels extra special!
This post contains affiliate links. If you use these links to buy something, we may earn a small commission at no extra cost to you. This helps support our website and allows us to keep creating fun, free content.
How to Make Marbled Seashells
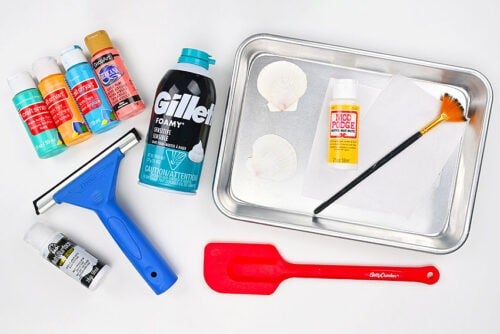
Materials:
- Scallop seashells
- Shaving cream
- Acrylic paint (several colours)
- White tissue paper
- Matte Mod Podge (or glossy)
Watch the step-by-step video tutorial:
Instructions:
Step 1: Find what you need
- Gather your supplies and materials.

Step 2: Paint a base coat
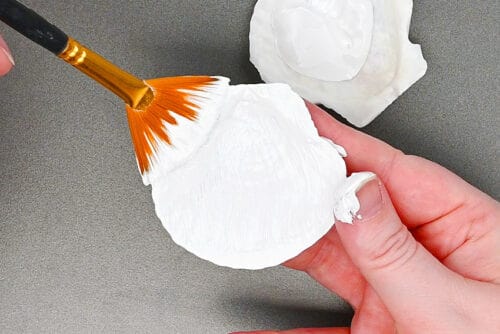
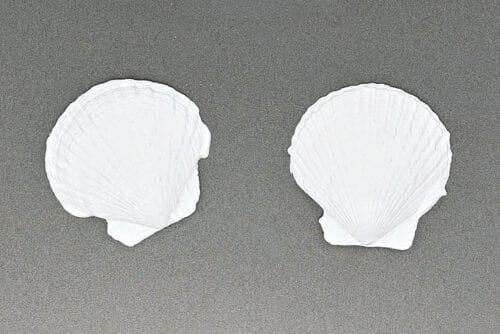
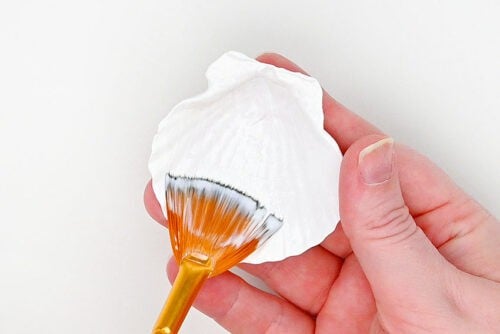
- Paint your seashell(s) white, using acrylic or multi-surface acrylic paint. This is optional, but gives a nice clean surface for the marbling.
- Repeat with any other shells, painting both sides, and allow to dry.
Step 3: Prepare the marbling
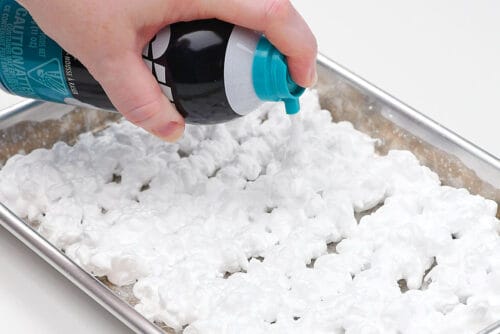
- Fill a small baking sheet with foam shaving cream.
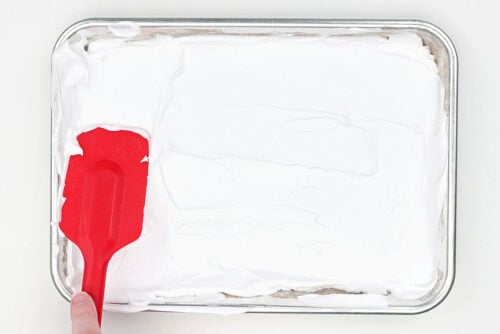
- Use a spatula to smooth down the shaving cream, creating an even layer.
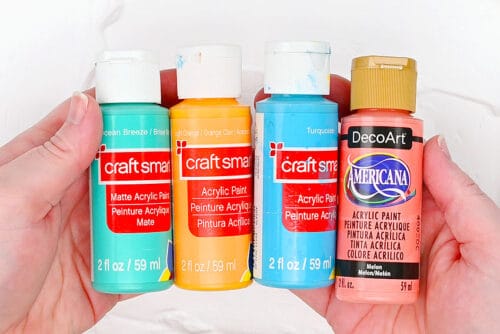
- Gather several colours of paint that you want to use on your seashell. Different shades of the same colour look really nice, or you can choose complementary colours like we did here.
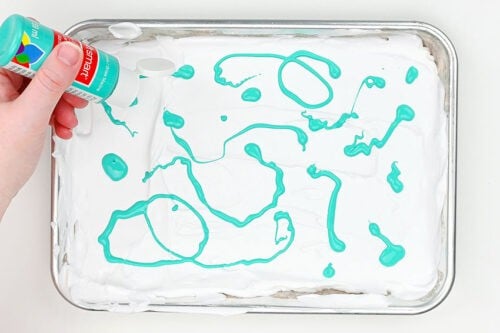
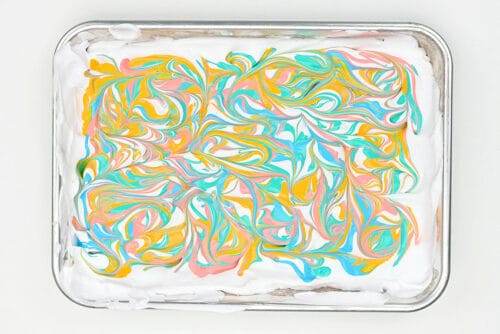
- Begin by adding some of your first colour to the shaving cream, making random dots and lines. Be sure to leave a decent amount of white space in-between.

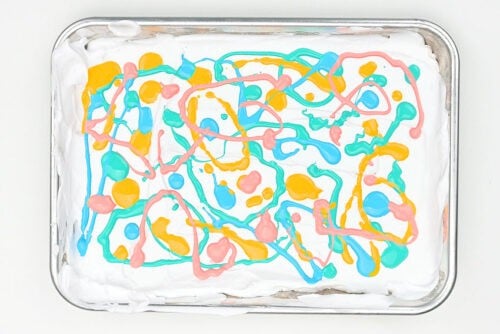
- Repeat with your other 2 to 3 colours, filling the tray nicely. You want some white space remaining, but if there’s too much white you won’t get nice marbling.
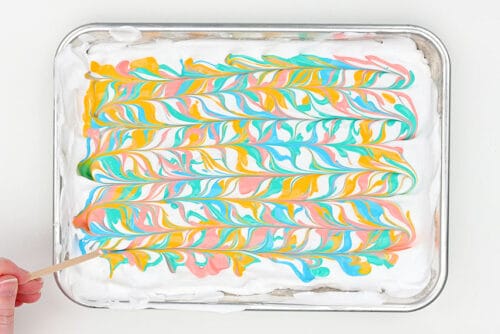
- Begin by taking a coffee stir stick (or popsicle stick, butter knife, toothpick — whatever) and dragging it back and forth vertically, leaving some space between the lines. Then go back and forth horizontally.
- Finally, you can move your wrist in circular motions, almost like you’re conducting an orchestra or waving a magic wand. This creates really nice, swirly marbling.
Step 4: Create marbled tissue paper
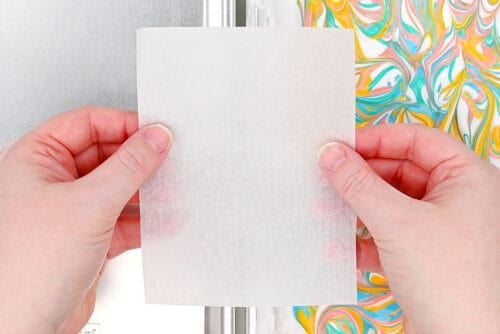
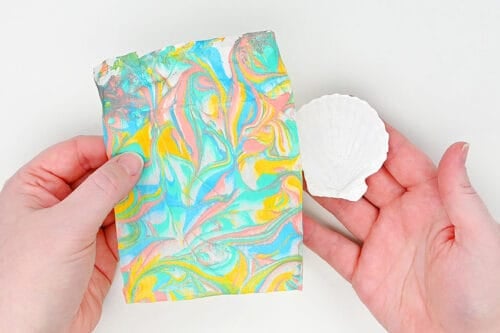
- Next you’ll want to cut a rectangle of white tissue paper — a size that will fit on your tray. We cut 2 pieces this size.
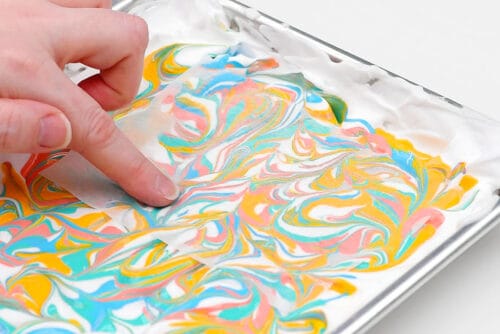
- Set the tissue paper onto the paint covered shaving cream. Then use your fingertip to smooth out the tissue paper, ensuring that all of the paint connects.
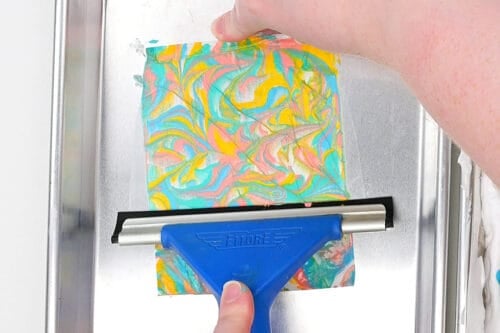
- Lift the tissue paper carefully and place it on another tray. Hold the top of the paper and gently squeegee off the shaving cream. You’ll want to use a bit of pressure, but not too much, since the tissue paper is quite delicate when wet.Repeat with another piece of tissue paper on the other section of the tray and allow the tissue paper to dry. (This will happen quickly.)
Step 5: Decoupage the shells
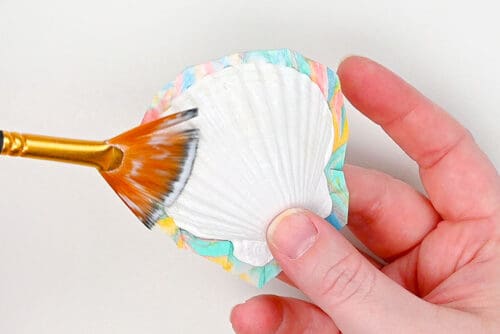
- Add a very thin layer of Mod Podge to the side of the shell where you’d like the marbling to be.
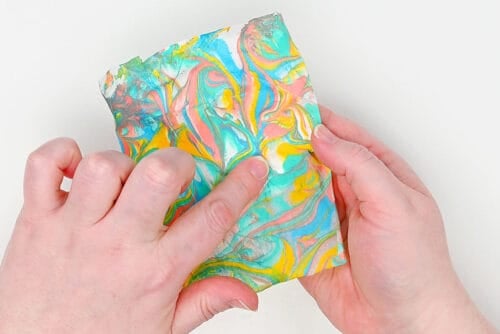
- Now you’re going to smooth the marbled tissue paper onto the shell.
- Set it on the shell and use your fingertip to gently smooth it out.As long as you haven’t added too much Mod Podge the tissue paper shouldn’t rip. If you’ve added too much Mod Podge and you feel the paper slipping around, do this very, very carefully.
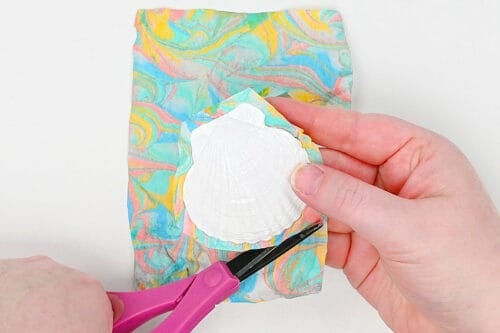
- Once the paper is adhered to the shell, flip it over and cut out around the shell, leaving a border of 1/4 inch or so.
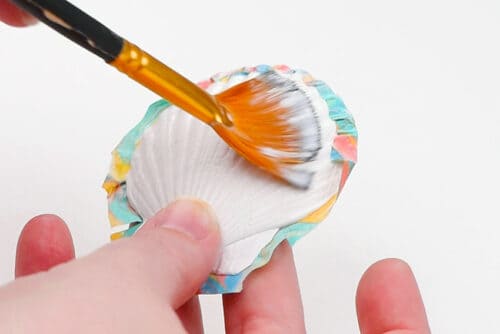
- Add a bit of Mod Podge along the back edge of the shell and onto the tissue paper border.
- Then use the brush to smooth the excess down on the back of the shell.(Note: A regular paintbrush will work better for this than the fan brush.)
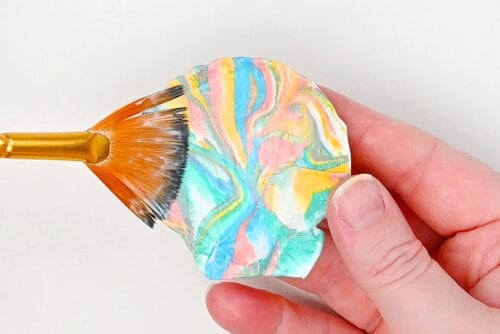
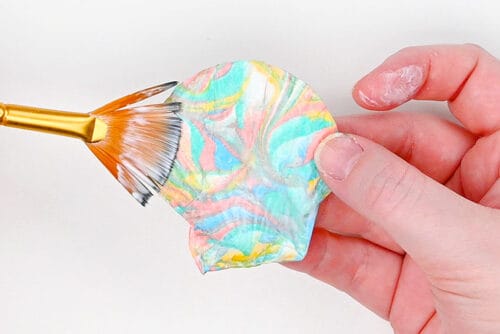
- Once the tissue paper is secured down you can add another thin coat of Mod Podge to the marbled side of the shell.
- Repeat with any other shells you want to marbled. We did marbling on the front of the shell for this one.
- Your marbled seashell craft is complete!
Helpful Tips:
- Use the shells as they are, or paint them white first: A base coat of white paint helps cover dark patches and gives the marbled colours a clean, even background. You can skip this step if you like the natural colour and markings of your shells.
- Keep a paper towel or damp rag nearby: Marbling the tissue paper can get messy, and you’ll want to wipe your hands and clean the squeegee between swipes so the colours don’t become muddy.
- Add details with a gold marker: Once the shell is completely dry, use a gold paint marker to draw dots, lines, or simple patterns on the white side. It’s an easy way to dress up the shell and tie the plain side in with the colourful marbled design.
Can I marble the shells directly instead of using tissue paper?
Decoupaging the shells with marbled tissue paper adds an extra step, but it really is necessary for this craft. We tested marbling directly on the shells with both paint and food colouring, and the colour wiped right off.
The tissue paper gives the paint something to absorb into, while still creating a smooth finish that looks like the marbling was done directly on the shell.
Do I need to use a squeegee for this marbled seashell craft?
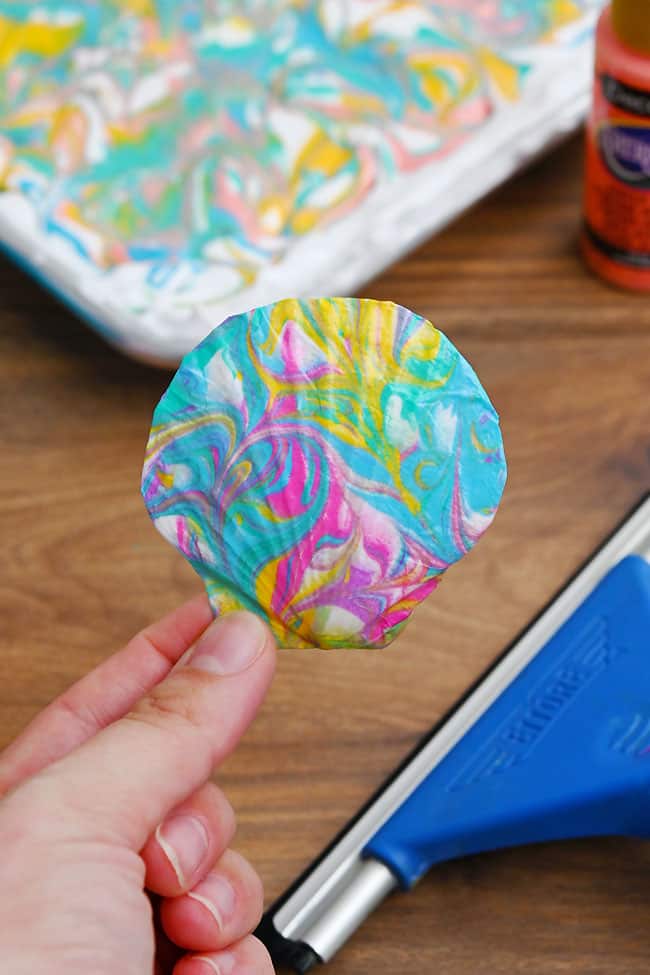
We recommend using a squeegee for all shaving cream marbling, but especially when working with delicate tissue paper. The handle makes it easy to control the pressure, helping you remove the shaving cream without tearing the paper.
You can usually find a small squeegee at the dollar store. But if you don’t have one handy, an old plastic gift card or a plastic putty knife can also work. Use light, even pressure and clean the edge between swipes.
What can I do with my marbled seashells?
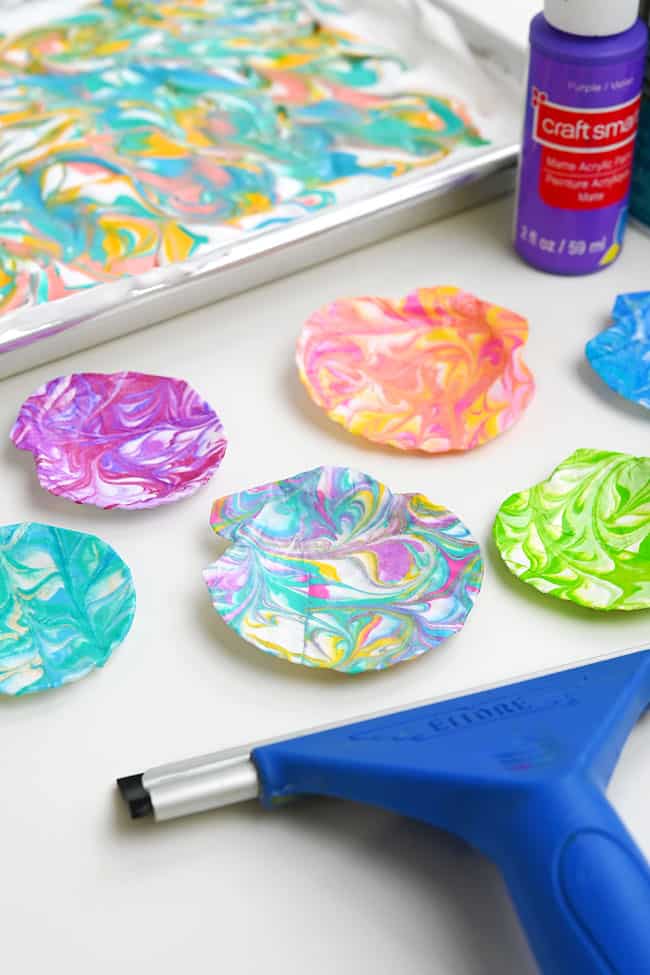
These colourful shells make beautiful seaside themed decorations. Arrange them in a shadow box for coastal wall art, or display them on a shelf, mantel, or ceramic tray.
When the inside of the shell is marbled, it can also be used as a small trinket dish for rings, earrings, or other tiny treasures. The shells look especially pretty grouped around a pillar candle or added to a beach-inspired centerpiece.
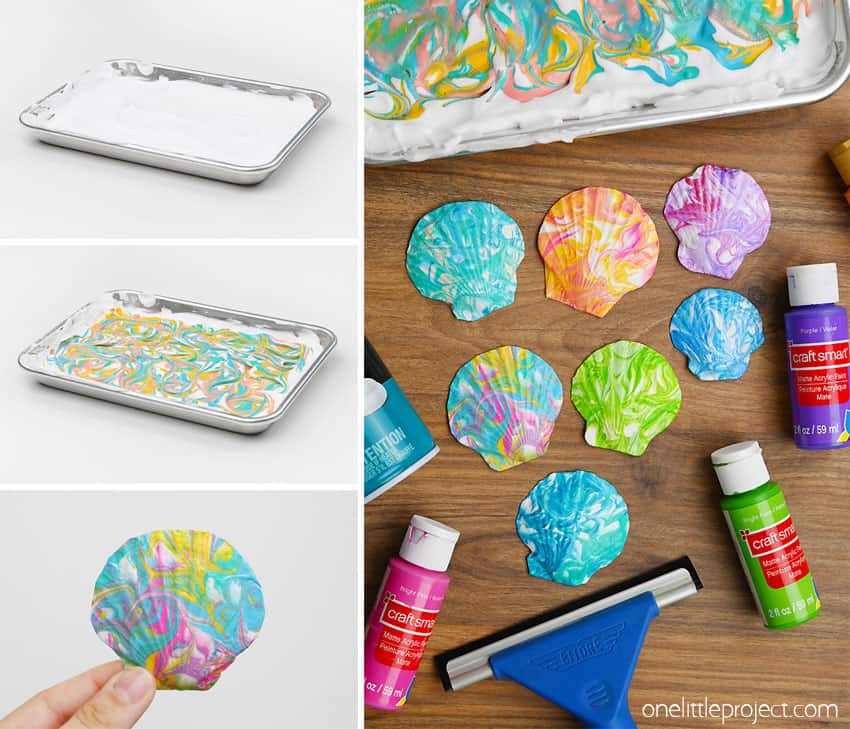
These marbled seashells are such a fun way to turn ordinary shells into colourful little keepsakes. Since every marbled tissue paper design is different, each shell ends up completely one of a kind. Experiment with soft beachy blues, bold tropical colours, or rainbow swirls to create a collection that’s uniquely yours.
Display your finished shells around your home, use them as tiny trinket dishes, or give them as thoughtful handmade gifts. However you use them, this simple marbled seashell craft is an easy way to bring a splash of colour and a little bit of the seaside indoors.
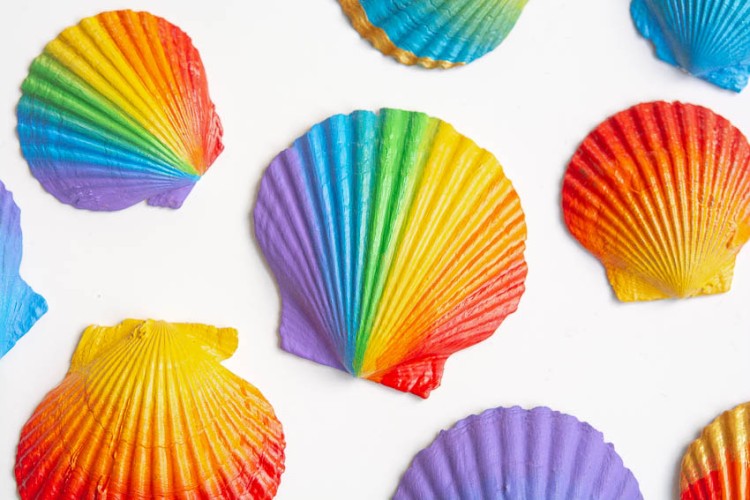
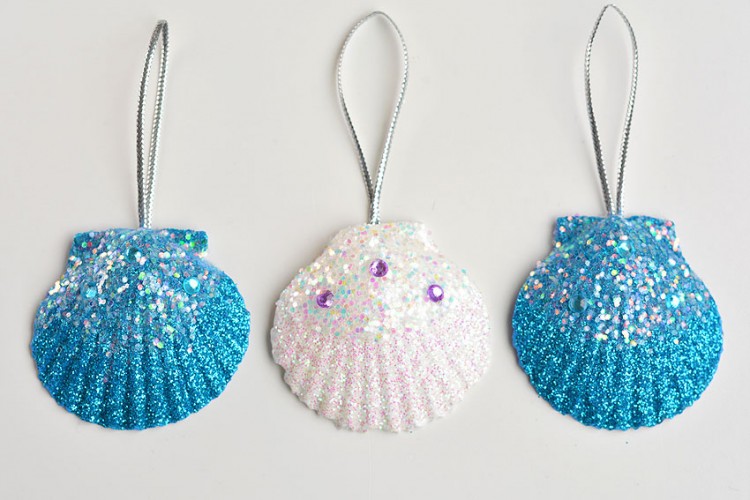
Here’s even more seashell craft ideas:

Now available
Low-Mess Crafts for Kids Book
72 cute and fun crafts that kids and parents alike can enjoy. All with as little mess as possible!
Where to buy:
You can purchase Low-Mess Crafts for Kids from Amazon, or wherever books are sold:
Amazon | Barnes and Noble | Books-A-Million | Indiebound | Amazon Canada






Leave a Reply