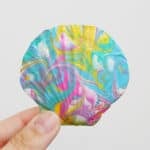
How to Make Marbled Seashells
These marbled seashells are super pretty, covered with a dreamy paint marbled design. They're crazy easy to make too, and you can use them as small trinket dishes or beach-themed decor. Follow our step-by-step tutorial to make your own!
Yield: 2 marbled shells
Cost: $1
Materials
- Scallop seashells
- Shaving cream
- Acrylic paint (several colours)
- White tissue paper
- Matte Mod Podge (or glossy)
Instructions
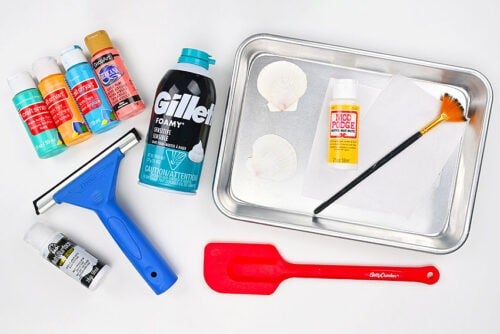
Step 1: Find what you need
- Gather your supplies and materials.
Step 2: Paint a base coat
- Paint your seashell(s) white, using acrylic or multi-surface acrylic paint. This is optional, but gives a nice clean surface for the marbling.
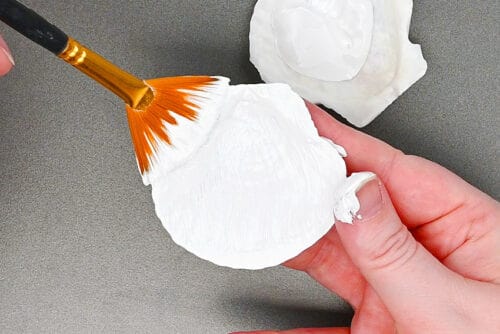
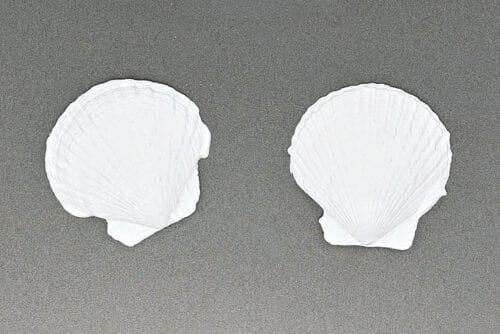
- Repeat with any other shells, painting both sides, and allow to dry.
Step 3: Prepare the marbling
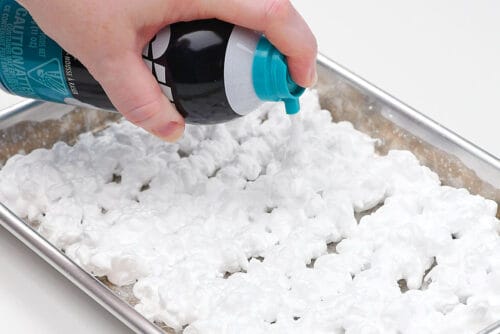
- Fill a small baking sheet with foam shaving cream.
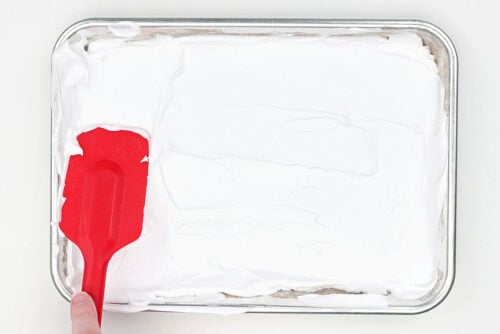
- Use a spatula to smooth down the shaving cream, creating an even layer.
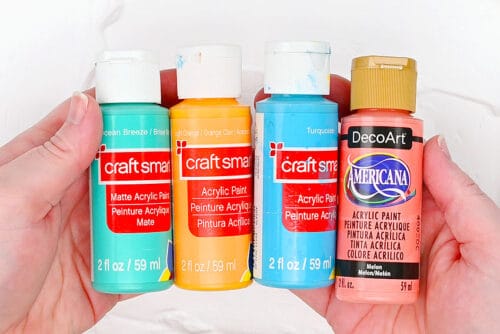
- Gather several colours of paint that you want to use on your seashell. Different shades of the same colour look really nice, or you can choose complementary colours like we did here.
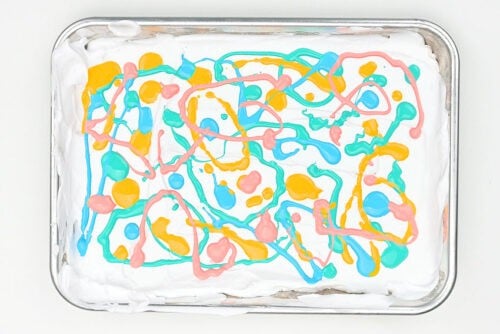
- Begin by adding some of your first colour to the shaving cream, making random dots and lines. Be sure to leave a decent amount of white space in-between.
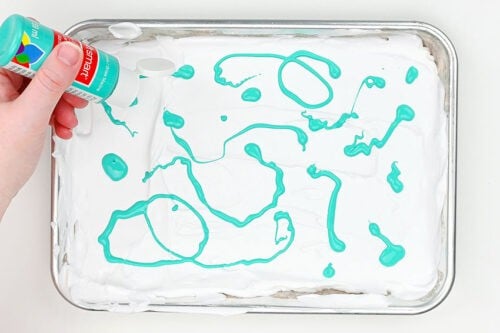
- Repeat with your other 2 to 3 colours, filling the tray nicely. You want some white space remaining, but if there's too much white you won't get nice marbling.
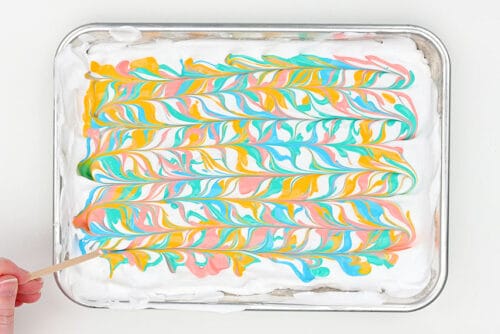
- Begin by taking a coffee stir stick (or popsicle stick, butter knife, toothpick -- whatever) and dragging it back and forth vertically, leaving some space between the lines. Then go back and forth horizontally.
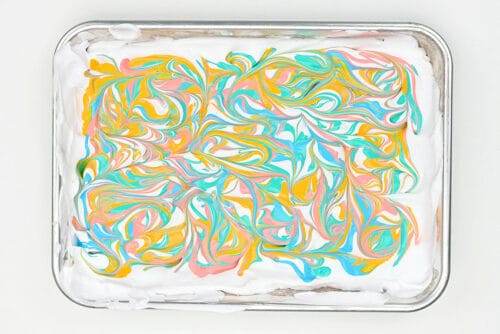
- Finally, you can move your wrist in circular motions, almost like you're conducting an orchestra or waving a magic wand. This creates really nice, swirly marbling.
Step 4: Create marbled tissue paper
- Next you'll want to cut a rectangle of white tissue paper -- a size that will fit on your tray. We cut 2 pieces this size.
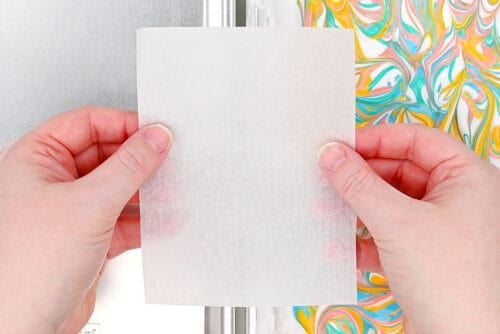
- Set the tissue paper onto the paint covered shaving cream. Then use your fingertip to smooth out the tissue paper, ensuring that all of the paint connects.
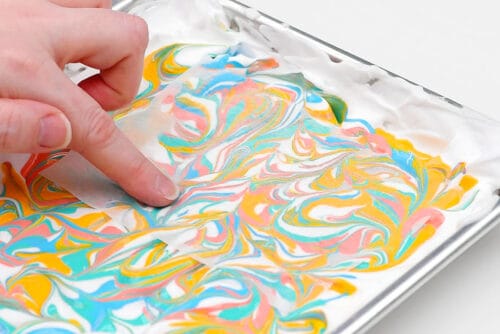
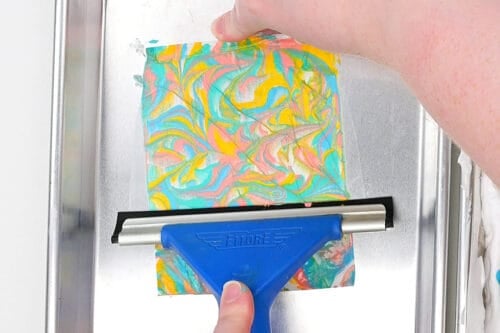
- Lift the tissue paper carefully and place it on another tray. Hold the top of the paper and gently squeegee off the shaving cream. You'll want to use a bit of pressure, but not too much, since the tissue paper is quite delicate when wet.Repeat with another piece of tissue paper on the other section of the tray and allow the tissue paper to dry. (This will happen quickly.)
Step 5: Decoupage the shells
- Add a very thin layer of Mod Podge to the side of the shell where you'd like the marbling to be.
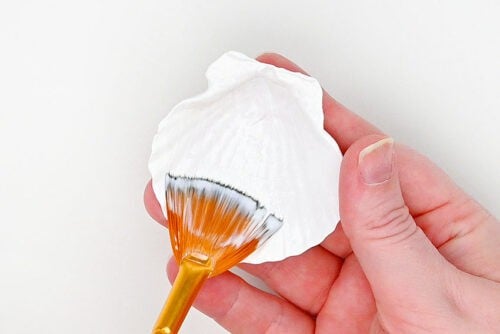
- Now you're going to smooth the marbled tissue paper onto the shell.
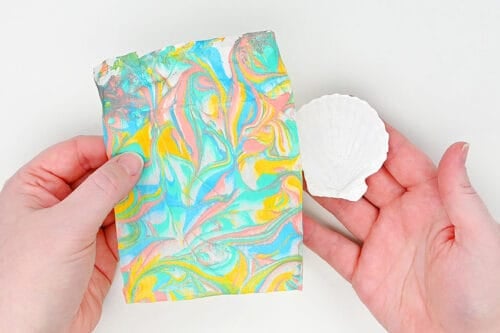
- Set it on the shell and use your fingertip to gently smooth it out.As long as you haven't added too much Mod Podge the tissue paper shouldn't rip. If you've added too much Mod Podge and you feel the paper slipping around, do this very, very carefully.
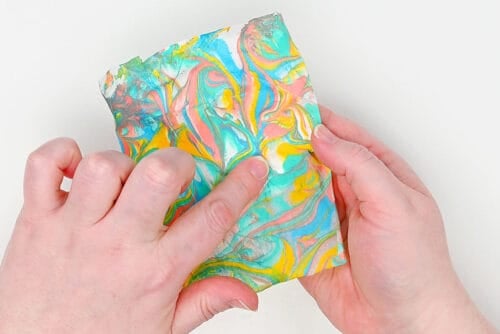
- Once the paper is adhered to the shell, flip it over and cut out around the shell, leaving a border of 1/4 inch or so.
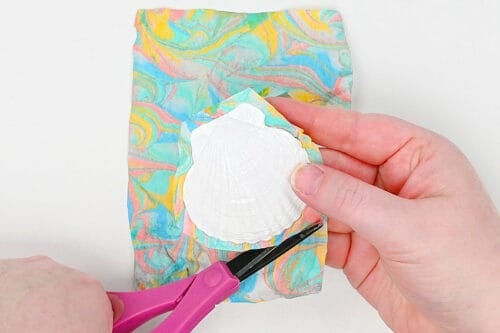
- Add a bit of Mod Podge along the back edge of the shell and onto the tissue paper border.
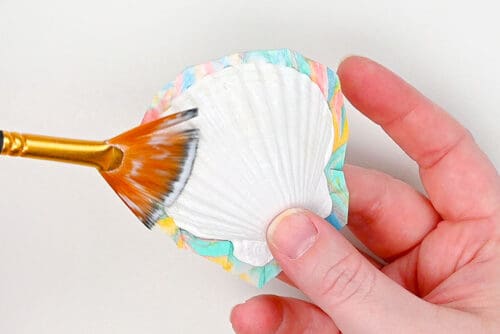
- Then use the brush to smooth the excess down on the back of the shell.(Note: A regular paintbrush will work better for this than the fan brush.)
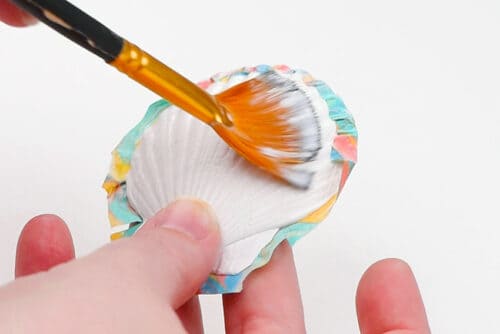
- Once the tissue paper is secured down you can add another thin coat of Mod Podge to the marbled side of the shell.
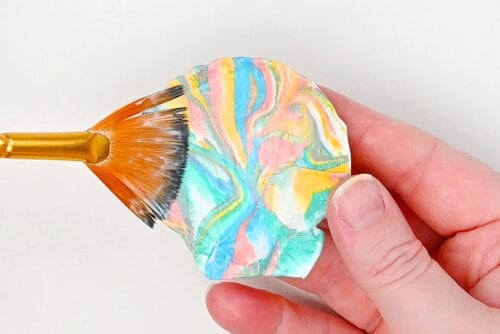
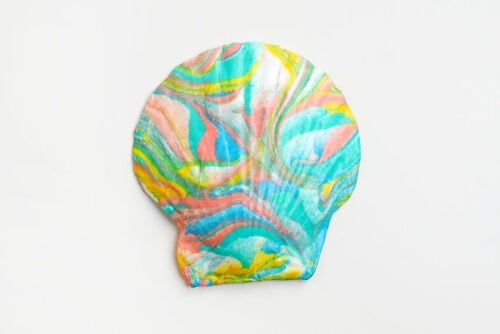
- Repeat with any other shells you want to marbled. We did marbling on the front of the shell for this one.
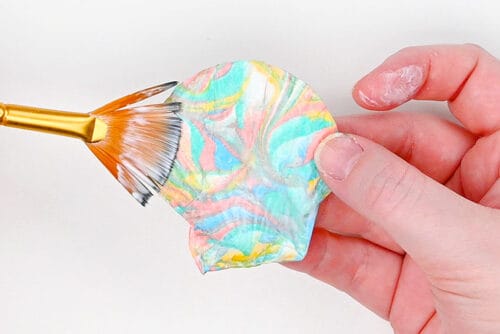
- Your marbled seashell craft is complete!
Video
Notes
Looking for more cool decoupage crafts? Here's a few of our favourites:
Decoupage Flower Pots
Seashells with Napkin Decoupage
Decoupage Tin Can Planters