


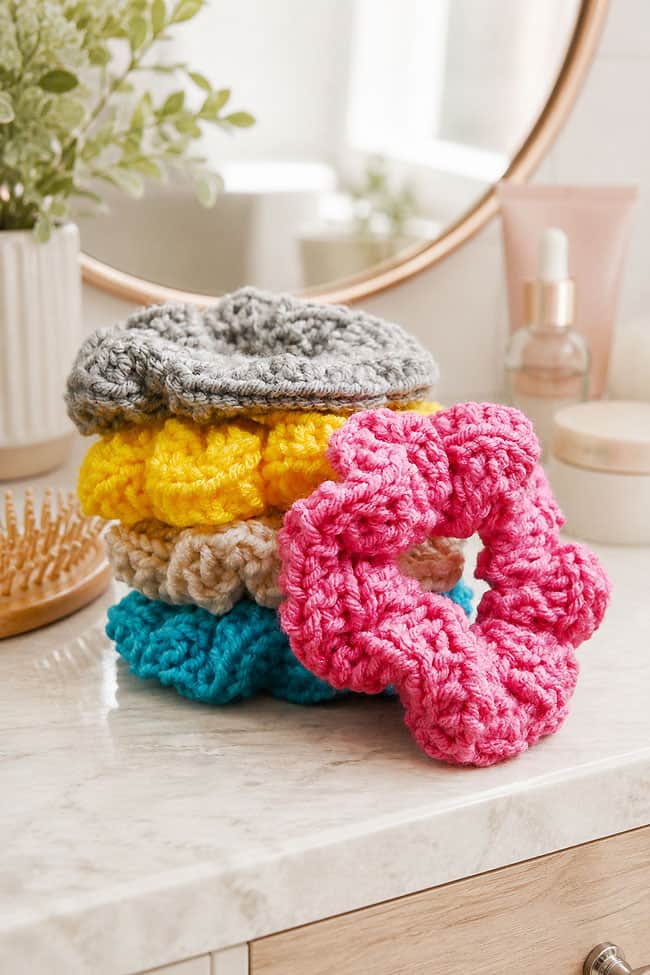
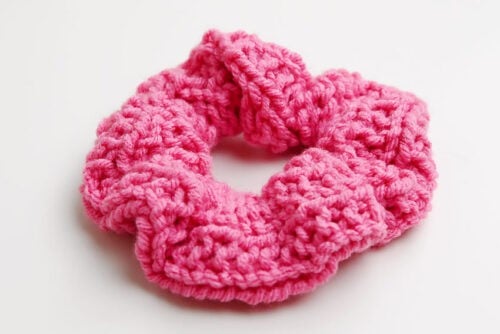
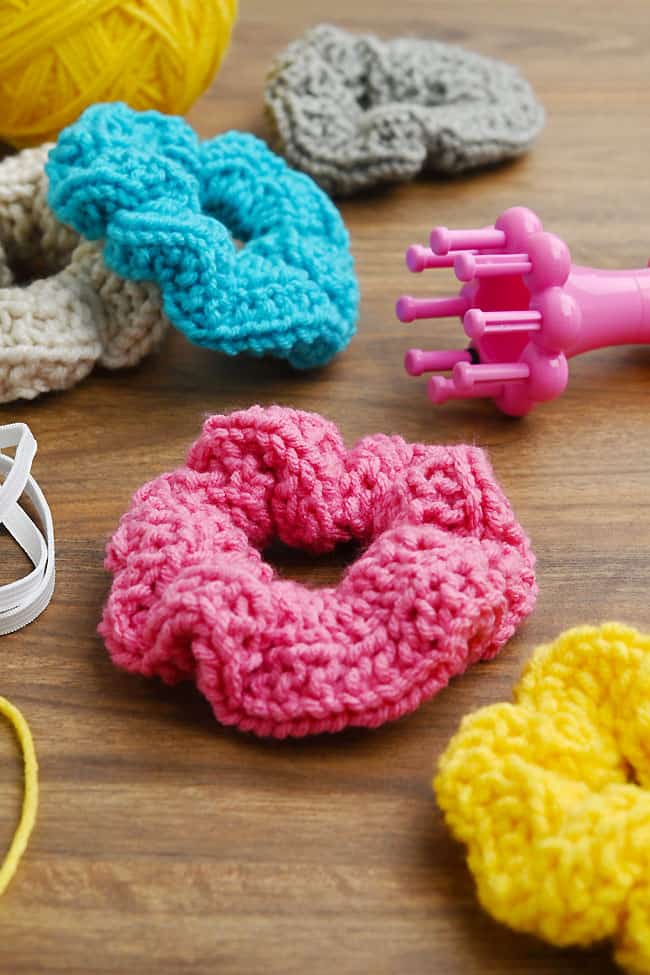
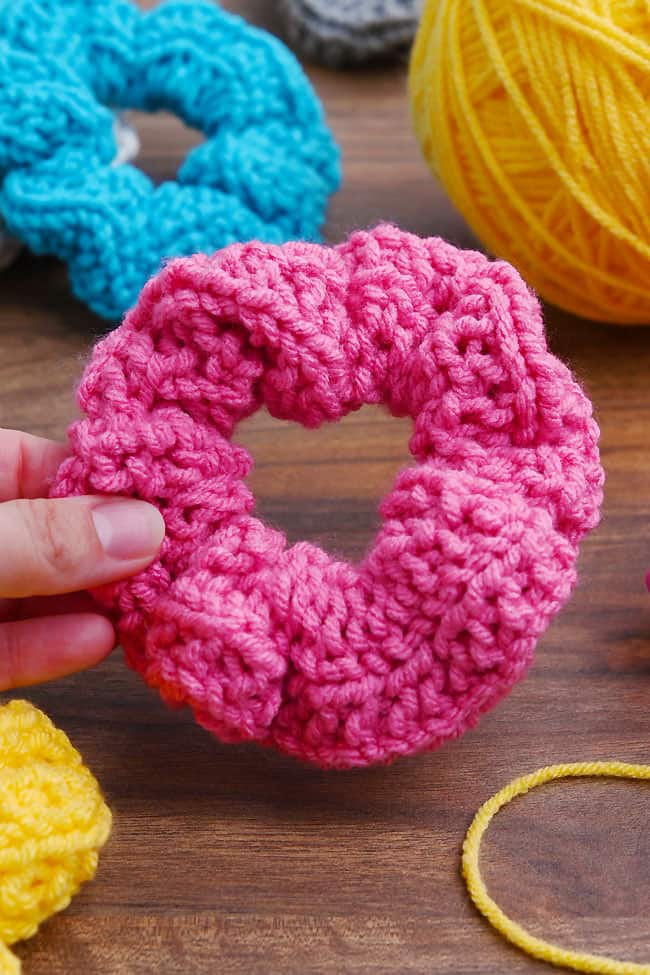
This loom knit scrunchie is such a fun way to turn colourful yarn into a soft, chunky hair accessory! The textured stitches create a full, ruffled look, and the finished scrunchie is stretchy, comfortable, and seriously cute in a ponytail or bun.
Using a small knitting loom makes the project easy to follow, even if you’ve never knitted before. Choose bright colours, soft neutrals, or yarn that matches your favourite outfit, then make a whole collection for yourself or to give as handmade gifts. It’s a quick and satisfying yarn craft that’s perfect for beginners, tweens, teens, and anyone who loves making their own accessories.
This post contains affiliate links. If you use these links to buy something, we may earn a small commission at no extra cost to you. This helps support our website and allows us to keep creating fun, free content.
How to Make a Loom Knit Scrunchie
Materials:
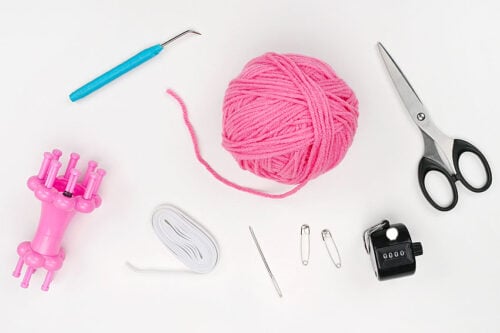
- Worsted weight yarn
- Sewing elastic (1/4 inch wide)
Equipment:
- Knitting spool (8 peg)
See the craft in action:
Instructions:
Find what you need:
- Gather your supplies and materials.
Use the right loom:
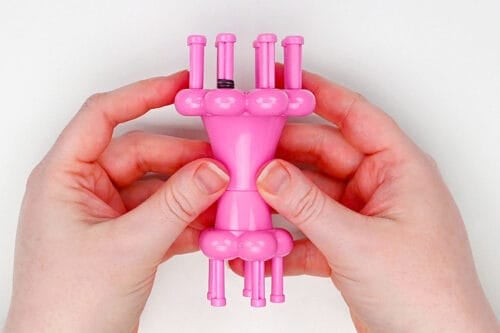
- To make our scrunchie we’re using an 8 peg knitting spool. It creates a really cute scrunchie that’s 1-1/2 inches wide.
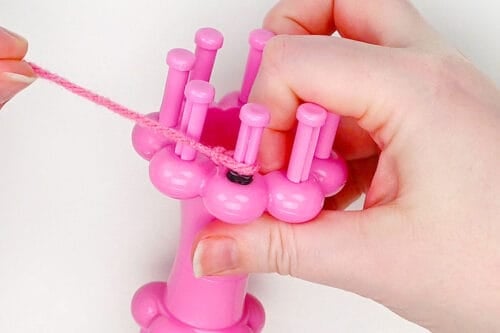
- Make a slip knot and attach it to the first peg. If your loom has an anchor peg on the side place it there instead.
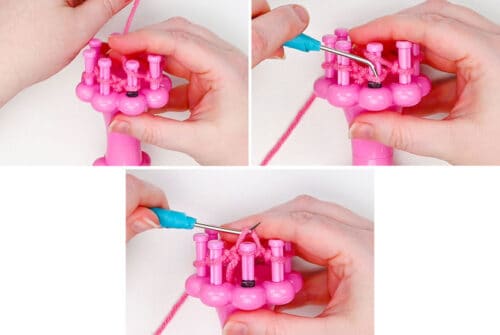
How to make a u-knit (UK) stitch:
- Begin by bringing the working yarn across the peg, above the existing loop. Hold the working yarn loosely with your non-dominant hand towards the inside of the loom.Use your loom hook to grab the bottom loop and bring it over to the back of the peg.
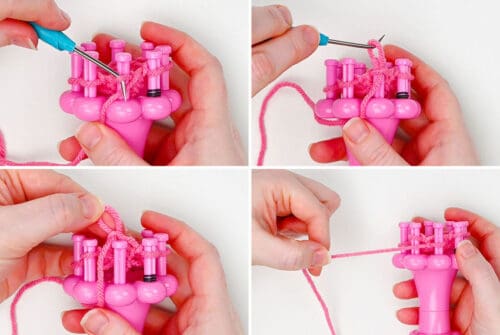
How to make a purl (p) stitch:
- Begin by holding the working yarn below the loop on the peg and insert your hook down through the top loop. Use the hook to pull the working yarn up through the existing loop.Pull the existing loop off the peg and put the new loop (made from the working yarn) on the peg. Pull to tighten the loop on the peg.
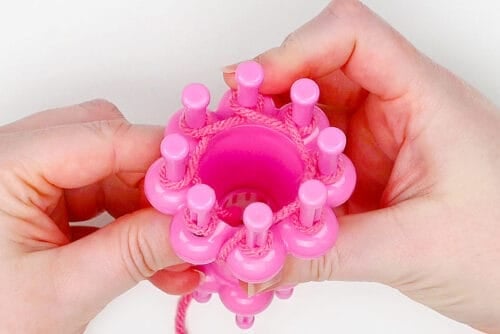
E-wrap cast on:
- Start by wrapping the yarn loosely around each peg. Working as a left-handed person I’m wrapping the yarn around the loom clockwise and wrapping each peg counter-clockwise.If you want to do the opposite as a right-handed person (work counter-clockwise and wrap clockwise) this also definitely works!
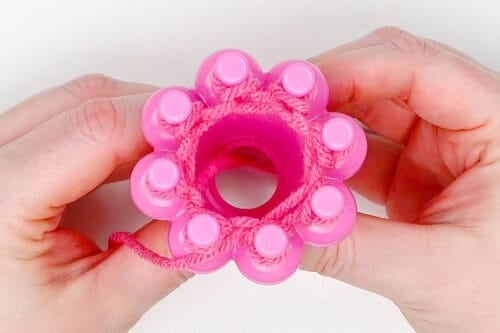
- Secure the cast-on by knitting around. (We tend to use u-knits all the time, but an e-wrap knit works too.)
Loom knit scrunchie pattern:
- Row 1: U-knit around.
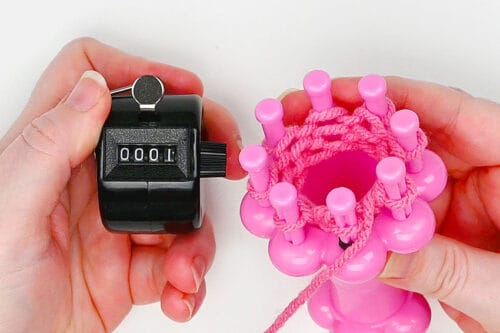
- Row 2: U-knit 1. Purl 1. Repeat around.
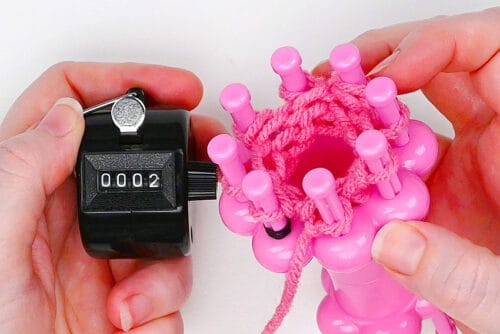
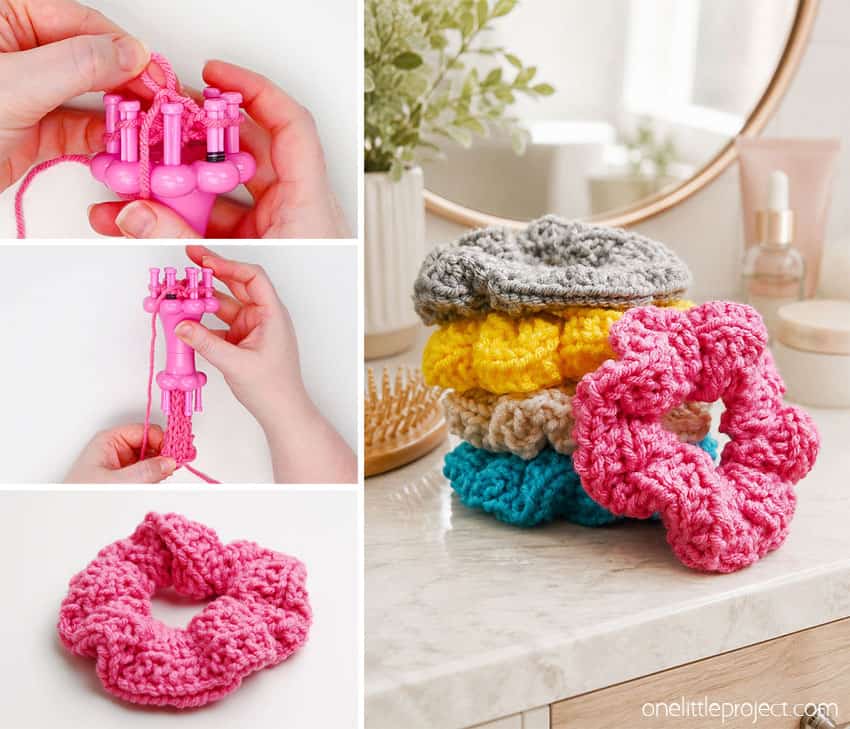
- All you need to do to make the scrunchie is repeat rows 1 and 2 over and over to make the broken rib stitch pattern.Your odd rows will be knit around, with the even rows being knit 1, purl 1.
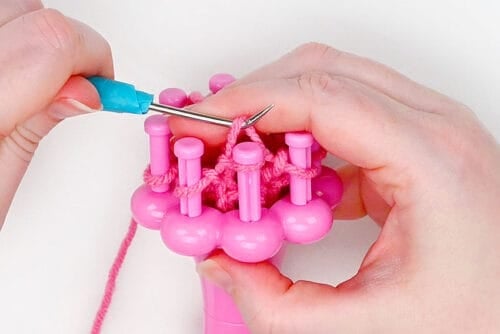
- As you work you’ll need to pull down on the knit tube to help the tube come out of the narrow spool.
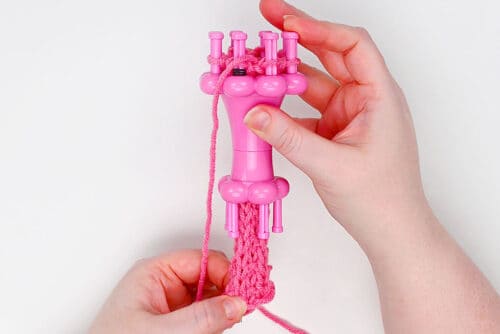
- Continue until you’ve knitted 100 rows. The tube should be at least 20 inches long.
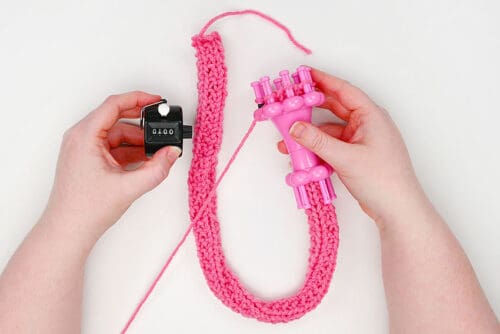
Gather bind-off:
- Wrap the yarn around the loom 3 times and cut it off from the ball.
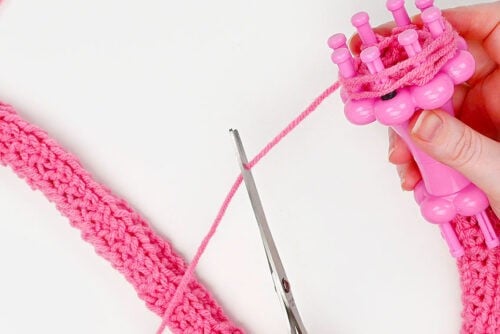
- Remove the tube from the loom using a gather bind-off.To do this, thread the tail onto a yarn needle. Bring the needle up through the loop on the first peg. Pull the yarn all the way through and remove that loop from the peg.
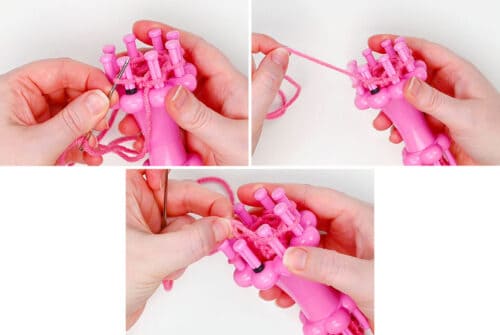
- Repeat around until the tube is removed from the loom.
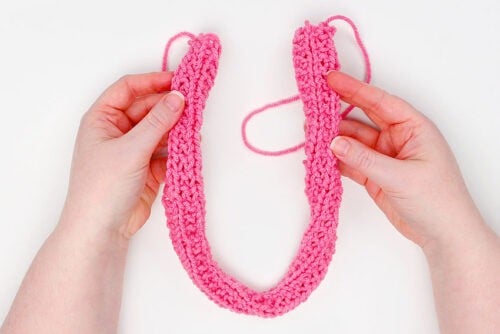
Add elastic to the scrunchie:
- Cut an 8-1/2 inch piece of 1/4 inch wide elastic.
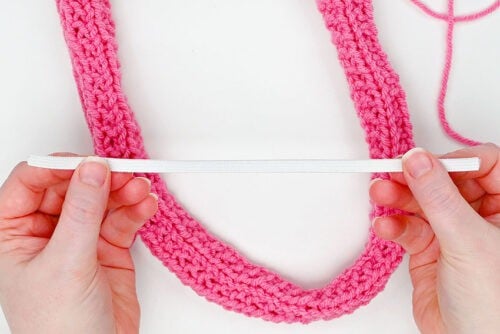
- Add safety pins to each end of the elastic. Leave one pin open.
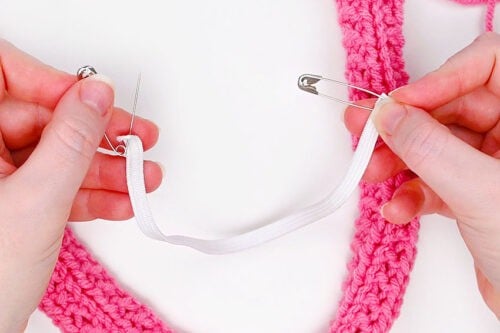
- Connect the open pin to one end of the tube. Close the pin.
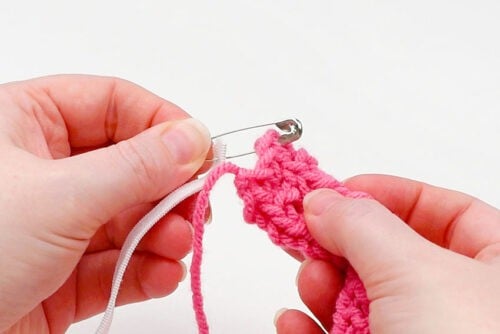
- Insert the other pin into the tube and use it to thread the elastic through the tube.
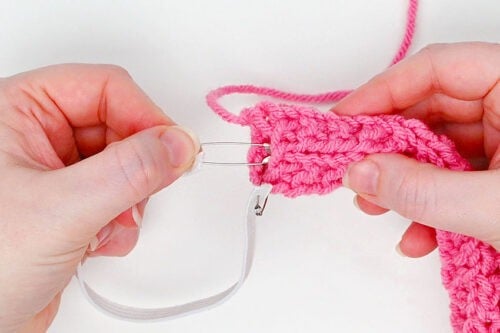
- Once the elastic is through tie both ends into a knot.(To ensure it doesn’t come loose you can sew through the knot or add a dot of super glue to it.)
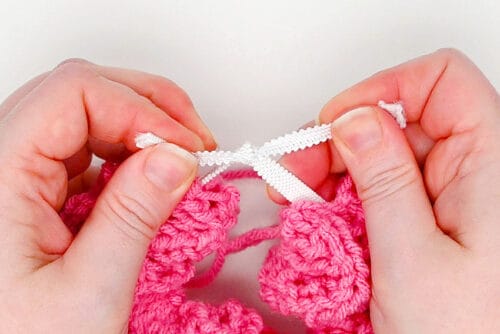
Sew the tube together:
- Thread the longest tail onto a yarn needle and sew the 2 ends of the tube together.
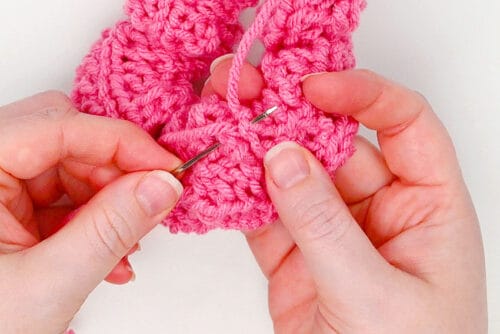
- Weave in the ends and cut off the excess.
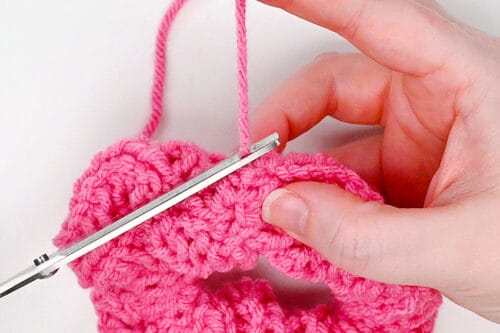
- Your loom knit scrunchie is complete!
Helpful Tips:
- Keep the U-knit stitches loose: Wrap the yarn loosely around each peg instead of pulling it tight. If the stitches are too snug, it will be difficult to lift the bottom loop over the peg on the next round.
- Try creating your own stitch pattern: This is a simple, beginner-friendly project that’s perfect for anyone new to loom knitting. Once you understand how to make the knitted tube, you can experiment with other stitch patterns and textures to design your own scrunchies.
Can I make a loom knit scrunchie without sewing?
Yes! For the no-sew method, use a larger round loom and knit a short tube directly around the loom. We found that a 24-peg loom with 3/8 inch gauge gave us the best result.
Knit approximately 15 to 20 rows, then bring the bottom edge of the fabric back up toward the pegs. Place a hair elastic inside the folded fabric, attach the beginning row to the loom, and knit the loops over as you would when creating a doubled hat brim. Finish with a stretchy bind-off.
This method creates a wider scrunchie with fewer gathers, so it doesn’t look quite as “scrunchy” as the sewn version. But it still works as a cute and functional hair accessory!
What’s the best yarn for a loom knit scrunchie?
The best yarn depends on the look and texture you want:
- Worsted weight yarn works perfectly for a classic scrunchie and gathers easily around the elastic.
- Bulky yarn creates a thicker, chunkier scrunchie.
- Chenille yarn makes an especially soft and velvety scrunchie.
Standard worsted-weight acrylic yarn is the easiest option for beginners because the stitches are easy to see and lift over the pegs. Chenille yarn also works well, but its fuzzy texture can make the loops more difficult to see.
What size loom do I need to make a knit scrunchie?
We got the best results with an 8-peg knitting spool, which creates a narrow tube that gathers nicely around the elastic.
You can use another small loom or knitting spool, but the number of pegs and the space between them will affect the width of the finished tube. A slightly larger loom will produce a wider, fuller scrunchie.
Can I use a regular hair elastic instead of sewing elastic?
For the sewn version of this pattern, you’ll need a length of craft or sewing elastic that can be threaded through the knitted tube and joined at the ends.
A regular hair elastic works best with the no-sew method (described above), where it’s placed inside the folded knitted fabric before the edge is attached and bound off.
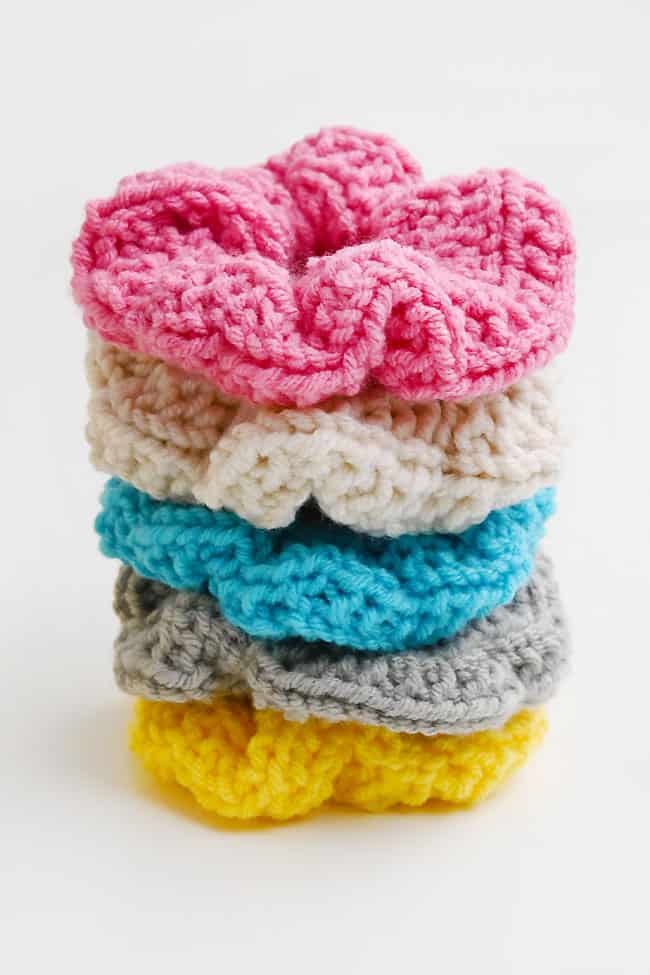
This loom knit scrunchie is a quick and satisfying way to turn a little yarn into a cute, wearable accessory. The soft knit texture gives it plenty of personality, and it’s easy to adjust the colour, yarn weight, or stitch pattern to create a completely different look.
Make one to match your favourite outfit, or knit a whole stack in bright colours to share with friends. Once you see how simply this DIY scrunchie comes together, you’ll want to try all kinds of yarns and designs!
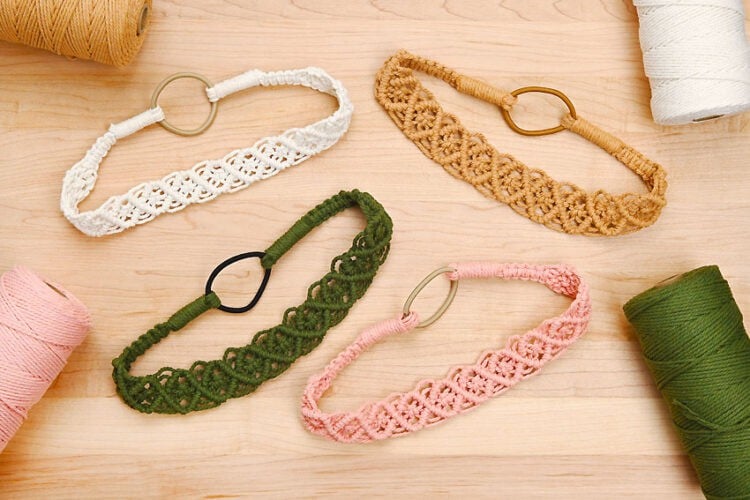
Here’s even more DIY hair accessory ideas:

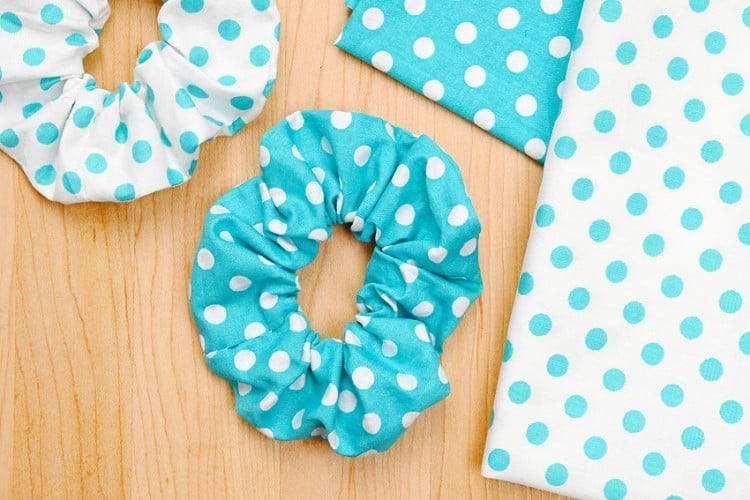
How to Make a Fabric Scrunchie
Now available
Low-Mess Crafts for Kids Book
72 cute and fun crafts that kids and parents alike can enjoy. All with as little mess as possible!
Where to buy:
You can purchase Low-Mess Crafts for Kids from Amazon, or wherever books are sold:
Amazon | Barnes and Noble | Books-A-Million | Indiebound | Amazon Canada






Leave a Reply