Learn how to make glue at home with household ingredients. This homemade glue recipe can be used with any kind of paper, from cardstock to construction paper. It also works with googly eyes, popsicle sticks, and buttons. Why spend money on glue when you can make it yourself for pennies?!

The BEST Homemade Glue
Why pay $5 for a bottle of craft glue when you can make it yourself in 5 minutes using simple ingredients? We wanted to find the BEST homemade glue recipe, and I believe we have.
We tried out 4 different recipes, with different ingredients and quantities to figure out how to make glue with the best texture and performance. Then we tested the glues on different craft materials like paper, popsicle sticks, googly eyes, and buttons to see how they performed.
The winning recipe has only 4 ingredients and is very simple to make. It dries clear, and it holds up really well. Crafts we made a week ago with this glue are still sticking strong!
We’re also giving you a bonus recipe for a simple, no cook flour and water glue (scroll further down this post for the recipe). It’s not as good as the winning recipe, but it definitely deserves an honorable mention, especially if you want something that’s REALLY easy to make.
Check out our Homemade Glue video tutorial:
*Note: Scroll down for the step-by-step photo tutorial.
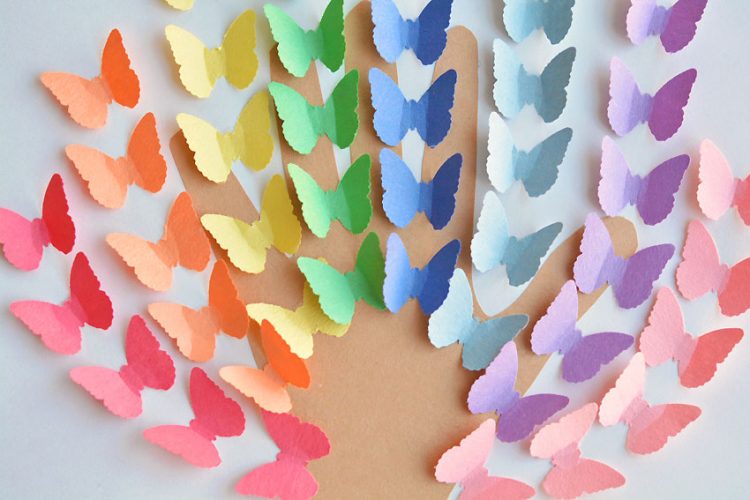
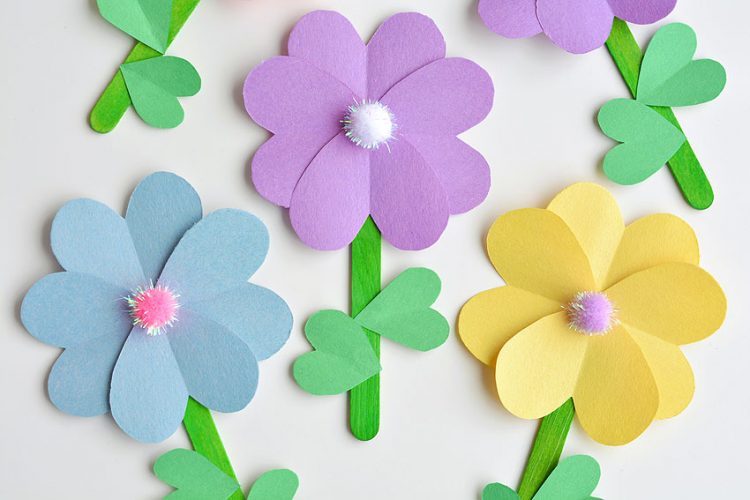
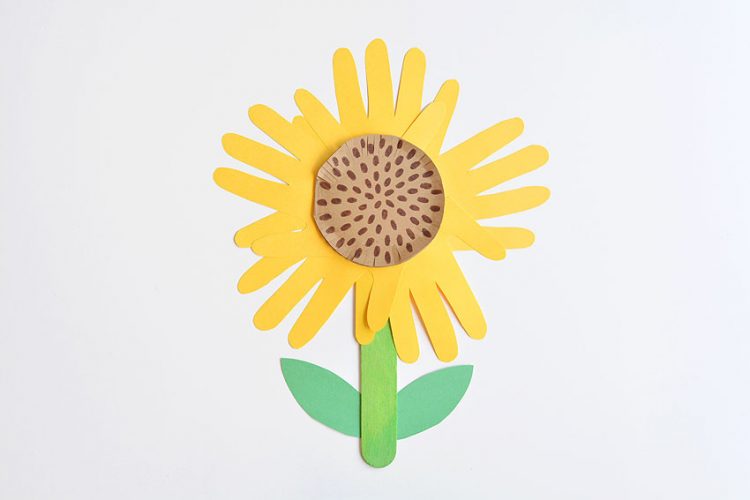
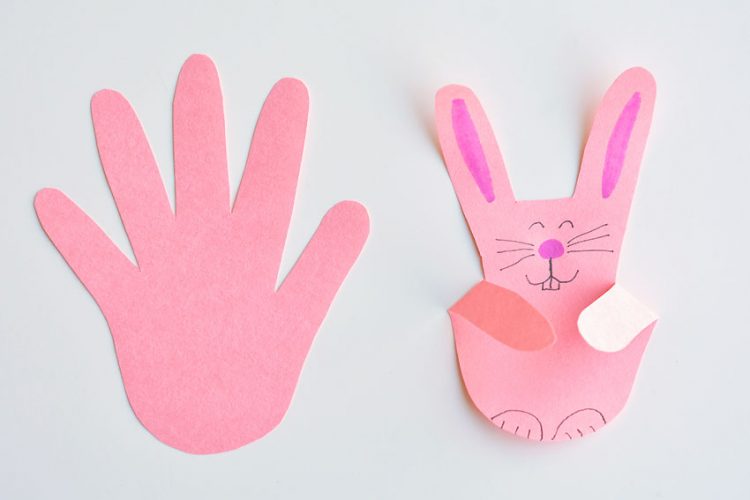
Here’s some of our favourite crafts that you can make with this glue:

Here’s what you’ll need:
This post contains affiliate links. If you use these links to buy something we may earn a small commission which helps us run this website.
The full printable instructions are at the end of this post, but here’s a list of products on Amazon that are similar to the supplies we used:
Glue Recipe #1: (The Winner)
- Corn syrup
- Vinegar
- Cornstarch
- Water

Glue Recipe #2: (Honorable Mention)

What are the pros and cons of each recipe?
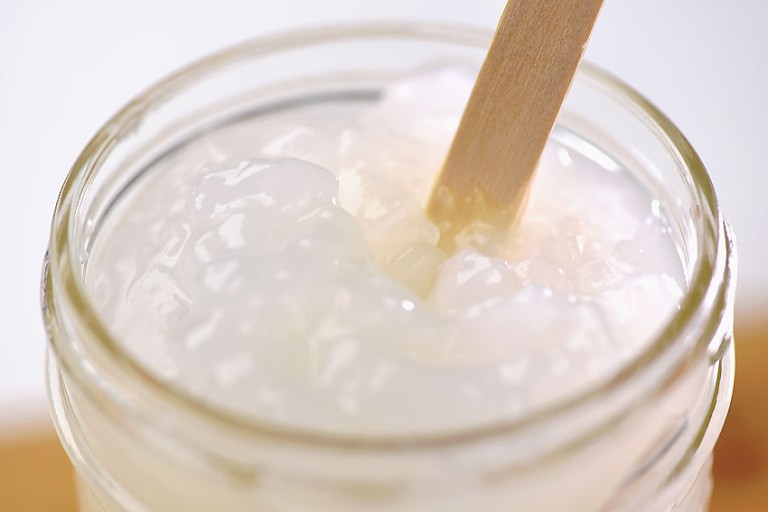
Glue recipe #1 (our winner!) is so nice to work with! It’s smooth and strong, and it dries clear. The jar of glue lasts for a long time at room temperature, though it does thicken up over time.
The only downside of this recipe that I experienced is that it looks a bit greasy when it’s first applied. It soaks through construction paper if you use a lot and can leave a wet spot on the other side. But the wet spots on our crafts disappeared after it dried.
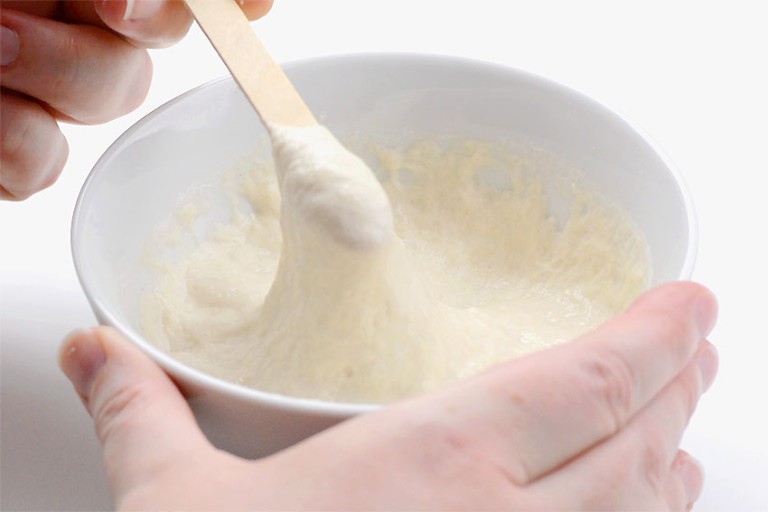
Glue recipe #2 (flour and water) is a simple paste recipe that’s incredibly easy to make. You can make it in less than a minute, no cooking involved, and it’s surprisingly very strong!
This mixture isn’t as smooth as recipe #1 which made it a bit harder to apply in small amounts. And rather than drying clear, it left white marks anywhere the paste leaked out when we pressed our craft pieces together. It also only lasts for one day at room temperature, and even in the fridge it goes bad after a few days. But if you want something quick and easy this paste is definitely worth trying.
What materials can you glue with it?
Homemade glue is perfect for kids crafts! It’s really great at sticking together porous materials like construction paper or popsicle sticks. It takes a little bit longer to dry than glue from the store, but once it’s dry it sticks really well!
We also attached googly eyes and buttons to paper with our glue, and it worked fairly well. They only came off the paper when we purposely tried to peel them off. Even with store bought glue, plastic pieces don’t have the strongest sticking power, so I’d say our recipe was comparable.

How I should I store homemade glue?
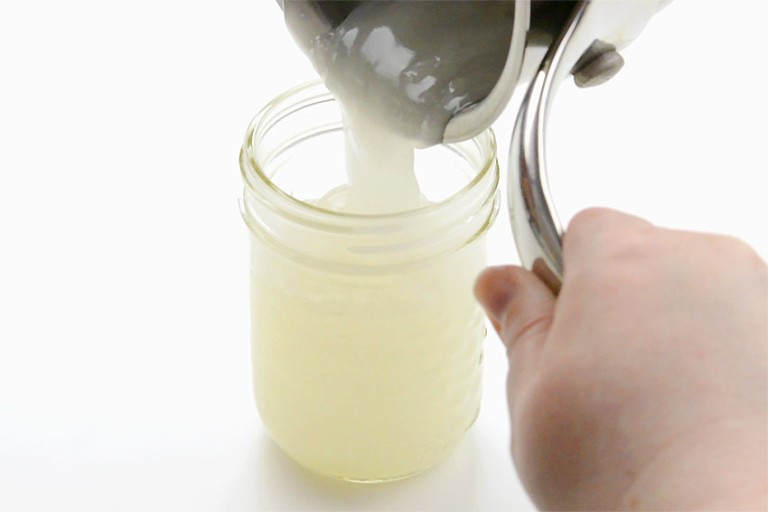
We poured the glue straight from the pan into a mason jar. We let it cool with the lid off, and then stored it at room temperature (with the lid on). It’s currently been sitting out for a week and it looks and smells absolutely fine.
If you’re keeping the glue for longer than a week, I would suggest storing it in the fridge. Before using, simply take out a small portion and bring it to room temperature. You can also add hot water, a teaspoon at a time, to warm up the glue and get a better consistency.
How can I apply it?
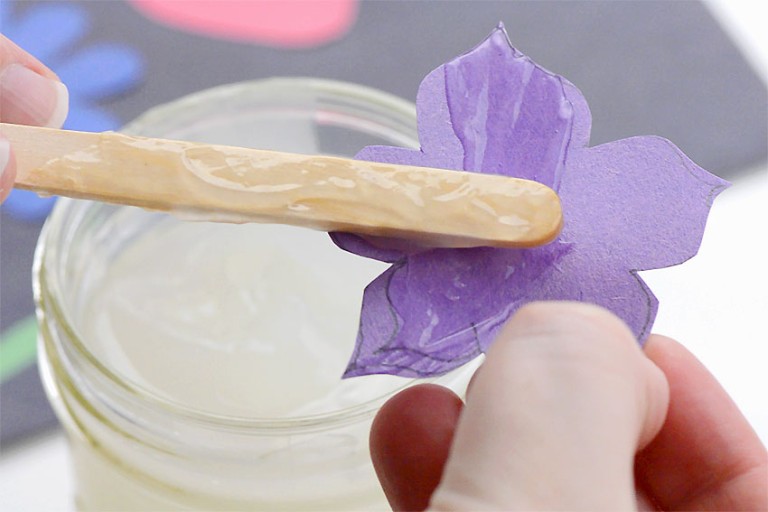
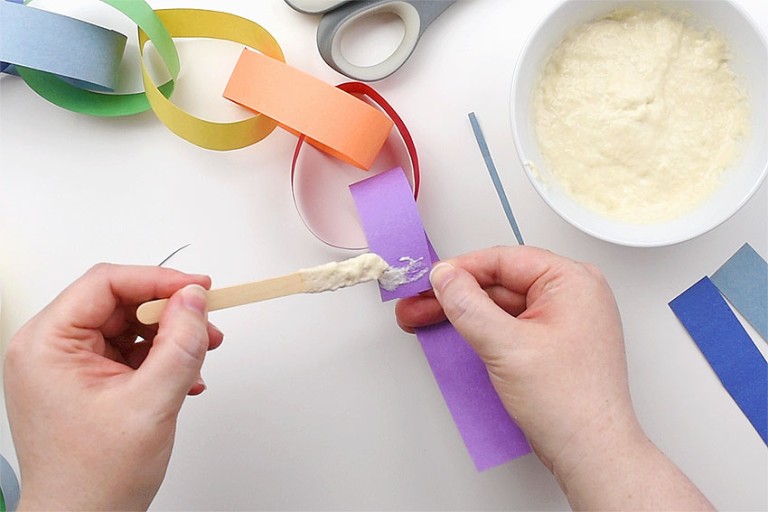
We used a popsicle stick to apply the homemade glue, which you can see from our photos. A paint brush, wooden stir stick, or Q-tip would also work well.
If you thinned out the glue with some water you would be able to use a squeeze bottle. However, we haven’t tested the glue at a thinner consistency.
How to Make Glue
Materials:
- 1 1/4 cups Water (divided)
- 2 tablespoons corn syrup
- 1 teaspoon vinegar
- 1/4 cup Cornstarch
Equipment:
- Mason jar (or other container for storage)
Instructions:
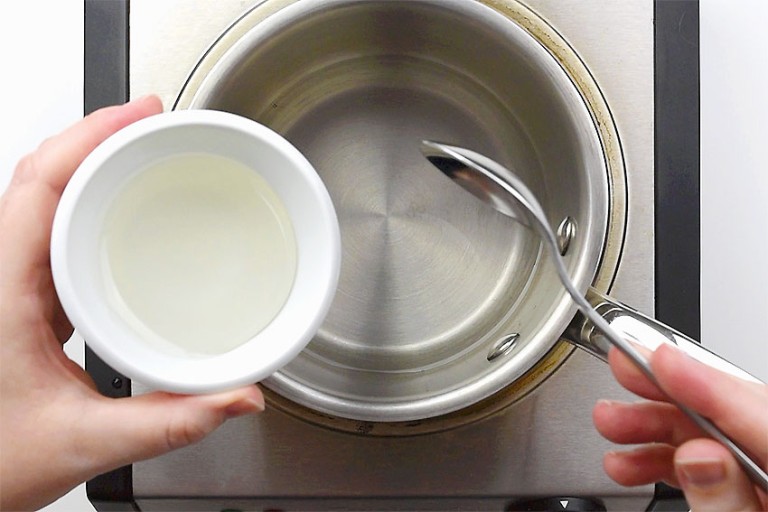
Step 1: Cook glue
- Add 3/4 cup water, 2 tablespoons corn syrup, and 1 teaspoon vinegar to a pot.

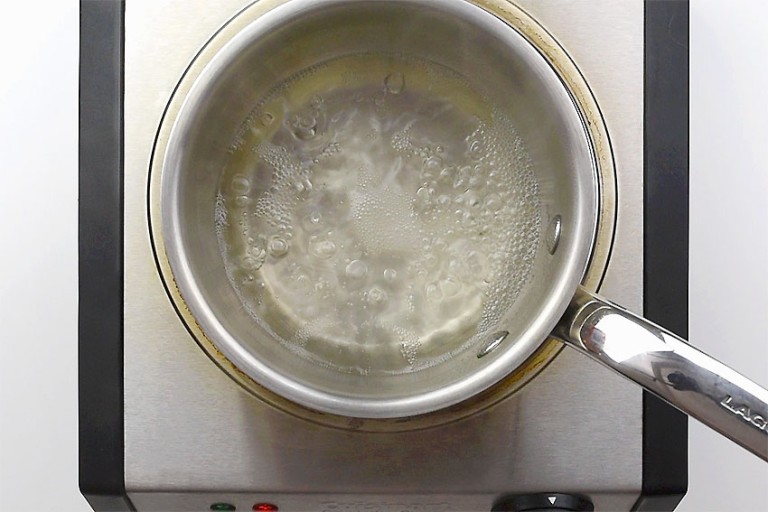
- Stir, and bring to a boil over medium-high heat.
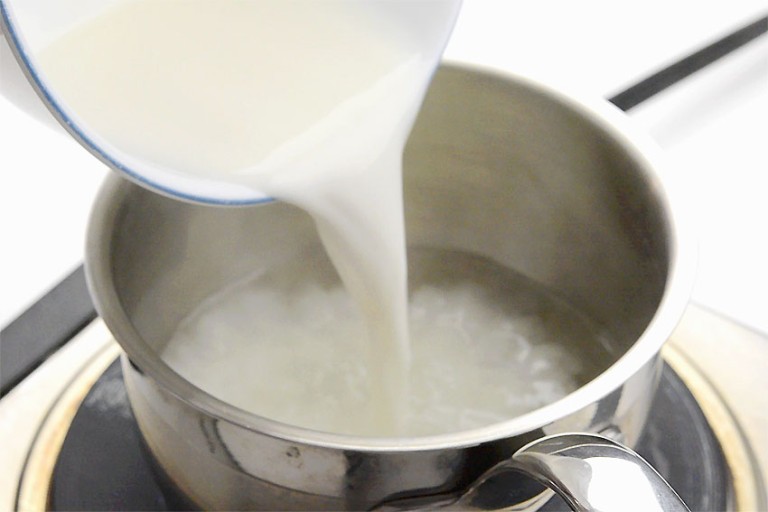
- Whisk together 1/2 cup of water and 1/4 cup cornstarch. Pour it into the pot and stir well.
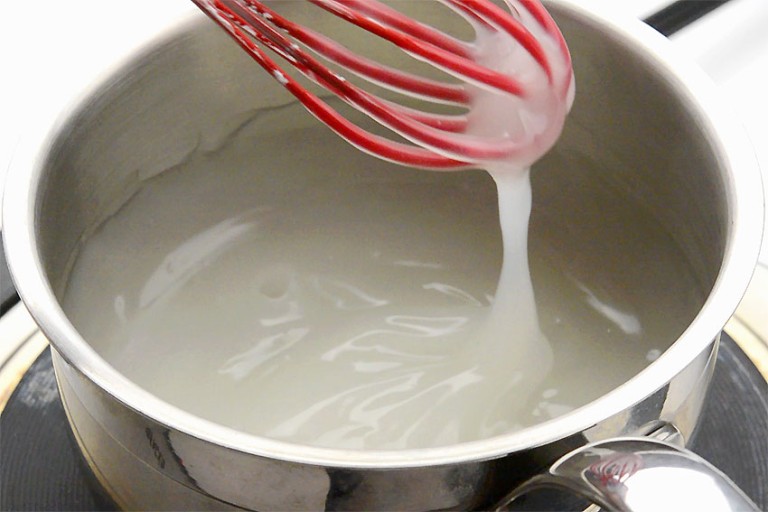
- Allow the mixture to come to a boil again, then remove it from the heat immediately.
Step 2: Cooling time
- Pour your homemade glue into a mason jar, or other sealable container, and let it cool for at least two hours (with the lid off) before using.
- Your homemade glue is complete!
- Enjoy using your homemade glue on paper, popsicle sticks, googly eyes, and more!
Helpful Tip:
Option #2: Did you know that you can also make a simple no-cook glue?
While this no-cook glue doesn’t dry clear like the recipe above, it still works surprisingly well! Who knew such a simple mixture could work as glue?!
How to Make Glue with Flour
Materials:
- 1/2 cup All-purpose flour
- 1/3 cup Water (may need more)
- 1 pinch Salt (optional, see tips at the end)
Equipment:
Instructions:
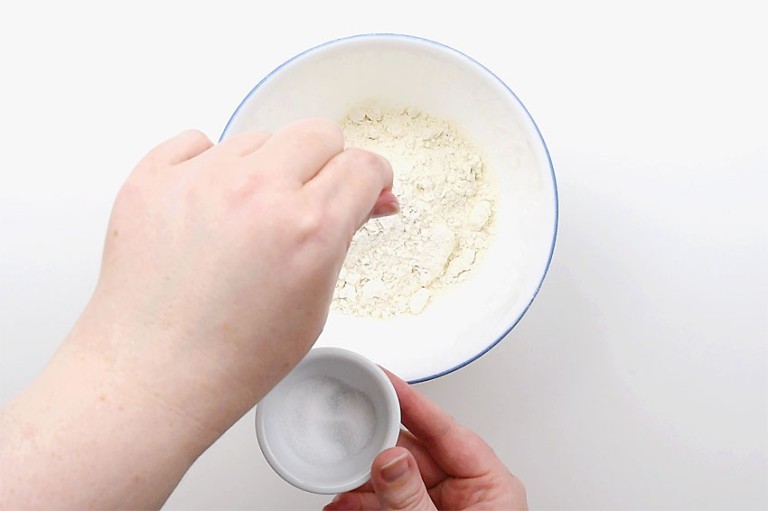
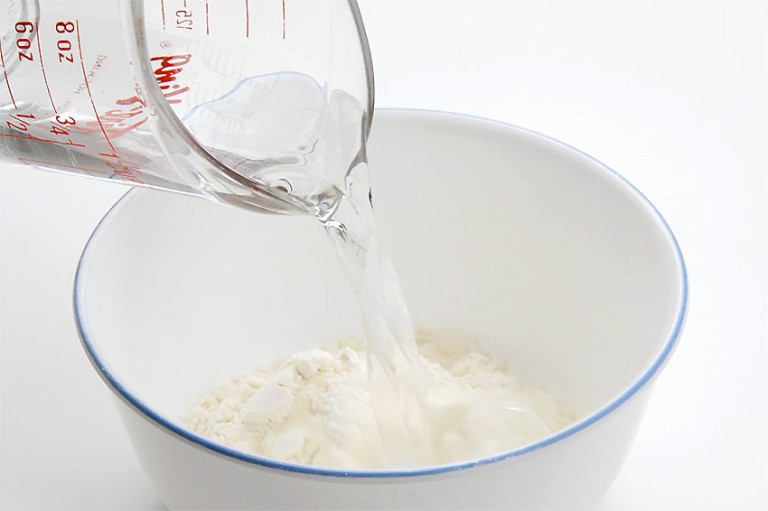
- Add 1/2 cup of flour and a pinch of salt to a bowl.

- Pour 1/3 cup of water into the bowl.
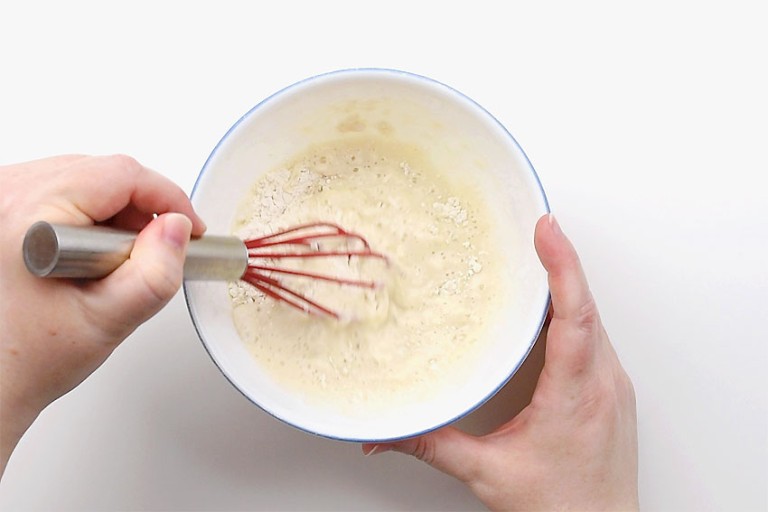
- Mix the ingredients well until it has a smooth, paste-like consistency. If the glue is too thick, add more water, a tablespoon at a time until it seems spreadable. If the glue is too thin, add more flour a teaspoon at a time and stir until mixed.
- Your no-cook glue is complete!
- Have fun using your no-cook homemade glue. Store any leftovers in the fridge for up to 3 days.
Helpful Tip:

We had a lot of fun researching how to make glue and testing all the different recipes in order to come up with the best homemade glue. Making glue is actually a fun activity in and of itself that kids and adults can do together!
It’s so satisfying to use the glue that you’ve personally made yourself. And with pantry ingredients, you know it’s taste safe.

Use homemade glue for these crafts:
Our book Low-Mess Crafts for Kids is loaded with 72 fun and simple craft ideas for kids! The projects are fun, easy and most importantly low-mess, so the clean up is simple!

Where to buy:
You can purchase Low-Mess Crafts for Kids from Amazon, or wherever books are sold:
Amazon | Barnes and Noble | Books- A- Million | Indiebound | Indigo | Amazon Canada


Leave a Reply