I have to admit, I have been really intimidated to make my own curtains. Remember when I bought the fabric for Kate’s curtains and I posted my review for Fabric.com? That was two months ago already! But better late than never, I suppose! Finally, here is my tutorial for how to make blackout curtains.
I’m not going to tell you I did it myself, because I really felt like I needed help with this project. And when I go to make the curtains for Leah’s room, I will definitely need help again. It’s just way too hard to lay everything out and measure it perfectly all by yourself, so I definitely recommend getting a helper if at all possible.

How to make blackout curtains
Being Mother’s Day, I had my own mother helping, my grandmother helping and my 3 year old “helping”. We probably didn’t need THAT many people, but it was a fun Mother’s Day activity that all 4 generations of women could enjoy together!
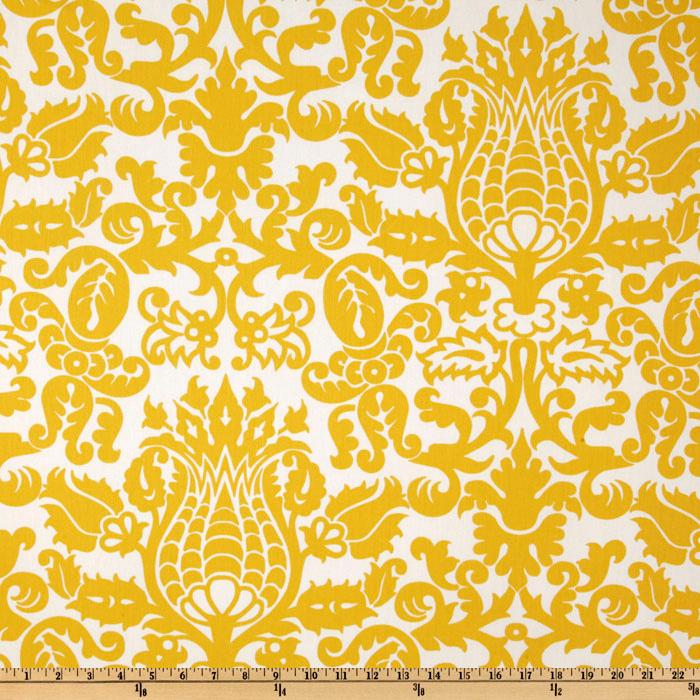
I bought 6 yards of Premier Prints Twill Amsterdam Corn Yellow and 6 yards of Roc-Lon Blackout Drapery Lining Ivory and I have enough left over to make a throw pillow.
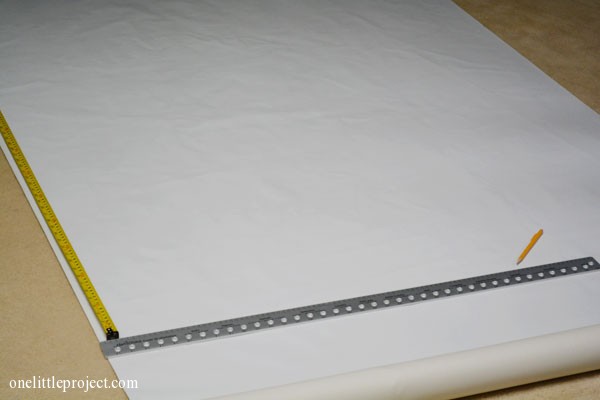
Measure from the curtain rod down to about 1″ above the floor to get an idea of what the finished length of the curtains will be. I had the fabric clipped on and hanging from the curtain rod since I got it (one side of it anyway, since I didn’t cut it until now!) but you can just measure from the curtain rod to get the height. The length of mine was about 90″.

Lay the fabric flat on the floor and use a measuring tape to mark where you need to cut. Add 4″ for the top hem and 3″ to 4″ for the bottom hem. So for mine, they were 90″ + 4″ + 4″ = 98″ long.
Keep in mind that if you have a patterned fabric you will probably want the patterns to line up. We didn’t consider this when we did our cutting and by shear luck they lined up, but that definitely won’t always be the case!

We folded down the top hem first and measured from there: 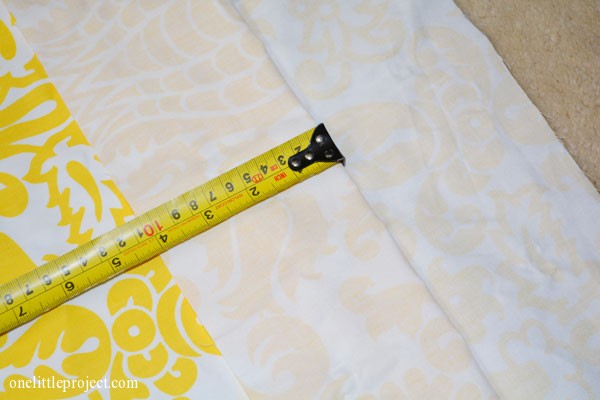
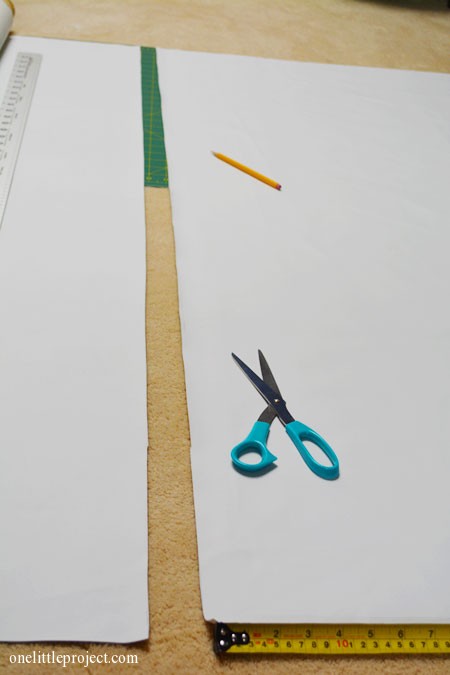
So we marked out 94″ using a pencil. (If this is confusing, just measure the entire length you need from the end of the fabric, so in our case, it would have been 98″):

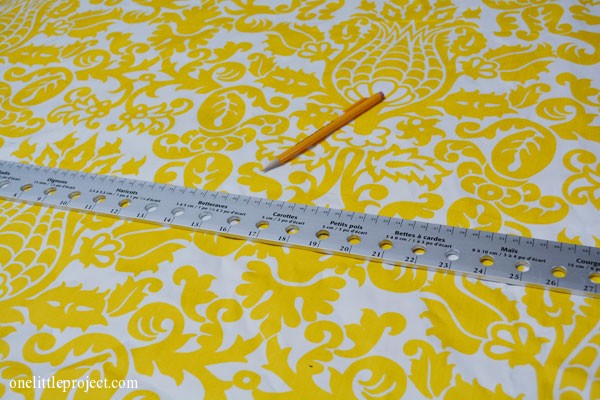
Make about 4 or 5 pencil marks across the width of the fabric:

And use a meter stick (or something) to draw a straight line:
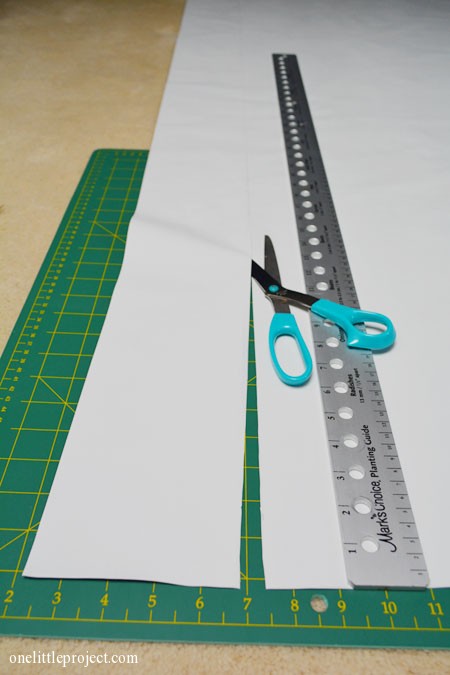
Use scissors to cut out the piece of fabric at the line you marked:
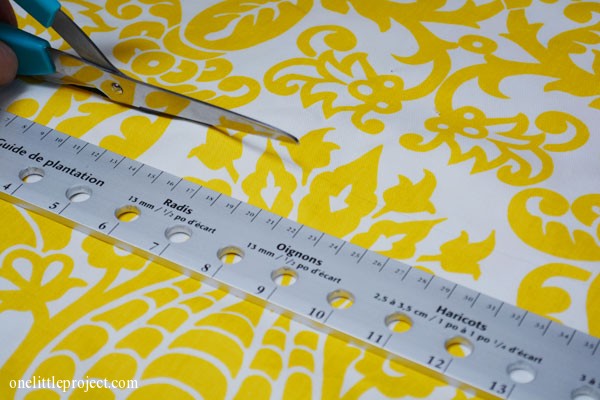
Again, I had my fabric folded in half, so I only had to make one cut through it. And when it was cut, it was 98″ long.
Set these pieces aside and pull out your blackout lining (or regular lining, depending on what you are making).
Lay the lining out flat on the floor, and get ready to measure. This lining piece will be the finished length of the curtains (in my case 90″) since the main curtain fabric will fold over top of it, you don’t need to add extra length for the hem:
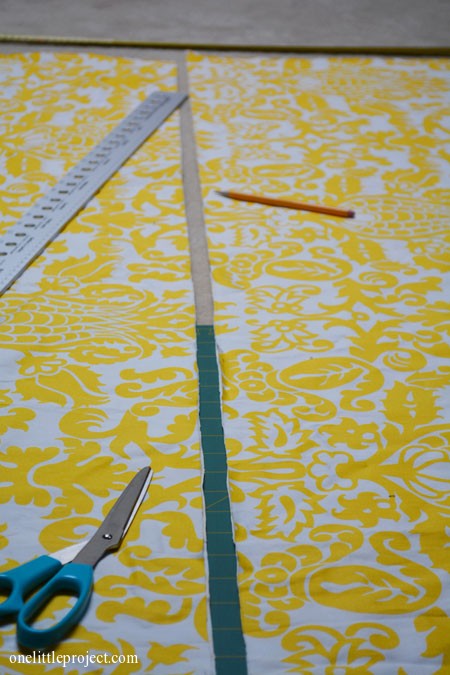
Use the same measuring technique described above, and cut out the piece of blackout lining:
Since we want this piece to “tuck inside” of the main fabric, I also had to trim the width of the blackout lining. Both my main fabric and lining were 55″, so I took off 3.5″ for the right side of the curtains and 1.5″ for the left side of the curtains and cut the lining to be 50″ wide:
Repeat the measuring and cutting steps for the second piece of blackout lining.
Now get ready to iron, because you are going to be ironing for awhile! Iron out the wrinkles from the fabric:
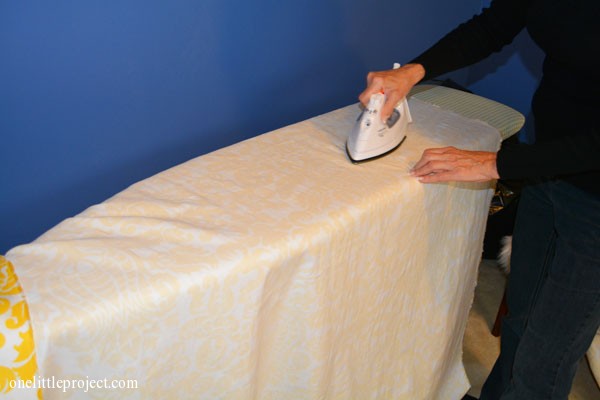
Then pre-iron all of your hems. So all of my hems are double folded, so we folded in about 1/2″ first and ironed:
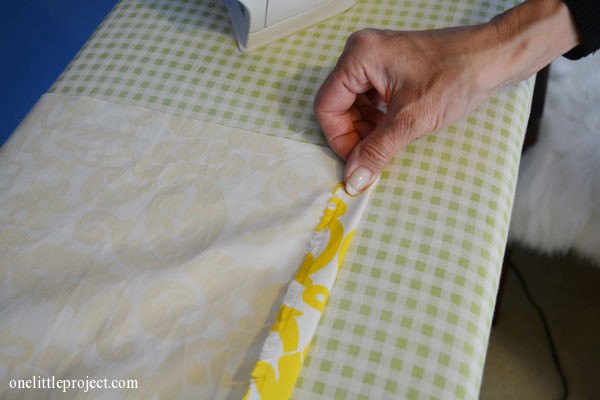
Then we folded over another 2″ and ironed again. This was only for the sides of the curtains where the panels met in the middle.
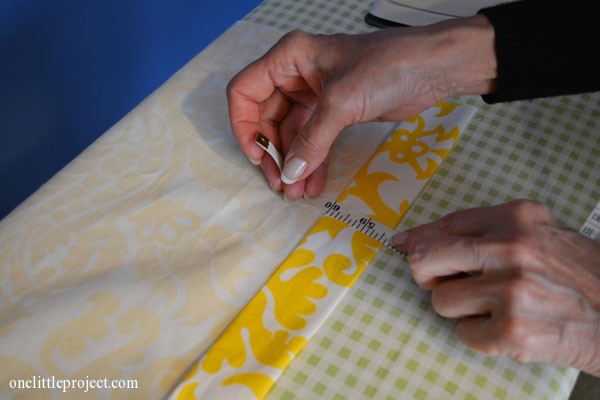
- Middle side hems = 1/2″ + 2″
- Top hems = 1/2″ + 3.5″
- Outer side hems = 1/2″ + 1″
- Bottom hems = we saved this until the end so we could get the length right
Take your fabric and lay it on the floor, right side down. Then take your blackout lining and place it inside the fabric, right side up. The blackout lining should fit right where the folds of the hem are ironed in: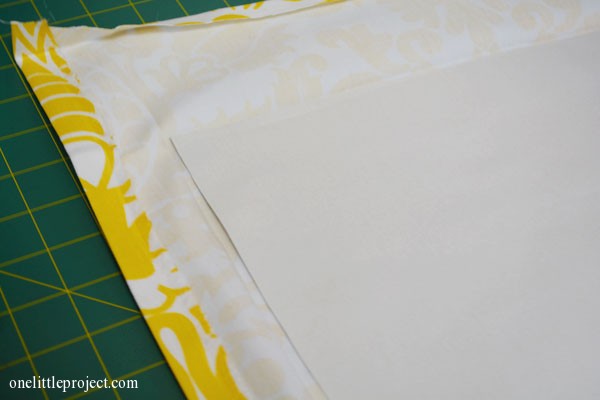
Take one hem and fold it over the lining:
Then take the other hem and fold it over the lining:
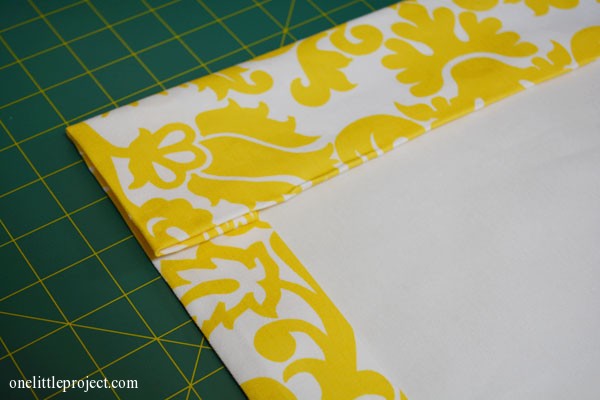
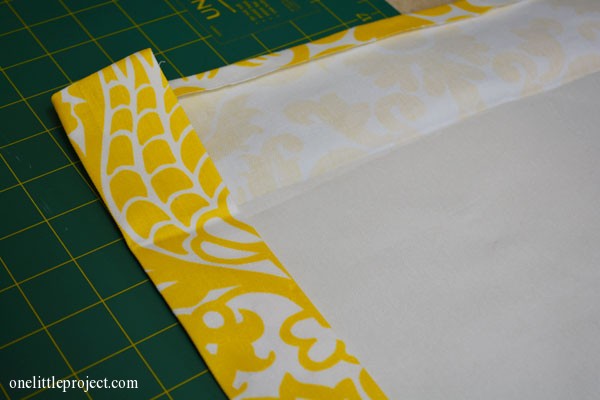
And pin it in place:
Repeat the folding and pinning until you have pinned all the way around:
But at this point, leave the bottom open. We are going to hem that after it’s all sewn:
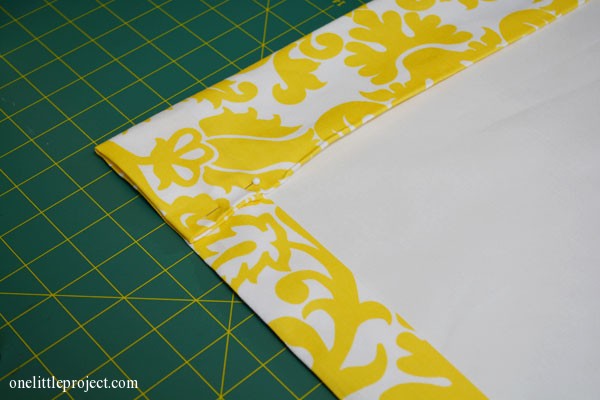
This is the easy part. Sew down all the edges: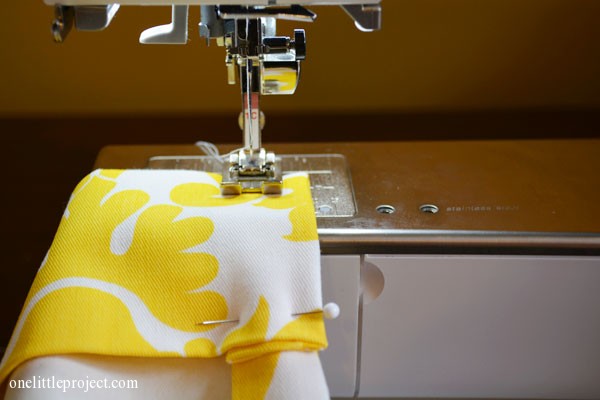
You have to do all of this measuring, cutting, ironing, pinning and sewing twice because you have two panels. It looks like a lot of work, but it’s really not that bad if you have someone helping you.
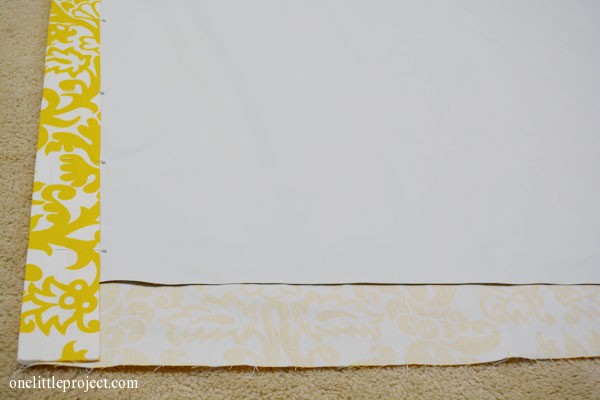
So now that the sides of the panels are sewn, here is how you get the pinch pleat look. Lay your curtain on the floor again, and set out your drapery clips spacing them evenly:
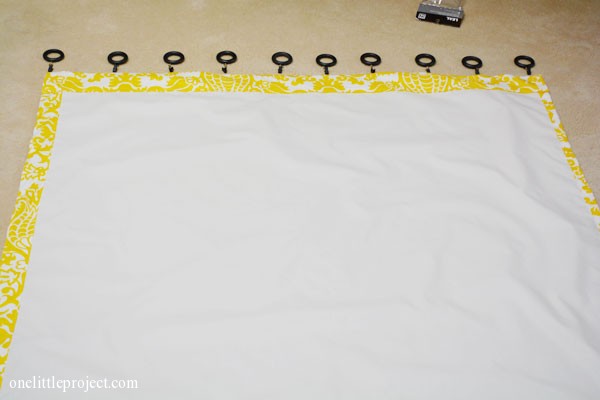
Rather than clipping from the top, clip the rings so that the top of the ring is just visible above the curtain:
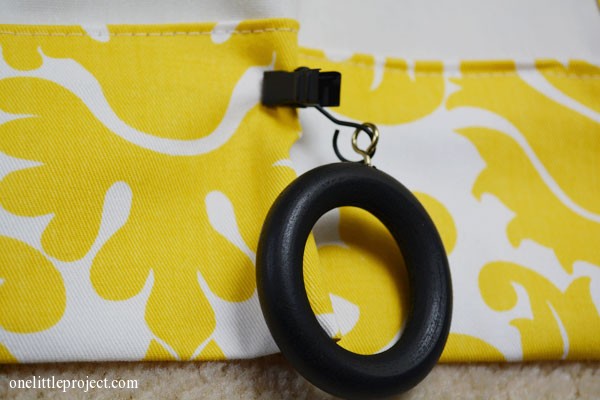
Clip them all on:
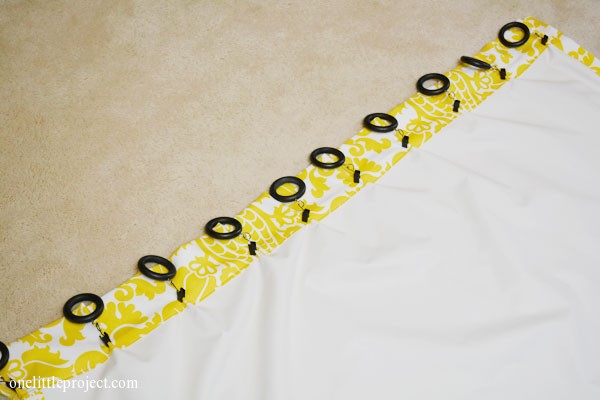
Hang them on the curtain rod, and you get the pinch pleat look without the hassle:
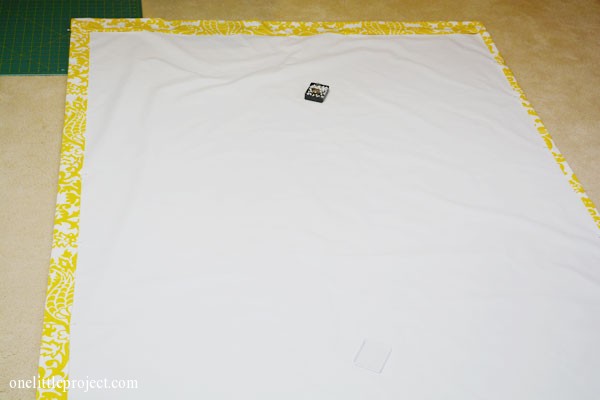
Now, at this point, we were getting tired, so we stopped taking pictures. But all you have left to do is check the length of the curtains, and pin them to the proper length. If you want, you can hand hem it, but it’s way easier to just take it down and run it through the sewing machine.
So this is what the bottom corner looked like:

So at this point the curtains are done! Phew! With 3 women working on this it took us about 4 hours total.
This was a crazy long post, so you are just going to have to wait until the next post to see the rest of the photos of how they turned out!


Leave a Reply