Learn how to make a gnome in 15 minutes or less! This sock gnome craft is SO EASY to make, and you only need a few simple supplies.
Gnomes are a super popular winter and Christmas decoration, but you can easily enjoy this home decor craft all year round! These DIY gnomes looks great on display, and they’re a lot of fun to make. So let’s get crafting your own adorable gnome friend!

This post contains affiliate links. If you use these links to buy something we may earn a small commission which helps us run this website.
How to Make a Gnome
Materials:
- Grey sock (for gnome body)
- Coloured crew sock (or patterned; for gnome hat)
- 12 gauge Wire
- Polyester fiber fill
- Rice
- Rubber band
- Gnome beard (or faux fur)
- Wooden ball (1 inch)
Equipment:
- Sewing machine (or thread and needle)
Watch the step-by-step video tutorial:
Instructions:
Step 1: Find what you need
- Gather your supplies and materials.


Step 2: Make the gnome’s hat
- To make your gnome you’ll need 2 socks: 1 for the body and 1 for the hat.You can use a pair of socks (2 the same colour) to make your gnome, but we like the look of a different coloured hat.This means you can make 2 gnomes with the 2 pairs of socks. Or make your lone socks useful!
- Fold the hat sock inside out and then add pins on a diagonal line. Start from the toe of the sock and widen out towards the cuff.
- Sew along the pin line with a sewing machine, or by hand.If you want to make a no-sew gnome you can cut the hat along the pin line and hot glue it together. You can also use fabric glue and use fabric clips to make sure the hat doesn’t shift as the glue dries.
- Then cut off the excess sock, leaving a 1/2 inch seam.
- Turn the sock right side out.


Step 3: Add structure and stuffing to the hat
- Cut a piece of wire about two times the length of your sock (24 inches, for us).
- Fold the wire in half and use pliers to crease the fold a bit, giving it a point.
- Then make loops at the end of each wire. This ensures the sharp part of the wire won’t damage the socks (or your fingers!).
- Pull the looped ends of the wire apart so you have a triangular shaped wire the same length and width as the sock hat.
- Insert the wire into the hat with the folded point at the top. Make sure this point reaches the top of the hat.
- Fill the hat with poly-fill stuffing. Continue until the hat is firmly stuffed, leaving a 1 inch space unstuffed near the cuff.


Step 4: Make the gnome’s body
- Cut the toe portion off an adult sized grey sock, just above the heel.
- Add 1 cup of dried rice to the bottom of the sock. This will stop the gnome from falling over.
- Stuff the gnome body until you’re happy with the size and firmness of it. Leave a space at the top, at least 1 inch tall.
- Gather the top of the sock together and use a rubber band to close off the gnome body.If you don’t have an elastic you can also use a piece of string.


Step 5: Attach the beard and nose, and adjust the hat
- Add a line of hot glue to the top back of the beard. Then add more glue going down the middle.
- Attach the beard to the gnome body. Place it so that the bottom of the beard reaches the bottom of the gnome.
- Stretch the hat down onto the gnome so it just covers the top of the beard.
- Add hot glue to the wooden ball and place the nose at the top center of the beard. Lift the hat up so it just overlaps the top of the nose.
- As a finishing touch, bend the top of the hat down on a curve. Use the wire to adjust the tip of the hat into a swirl shape.
- Your DIY gnome is complete!
- Now have fun making a whole group of gnome friends with different coloured hats!Bend their hats in different directions to keep them unique.


Helpful Tips:
- Sock cuffs can be really tight, causing the hat and body to squish in when you connect them. So make sure you stretch out new socks before working with them.
- Plain or patterned socks make great gnome hats, but you can also cut a gnome hat from felt, fleece, or another fabric.

What do you fill DIY gnomes with?
We like to give our gnomes a weighted base with uncooked rice or dried beans. You can also buy special poly-pellets for stuffed animals. This weights the bottom of the gnome and stops them from falling over.
Then the squishy gnome body is made with poly-fill stuffing. You can also use stuffing from an old pillow or stuffed animal.
Or if you happen to have lots of fabric or yarn scraps, they also make good stuffing. Make sure you cut these bits small so they don’t make the gnome look lumpy.

How to make a gnome nose:
We like to use a wooden ball for our gnome noses – it’s really sturdy and gives the gnome a classic, polished appearance. But there are a few other items that also work well:
- Pom pom
- Polymer clay, shaped into a round nose and baked
- Stuffed nylon or stocking, cut to size
- Fabric (such as felt, fleece, or another material) wrapped around stuffing
- Sock, cut into a round shape and stuffed
- Styrofoam ball (plain, painted, or covered in pantyhose fabric)
How to make a gnome with arms:
When you make the gnome’s body there will be a longer top part of the sock that you cut off. Cut this portion of the sock in half and use it to make arms for the gnome.
Then cut little pieces of felt to make the gnome’s hands! The arms can be held in place with glue and/or the rubber band.
Check out our fall gnomes post for step-by-step instructions on how to make a gnome with arms.

How do I make a DIY gnome beard?
You can cut a gnome beard from faux fur if you don’t have a specific “gnome beard” shape already. Be careful when cutting the fur, so you don’t cut the long strands of fur off.
Check out our Valentine gnomes post to find a template for the beard and specific instructions on how to cut it.
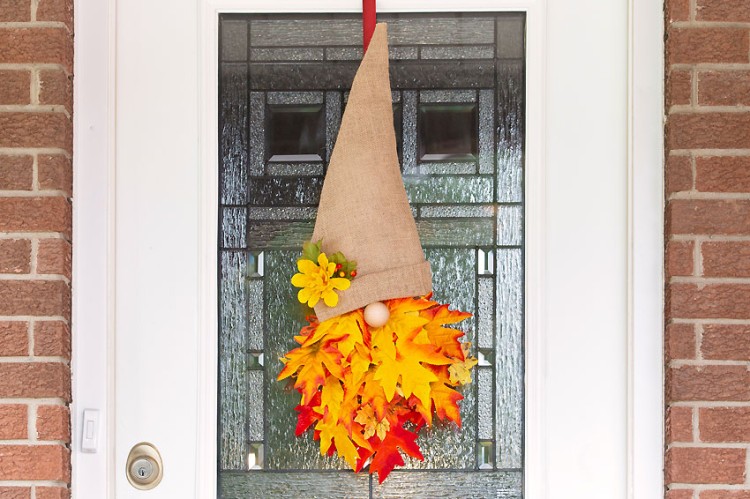
If you want to make a seasonal gnome, look for other materials to make the gnome’s beard. Fabric leaves make a perfect beard for a fall gnome, while faux Christmas tree branches make a great holiday gnome beard!

DIY gnomes will add a touch of whimsy to any space! Follow these easy steps and learn how to make a gnome using a sock and a few other simple materials.
Choose your favourite colours for the gnome’s hat and beard, have fun adding other personalized details. These sock gnomes make a great homemade gift, they’re a craft fair favourite, and they’re also a super fun group project for a craft night!

Here’s even more DIY gnome craft ideas:


Our book Low-Mess Crafts for Kids is loaded with 72 fun and simple craft ideas for kids! The projects are fun, easy and most importantly low-mess, so the clean up is simple!

Where to buy:
You can purchase Low-Mess Crafts for Kids from Amazon, or wherever books are sold:
Amazon | Barnes and Noble | Books-A-Million | Indiebound | Amazon Canada


Leave a Reply