
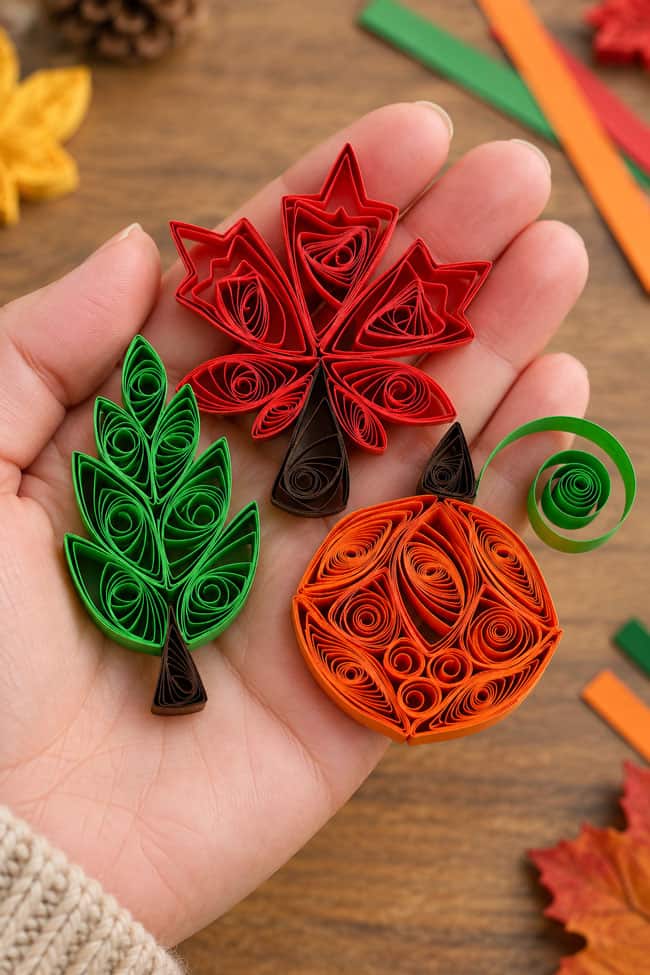
Looking for pretty fall paper quilling ideas to celebrate the season? These colourful quilled designs turn simple strips of paper into pumpkins, autumn leaves, acorns, and other cozy fall shapes. The tiny coils and curls add so much texture, making each project look detailed and impressive without needing a lot of supplies.
Paper quilling is a relaxing craft for older kids, teens, and adults, and these fall designs are a fun way to practice different quilling shapes and techniques. Make just one design or create a whole collection to use for cards, framed art, gift tags, or seasonal decorations. With warm autumn colours and plenty of swirls, these little paper creations are perfect for a cozy afternoon of crafting!
This post contains affiliate links. If you use these links to buy something, we may earn a small commission at no extra cost to you. This helps support our website and allows us to keep creating fun, free content.
How to Make Fall Paper Quilling
Materials:
- Quilling paper (orange, brown, green)
- Tacky glue
Equipment:
- Sewing needle (or toothpick, or quilling tool)
See the craft in action:
Instructions:
Step 1: Find what you need
- Gather your supplies and materials.
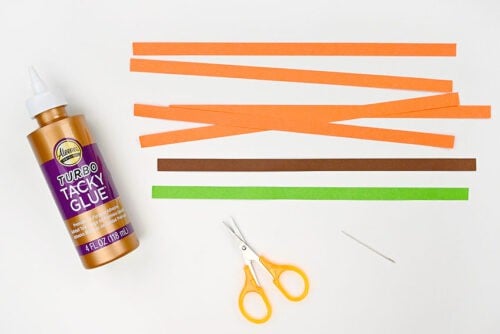
Step 2: Make longer strips
- Begin with 2 strips of orange quilling paper.
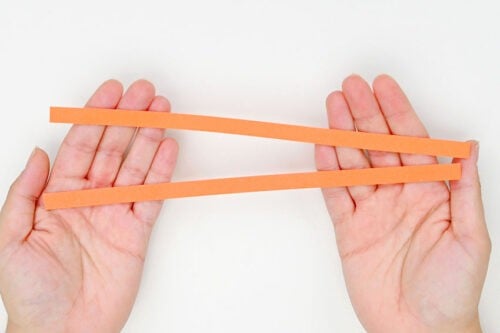
- Add a small amount of tacky glue to one piece on the end.
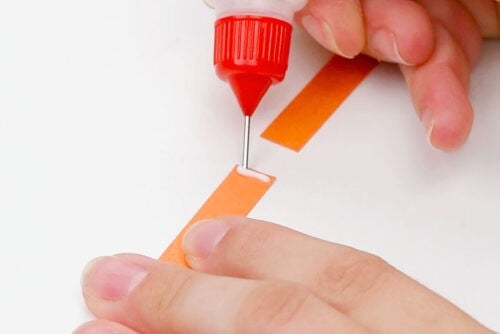
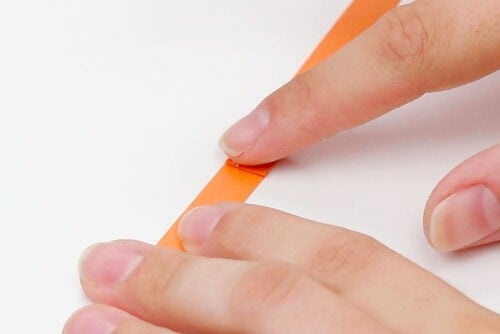
- Connect the 2 pieces together to make a long strip (double length).
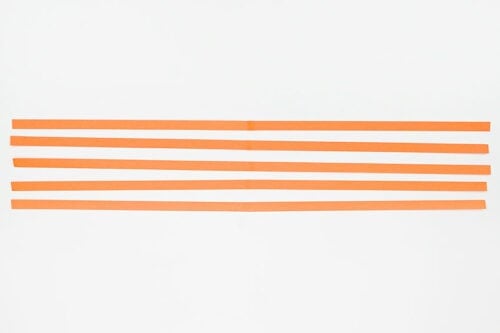
- Repeat 4 times so you have 5 double length strips of paper. Allow glue to dry.
Step 3: Make rolls
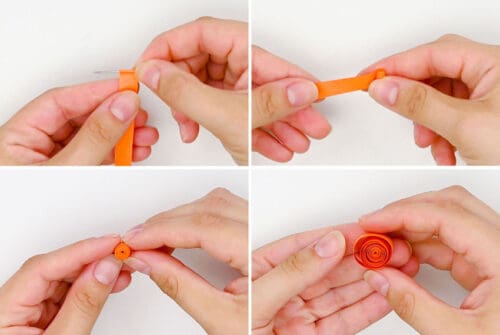
- Roll one of the long paper strips into a 1 inch sized coil. To do this, hold a needle or toothpick on top of the paper. Roll the paper around it.Once the roll is secure you can remove the needle and continue rolling. Once the whole length is rolled, release the tension on the roll until it’s about 1 inch across.
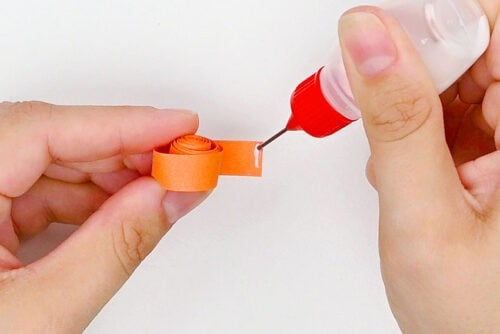
- Hold the roll and add a thin line of glue to the end. Press it in place and hold until the paper stays on its own.
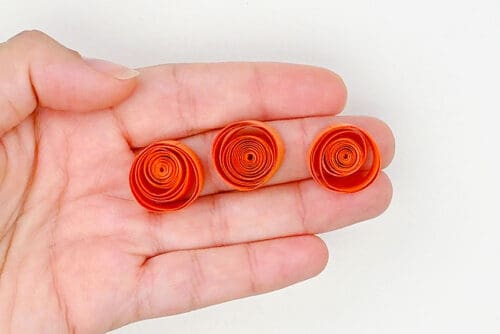
- Repeat with 2 more of the long strips so you have 3 of these 1 inch coils.Set the other 2 long strips aside until later.
Step 4: Shape and connect the rolls
- Pinch 2 opposite sides of a coil to make a marquise diamond shape.
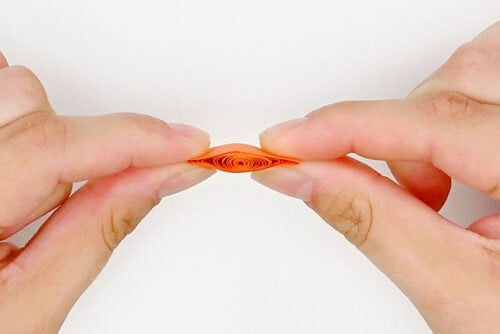
- Use your fingertips to bend one end of the diamond so one side curves to the right.
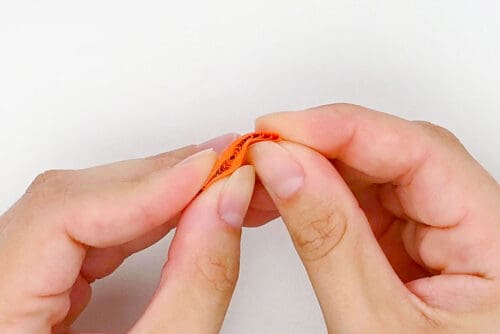
- Repeat with the second roll, curving this one to the left.
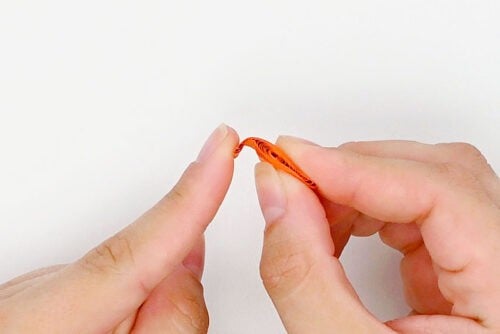
- Pinch the third roll into a diamond shape, leaving it straight up and down (no curving).
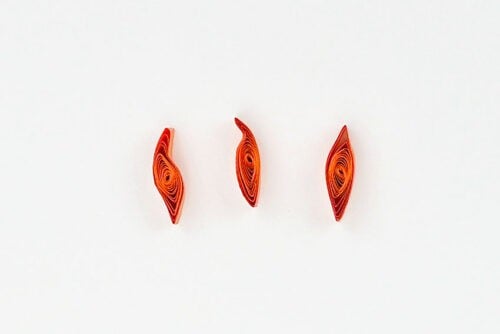
- Apply glue to the top right of the straight diamond.
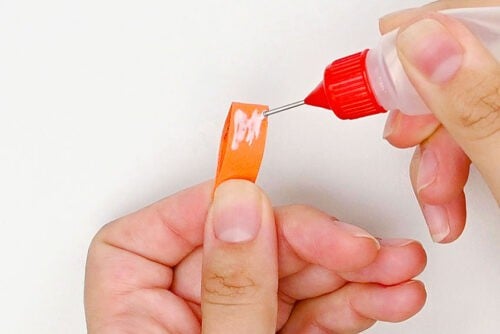
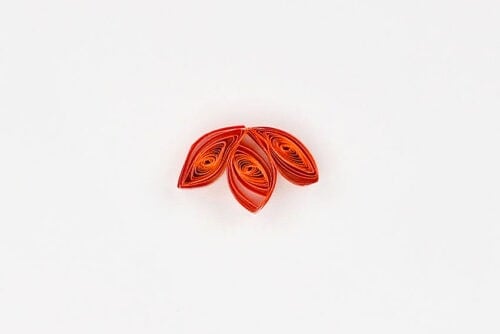
- Attach the left curving piece into the glue so it hugs the straight diamond.
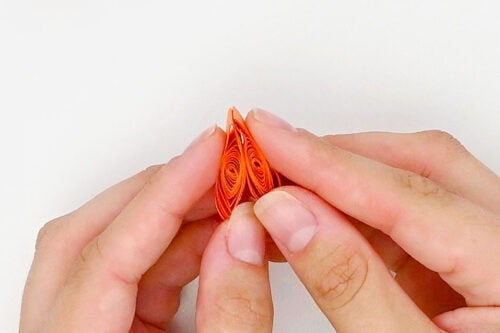
- Repeat, gluing the right curving piece to the other side of the straight diamond.
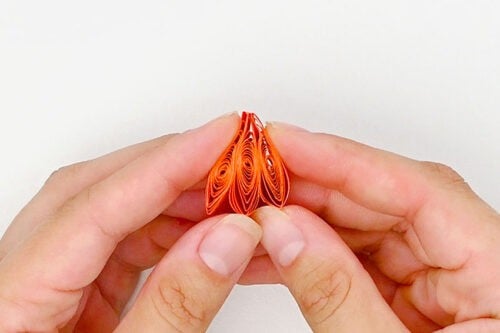
- Push the top and bottom of the pieces in towards each other to “fluff” them up a bit. This will round out the top and give the pumpkin some width.
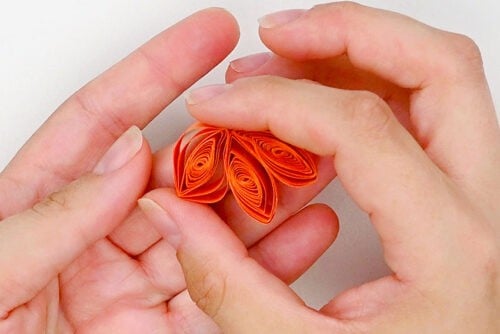
- Allow to dry.
Step 5: Continue forming the pumpkin
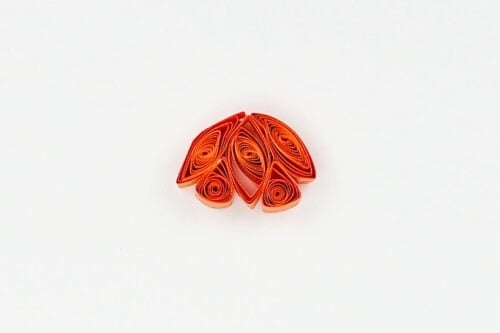
- Make 2 coils from single pieces of orange quilling paper. These coils will be about 1/2 inch in size.
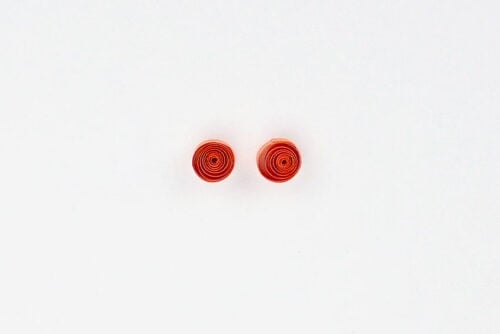
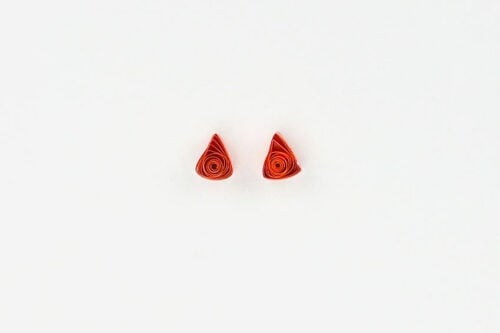
- Use your fingers to shape both small coils into triangles.
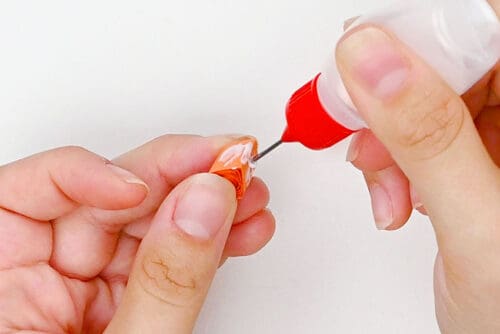
- Apply glue to 2 sides of one triangle.
- Attach the triangle to the pumpkin, placing it in-between the left and center pieces at the bottom.
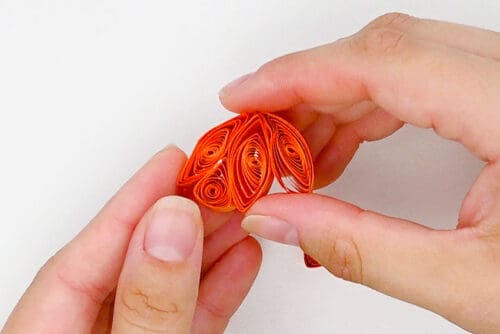
- Repeat, gluing the other triangle between the center and right pieces.
Step 6: Fill out bottom of pumpkin
- Cut another strip of orange quilling paper into 3 even pieces.
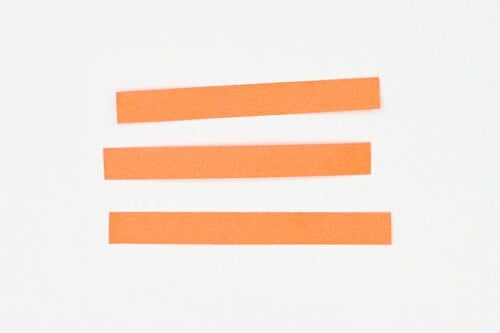
- Make small 1/4 inch coils from these pieces.
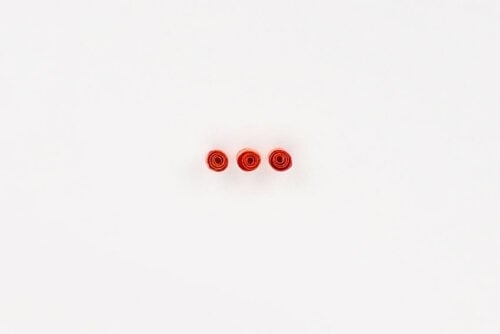
- Glue them to the bottom of the pumpkin. The first 2 will go on either side of the center, with the last one below in the middle.
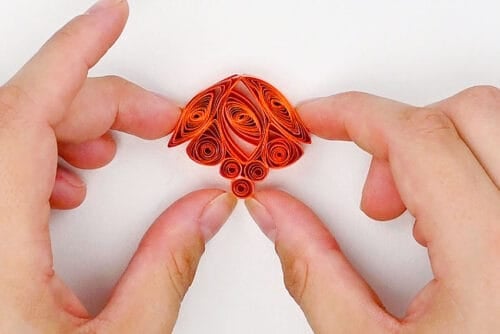
- Grab the last 2 double length strips that you made at the beginning. Roll them into 1 inch coils.
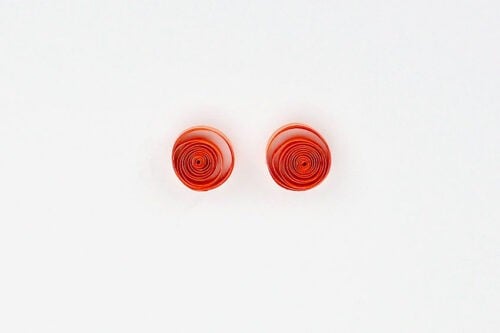
- Pinch the coils into diamonds and curve the ends in opposite directions.
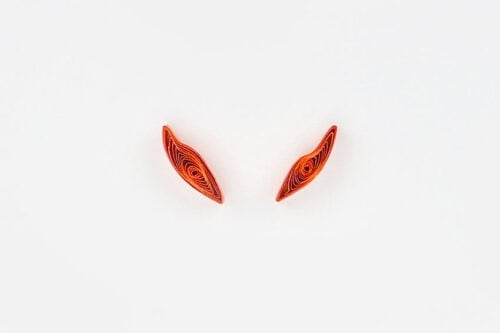
- Glue the curved diamonds to the bottom of the pumpkin, placing them so the curved ends touch the bottom of the triangles and meet the first curved diamonds. The other ends will meet at the bottom center.Ensure all points are glued together and allow to dry.
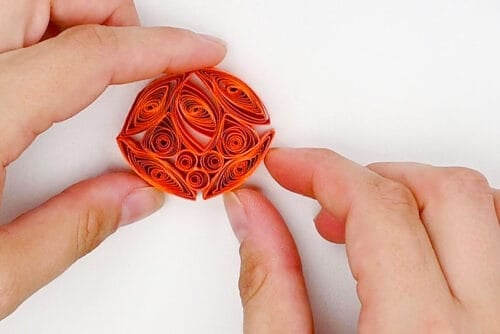
Step 7: Add a stem and vine
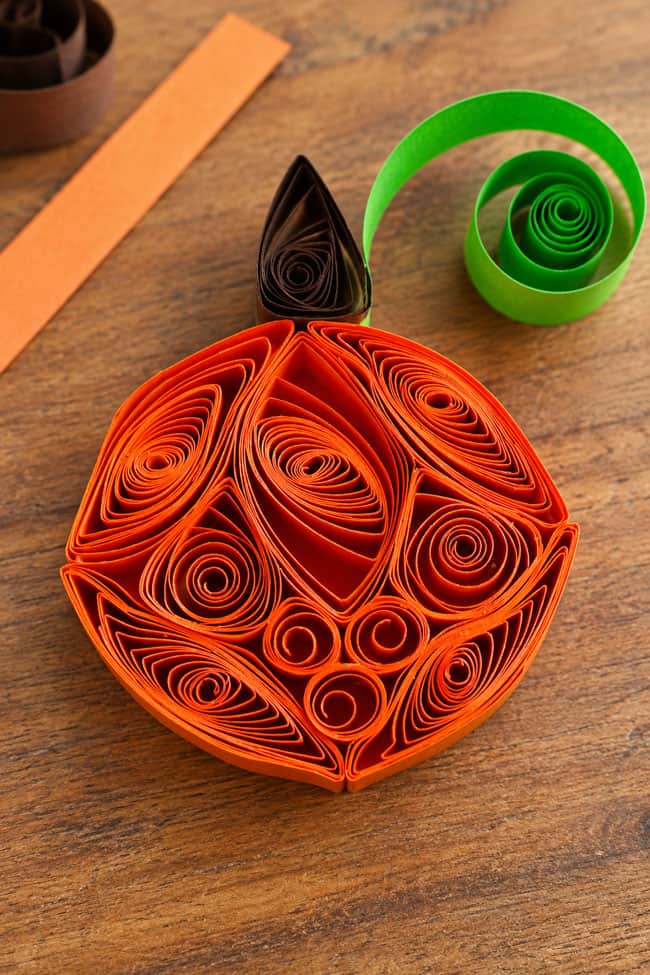
- Roll 1 piece of brown quilling paper into a tighter 1/2 inch coil. Secure it with glue.
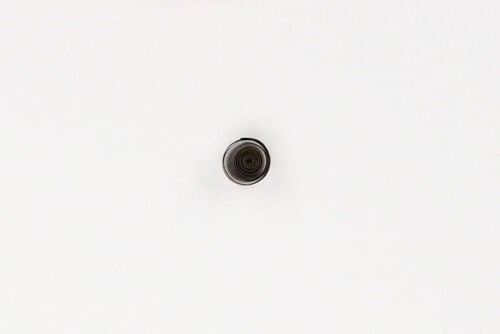
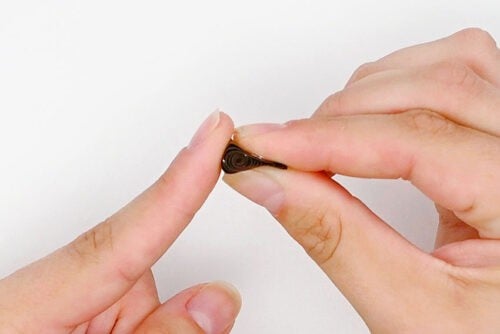
- Pinch the coil into a taller triangle with a flat bottom.(You can also pinch it into a rectangle shape if you’d like.)
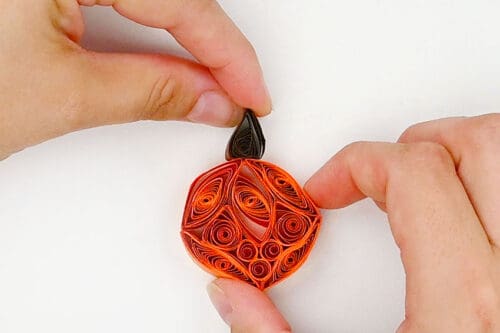
- Glue the flat end of the triangle to the top center of the pumpkin.
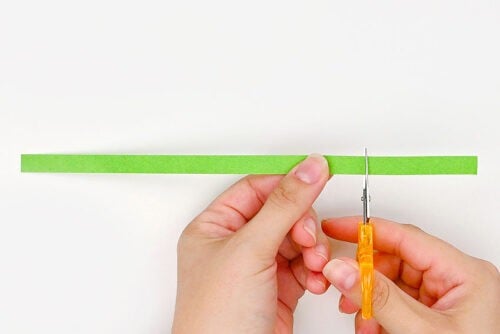
- Cut a couple of inches off a piece of green quilling paper.
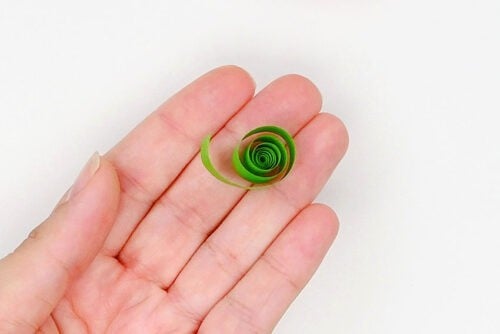
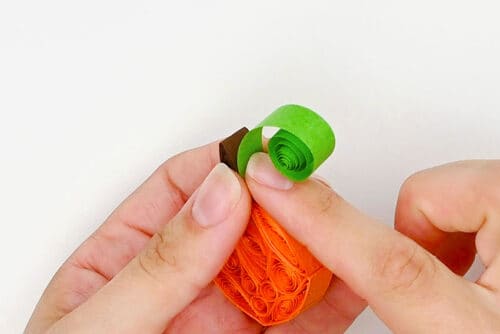
- Roll the longer piece into a tight roll. Then let go to release the roll.Don’t glue the roll in place. Keep it open and loose
- Glue one end of the green spiral to the base of the stem.
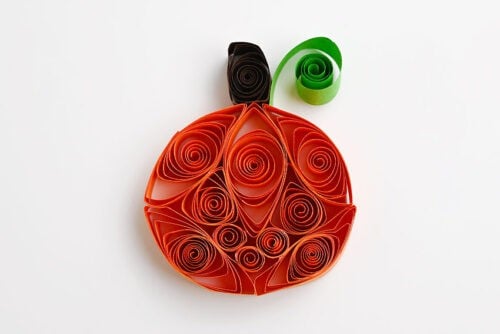
- Your paper quilling pumpkin is complete!
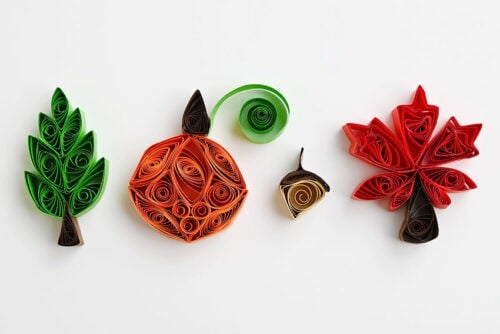
- Have fun making more fall paper quilling crafts. Keep reading below for instructions on making 2 types of leaves and an acorn!
Helpful Tips:
- Use a needle-tip glue bottle for neat results: A fine tip lets you add just a tiny amount of glue exactly where you need it, so it doesn’t seep out around the paper. You can also use a toothpick to dab on small amounts of glue.
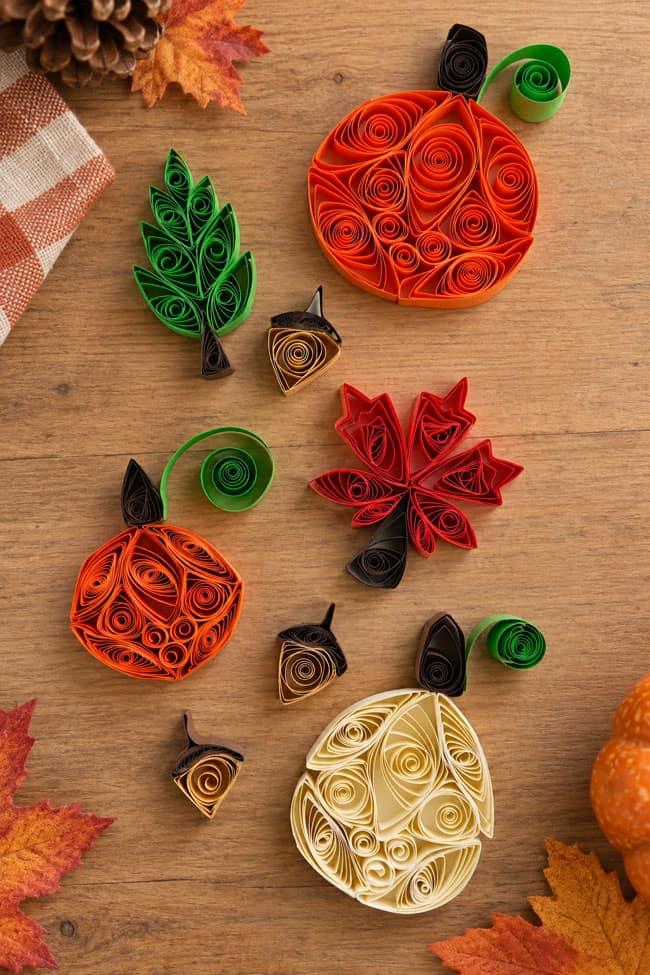
- Turn your quilled pieces into fall decorations: Use them to decorate a Thanksgiving table, glue them to the front of a fall greeting card, or display your finished designs in a shadow box frame.
What special tools do I need for paper quilling?
You don’t necessarily need any special tools for paper quilling. You can make these fall paper quilling designs by wrapping the paper strips around a toothpick or needle.
A quilling tool set can make the process easier, though, especially if you want more control over the exact size of your coils and the shapes you create.
What glue is best for paper quilling?
We like to use Turbo Tacky Glue because it dries quickly, holds the paper securely, and dries clear. Another quick-drying craft glue will also work well. Use as little glue as possible so the finished design stays neat.
How to make a paper quilled leaf:
To make the green oak-style leaf, you’ll need 6 strips of green quilling paper and 1 strip of brown quilling paper.
- Roll 4 green strips into 1/2-inch coils.
- Cut another green strip in half and roll both pieces into smaller coils.
- Cut a 3-inch piece from the final green strip and roll it into a tiny coil.
- Pinch all the green coils into marquise shapes, with pointed ends and rounded sides.
- Roll the brown strip into a 1/2-inch coil, then shape it into a tall triangle for the stem.
- Glue 2 large green marquise shapes on either side of the triangle.
- Add the other 2 large shapes above them, gluing the pieces to each other as you go.
- Glue the 2 smaller marquise shapes above those.
- Finish the leaf with the smallest green piece at the top center.
How to make a paper quilled acorn:
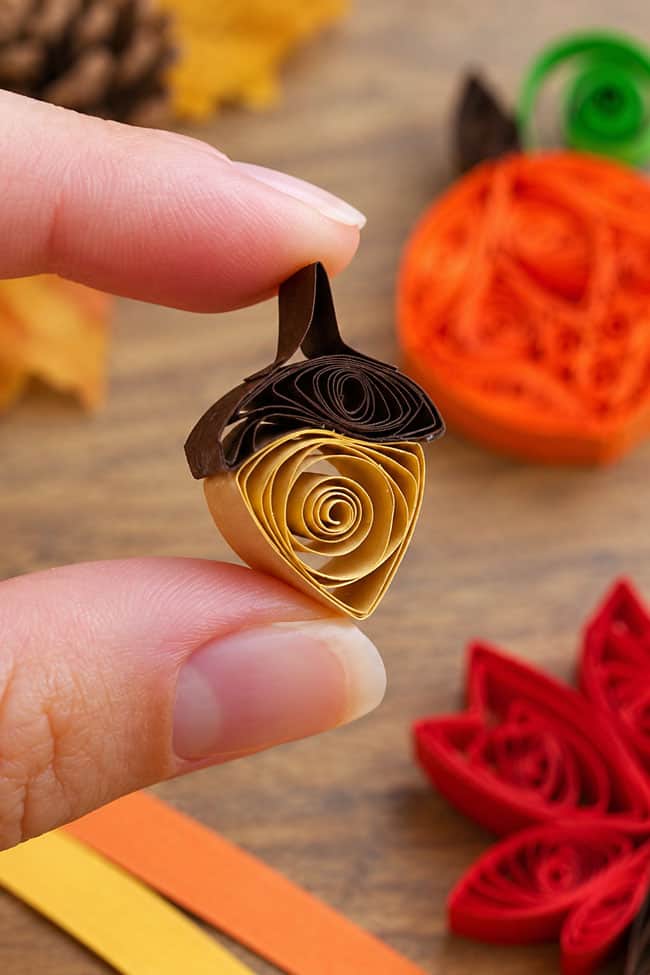
To make a quilled acorn, you’ll need 1 strip of tan or light brown quilling paper and 1 strip of dark brown quilling paper.
- Roll the tan strip into a 1/2-inch coil, then pinch it into a triangle.
- Cut 1 inch from the brown strip and set it aside.
- Roll the remaining brown paper into a 1/2-inch coil.
- Pinch the coil into a narrow marquise shape, then gently curve it into a crescent or moon shape.
- Glue the curved brown piece along the top of the tan triangle to make the acorn cap.
- Fold the reserved 1-inch brown strip in half.
- Fold each open end down about 1/8 inch to make two small flaps.
- Glue the flaps to the top centre of the acorn to create the stem.
How to make a paper quilled maple leaf:
To make the maple leaf, you’ll need 9 strips of red quilling paper and 1 strip of brown quilling paper.
- Glue 2 red strips end-to-end to make one extra-long strip. Repeat twice more so you have 3 long strips.
- Roll each long strip into a 1-inch coil.
- Pinch both sides of each coil to make large marquise shapes.
- Glue the 3 large shapes together near their bottom thirds.
- Roll 2 more red strips into 1/2-inch coils and pinch them into marquise shapes.
- Glue these below the larger pieces, attaching only about the bottom third of each shape.
- Cut the final red strip in half and roll each half into a small 1/4-inch coil.
- Pinch these coils into marquise shapes and glue them below the previous pieces.
- Make a loose coil with the brown strip and shape it into a tall, narrow triangle.
- Glue the top of the triangle between the two smallest red leaf points to form the stem.
- To give the 3 large top sections a maple-leaf shape, pinch the tip of each marquise. Press the sides inward slightly to create two small bumps, then pinch each bump into another point.
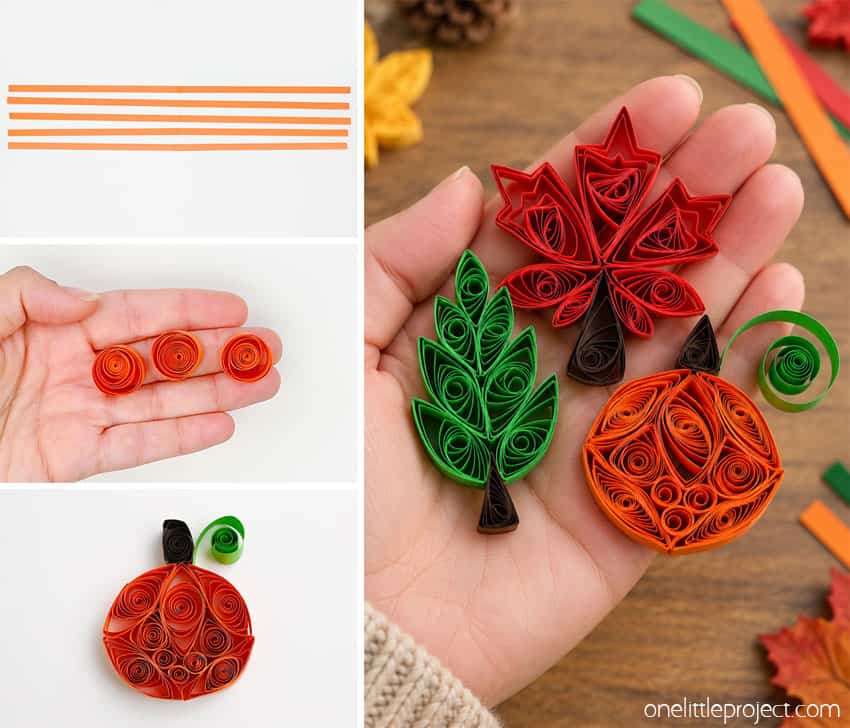
These fall paper quilling designs are such a pretty way to turn simple strips of paper into tiny seasonal works of art. Once you get the hang of rolling and shaping the coils, it’s easy to mix and match the techniques to create pumpkins, leaves, acorns, and all kinds of autumn-inspired designs.
Display your finished pieces in a shadow box, add them to handmade cards, or use them as little decorations for your Thanksgiving table. They’re a fun way to slow down, get creative, and enjoy all those warm fall colours in a completely different way.
Here’s even more fall craft ideas:

Now available
Low-Mess Crafts for Kids Book
72 cute and fun crafts that kids and parents alike can enjoy. All with as little mess as possible!
Where to buy:
You can purchase Low-Mess Crafts for Kids from Amazon, or wherever books are sold:
Amazon | Barnes and Noble | Books-A-Million | Indiebound | Amazon Canada







Leave a Reply