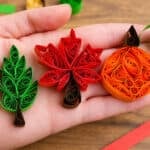
How to Make Fall Paper Quilling
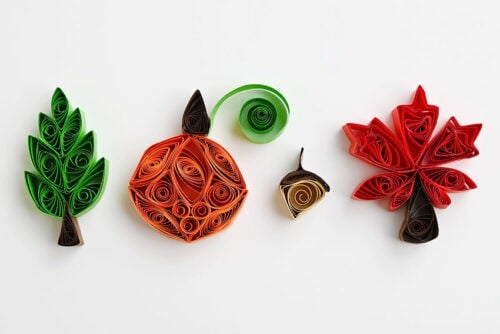
You only need a few simple supplies to create this fall craft that's super satisfying to make! Follow our step-by-step tutorial to make a paper quilled pumpkin, or have fun creating other simple fall paper quilling ideas.
Yield: 1 paper quilled pumpkin
Cost: $1
Equipment
- Sewing needle (or toothpick, or quilling tool)
Materials
- Quilling paper (orange, brown, green)
- Tacky glue
Instructions
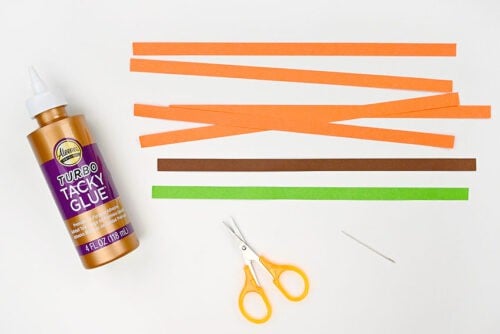
Step 1: Find what you need
- Gather your supplies and materials.
Step 2: Make longer strips
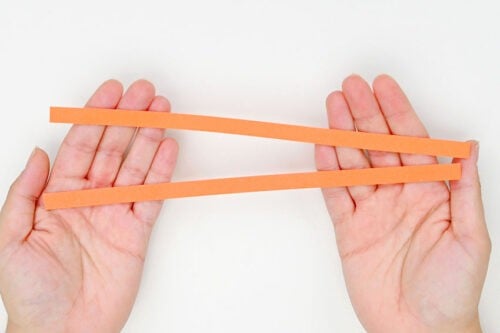
- Begin with 2 strips of orange quilling paper.
- Add a small amount of tacky glue to one piece on the end.
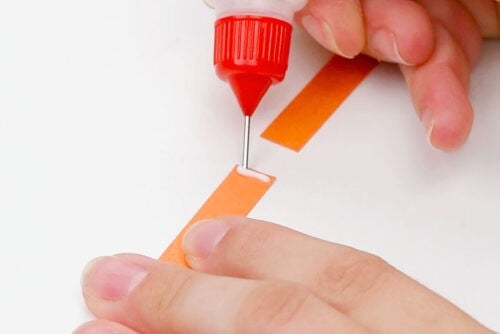
- Connect the 2 pieces together to make a long strip (double length).
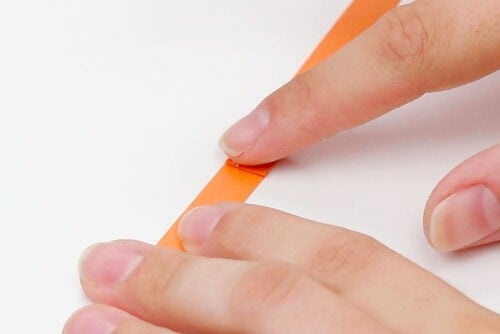
- Repeat 4 times so you have 5 double length strips of paper. Allow glue to dry.
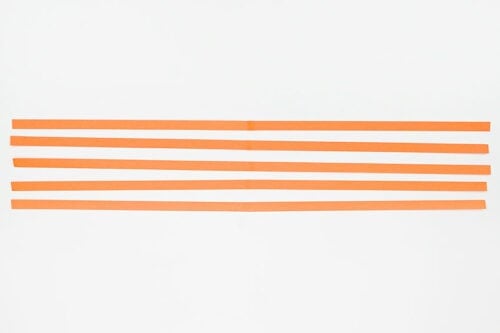
Step 3: Make rolls
- Roll one of the long paper strips into a 1 inch sized coil. To do this, hold a needle or toothpick on top of the paper. Roll the paper around it.Once the roll is secure you can remove the needle and continue rolling. Once the whole length is rolled, release the tension on the roll until it's about 1 inch across.
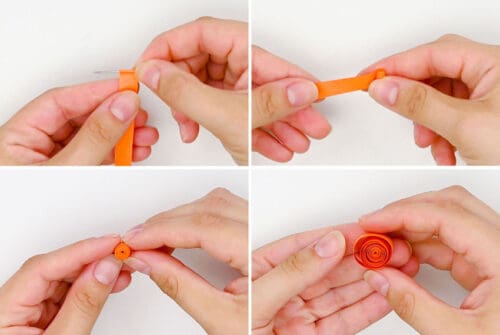
- Hold the roll and add a thin line of glue to the end. Press it in place and hold until the paper stays on its own.
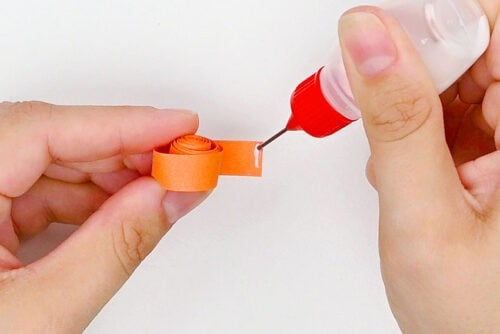
- Repeat with 2 more of the long strips so you have 3 of these 1 inch coils.Set the other 2 long strips aside until later.
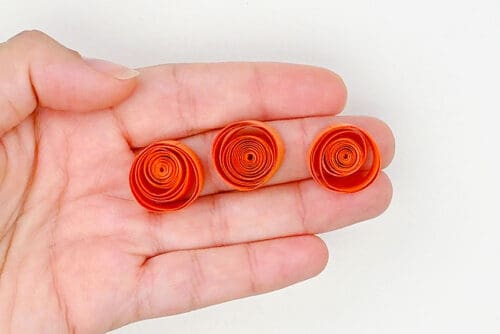
Step 4: Shape and connect the rolls
- Pinch 2 opposite sides of a coil to make a marquise diamond shape.
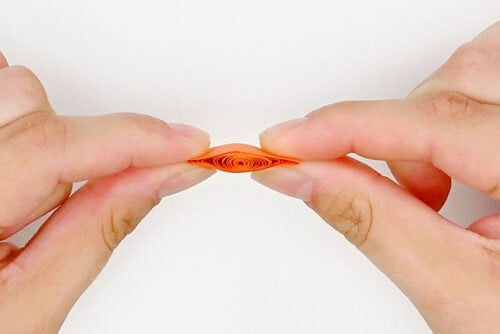
- Use your fingertips to bend one end of the diamond so one side curves to the right.
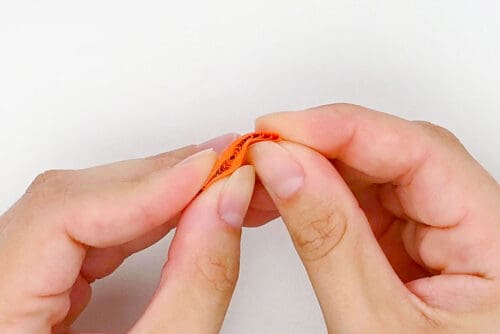
- Repeat with the second roll, curving this one to the left.
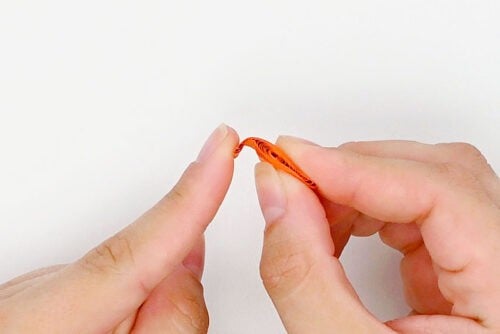
- Pinch the third roll into a diamond shape, leaving it straight up and down (no curving).
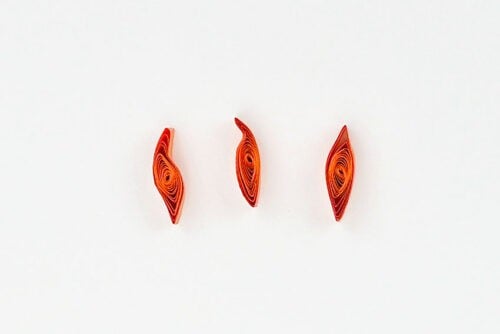
- Apply glue to the top right of the straight diamond.
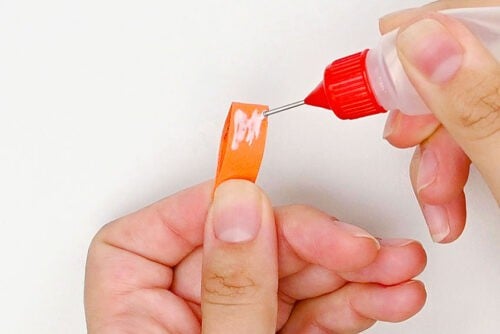
- Attach the left curving piece into the glue so it hugs the straight diamond.
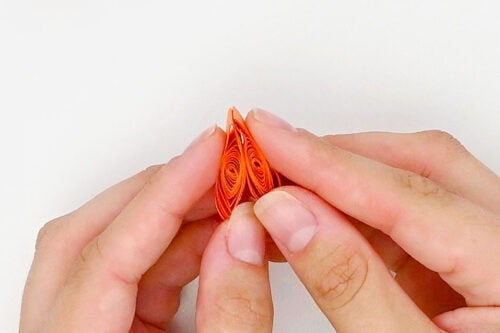
- Repeat, gluing the right curving piece to the other side of the straight diamond.
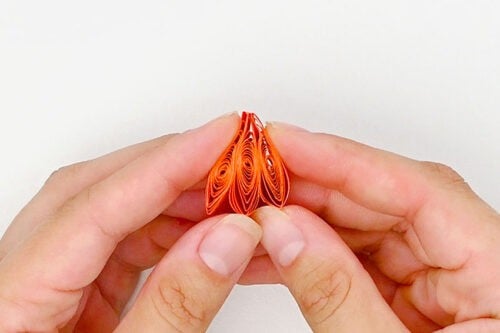
- Push the top and bottom of the pieces in towards each other to "fluff" them up a bit. This will round out the top and give the pumpkin some width.
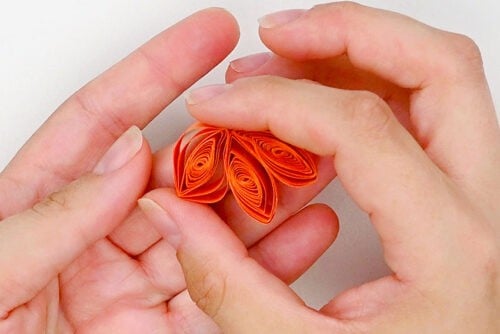
- Allow to dry.
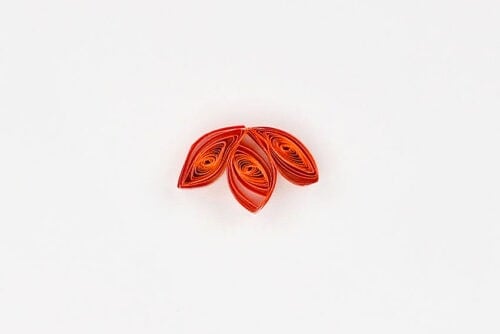
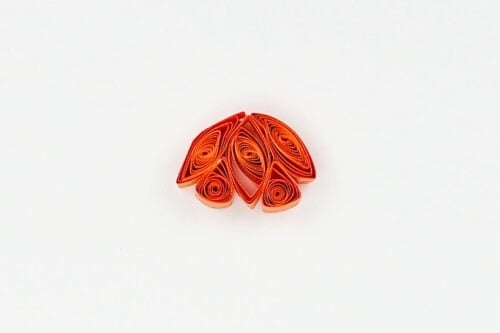
Step 5: Continue forming the pumpkin
- Make 2 coils from single pieces of orange quilling paper. These coils will be about 1/2 inch in size.
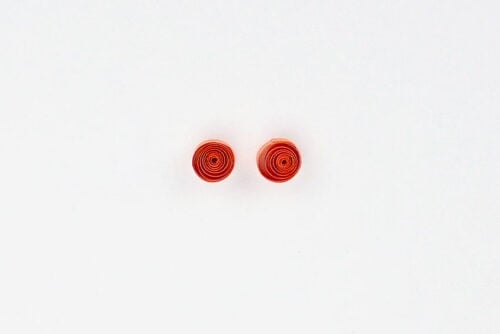
- Use your fingers to shape both small coils into triangles.
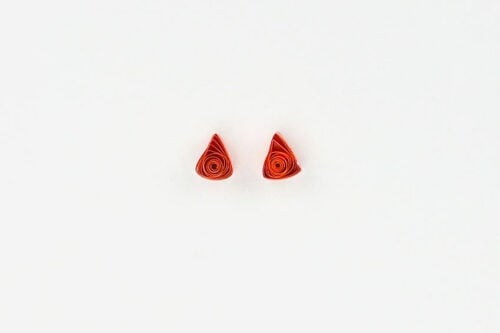
- Apply glue to 2 sides of one triangle.
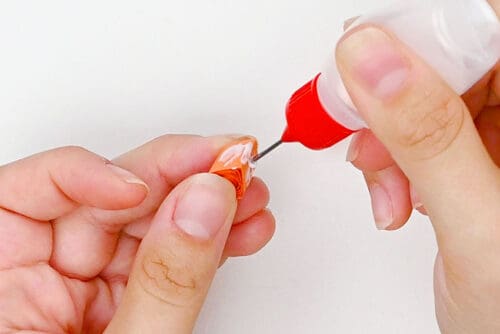
- Attach the triangle to the pumpkin, placing it in-between the left and center pieces at the bottom.
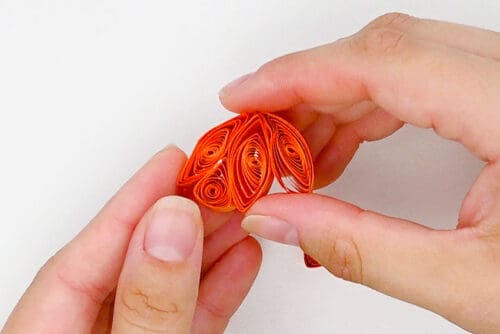
- Repeat, gluing the other triangle between the center and right pieces.
Step 6: Fill out bottom of pumpkin
- Cut another strip of orange quilling paper into 3 even pieces.
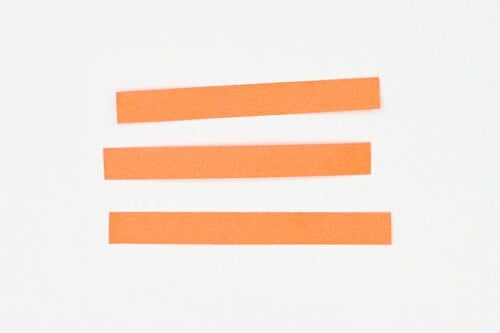
- Make small 1/4 inch coils from these pieces.
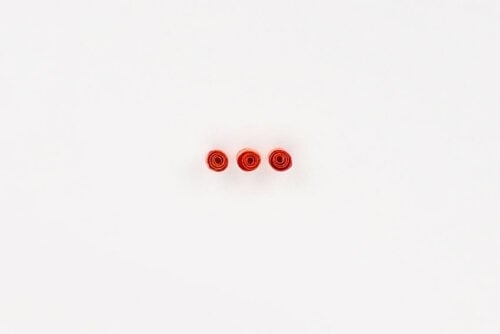
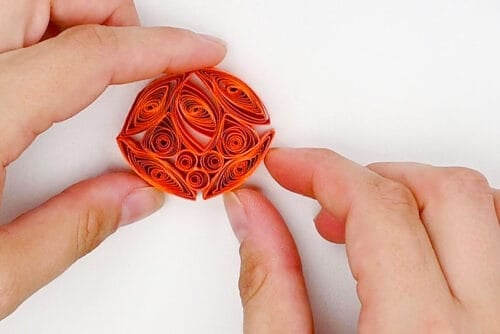
- Glue them to the bottom of the pumpkin. The first 2 will go on either side of the center, with the last one below in the middle.
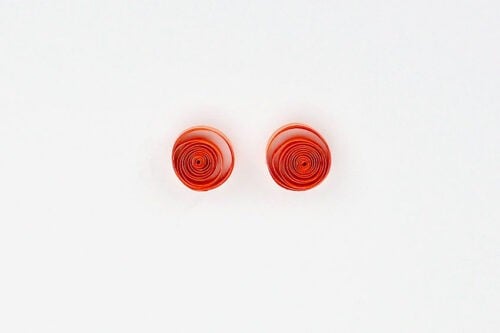
- Grab the last 2 double length strips that you made at the beginning. Roll them into 1 inch coils.
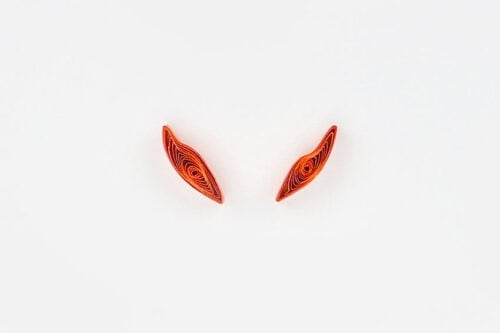
- Pinch the coils into diamonds and curve the ends in opposite directions.
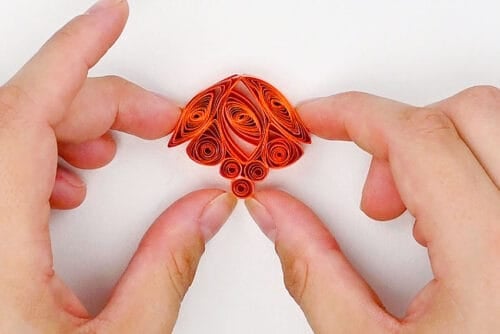
- Glue the curved diamonds to the bottom of the pumpkin, placing them so the curved ends touch the bottom of the triangles and meet the first curved diamonds. The other ends will meet at the bottom center.Ensure all points are glued together and allow to dry.
Step 7: Add a stem and vine
- Roll 1 piece of brown quilling paper into a tighter 1/2 inch coil. Secure it with glue.
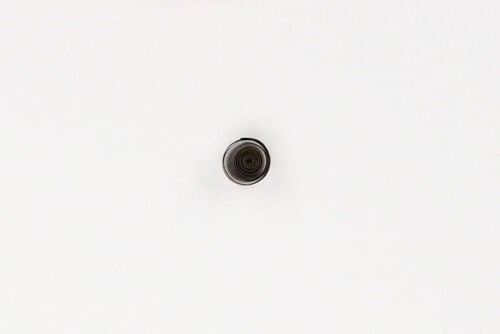
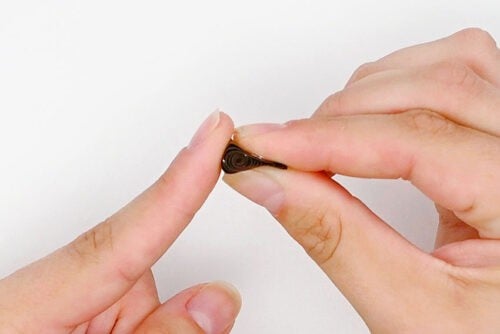
- Pinch the coil into a taller triangle with a flat bottom.(You can also pinch it into a rectangle shape if you'd like.)
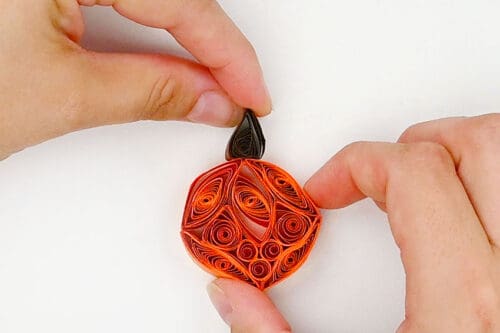
- Glue the flat end of the triangle to the top center of the pumpkin.
- Cut a couple of inches off a piece of green quilling paper.
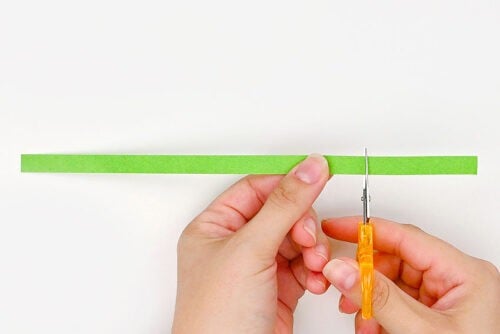
- Roll the longer piece into a tight roll. Then let go to release the roll.Don't glue the roll in place. Keep it open and loose
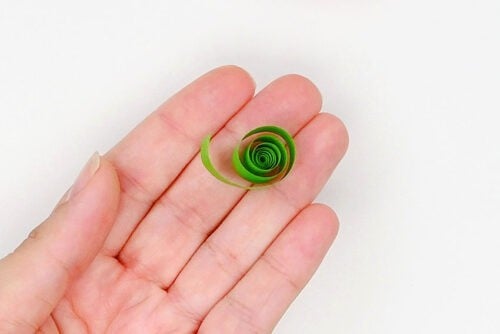
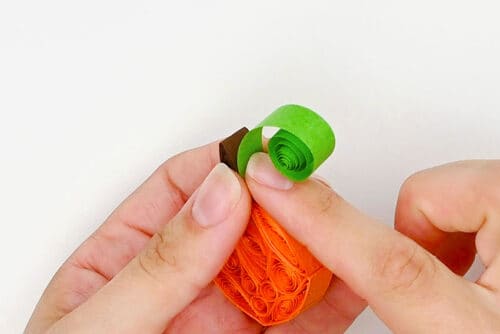
- Glue one end of the green spiral to the base of the stem.
- Your paper quilling pumpkin is complete!
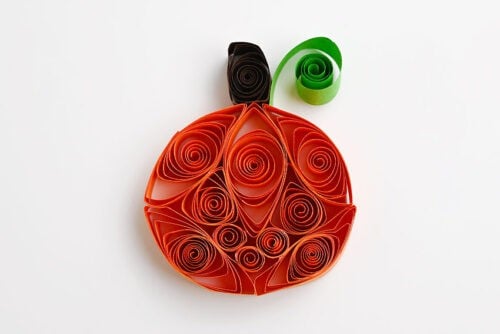
- Have fun making more fall paper quilling crafts. Keep reading below for instructions on making 2 types of leaves and an acorn!
Video
Notes
Looking for more paper quilling ideas? Here's a few of our favourites:
Paper Quilling Heart Cards
Cactus Paper Quilling
Quilled Paper Chicks