Learn how to make fabric headbands using our simple step by step photo and video tutorials! This DIY headband is SO CUTE and easy to make, the perfect project for sewing beginners.
These elastic headbands are super comfortable and great for keeping hair off your face. Make a headband in your favourite pattern or colour, or make a bunch to match every outfit. These fabric hair accessories also make great homemade gifts!

This post contains affiliate links. If you use these links to buy something we may earn a small commission which helps us run this website.
DIY Fabric Headbands
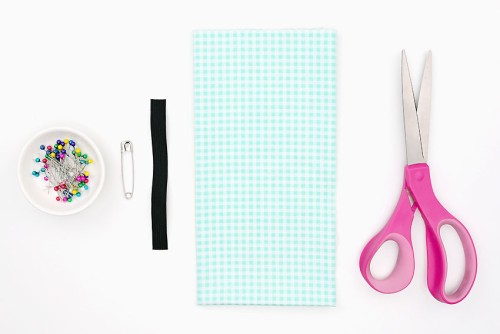
Materials:
- Cotton fabric
- 5 inch Elastic for sewing (1/2 inch wide)
Equipment:
- Fabric scissors (or rotary cutter and mat)
Watch the step-by-step video tutorial:
Instructions:
Step 1: Find what you need
- Gather your supplies and materials.

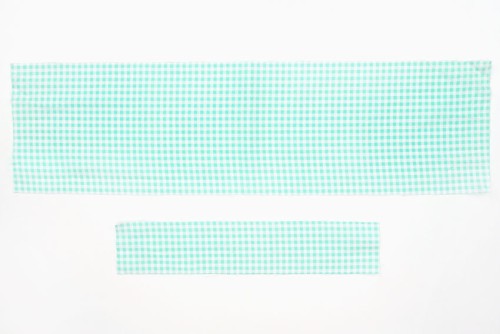
Step 2: Make 2 fabric tubes
- Cut a piece of cotton fabric to be 5 x 18 inches.Cut a smaller piece of the same fabric to be 2 x 10 inches.
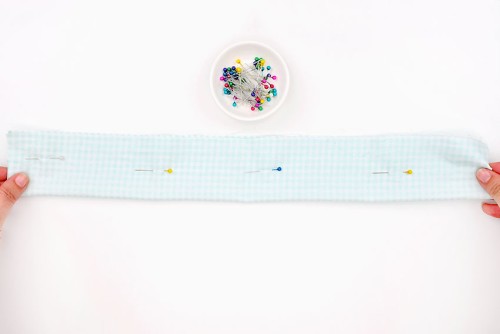
- Fold the larger piece of fabric in half lengthwise, with the pattern (good side) inside.Make sure the edges are lined up nicely and secure the fold with several pins going across the middle.
- Repeat, folding and pinning the smaller piece together.
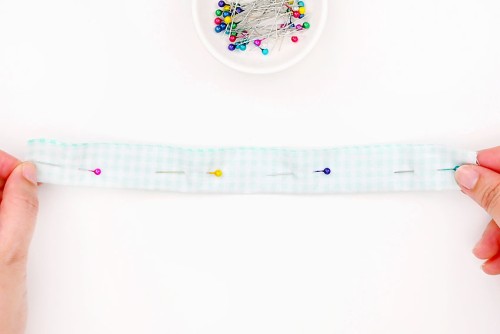
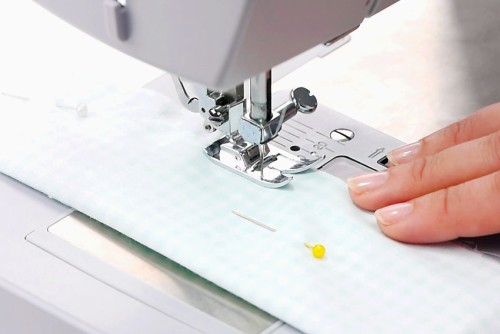
- Sew along the open edge of both pieces, creating fabric tubes.Leave a 1/4 inch seam allowance on the larger piece, and a 1/8 inch seam allowance on the smaller piece.
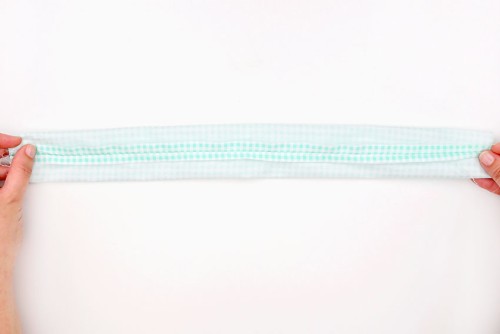
- Remove the pins and center the seam on the larger tube. Use your fingers (or an iron) to press down the fabric, smoothing it to either side.
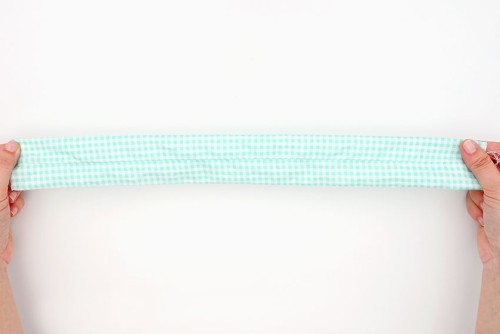
- Turn the tube right side out, using either your fingers or a loop turner hook.
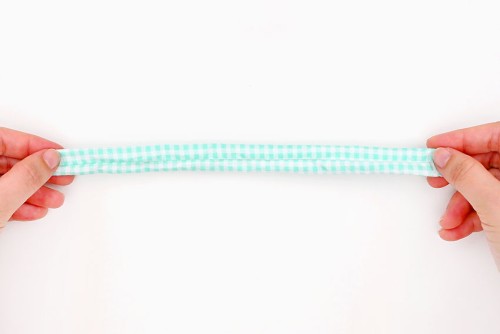
- Turn the smaller tube right side out as well.It’s too small to use your fingers, so use a loop turner hook or a safety pin to help you.Now iron both pieces of fabric, making sure the seam stays evenly down the center.
Step 3: Sew in the elastic
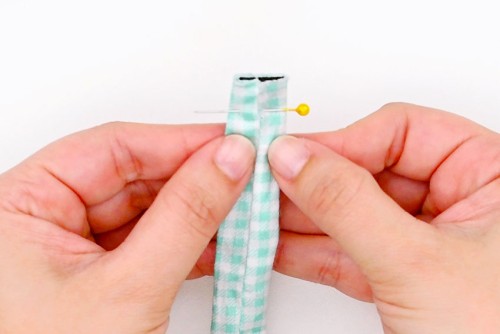
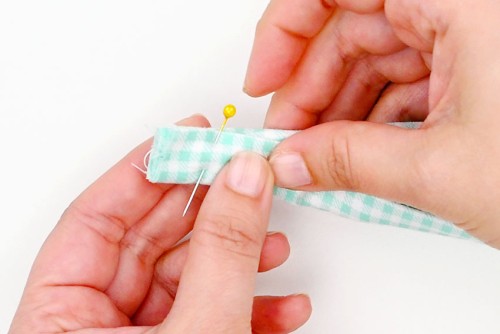
- Cut a 5 inch piece of elastic and attach a safety pin to one end.This will help you insert it through the smaller tube
- Insert the elastic into the tube, pin side first. Push it through, but not all the way – just until the end meets up with the tube opening. Pin it into place.
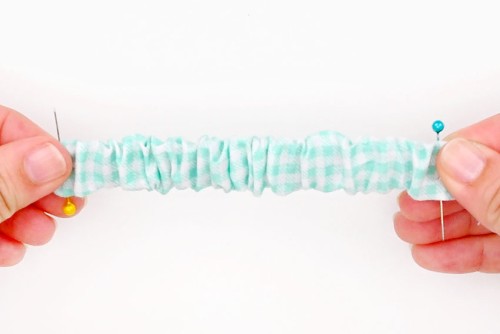
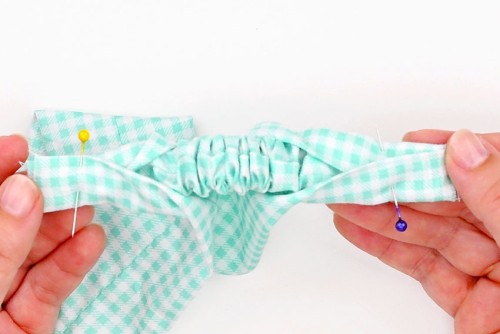
- Keep using the pin to pull the elastic through to the other side. The fabric will bunch up in the middle.Remove the safety pin, line up the other ends and pin the other end of the tube to the elastic end.
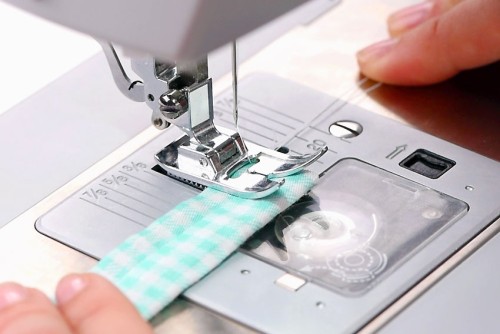
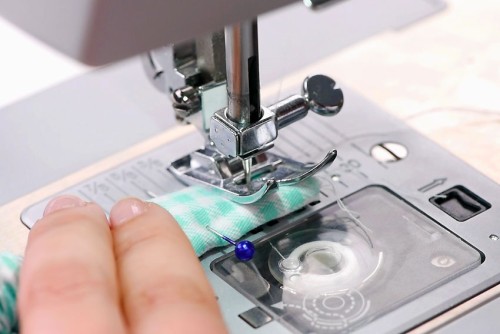
- Sew the ends of the elastic to the tube, leaving a 1/8 inch seam allowance.

Step 4: Connect the headband pieces
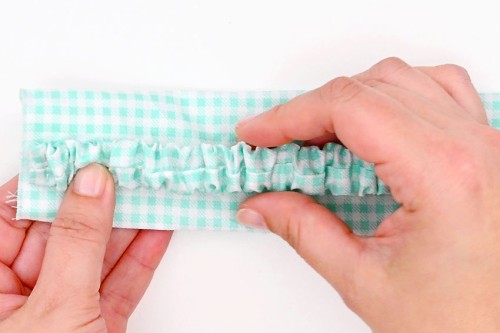
- Set the large tube down with the seam side down. Set the covered elastic down in the middle at one end. Make sure the elastic seam is facing up. (Both “good” sides should be touching.)

- Fold the edge of the headband around the elastic and pin the fabric together.
- Repeat on the other side. Make sure the folds match (eg. the same side is on top).
- Sew together both ends, leaving 1/4 inch seam allowance.
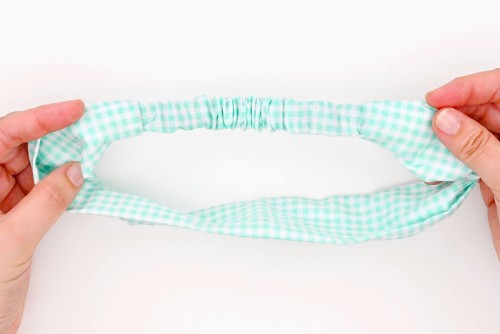
- Remove the pins and pull on the headband near the elastic to hide the seams inside.Twist the rest of the headband so that the seam is on the inside.
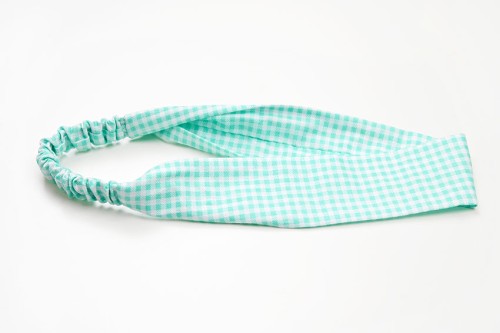
- Your fabric headband is complete!
Helpful Tips:
- Be sure to pre-wash and iron your fabric before cutting and sewing!
- You can make 4 fabric headbands from a standard size fat quarter.

What size fabric headbands does this pattern make?
The fabric headbands made in the tutorial above are 2 inches wide, and about 22 inches around, or 26 inches with the elastic stretched. They’re meant to fit the head of an average adult woman (with a head diameter between 21 and 23 inches).
We also made a skinnier 1-1/4 inch wide headband. To make a headband of this width, start with fabric that’s 3-1/2 inches wide (instead of 5 inches wide).

Can I make my DIY fabric headband bigger or smaller?
Yes, it’s easy enough to adjust the headband to fit any size of head. Start by measuring your head from the base of the neck to where you’d like the headband to sit on the top of your head.
We made our headband for a head with a diameter of 22 inches. The length of the fabric (18 inches) plus the elastic (5 inches) is 1 inch larger than the head diameter, which allows for seams.
To make a smaller or larger headband, add or subtract from the length of the larger piece as needed. The elastic length and the smaller piece of fabric should stay the same size.
You can also make headbands of different widths, like we did. Adjust the width of the main fabric, but keep the length of the fabric and the elastic the same.

What’s the best material for making fabric headbands?
We definitely recommend using cotton fabric to make your DIY headband. It’s easy to sew, and it’s lightweight, breathable, and gentle on hair.
Cotton is also an affordable choice, allowing you to customize your look with the many different colours and patterns available. We purchased a set of matching fat quarters from Amazon to make our headbands.

Fabric headbands are such a fun way to add a pop of colour to any outfit, and they’re really easy to sew together! DIY headbands are also a great stash busting project (aka a way to use up leftover fabric!).

Here’s even more fun DIY ideas:


Furoshiki Fabric Gift Wrapping

Our book Low-Mess Crafts for Kids is loaded with 72 fun and simple craft ideas for kids! The projects are fun, easy and most importantly low-mess, so the clean up is simple!

Where to buy:
You can purchase Low-Mess Crafts for Kids from Amazon, or wherever books are sold:
Amazon | Barnes and Noble | Books-A-Million | Indiebound | Amazon Canada


Leave a Reply