
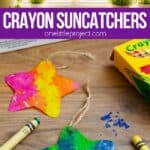
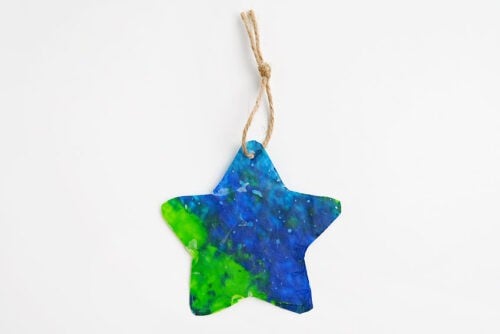
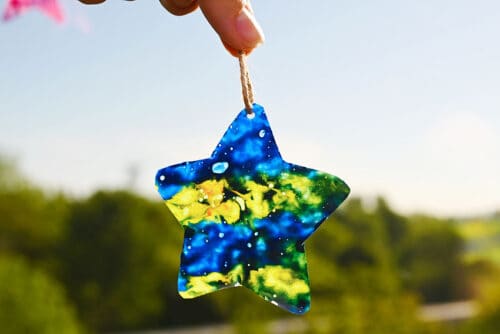
These crayon suncatchers are such a colourful way to turn leftover crayons into bright window decorations! Made with melted crayon shavings, wax paper, and simple star shapes, each suncatcher has a bold, swirly design that looks like stained glass when the sunlight shines through.
Kids will love choosing their own colour combinations and watching the crayon pieces melt into marbled patterns. Hang them in a sunny window with string and suction cups, and you’ll have a cheerful handmade decoration that sparkles with colour all season long.

This post contains affiliate links. If you use these links to buy something, we may earn a small commission at no extra cost to you. This helps support our website and allows us to keep creating fun, free content.
How to Make Crayon Suncatchers
Equipment:
- Cookie cutter(s) (star or another shape)
Watch the step-by-step video tutorial:
Instructions:
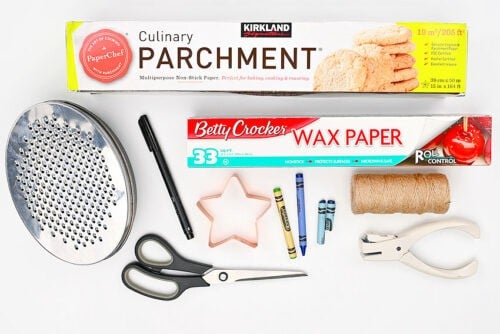
Step 1: Find what you need
- Gather your supplies and materials.

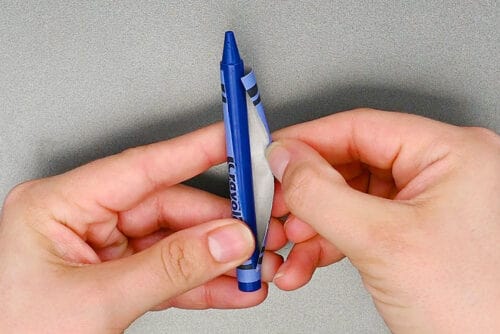
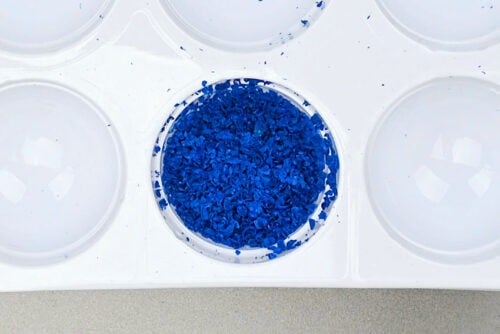
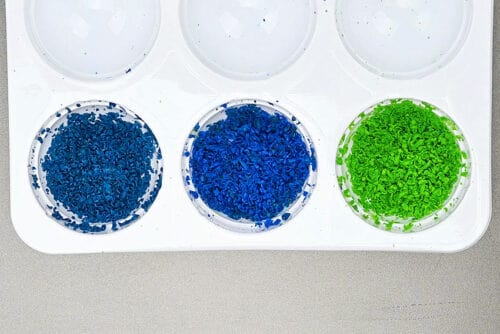
Step 2: Create crayon shavings
- Remove the wrapper from your crayon.
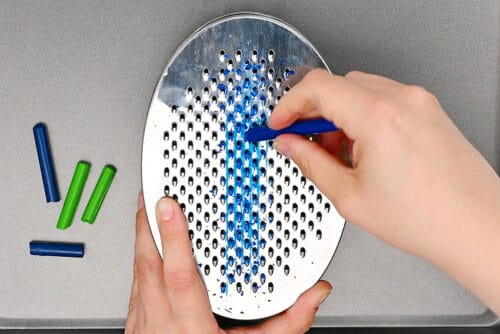
- Using a cheese grater, grate the crayon to create small shavings.
- Transfer the shavings into a small bowl.
- Repeat this with all the colours you want to use
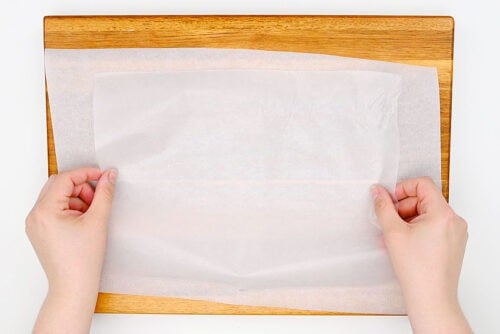
Step 3: Melt the crayon shavings
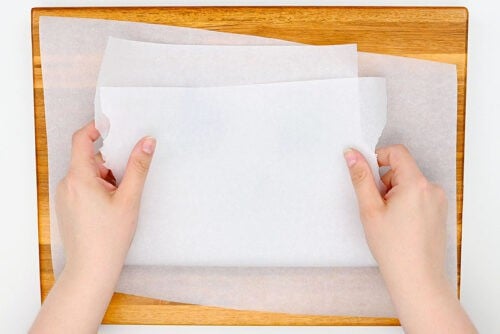
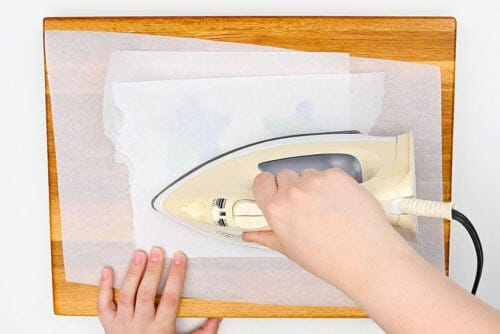
- Place a piece of parchment paper on a cutting board or ironing board.The parchment will protect your working surface and prevent any wax from seeping through.
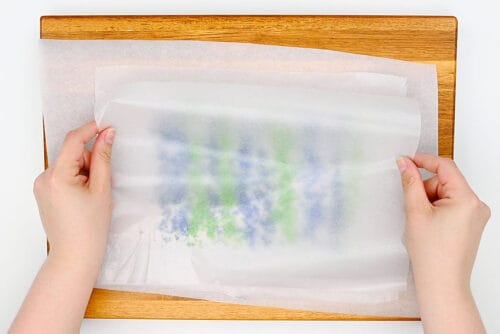
- Then set a piece of wax paper on top of the parchment paper.
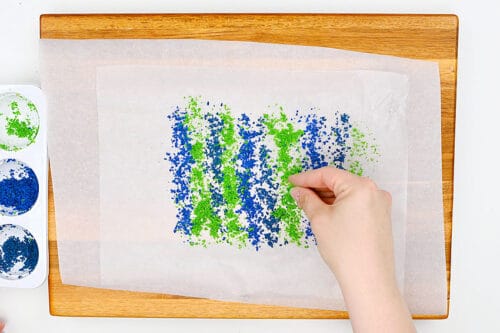
- Sprinkle crayon shavings onto the wax paper. You can make a design or just scatter them randomly.

- Place another piece of wax paper on top of the crayon shavings.
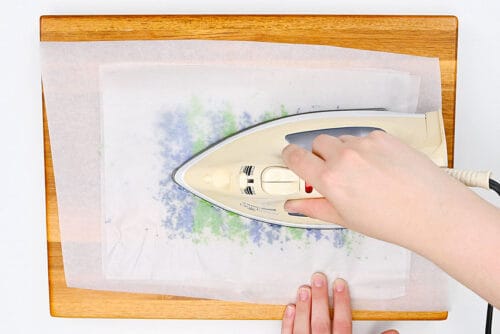
- Heat an iron to low temperature, no steam. “Tap” the iron down on top of the wax paper gently, rather than swiping it around like normal.In other words, place the iron on top of the wax paper and hold for a second or two before lifting it up and setting it down in a new location. You can drag the iron around a little bit if you want to mix the colours more, but be aware of how you’re moving it.
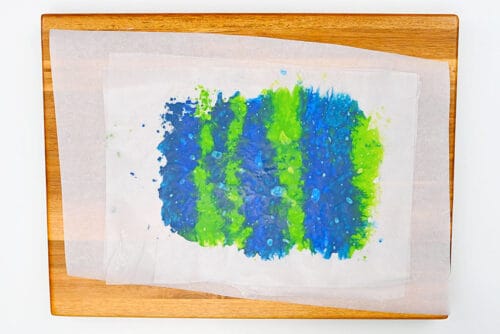
- Once you’ve melted the crayon wax and are happy with how it looks, allow to cool and harden.(This should take around 5 to 10 minutes.)

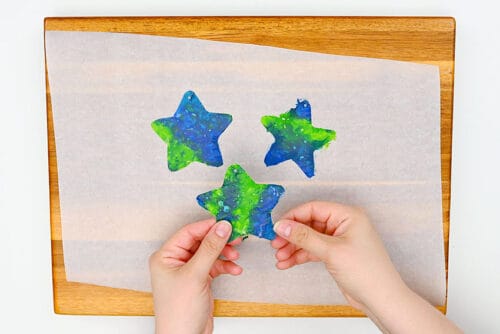
Step 4: Cut out your suncatcher
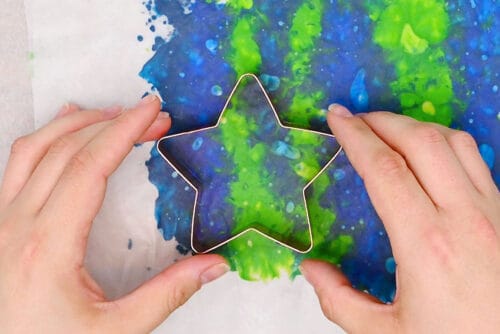
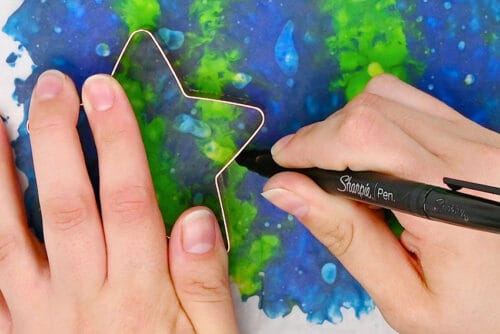
- Choose a cookie cutter shape for your suncatcher. We’re using a star.Set the cookie cutter near the edge of the melted crayon.
- Use a pen or pencil to trace the cookie cutter. It’s okay if the actual ink doesn’t show up — so long as you use a bit of pressure you’ll be able to see the outline.Repeat, fitting as many shapes on the wax paper as you can.
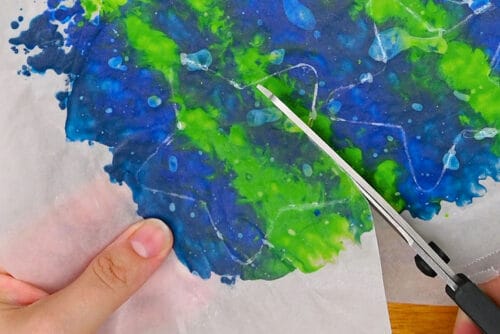
- Cut out your suncatchers.
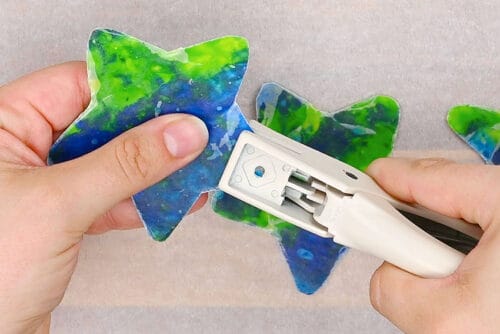
- Use a small hole punch to punch out a hole at the top of one of the star points.
Step 5: Finish the suncatchers
- Place a fresh piece of parchment paper on top of the suncatchers.
- Set the iron on top of each suncatcher very gently and briefly. This will stop the suncatchers from peeling and reenforces the wax at the edges.
- Remove the parchment paper and allow the suncatchers to cool completely. Break off any wax the may have seeped out the edges of the suncatchers.
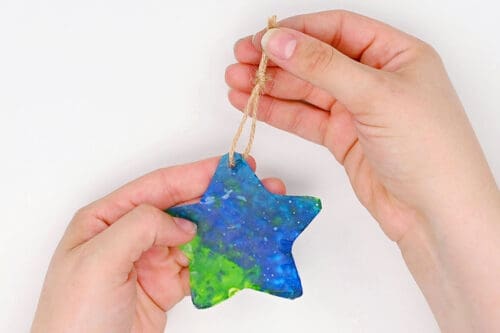
- Cut a 6 inch piece of twine. String it through the hole in the suncatcher and tie a knot, creating a hanger.
- Your crayon suncatcher is complete!
- Now hang your suncatcher in the window and see the light shine through!
Helpful Tips:
- Use a paintbrush to cleanly sweep the crayon shavings into a bowl. This is the easiest way to transfer all of the tiny crayon pieces and stop them from scattering all over your work surface.
- Choose fun complementary colours, or use different shades of the same colour, to create beautiful crayon suncatchers. Blues, greens, and yellows create a pretty summer look, while pinks, purples, and reds make bright, cheerful designs.
- If you don’t have cookie cutters, you can use our printable star templates or try other simple outline shapes like hearts, flowers, or butterflies. Just cut out the shape and trace it like you would the cookie cutter!

How many crayons do I need to make a crayon suncatcher?
You don’t need many crayons to make these crayon suncatchers! Three crayons will make at least 5 or 6 suncatchers that are about 3 inches wide.
The exact number depends on how large you make your shapes and how thickly you sprinkle the crayon shavings onto the wax paper.

What’s the best way to make crayon shavings for these DIY suncatchers?
The easiest way to make crayon shavings is with a cheese grater, like we used. A pencil sharpener also works well. Either method will give you colourful crayon bits that melt nicely between the layers of wax paper.

What’s the easiest way to remove the crayon wrappers?
You’ll need to remove the crayon wrappers before making the shavings. These are a couple of easy ways to do this:
- Have an adult carefully slice down the wrapper with a craft knife or X-Acto knife. See our tutorial on how to peel crayons for more tips.
- Soak the crayons in warm water for 1 to 3 minutes — don’t use hot water, or the crayons may start to melt. The labels should peel right off, and then you can let the crayons dry on a paper towel.

These crayon suncatchers are such a fun way to give old or broken crayons a colourful second life. With just a few crayon shavings, wax paper, and a sunny window, you can create bright, marbled decorations that look beautiful when the light shines through.
Try different colour combinations, make a whole set of stars, or switch things up with hearts, flowers, or other simple shapes. However you make them, these melted crayon suncatchers are an easy craft that turns leftover crayons into something cheerful, creative, and full of colour.
Here’s even more crayon craft ideas:
How to Make Cookie Cutter Crayons


Now available
Low-Mess Crafts for Kids Book
72 cute and fun crafts that kids and parents alike can enjoy. All with as little mess as possible!
Where to buy:
You can purchase Low-Mess Crafts for Kids from Amazon, or wherever books are sold:
Amazon | Barnes and Noble | Books-A-Million | Indiebound | Amazon Canada


Leave a Reply