These melted bead suncatchers are SO PRETTY and easy to make! Melt beads in the toaster oven to create a bright and cheerful decoration to hang in your window.
These DIY suncatchers have a beautiful stained glass look that reflects all kinds of colours in the sunlight. Make a bead suncatcher for yourself, or to give as a homemade gift for Mother’s Day, birthdays, or any time!

This post contains affiliate links. If you use these links to buy something we may earn a small commission which helps us run this website.
How to Make Melted Bead Suncatchers
Materials:
Equipment:
Watch the step-by-step video tutorial:
Instructions:
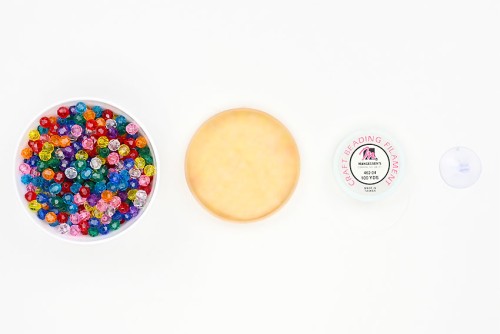
Step 1: Find what you need
- Gather your supplies and materials.

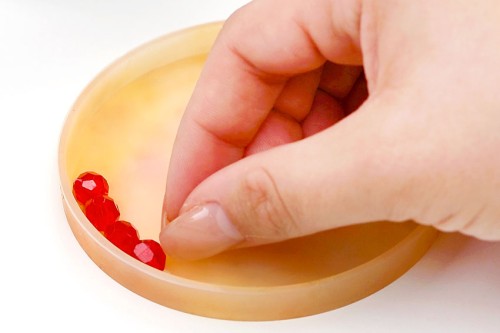
Step 2: Add beads to a mold
- Begin adding beads around the outside of a round silicone mold.It doesn’t matter which way the hole of the bead is – they’ll still look good even if the holes don’t line up.

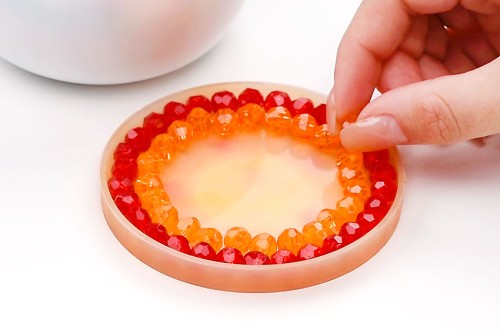
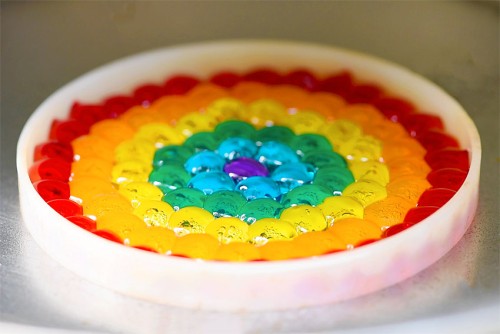
- Add more beads to the mold, creating a pattern. For this suncatcher we made rainbow rings, almost like a target, but you can make any pattern you like!
- Continue adding beads in a single layer until the mold is full.Make sure the beads are close together and fill the entire mold, otherwise there will be gaps in your suncatcher.
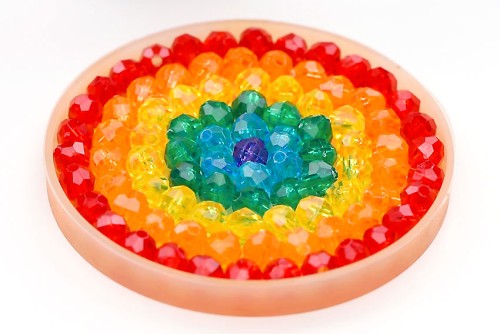
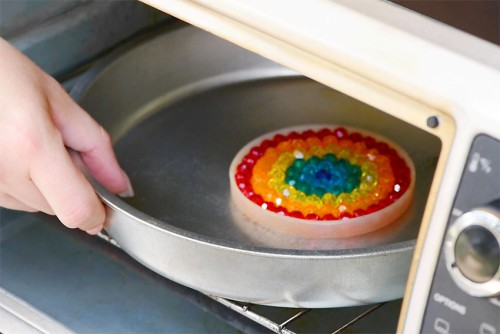
Step 3: Melt the beads
- Take your toaster oven outside to melt the beads. The plastic releases questionable vapors when it melts so DO NOT use your regular oven indoors. Place the silicone mold on a baking tray and add it to the oven. Bake for 10 – 15 minutes at 350 degrees Fahrenheit. The longer you keep the beads in the oven, the flatter they’ll get and the more they’ll melt together.
- Bake until you’re happy with how the suncatcher looks. The beads will shrink as they’re melting and then they’ll start to fuse together.
Step 4: Add a hanger to the suncatcher
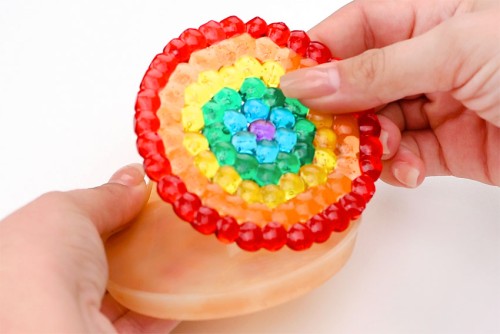
- Allow the suncatcher to cool about 10 minutes before removing it from the silicone mold.
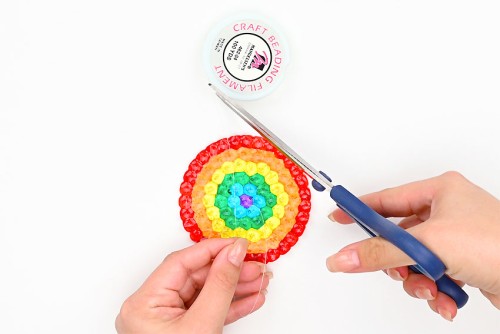
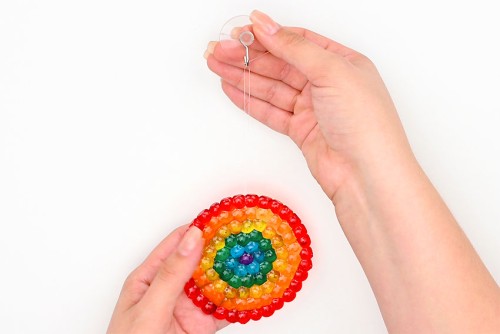
- Cut a piece of fishing line about 8 inches long.
- Slide the fishing line through a hole in the beads and tie it into a knot. Then add the fishing line over a suction cup hook and hang it up in a window.If your beads melt so much that there aren’t any holes to slip the fishing line through, you can drill a hole in it (more on that below).
- Your bead suncatcher is complete!

Helpful Tips:
1. The suncatcher will pop out of the silicone mold easily once it cools. If you use a different mold, like a cookie cutter (more on that below), you may need to put it in the fridge or freezer for 10 minutes to help it pop out.
2. If your suncatcher has any sharp edges you can easily sand them down with sandpaper.

Can I melt these bead suncatchers indoors?
We DO NOT recommend melting any plastic beads indoors. When the beads melt they release a very strong plastic smell. We can only assume that the plastic vapours are not safe or healthy to breathe. Please melt them in a well ventilated outdoor area, like a porch or patio.
The plastic may also make your oven smell like plastic for awhile, so you don’t want to use your main kitchen oven. If you don’t have a toaster oven you can also melt your suncatchers on an outdoor grill or BBQ. (But we haven’t tested that method).

What beads can you use to make a DIY bead suncatcher?
We used 8mm faceted acrylic beads to make most of our suncatchers. Different brands and sizes of beads may look different and require more or less cooking time.
Larger beads may not melt as much as smaller beads. We tried a suncatcher using 10mm beads (see the photo below). The beads melted and fused just enough to stick together, but they still kept their round shape. The suncatcher looked really pretty and diamond like, but it also broke more easily than the suncatchers with the smaller, more melted beads.
Whichever beads you use, make sure they’re transparent or else the sun won’t shine through! You can also make suncatchers with pony beads or other plastic beads. Try using UV colour changing beads for a suncatcher that will change colour when exposed to sunlight!

What mold is best for making bead suncatchers?
We used a 3.5 inch circular silicone mold, meant for making resin coasters, but you can use any shape of mold you’d like. If you don’t have silicone molds you can also add beads into cookie cutters on a foil lined baking sheet, like we did with our melted bead ornaments.
Metal pans also work for making melted bead suncatchers. You can add the beads to the bottom of a muffin tin to make round suncatchers, or use any other shape.

What’s the best way to make a hole in these bead suncatchers?
We took our bead suncatchers out of the toaster oven before the beads totally lost their round shape. So they still had a few little holes we could thread the fishing line through.
But if your beads are completely melted together, no worries! There are a few ways to add a hole for hanging your suncatcher.
The simplest way is to drill a hole using a small drill bit (1/8 inch). But if you don’t have a drill, you can hold a lighter over a nail or small screwdriver and push it through.
Or if you’re careful, you can even poke a pin or toothpick through while the beads are still warm.

These melted bead suncatchers are so nice and colourful, they’re sure to brighten your day! Use simple supplies to create a DIY suncatcher that looks super pretty shining in the light.

Here’s even more melted bead craft ideas:


Our book Low-Mess Crafts for Kids is loaded with 72 fun and simple craft ideas for kids! The projects are fun, easy and most importantly low-mess, so the clean up is simple!

Where to buy:
You can purchase Low-Mess Crafts for Kids from Amazon, or wherever books are sold:
Amazon | Barnes and Noble | Books-A-Million | Indiebound | Amazon Canada


Leave a Reply