


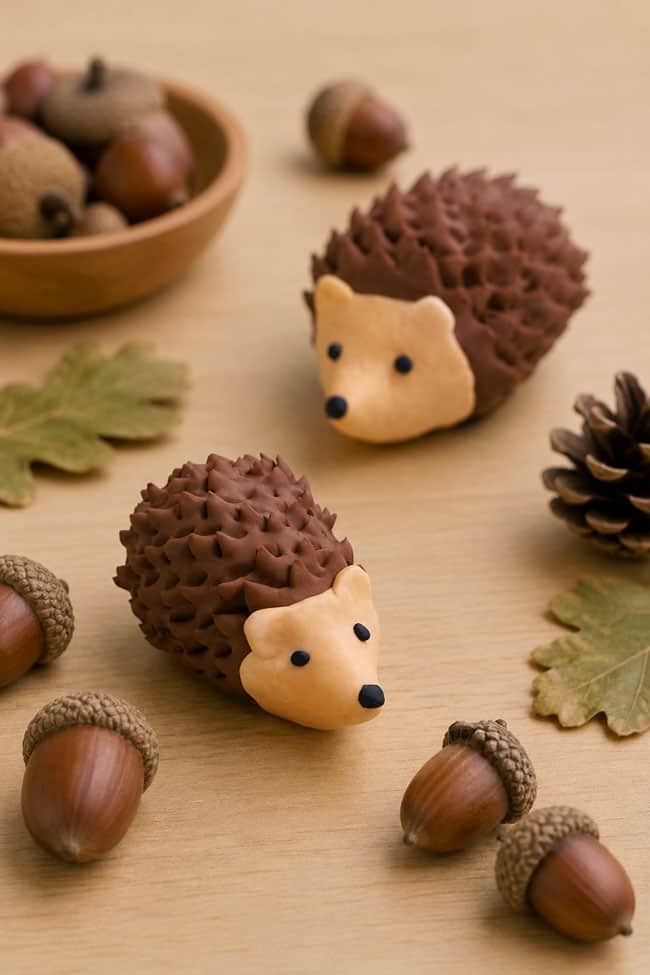
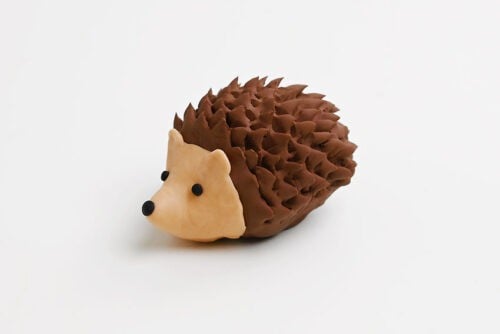
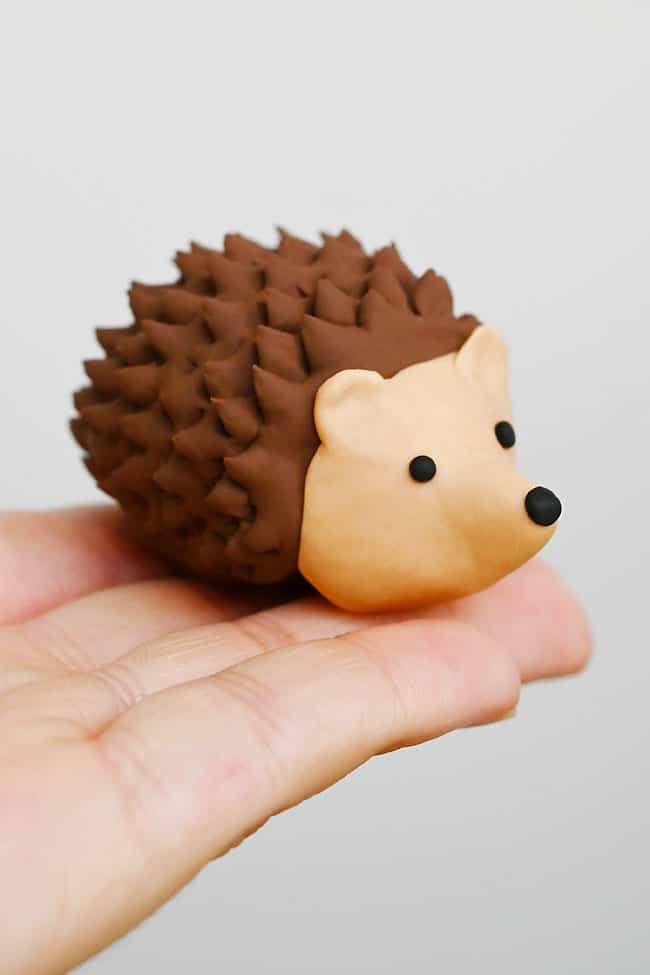
Make an adorable clay hedgehog with a sweet little face and a whole back full of tiny spikes! This polymer clay hedgehog craft is surprisingly simple to make, using basic clay shapes and a couple of tools to create all that fun hedgehog texture.
These little hedgehogs are perfect for fall crafting, woodland animal projects, or anyone who loves tiny clay animals. Make one hedgehog or a whole prickly family, then use them as cute decorations, desk buddies, fairy garden animals, or handmade gifts.
This post contains affiliate links. If you use these links to buy something, we may earn a small commission at no extra cost to you. This helps support our website and allows us to keep creating fun, free content.
How to Make a Clay Hedgehog
Materials:
- Aluminum foil
- Polymer clay (brown, tan, black)
Equipment:
Watch the step-by-step video tutorial:
Instructions:
Step 1: Find what you need
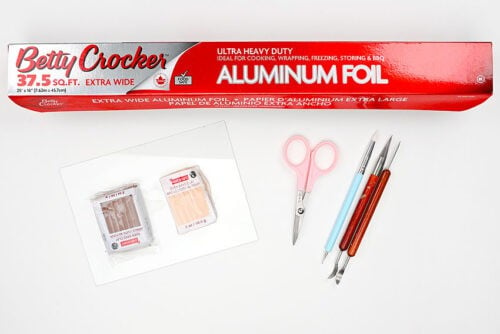
- Gather your supplies and materials.

Step 2: Make the base of the hedgehog
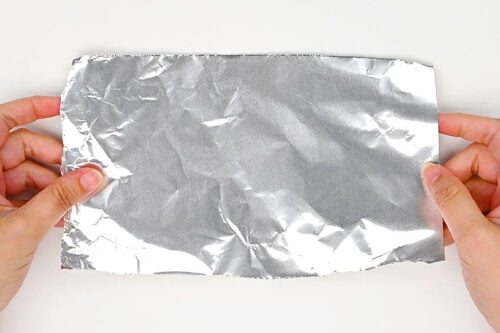
- Begin by ripping off a small piece of aluminum foil.

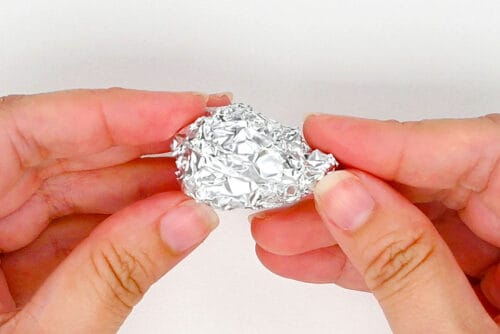
- Form the rough shape of the hedgehog body by balling up the foil into almost a teardrop shape — so there’s a rounded body and a face/nose section that comes to a point.
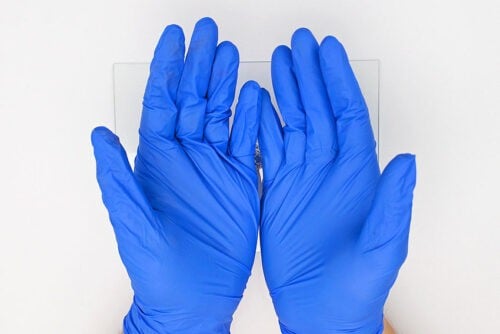
- Then we suggest wearing nitrile gloves before working with clay. Polymer clay likes to collect dust, fingerprints, and skin oils — so this will stop those things from transferring to the clay.
Step 3: Cover the body of the hedgehog
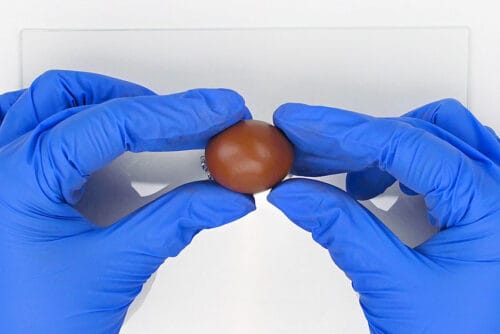
- Condition a ball of brown clay. This means kneading it, rolling it, and working it with your hands until it’s nice and soft.
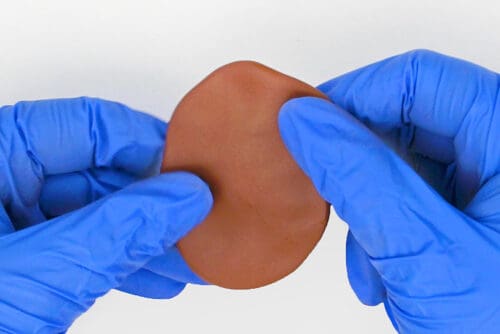
- Then use your fingertips to flatten the clay into a rough rectangle shape. The clay shouldn’t be too thin, though. Keep it at least 1/8 inch thick.
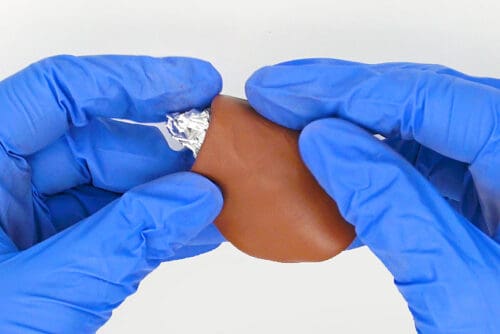
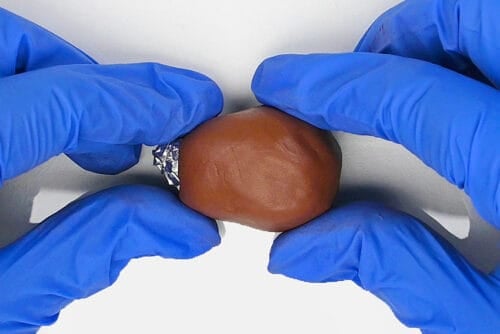
- Place the clay over the back of the hedgehog like a blanket, keeping the head piece clear.
- Wrap the clay around the tin foil body and use your fingers to smooth out where the clay meets.
Step 4: Make the hedgehog’s head
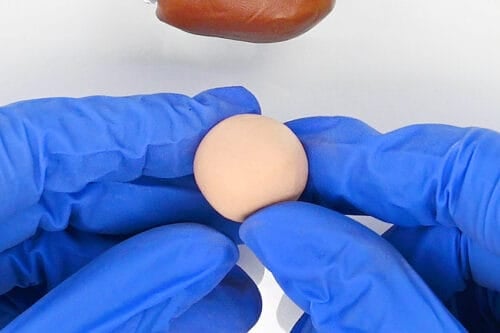
- Condition a small ball of tan clay.
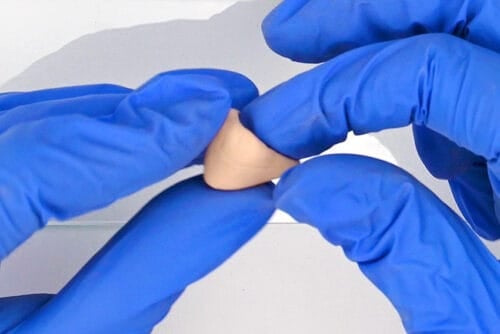
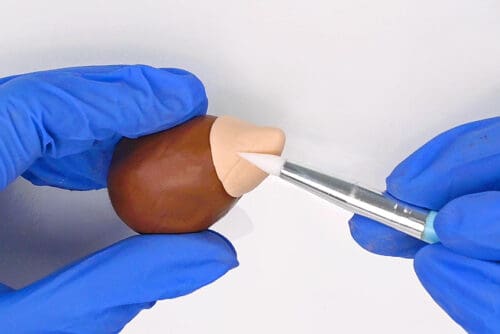
- Flatten it a bit and push it around your finger, forming a cone shape.
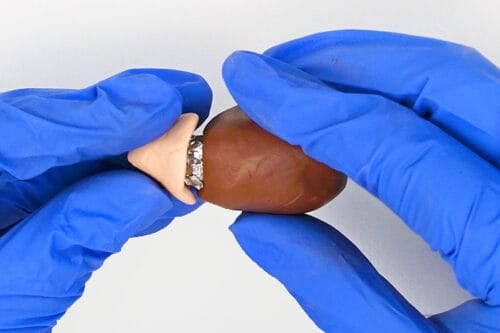
- Slide the cone onto the foil, creating the hedgehog’s head. Press it into place and curve the nose up a bit.
- Use your fingertips and a silicone brush to smooth out any rough areas.
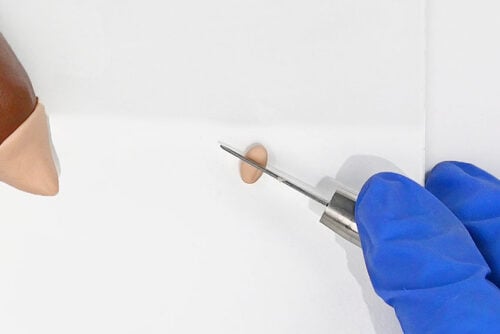
- Roll a tiny ball of tan clay between your fingers and then cut it in half.
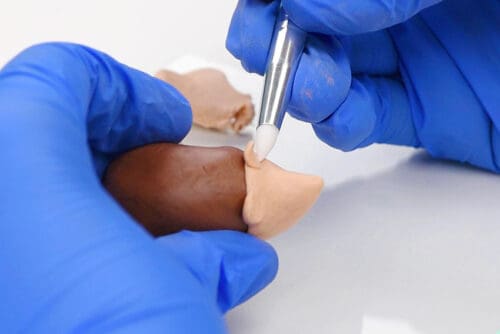
- Flatten these pieces a bit and put them into place near the top of the head, creating the hedgehog’s ears. Use the silicone brush to blend the base of the ears into the head.
Step 5: Create the quills
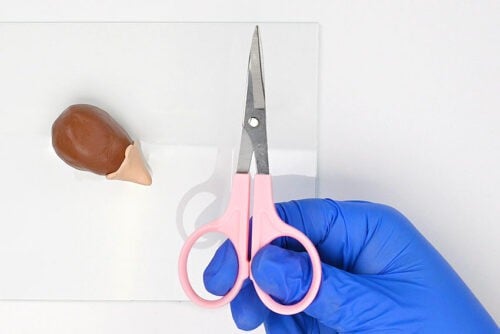
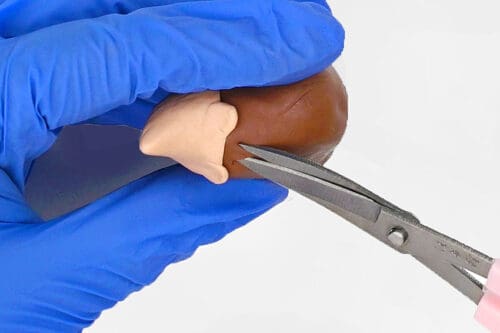
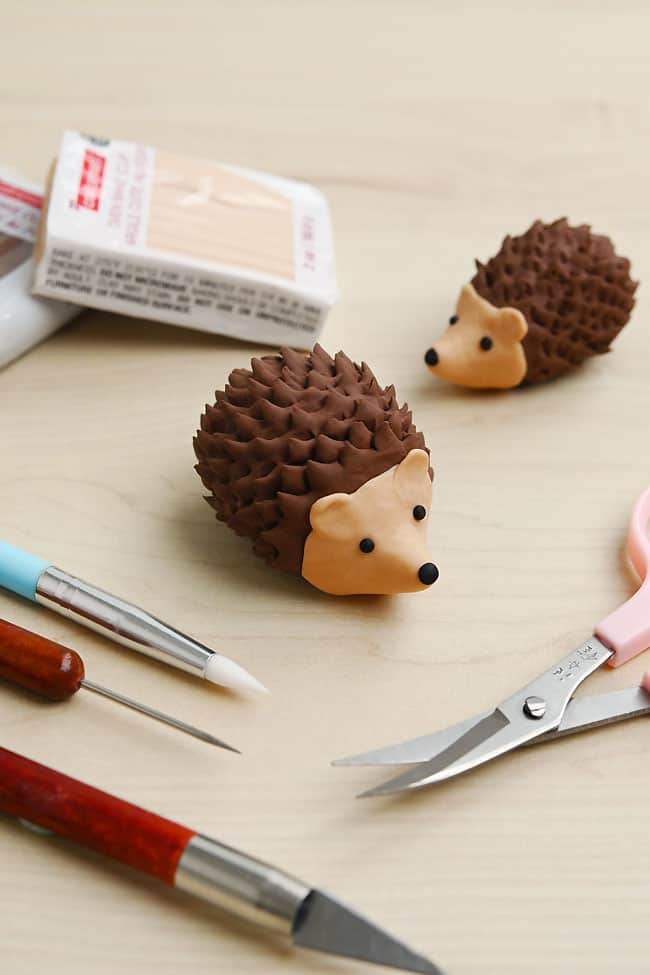
- To make the hedgehog’s quills we’re going to use detail scissors with a curved blade.
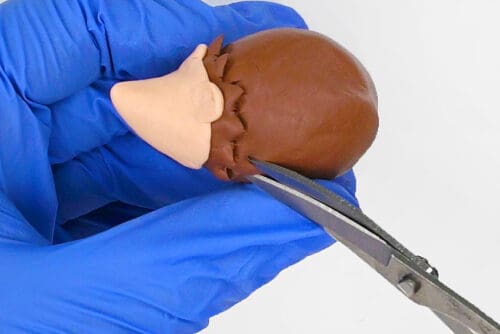
- Begin just below the head, making a tiny snip while holding the scissors at a 45 degree angle. The clay will lift up, creating the first quill.
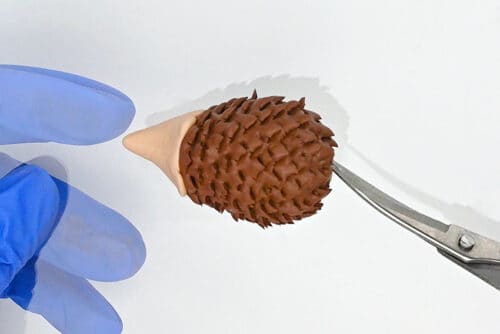
- Go across the back, making a line of cuts near the head. Then start a second row, making these cuts between the first ones.
- Repeat, making your way down the back. After you get about half-way you may want to keep the hedgehog on the glass and move the glass itself around to get the right angle. This will prevent smushing the face or any of the quills.
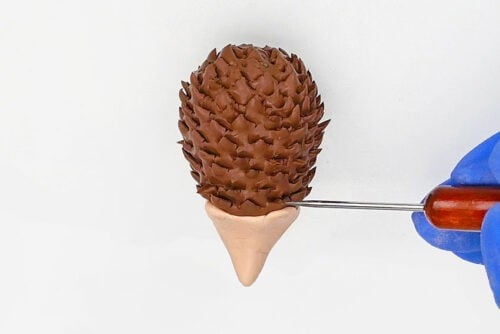
- Once you’re finished, use a needle tool (or a toothpick) to lift up any of the quills that aren’t standing up nicely.
Step 6: Add the facial details
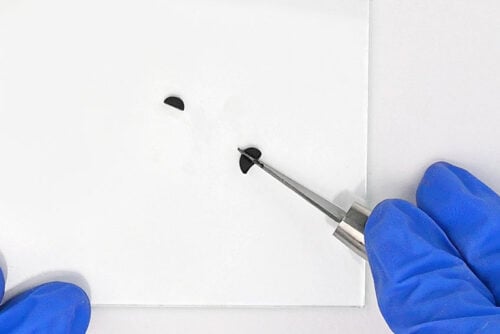
- Roll a small ball of black clay and cut off 2 very tiny pieces.
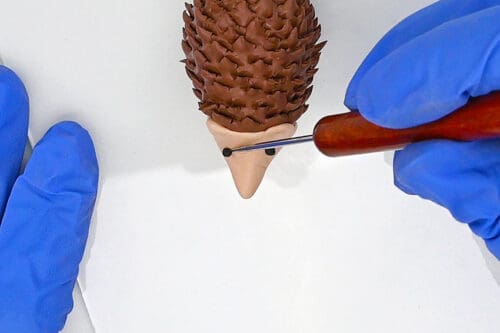
- Form them into even tinier balls and then flatten them. Use a needle tool to lift them and put them in place as the hedgehog’s eyes.
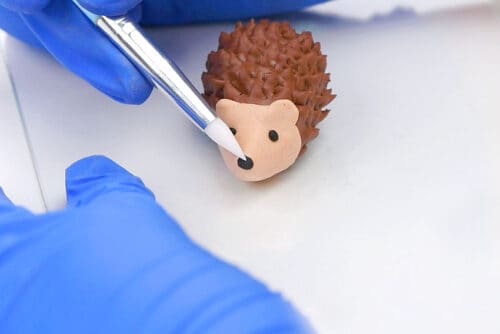
- Make another tiny ball of black clay, a bit bigger this time. Place it on the tip of the hedgehog’s nose and then use a silicone brush to smooth it down.
- Place your hedgehog on a parchment lined baking tray and bake according to package directions. Our clay recommends 15 minutes per 1/4 inch of clay at 275F.
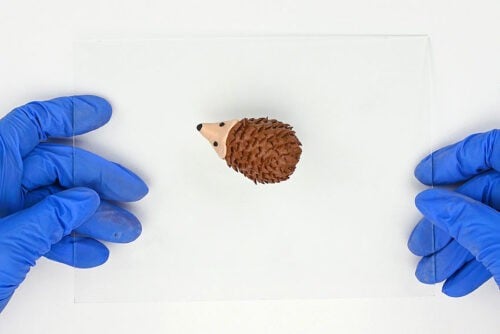
- Your clay hedgehog is complete!
Helpful Tips:
- Keep your hands clean when working with the tan clay: Darker brown clay can easily transfer onto the lighter clay and make it look dirty. Wipe your hands or change gloves before shaping the face, ears, and other light coloured pieces.
- Wear gloves to help prevent fingerprints: Polymer clay is soft and picks up marks easily, so gloves can help keep the surface smoother while you work.
- Start over if the shape isn’t working: Don’t be afraid to ball up the clay and try again if you don’t get the shape you want the first time. It’s usually easier to make a new ear, nose, or face piece than to keep trying to fix a shape you aren’t happy with.
What’s the best surface to use when making a clay hedgehog?
We like to use a glass or acrylic sheet when working with polymer clay. It gives you a smooth surface for shaping the clay, and it’s easy to wipe clean between colours. It also doesn’t hold dust or texture the way some other surfaces can.
You can also use a piece of parchment paper. To keep it from sliding around, place the parchment on top of a silicone mat or use a bit of sticky tack to hold it down on your work surface.
What scissors do you need to make the clay hedgehog spikes?
Small detail scissors with sharp, pointed blades work best for making the hedgehog’s spikes. The tiny pointed blades make it much easier to cut small sections of the clay and create that prickly hedgehog texture.
If you don’t have detail scissors, you can use a craft knife with a pointed blade to make the cuts instead. It will still work, but it’s a bit more difficult and will take longer to get the same spiky look.
Can you make a clay hedgehog with air dry clay?
Yes, you can definitely make this hedgehog craft with air dry clay. Use coloured air dry clay to make the hedgehog, or make the shape with plain clay and paint the details once it’s dry.
Acrylic paint works well for adding colour to white clay. You can also add a coat of Mod Podge once the paint is dry to give it more of a polished look. The results will be a bit different than the hedgehogs made with polymer clay, but it’s still a great option for this project.
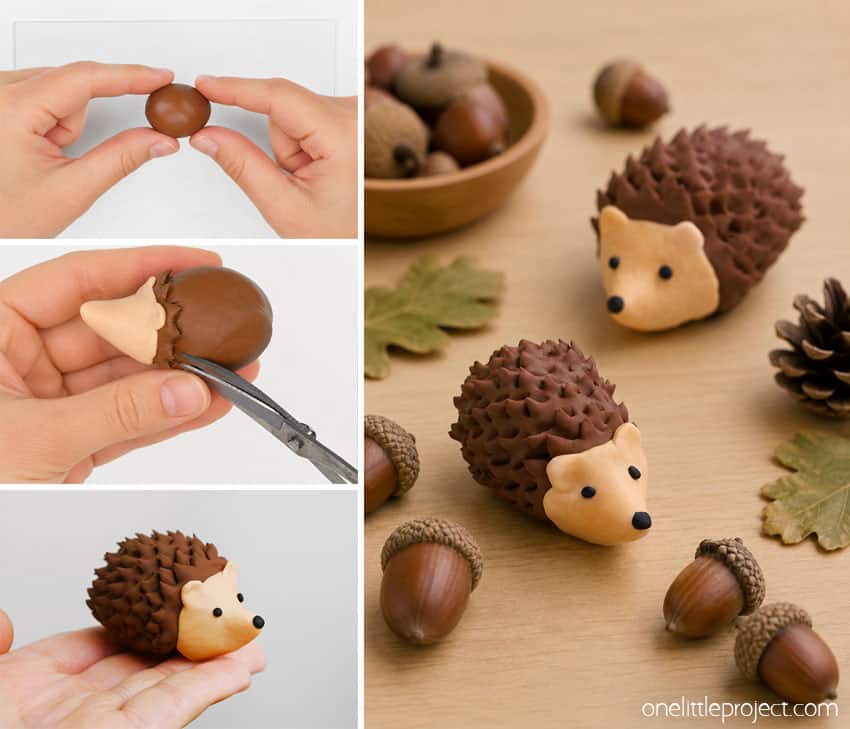
This clay hedgehog is such a cute project for fall or anytime you want to make a tiny animal friend. The simple shapes make it easy to build, and the little scissor-cut spikes add so much texture and personality.
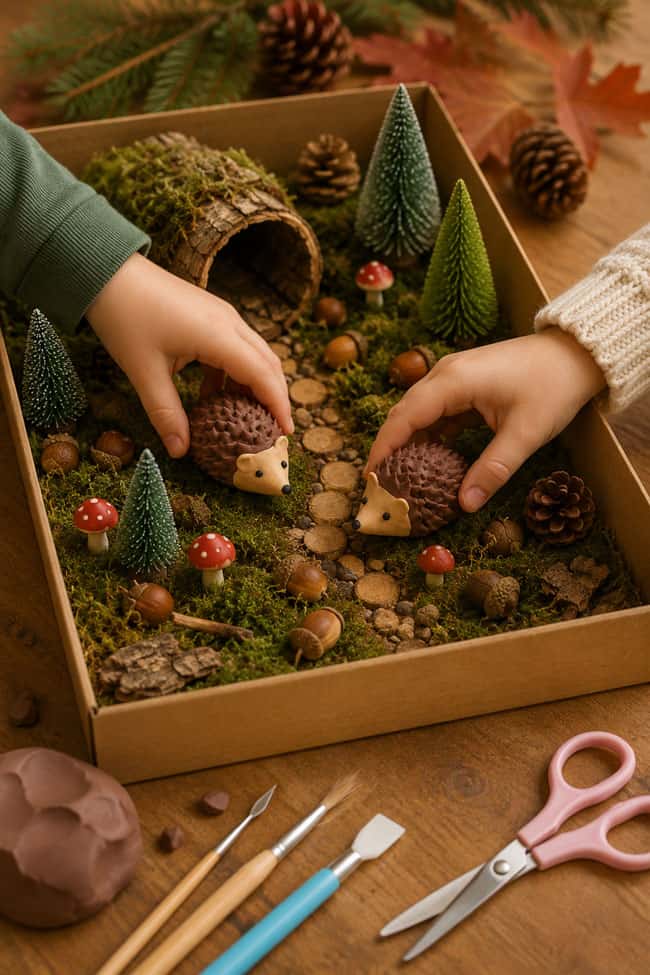
Once you learn the basic technique, you can make your hedgehog bigger or smaller, change the colours, or give each one a slightly different face. Make one sweet little hedgehog, or create a whole prickly family to display on a shelf, desk, or nature-inspired craft scene.
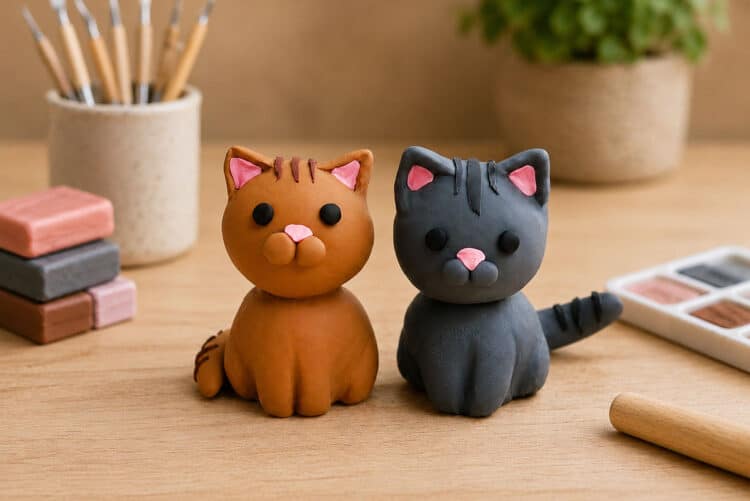
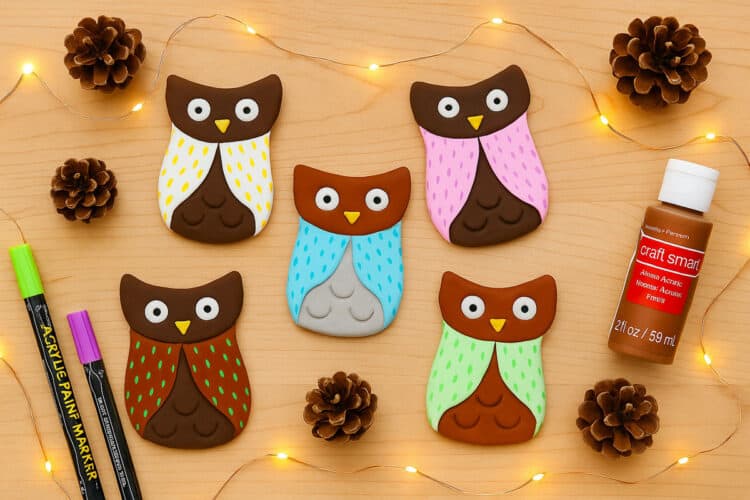
Here’s even more clay craft ideas:

Now available
Low-Mess Crafts for Kids Book
72 cute and fun crafts that kids and parents alike can enjoy. All with as little mess as possible!
Where to buy:
You can purchase Low-Mess Crafts for Kids from Amazon, or wherever books are sold:
Amazon | Barnes and Noble | Books-A-Million | Indiebound | Amazon Canada







Leave a Reply