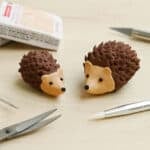
How to Make a Clay Hedgehog
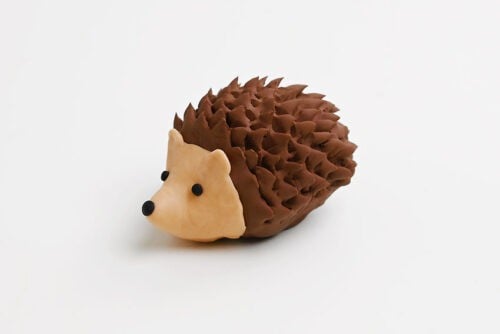
This clay hedgehog is super cute!! Make an adorable mini clay hedgehog using polymer clay and simple tools. This clay hedgie is the perfect fall craft for animal lovers, and great for clay beginners.
Yield: 1 clay hedgehog
Cost: $2
Equipment
Materials
- Aluminum foil
- Polymer clay (brown, tan, black)
Instructions
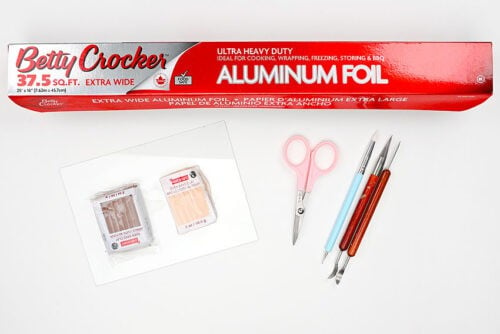
Step 1: Find what you need
- Gather your supplies and materials.
Step 2: Make the base of the hedgehog
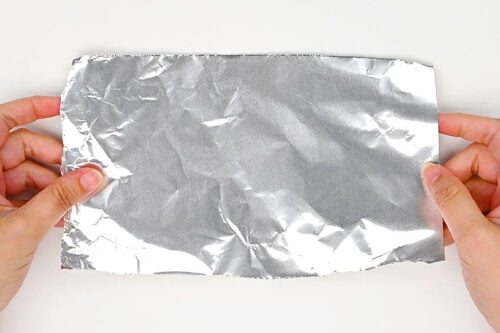
- Begin by ripping off a small piece of aluminum foil.
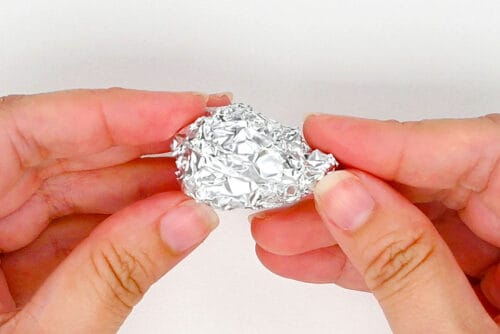
- Form the rough shape of the hedgehog body by balling up the foil into almost a teardrop shape -- so there's a rounded body and a face/nose section that comes to a point.
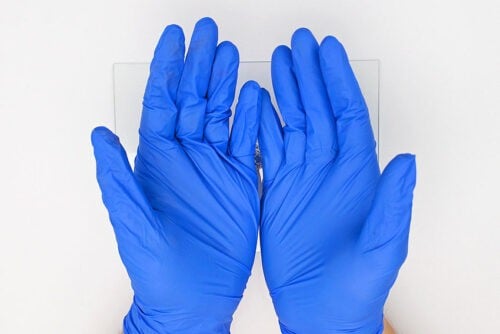
- Then we suggest wearing nitrile gloves before working with clay. Polymer clay likes to collect dust, fingerprints, and skin oils -- so this will stop those things from transferring to the clay.
Step 3: Cover the body of the hedgehog
- Condition a ball of brown clay. This means kneading it, rolling it, and working it with your hands until it's nice and soft.
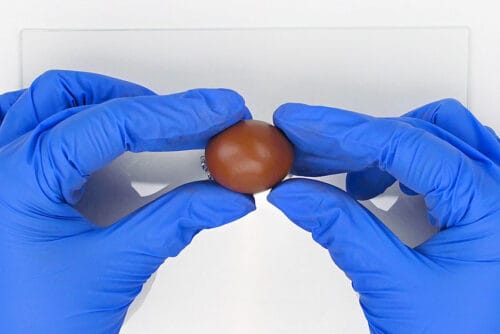
- Then use your fingertips to flatten the clay into a rough rectangle shape. The clay shouldn't be too thin, though. Keep it at least 1/8 inch thick.
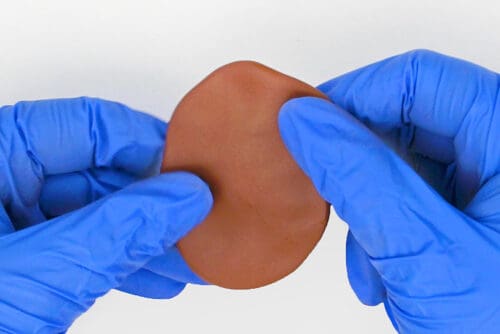
- Place the clay over the back of the hedgehog like a blanket, keeping the head piece clear.
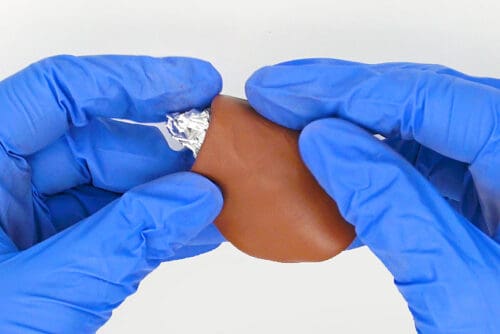
- Wrap the clay around the tin foil body and use your fingers to smooth out where the clay meets.
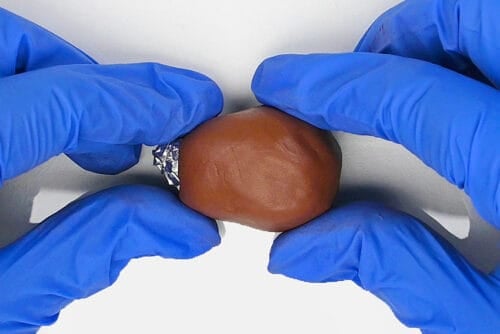
Step 4: Make the hedgehog's head
- Condition a small ball of tan clay.
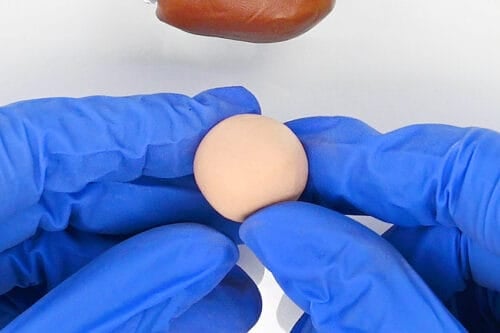
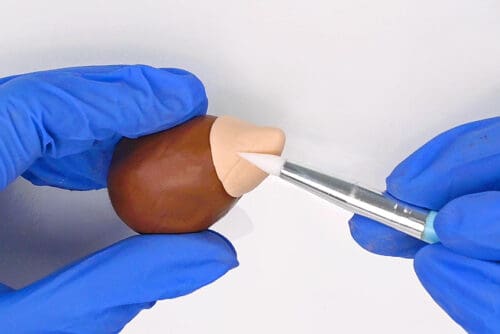
- Flatten it a bit and push it around your finger, forming a cone shape.
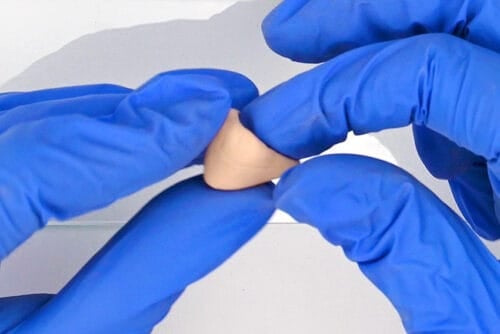
- Slide the cone onto the foil, creating the hedgehog's head. Press it into place and curve the nose up a bit.
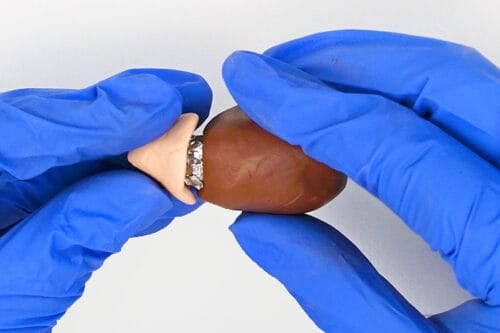
- Use your fingertips and a silicone brush to smooth out any rough areas.
- Roll a tiny ball of tan clay between your fingers and then cut it in half.
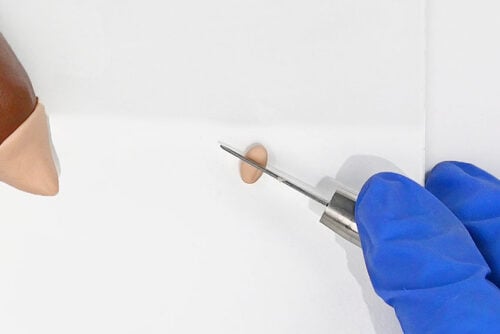
- Flatten these pieces a bit and put them into place near the top of the head, creating the hedgehog's ears. Use the silicone brush to blend the base of the ears into the head.
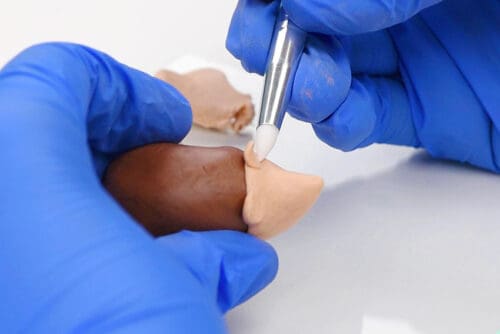
Step 5: Create the quills
- To make the hedgehog's quills we're going to use detail scissors with a curved blade.
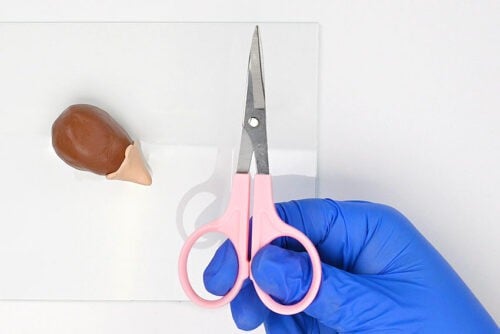
- Begin just below the head, making a tiny snip while holding the scissors at a 45 degree angle. The clay will lift up, creating the first quill.
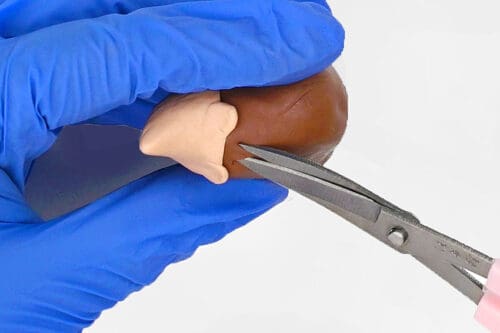
- Go across the back, making a line of cuts near the head. Then start a second row, making these cuts between the first ones.
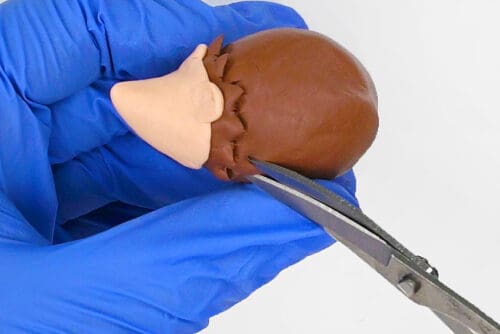
- Repeat, making your way down the back. After you get about half-way you may want to keep the hedgehog on the glass and move the glass itself around to get the right angle. This will prevent smushing the face or any of the quills.
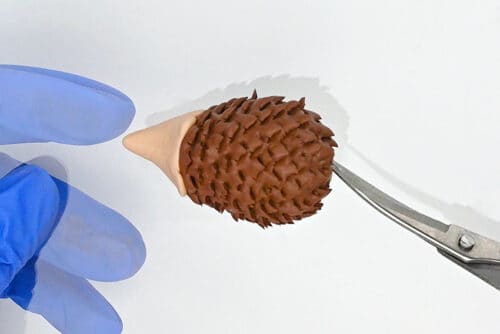
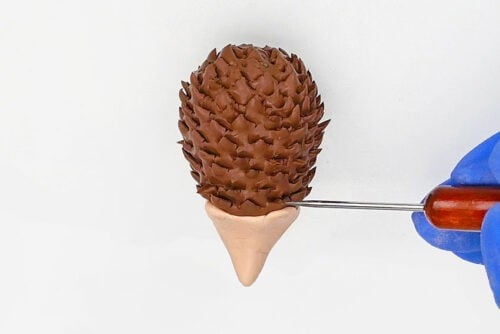
- Once you're finished, use a needle tool (or a toothpick) to lift up any of the quills that aren't standing up nicely.
Step 6: Add the facial details
- Roll a small ball of black clay and cut off 2 very tiny pieces.
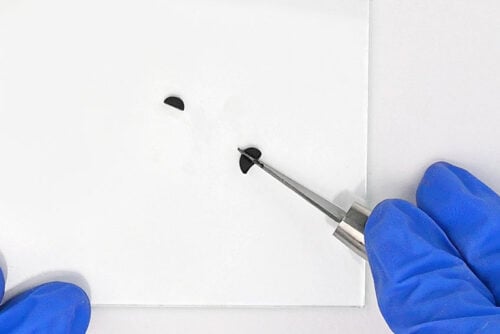
- Form them into even tinier balls and then flatten them. Use a needle tool to lift them and put them in place as the hedgehog's eyes.
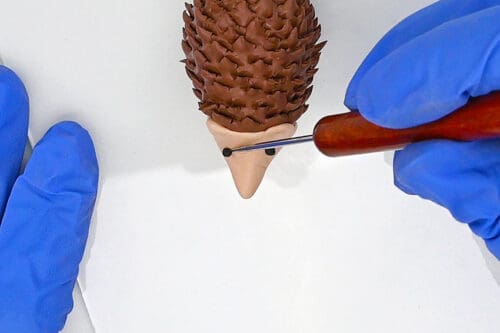
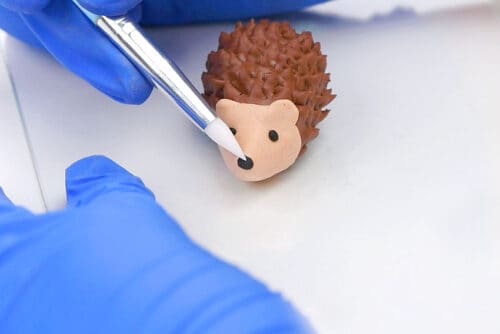
- Make another tiny ball of black clay, a bit bigger this time. Place it on the tip of the hedgehog's nose and then use a silicone brush to smooth it down.
- Place your hedgehog on a parchment lined baking tray and bake according to package directions. Our clay recommends 15 minutes per 1/4 inch of clay at 275F.
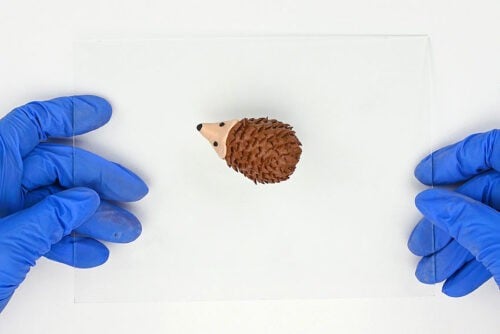
- Your clay hedgehog is complete!
Video
Notes
Looking for more cute animal crafts? Here's a few of our favourites:
Pom Pom Axolotl
Paper Roll Owl Craft
Pom Pom Hedgehogs