
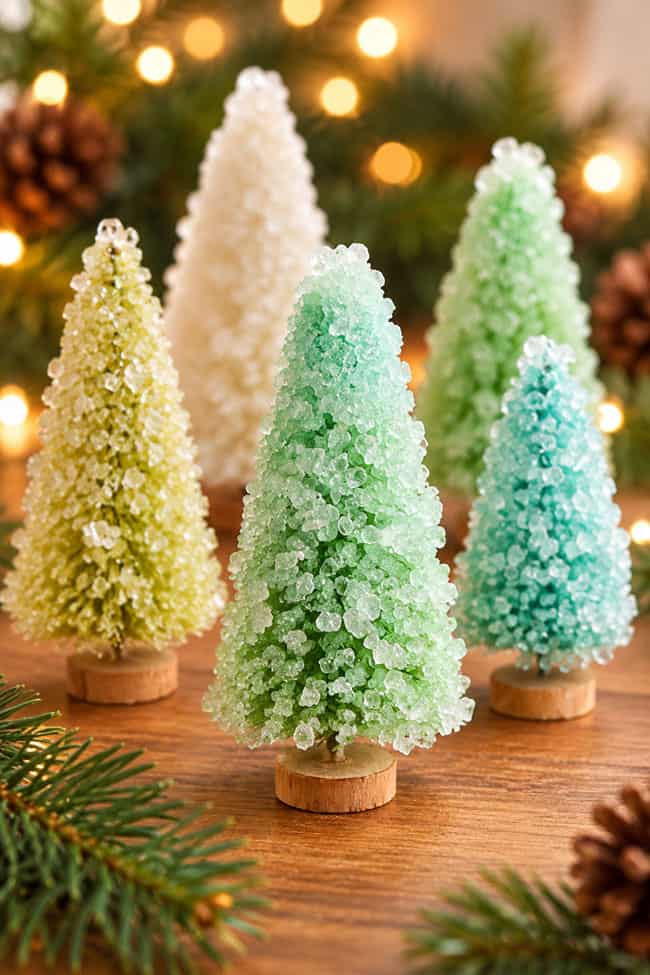
Watch the magic of science transform ordinary Christmas trees into sparkling, crystal-covered wonders! This borax Christmas tree experiment is such a fun way to explore science during the holiday season. Kids will love watching tiny crystals form and grow on bottle brush trees, transforming them into beautiful, frosty creations that look like they’re covered in ice!
This easy Christmas science experiment uses borax, hot water, and decorative trees to demonstrate the fascinating process of crystal growth. It’s a hands-on way to learn about solutions, saturation, and crystallization, with a little Christmas magic thrown in! And the best part? Once your crystals have grown, you’ll have gorgeous, glittering trees that make adorable winter decorations.
This post contains affiliate links. If you use these links to buy something, we may earn a small commission at no extra cost to you. This helps support our website and allows us to keep creating fun, free content.
How to Make Borax Christmas Trees
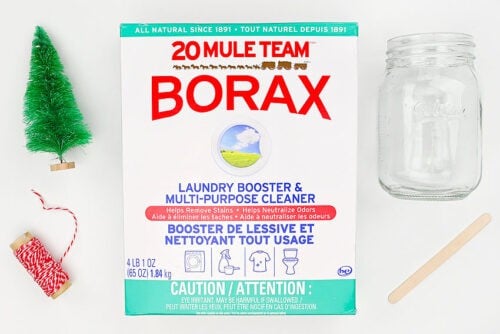
Materials:
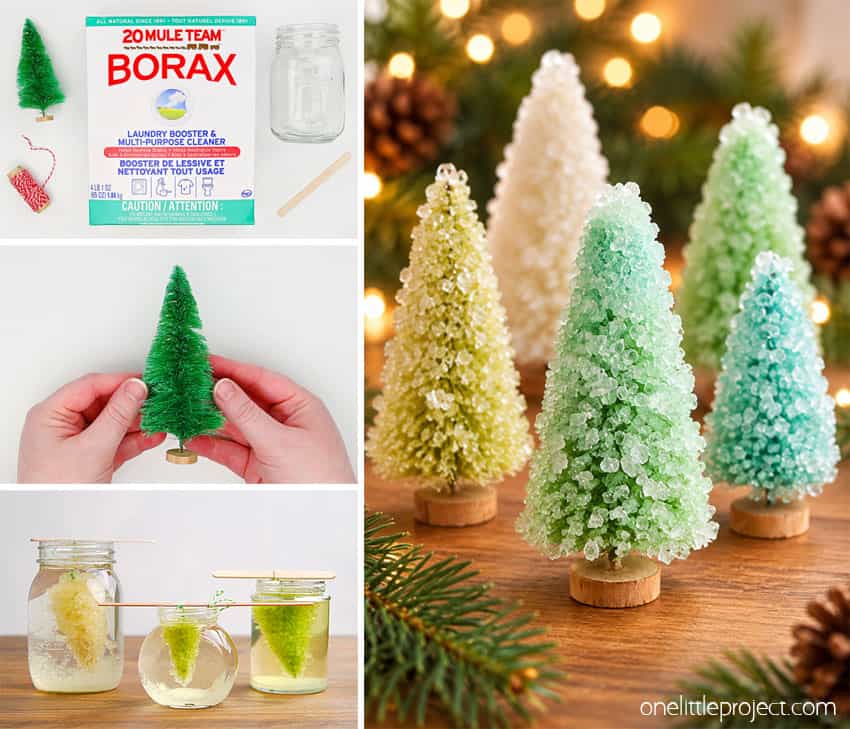
- Boiled water
- Borax
- Bottle brush tree
Watch the step-by-step video tutorial:
Instructions:
Step 1: Find what you need
- Gather your supplies and materials.

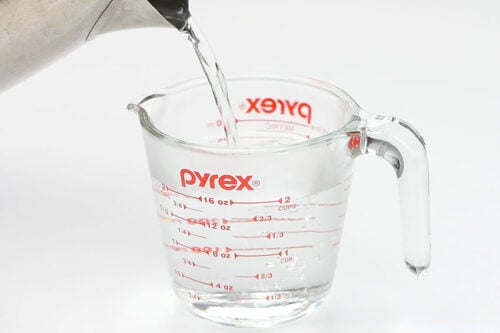
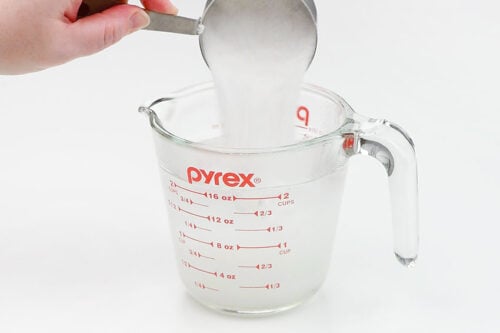
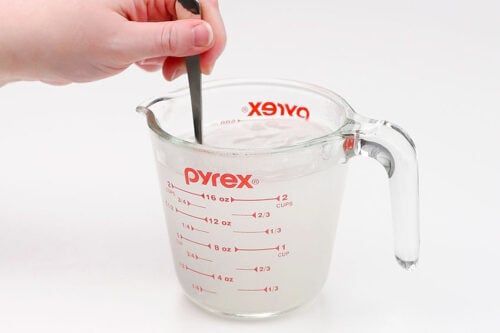
Step 2: Make the borax solution
- Measure out 2 cups of boiled water.

- Add 1/2 cup of borax into the water.
- Stir until the borax is dissolved.
Step 3: Prepare the bottle brush tree
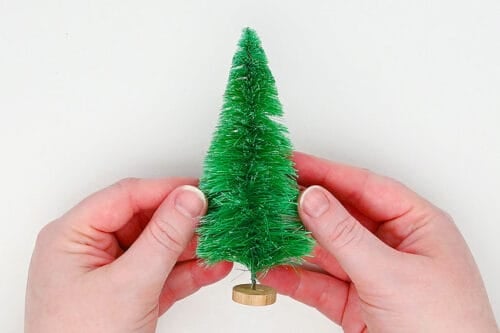
- To do our borax Christmas tree experiment we’re using a bottle brush tree.
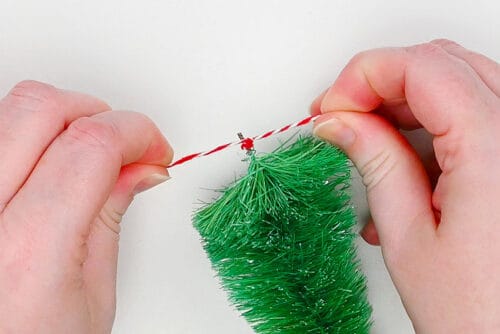
- Remove the base from the bottle brush tree and tie a piece of twine to the “tree trunk”.
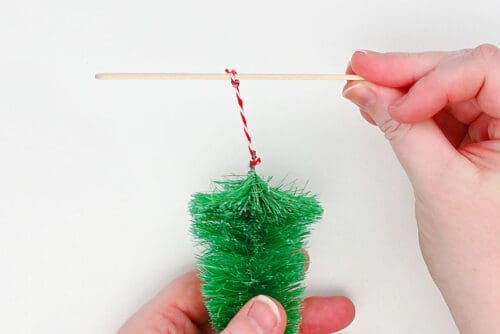
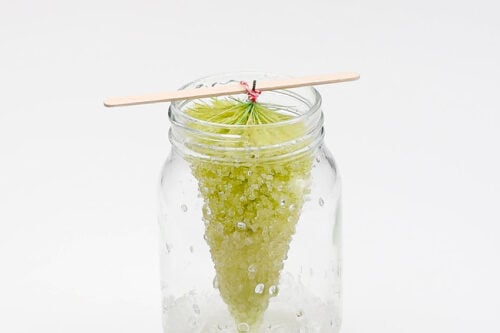
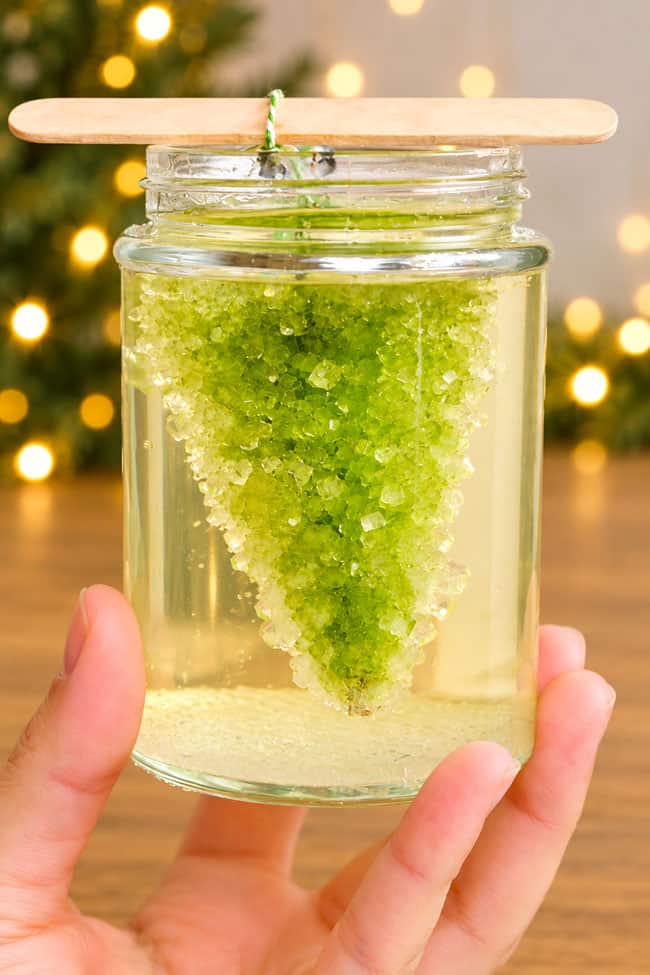
- Then tie a popsicle stick to the twine. You’ll want to measure your mason jar and tie the popsicle stick so that the tree is suspended in the jar, not touching the bottom.
Step 4: Make a crystal tree
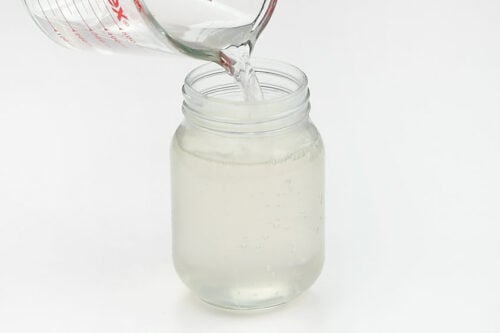
- Pour the borax solution into a mason jar.
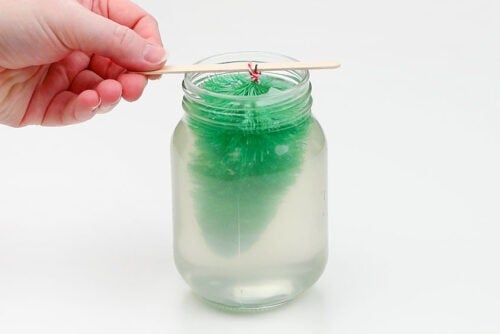
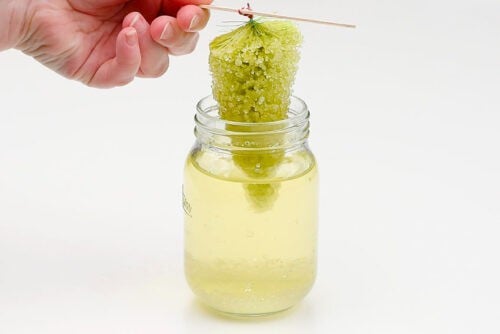
- Place the tree into the solution. Make sure the tree is in the middle of the jar, not touching the sides.
- Allow the tree to sit in the solution 8 to 12 hours (overnight).
- Pour out the borax solution and then let the tree hang in the jar again to drip dry.
Step 5: Admire your borax Christmas tree
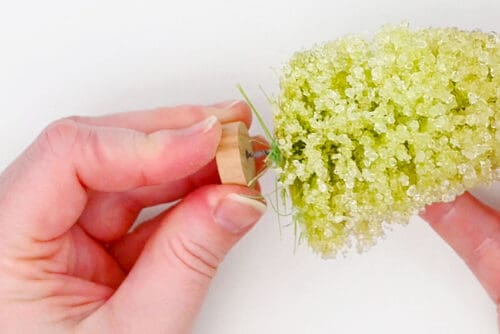
- Once the tree is dry (after a few hours, at least) put the base back on.
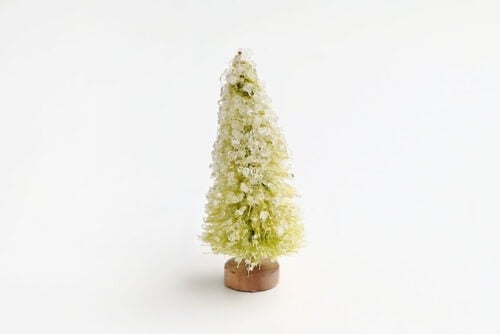
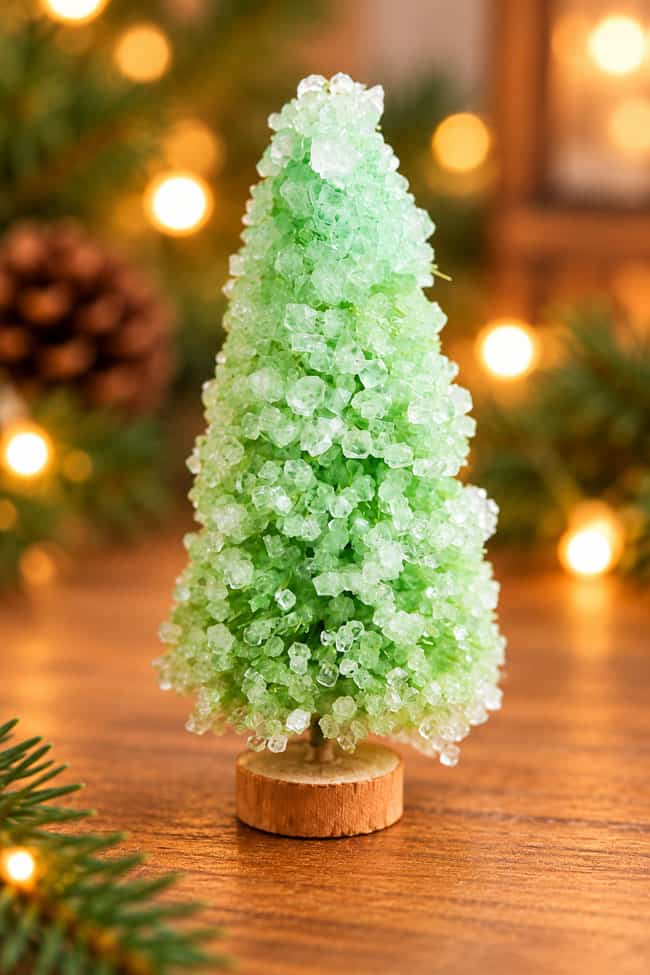
- Your borax Christmas tree is complete! Admire how the crystals shine in the light.
- Enjoy making different sizes of borax trees and experimenting with different strengths of borax solution. Read more about this below!
Helpful Tips:
- Use fresh borax: We first tried this experiment with an old box of borax that we’d had for years, and the crystal growth was very patchy. After buying a fresh box, the difference was incredible! Our trees developed a much thicker, more even coating of crystals. For the best results, we recommend starting with fresh borax.
- Protect sensitive skin: Borax can irritate your skin, so wear protective gloves when handling the powder, solution, or finished crystal trees, especially if you have sensitive skin. Adults should handle the borax and hot water.
- Choose the right size jar: Make sure your mason jar is large enough for the Christmas tree to hang freely in the borax solution without touching the bottom or sides. This gives the crystals room to grow all around the tree and helps prevent it from getting stuck to the jar.
How does the borax Christmas tree experiment work?
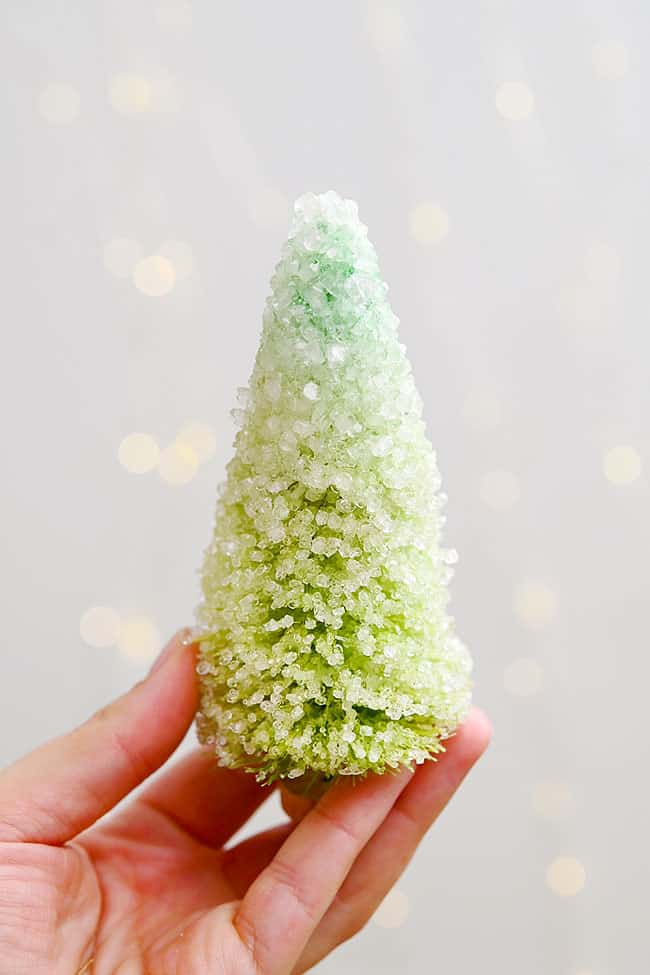
This fun Christmas science experiment demonstrates a process called crystallization! When you add borax to hot water and stir, the borax dissolves into the water. Hot water can dissolve more borax than cold water, allowing you to make a saturated solution containing lots of dissolved borax.
As the water cools, it can no longer keep as much borax dissolved. The extra borax begins coming out of the water and forming tiny, solid crystals.
These crystals attach to the bristles of the Christmas tree and gradually grow larger as more borax joins them. The result is a miniature Christmas tree covered in beautiful, sparkling crystals!
How do I clean the jars after growing borax crystals?
Once you’ve removed your crystal Christmas trees, carefully pour out the remaining borax solution and rinse the jars with hot water. You’ll likely still have crystals stuck to the bottom or sides of the jar. To remove these crystals, follow these steps:
- Have an adult carefully pour freshly boiled water into the jar, making sure to cover the remaining crystals.
- Let the water sit until it has cooled enough to handle safely. The hot water will help dissolve and loosen the crystals.
- Use a wooden spoon to gently break up any stubborn crystals stuck to the bottom. Be careful not to scratch or crack the glass.
- Empty the jar, rinse thoroughly, and wash as normal.
For particularly stubborn crystals, you may need to repeat the hot water soak a second time.
What type of Christmas tree is best for growing borax crystals?
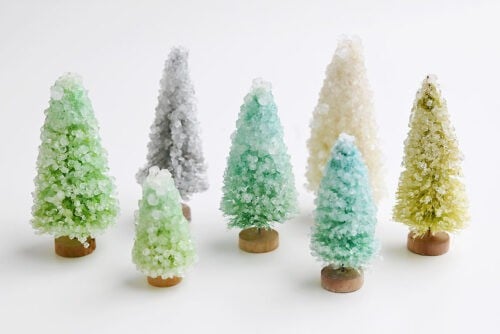
We used miniature bottle brush Christmas trees for this experiment, and they worked really well! We tested green, white, and even glitter-covered trees, and all of them successfully grew crystals.
You can also make your own mini Christmas tree by twisting green pipe cleaners into a tree shape. The fuzzy fibers provide lots of little surfaces for the borax crystals to grow on.
If you’re using bottle brush trees, we recommend brushing off any artificial snow or powdery coating before starting. You can even rinse the trees with water and allow them to dry. This helps expose the bristles so the crystals can attach more easily.
How can I experiment further with growing borax crystals?
There are lots of fun ways to turn this activity into an even bigger Christmas science experiment! Try changing one variable at a time and observing how it affects the crystal growth.
- Change the water temperature: Try dissolving borax in water at different temperatures. Does hotter water dissolve more borax? How does the starting temperature affect the number and size of crystals?
- Experiment with different amounts of borax: We tested 1/4 cup, 1/3 cup, and 1/2 cup of borax in 2 cups of hot water. All three solutions produced crystals! The results weren’t dramatically different, but we did notice some variations in crystal size. Try comparing the trees to see which ratio works best.
- Try different tree materials: Compare a bottle brush tree with a homemade pipe cleaner tree. Do the crystals grow differently on each surface?
- Change the growing time: Remove one tree after a few hours and leave another overnight. Compare how many crystals have formed and how large they’ve grown.
- Compare different tree colours: Try green, white, and glittery trees. Does the colour or finish affect how the crystals look once they’re fully grown?
For an extra learning opportunity, have kids make predictions before starting the experiment, then record their observations and compare the results!
Who knew a little science could create such a beautiful winter wonderland?! This borax Christmas tree experiment is a wonderful way to bring some extra excitement to the holiday season, combining the fun of hands-on discovery with the magic of Christmas.
Whether you’re exploring crystal growth in the classroom or making a whole forest of sparkling trees at home, this is one experiment that’s sure to impress. It’s so exciting to see how much the trees change, and you’ll have a gorgeous little winter scene to show for it!
Here’s even more fun STEM craft ideas:
Now available
Low-Mess Crafts for Kids Book
72 cute and fun crafts that kids and parents alike can enjoy. All with as little mess as possible!
Where to buy:
You can purchase Low-Mess Crafts for Kids from Amazon, or wherever books are sold:
Amazon | Barnes and Noble | Books-A-Million | Indiebound | Amazon Canada


Leave a Reply