Salt crystals are a super fun experiment for both kids and adults. These crystals require a bit of patience to grow, but the results are really satisfying and SO COOL!

How do salt crystals form?
Salt crystals form when a salt solution becomes supersaturated and the extra dissolved salt crystallizes out of the liquid. A supersaturated solution contains more dissolved solute than is stable at a given temperature, which makes it prone to forming crystals.
When water is heated, the solubility of many salts increases, so more salt can dissolve in hot water than in cold water. As the solution cools and/or as water evaporates, the amount of salt that can stay dissolved decreases. The solution can briefly become supersaturated, and because this state is unstable, excess salt leaves the solution and forms solid crystals. This process is known as recrystallization.

Epsom Salt Crystals
Crystals made from epsom salts are long, spiky, and look like really cool shards of glass! Epsom salt is a naturally occurring mineral salt, used mostly to soothe sore muscles. It’s also an ingredient in bath bombs!
We made epsom salt crystals in plastic mason jar lids. You can leave the lid empty, or you can grow your crystals on a cut up a sponge and construction paper like we did.

To make epsom salt crystals: Add 1/3 cup of epsom salt to 1/3 cup of boiling water. Stir well and make sure that no more epsom salt can be dissolved (i.e. if all the salt is dissolved, add more. If there are remaining salt granules, you’ve added enough).
Pour the solution into lids or small bowls and place them in areas where they won’t be disturbed. Our epsom crystals started forming after a few days in a sunny window sill. To make larger crystals we poured a new supersaturated solution over the already formed crystals and let them continue growing for around 1 month.
Alum Crystals
We found alum crystals to be the easiest, fastest, and BIGGEST crystals to grow. Alum, or potassium alum, is an aluminum salt that is often used for pickling recipes. You can get it at the grocery store in the spices section.

To make an alum crystal: pour 1 cup of boiling water into a measuring cup and add 1 tablespoon of alum. Keep adding alum until no more can dissolve in the water.
Pour this supersaturated solution in a clean mason jar (or glass) and wait overnight. By the next day you should have a big gem-like chunk in the bottom of the mason jar like in the photo above!
Table Salt Crystals
Crystals made from plain table salt were the least successful for us. Apparently the iodine in table salt can prevent the crystals from growing properly.
The crystals you can see in the photo below on the popsicle stick were a bit of a happy accident. We were trying to grow salt crystals on a pipe cleaner (like we did for our borax crystals), but after a week or so nothing had grown.

The popsicle stick fell in the coloured water and we just left it there as we worked on making other types of salt crystals. The photo above was taken after the jar had been sitting for about a month.
To make table salt crystals: add 1/3 cup of salt to 1 cup of boiling water. Pour into a mason jar and stir in 5 – 10 drops of food colouring. Place a popsicle stick in the solution and let it sit for at least 2 to 3 weeks.
Sea Salt Crystals
If you’re using sea salt to grow crystals, make sure your sea salt doesn’t have any added iodine.
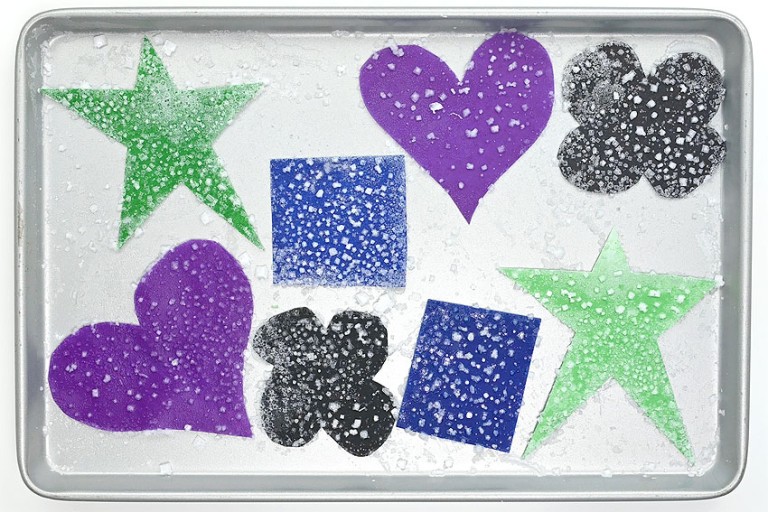
These crystals were easy to make, but a bit inconsistent – one time we got large crystals (seen in the picture below), and other times they were smaller. Room temperature and humidity definitely affect how these crystals grow.
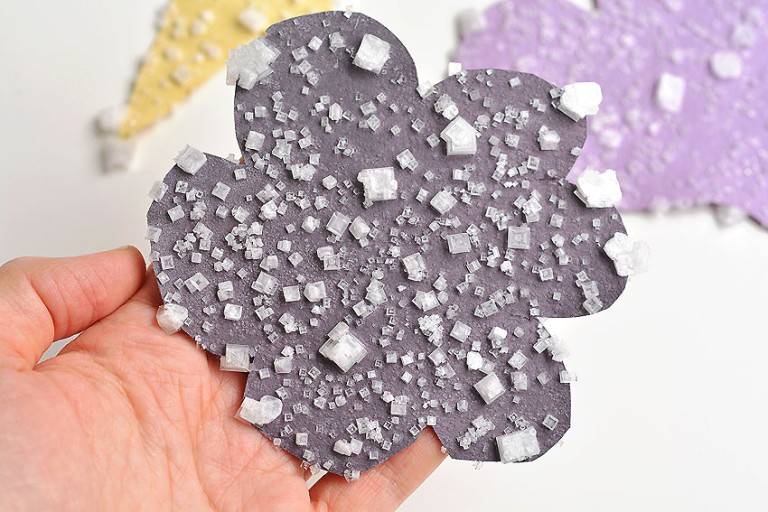
We found these crystals really cool – especially the X’s that grew on them – and we liked that they grew in just a couple of days. See below for the full photo tutorial and video for how to make crystals from sea salt.

Why do salt crystals form with an “X”?
We found it really fascinating that the crystals made from sea salt form in a square shape, and that on most of them you could see an “x” in the center! Sea salt does contain additional minerals, but it is mostly made up of sodium chloride (NaCl).
Sodium chloride crystals form in perfect cubes in a controlled environment. But in regular conditions the edges of the cube grow faster than the faces and form an inverted pyramid shape. That’s what the “x” is that you can see on the crystals.

Check out our Salt Crystals video tutorial:
*Note: Scroll down for the step-by-step photo tutorial.
Looking for more fun experiments? Here’s some of our favourites:
Here’s what you’ll need to make sea salt crystals:
This post contains affiliate links. If you use these links to buy something we may earn a small commission which helps us run this website.
The full printable instructions are at the end of this post, but here’s a list of products on Amazon and Target that are similar to the supplies we used:
- Non-iodized sea salt
- Boiling (or very hot) water
- Spoon
- Construction paper
- Scissors
- Cookie sheet/baking tray

How to Make Salt Crystals
Materials:
- Construction paper (as many colours as you’d like)
- 1/4 cup Sea salt (non-iodized)
- 1-1/2 cups Boiling water
Equipment:
- Measuring cup (2 cup)
- Measuring cup (1/4 cup)
Instructions:
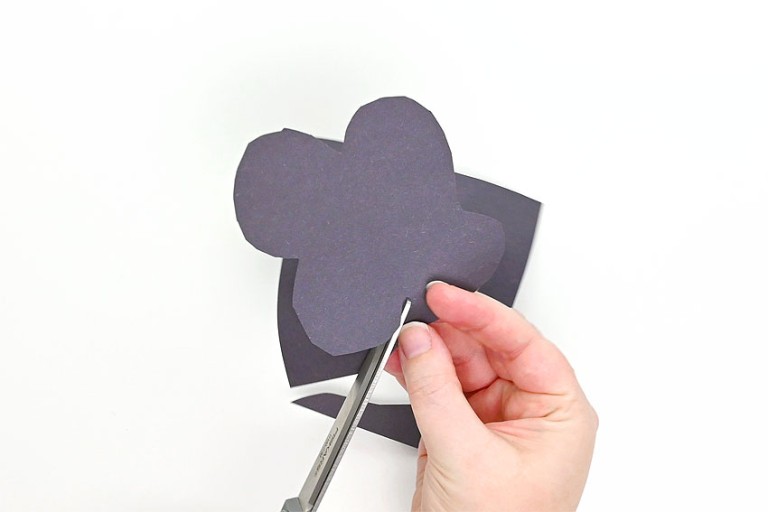
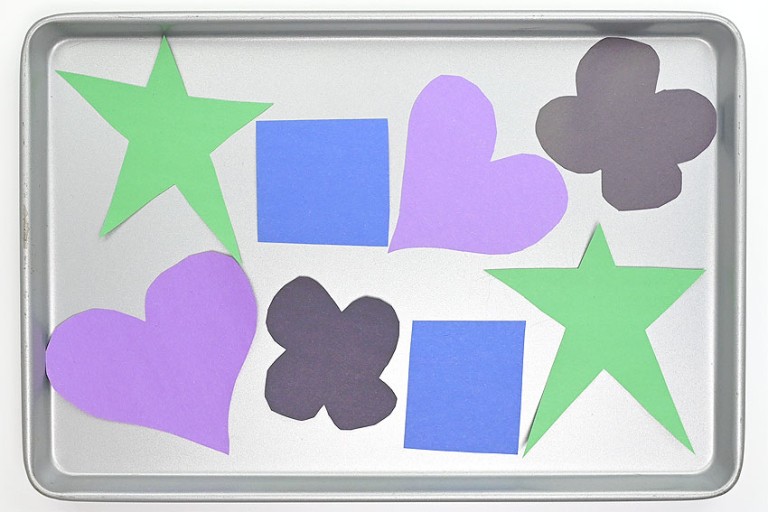
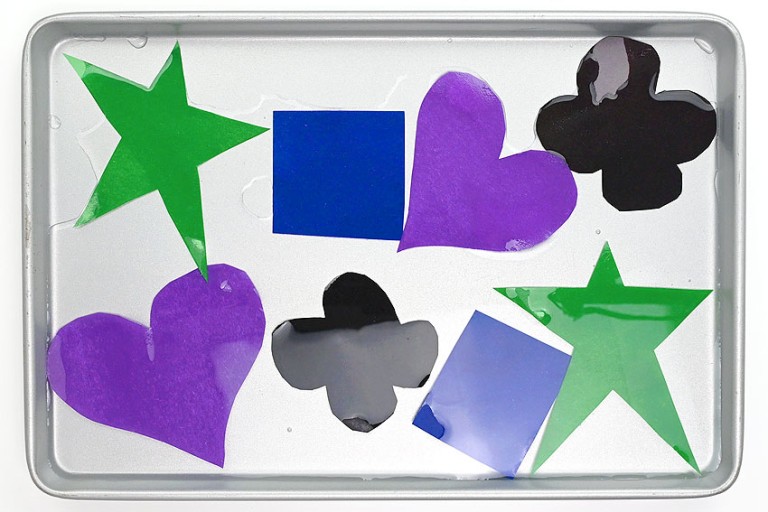
Step 1: Cut construction paper shapes (optional)
- Cut out various shapes from different colours of construction paper. Salt crystals will technically grow right on the baking sheet without paper, but it’s more fun to see them on colourful shapes!

- Place the shapes on a baking sheet.
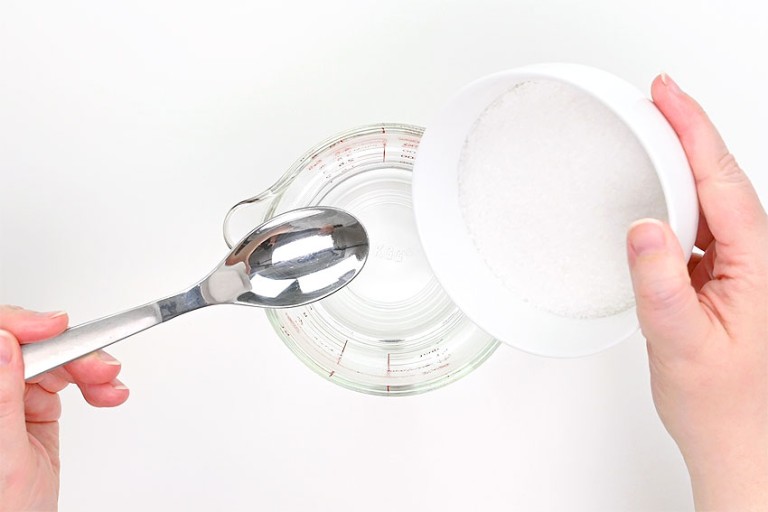
Step 2: Make the supersaturated solution
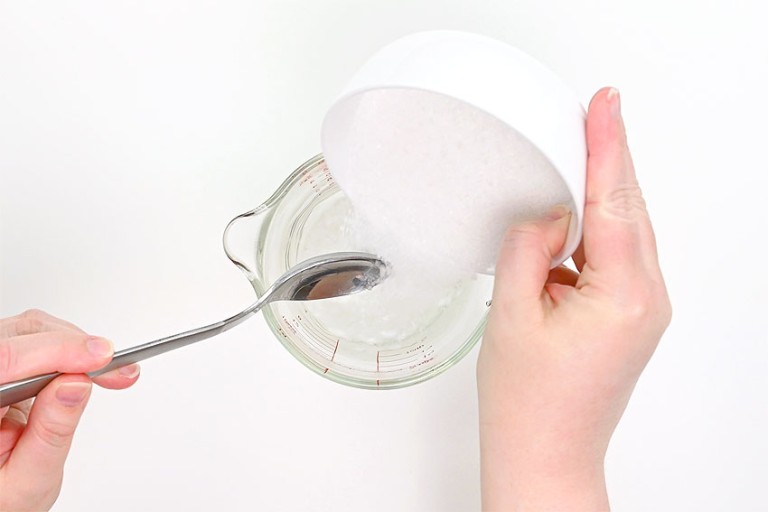
- Add 1/4 cup sea salt to 1-1/2 cups boiling water.
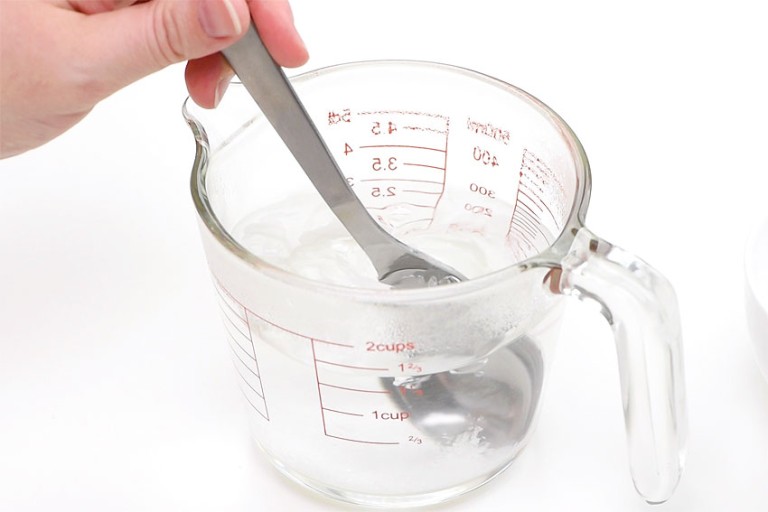
- Stir well to ensure as much salt as possible is dissolved into the water.
- If all the salt is dissolved keep adding more salt, 1 tablespoon at a time. Stir well and keep adding salt until no more can be dissolved.(You can stop adding salt when you can see undissolved granules in the bottom of the measuring cup.)
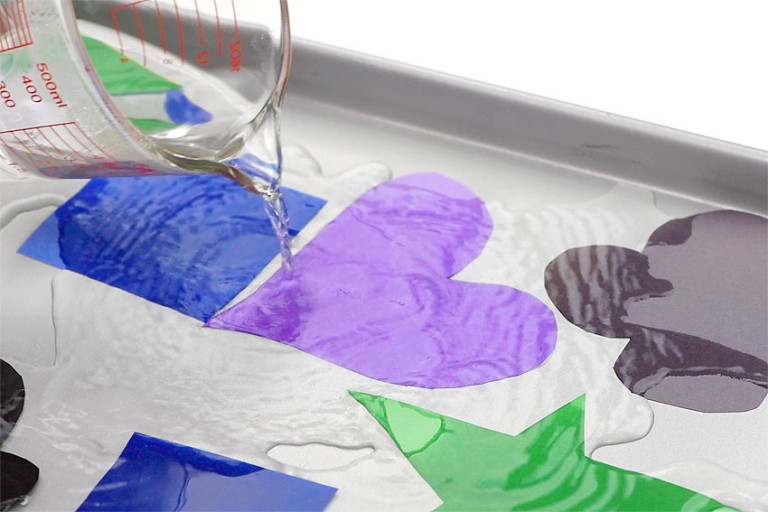
Step 3: Add solution to the tray
- Pour the supersaturated solution over the construction paper shapes. Try not to get any of the undissolved salt (from the bottom of the measuring cup) on the tray.
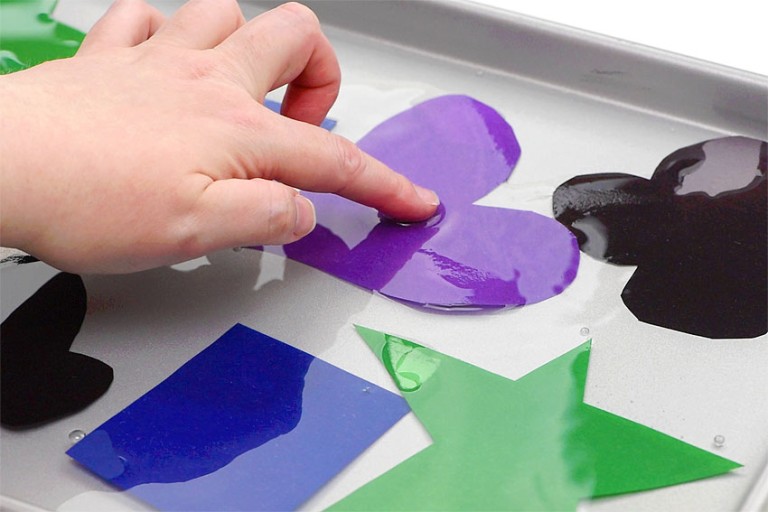
- Adjust the shapes on the tray so they’re not touching – they’ll stick together if they dry out while touching.Be careful! If your water is still hot, use a utensil or stir stick to move the shapes around.
- Leave the baking sheet in an undisturbed area and wait for the crystals to grow.
- You should have full crystal growth after 2 – 3 days.
- Your salt crystals are complete!
Helpful Tip:

Salt crystals are fascinating to make! It’s so interesting how the chemical composition of different salts forms different shapes of crystals!
What type of crystal is your favourite? Try mixing and matching the methods and writing down predictions over which salt crystal will grow fastest and which will grow largest.

Here’s even more science experiment ideas:


Our book Low-Mess Crafts for Kids is loaded with 72 fun and simple craft ideas for kids! The projects are fun, easy and most importantly low-mess, so the clean up is simple!

Where to buy:
You can purchase Low-Mess Crafts for Kids from Amazon, or wherever books are sold:
Amazon | Barnes and Noble | Books- A- Million | Indiebound | Indigo | Amazon Canada


Leave a Reply