

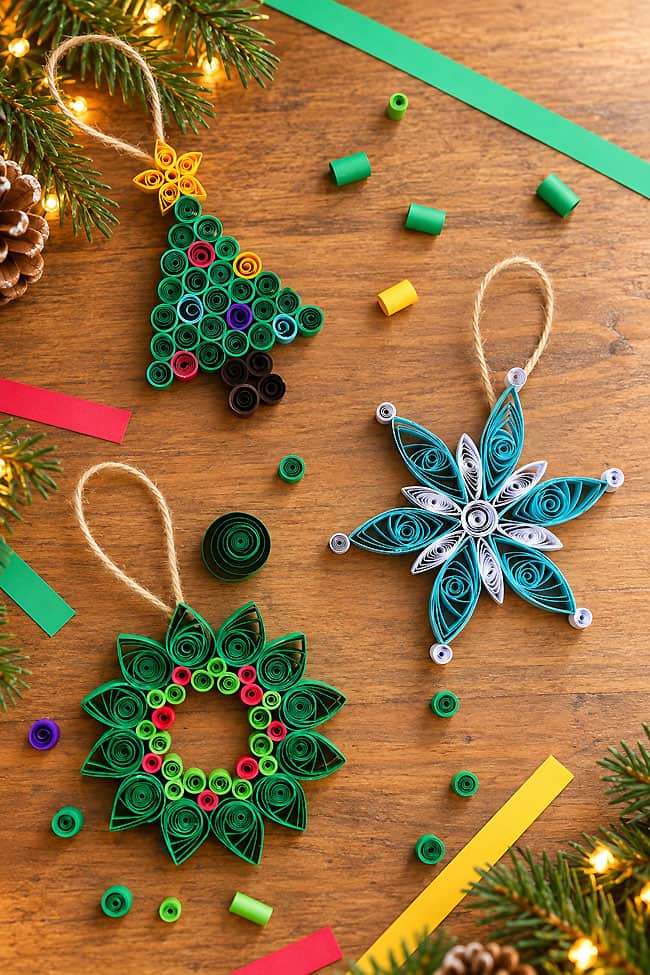
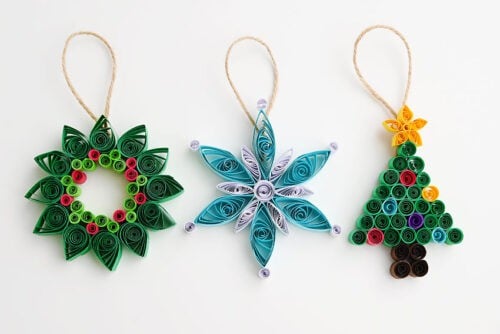
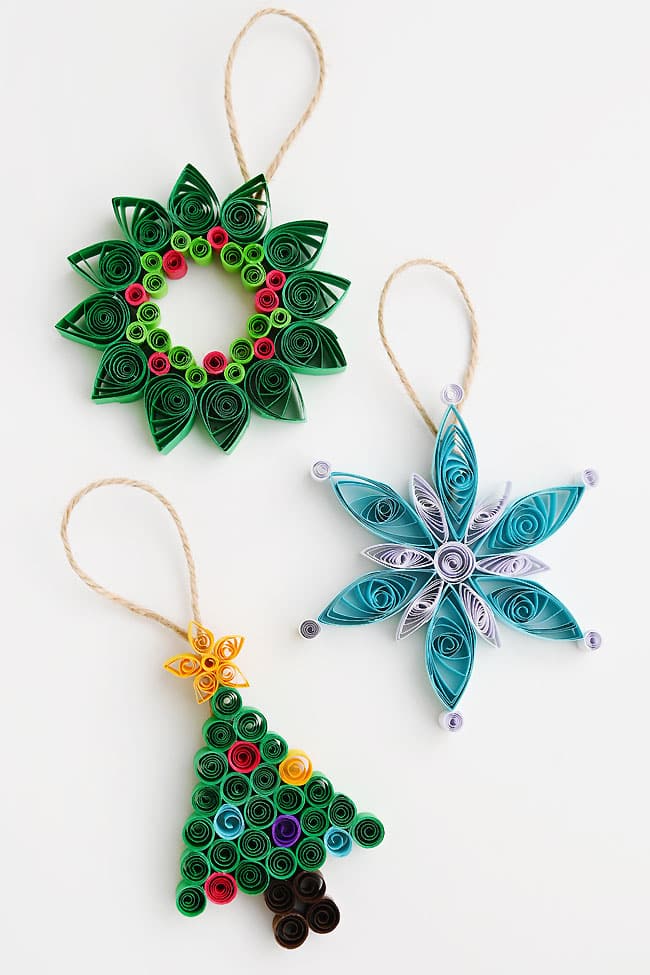
These paper quilling Christmas ornaments are a fun and colourful way to add a little handmade magic to your Christmas tree! It’s amazing how simple strips of paper can be transformed into such beautiful decorations. With their delicate swirls, festive colours, and intricate designs, these ornaments look like something you’d find in a fancy Christmas shop!
Learn how to make a quilled Christmas tree, a pretty snowflake, and a festive wreath using a few basic paper quilling techniques. It’s such a relaxing craft, and there’s something so satisfying about rolling, shaping, and arranging the little paper coils! Hang your finished ornaments on the tree, give them as handmade gifts, or use them to add a special touch to your Christmas wrapping.
This post contains affiliate links. If you use these links to buy something, we may earn a small commission at no extra cost to you. This helps support our website and allows us to keep creating fun, free content.
How to Make a Paper Quilling Christmas Tree Ornament
Materials:
Equipment:
- Sewing needle (or toothpick)
Instructions:
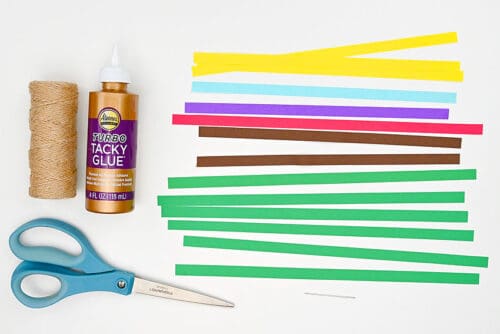
Step 1: Find what you need
- Gather your supplies and materials.

Step 2: Make the coils
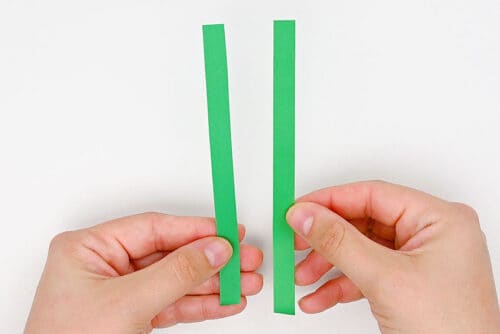
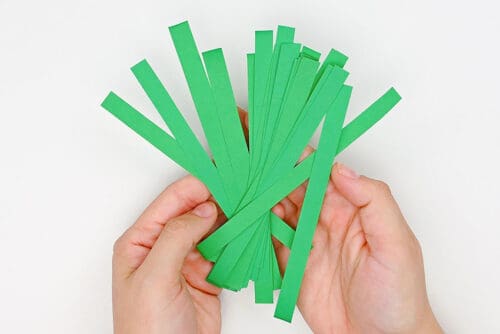
- Begin by cutting a piece of green quilling paper in half.
- Repeat with 11 other pieces of quilling paper so you have 24 pieces total. (We’ll be using 23 of them for our tree.)
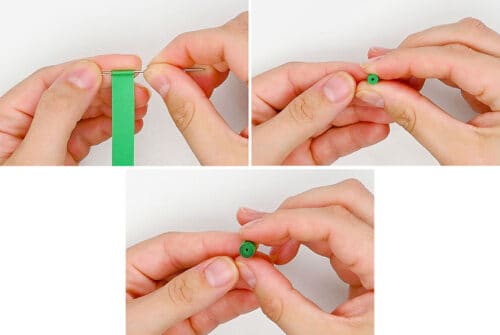
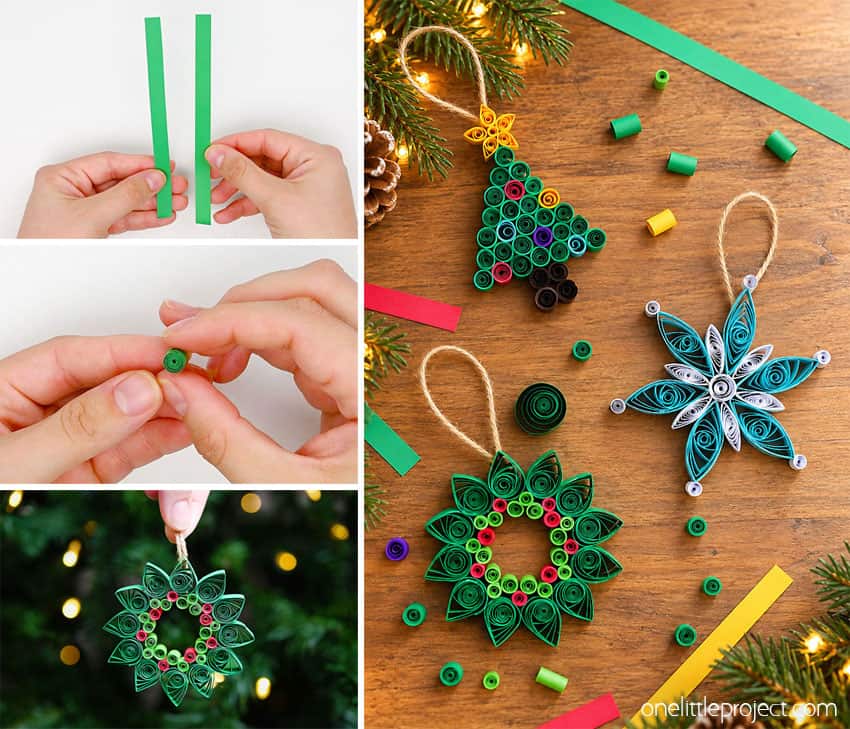
- Roll one of the paper strips into a 1/4 inch sized coil. To do this, hold a needle or toothpick on top of the paper. Roll the paper around it.Once the roll is secure you can remove the needle and continue rolling. Once the whole length is rolled, release the tension on the roll until it’s about 1/4 inch across.

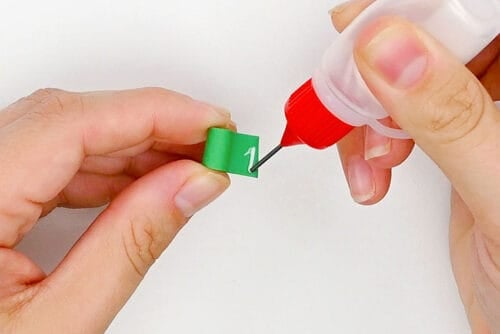
- Hold the roll and add a thin line of tacky glue to the end.
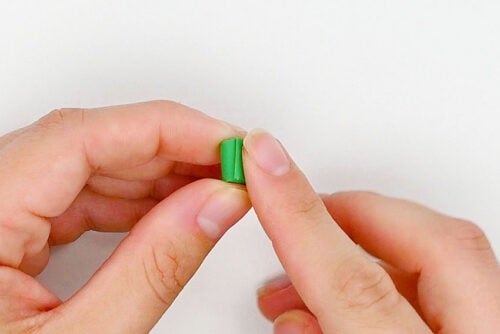
- Press the end in place and hold until the paper stays on its own.
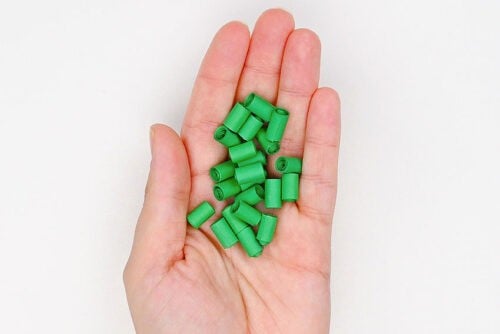
- Repeat, making 23 green rolls.
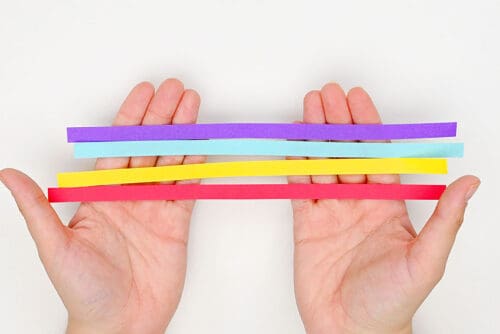
- Now grab 3 to 4 colours of quilling paper to make ornaments.
- Cut these papers in half as well and roll them into 1/4 inch coils. You’ll need 5 “ornaments” if you make the exact same design as we did.

Step 3: Assemble the tree
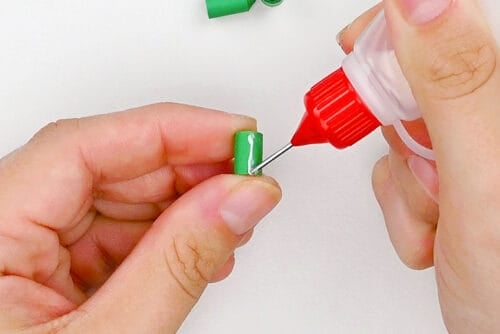
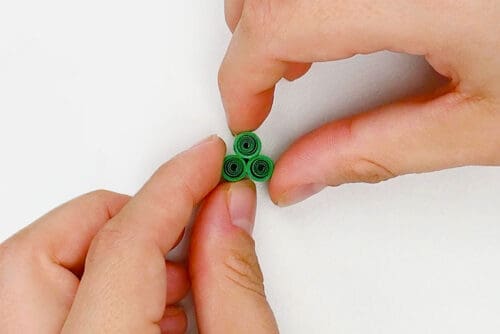
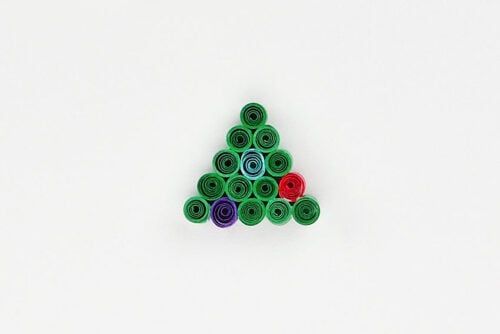
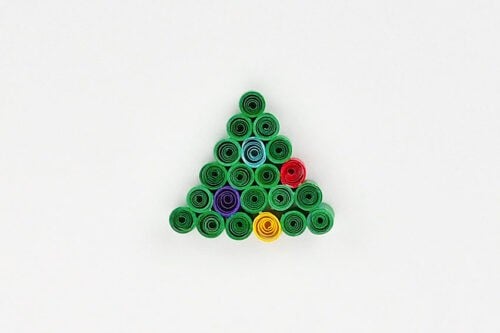
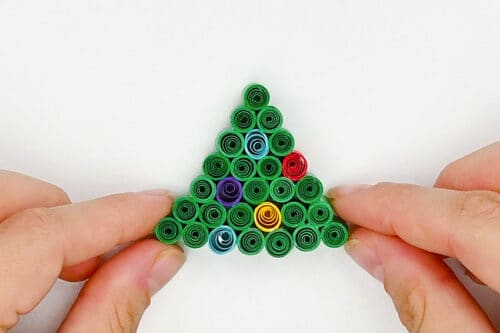
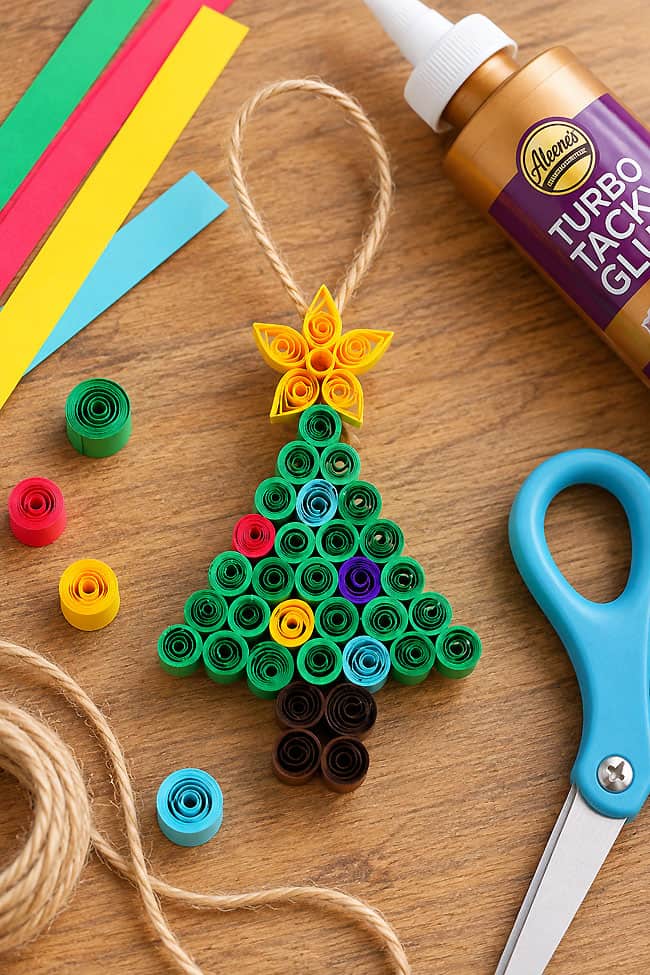
- Add tacky glue to one side of a green coil.
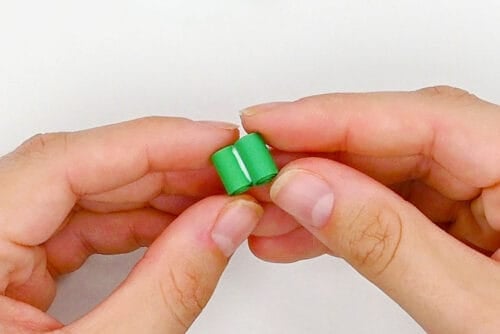
- Connect it to another coil.
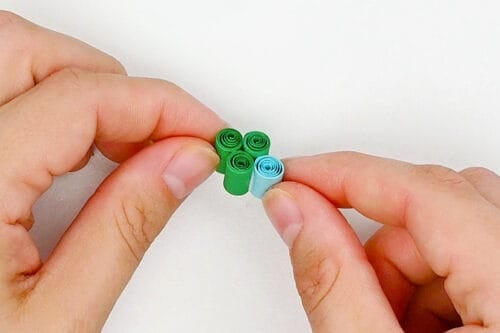
- Add glue to another coil and attach it between the first two, creating a little triangle shape.This third coil will be the top of the tree (Row 1).
- Glue a coloured coil (ornament) between the 2 coils on the other side (opposite the tree top).

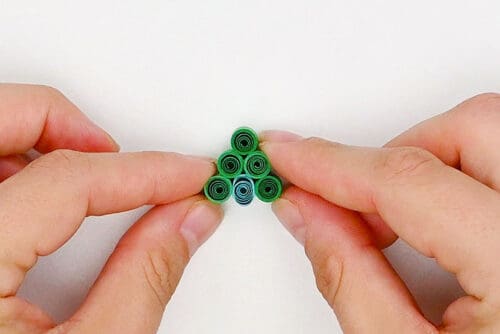
- Add 2 more green coils on either side of the ornament, creating a row of 3 coils. (Row 3)
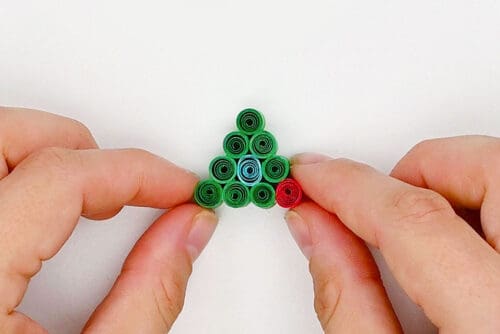
- Next will be a row of 4 coils (Row 4). Use 3 green and 1 ornament (spacing it apart from the first ornament).It’s easiest to start in the middle so you can get the spacing right. Each row will be wider than the one above it.
- Glue the next row with 4 green coils and 1 ornament. (Row 5)
- Row 6 is made with 5 green coils and 1 ornament.
- Finish off the tree with 6 green coils and 1 ornament. (Row 7)
Step 4: Add a tree trunk
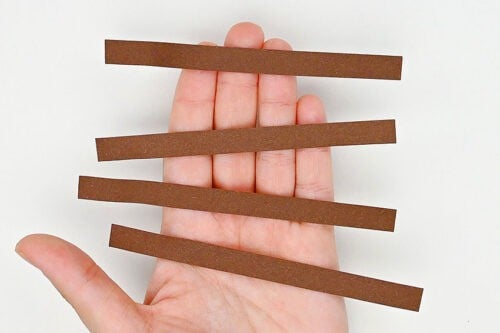
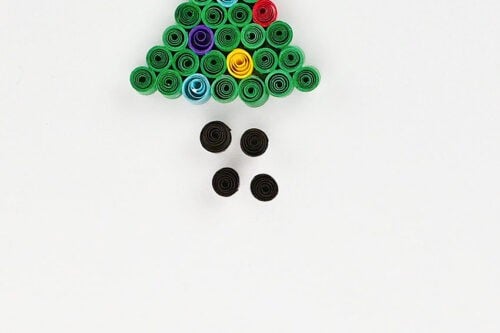
- Cut 2 pieces of brown quilling paper in half.
- Roll and glue them into 1/2 inch coils.
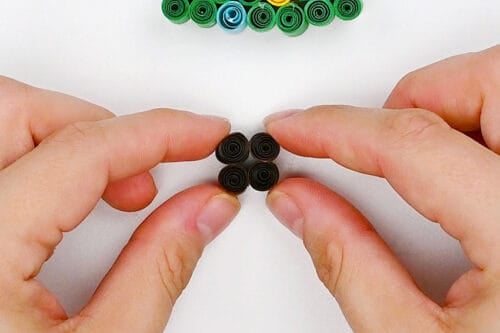
- Glue these coils together to make a square, 2 on top of the other 2.
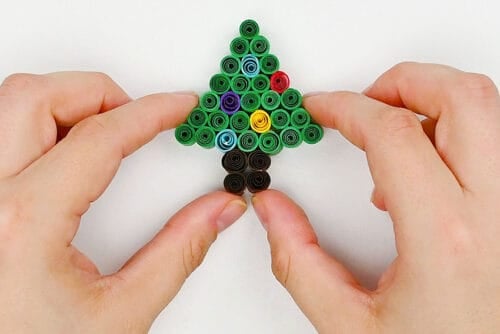
- Glue the trunk to the bottom center of the tree.
Step 5: Attach a star topper
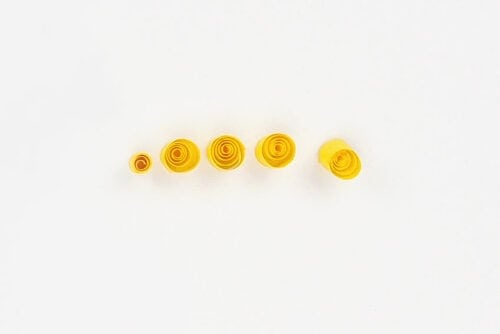
- Cut 2 pieces of yellow quilling paper into thirds, creating 6 pieces.
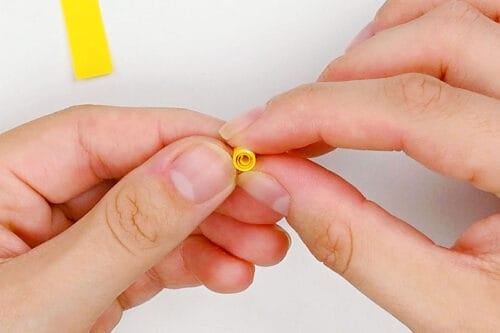
- Roll and glue one of them into a tight 1/8 inch coil.
- Make the other 5 pieces into 1/2 inch coils.
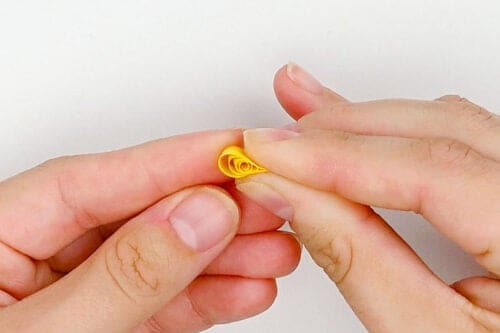
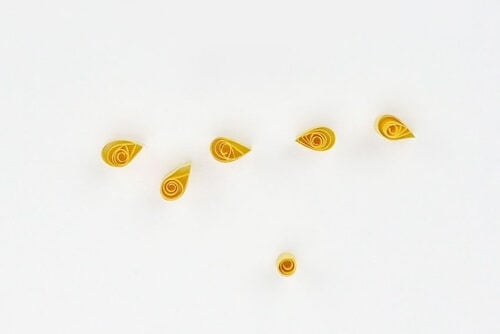
- Pinch one side of a 1/2 inch coil with your fingertips, creating a teardrop shape.
- Repeat with the rest of the 1/2 inch coils, so you have 5 teardrop coils.
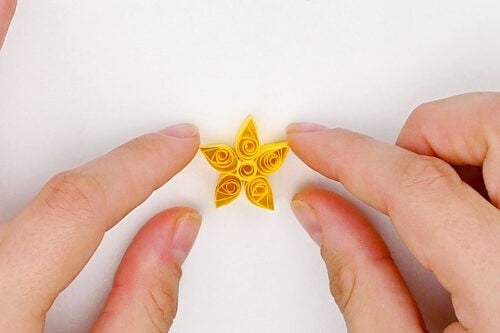
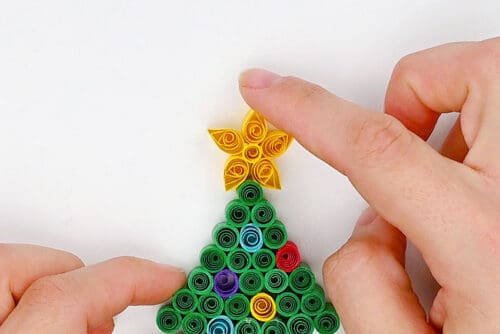
- Glue the teardrops around the small coil with the pointed edges facing out, creating a star.
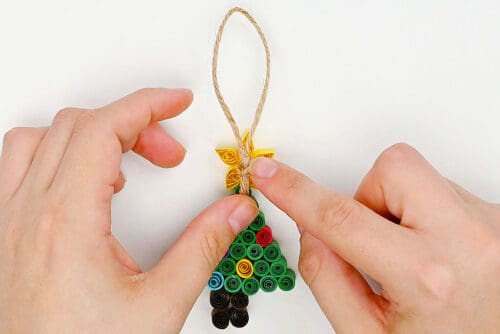
- Add glue between 2 of the teardrops and attach it to the top point of the tree.

Step 6: Add an ornament hanger
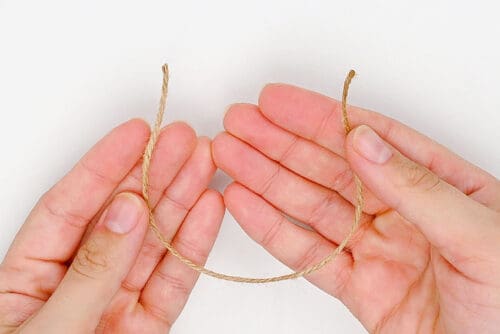
- Cut a 6 inch piece of twine
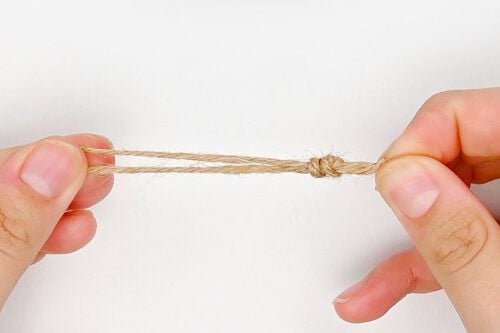
- Fold it in half and tie a knot, creating a looped ornament hanger.
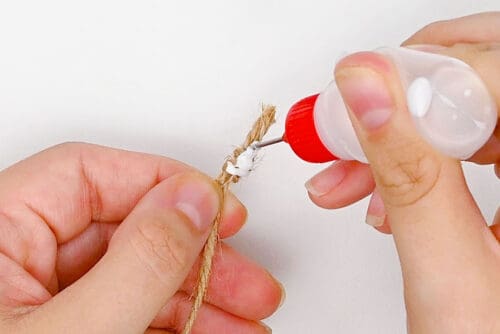
- Add a generous amount of glue to the knot.
- Press it to the back of the star and allow to dry before touching. (You can also use a small amount of hot glue to attach the hanger.)
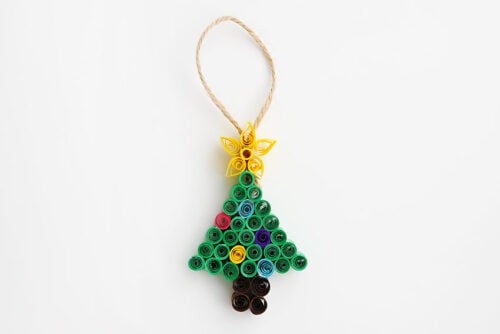
- Your paper quilling Christmas ornament is complete!
- Keep reading below for instructions to make wreath and snowflake ornaments as well!
Helpful Tips:
- Use a needle-tip glue bottle for neat results: A fine-tip applicator lets you add just a tiny amount of glue exactly where you need it, so it doesn’t seep out around the paper. You can also use a toothpick to dab on small amounts of glue.
- Turn your quilled pieces into other Christmas decorations: Instead of making ornaments, glue your finished designs to the front of handmade Christmas cards or display them in a shadow box frame. They’d also make beautiful decorations for gift tags or Christmas gift wrapping!
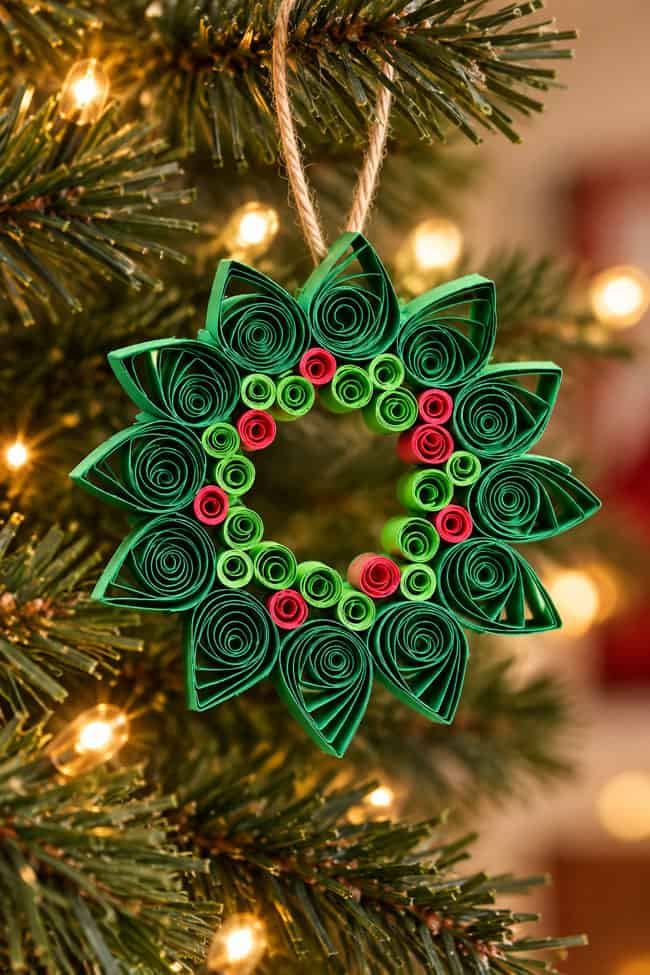
How do you make a paper quilled Christmas wreath ornament?
- Roll 12 strips of green quilling paper into loose coils measuring 3/8 inch in diameter.
- Pinch one side of each coil to create a teardrop shape.
- Glue the sides of the teardrops together to create a wreath, with the pointed ends facing out. It helps to place a small circle in the middle as a guide so you can arrange the pieces evenly around it.
- Gather 3 strips of red quilling paper and about 6 strips of light green quilling paper.
- Cut these strips into thirds and roll them into 1/4 inch coils. You’ll need at least 8 red coils and 16 light green coils.
- Glue the smaller coils around the inside of the wreath, placing them between the larger teardrop shapes. Space the red coils apart so they look like little Christmas berries!
- Attach a loop of twine to the top back of the wreath to turn it into an ornament.
How do you make a paper quilled snowflake ornament?
- Glue 2 strips of blue quilling paper together, end to end, to create one extra-long strip.
- Repeat, creating 5 more long strips (6 in total).
- Roll each long strip into a loose coil measuring 1 inch in diameter, securing the ends with glue.
- Pinch opposite sides of each coil to create a marquise (pointed oval) shape.
- Roll 6 strips of white quilling paper into 1/2 inch coils.
- Pinch opposite sides of these coils to create 6 smaller marquise shapes.
- Cut another white strip of quilling paper in half. Roll one half into a 1/2 inch coil to make the center of your snowflake.
- Glue the blue and white marquise shapes around the center coil, alternating between the two colours. It helps to arrange the 6 white shapes evenly around the center first, then fill the spaces between them with the larger blue shapes.
- Cut 2 more strips of white quilling paper into thirds. Roll all 6 pieces into small, 1/8 inch coils.
- Glue one small white coil to the outer tip of each blue marquise shape.
- Attach a loop of twine to the top back of the snowflake so it’s ready to hang on the tree!
Do I need to buy special quilling paper?
We recommend using quilling paper because it’s already cut into long, even strips, making it really convenient to work with. However, you can absolutely make your own!
We actually cut our own strips for the Christmas tree and wreath because we wanted different shades of green than the ones we had available.
Simply mark 1 cm wide sections on a sheet of coloured paper and cut them into strips. You can use a paper cutter or a ruler and craft knife to cut straight, even strips.
What special tools do I need for paper quilling?
You don’t need any special tools to make these DIY ornaments! You can use a needle or toothpick to roll the paper strips into coils, then shape them using your fingers.
However, a few inexpensive quilling tools can make the process easier. A slotted quilling tool helps you roll the paper quickly and neatly, while a quilling circle template makes it easier to create coils of identical sizes.
These paper quilling Christmas ornaments are proof that a little paper and creativity can go a long way! Once you’ve mastered a few basic quilling shapes, you’ll be amazed at all the festive designs you can dream up.
Put on some Christmas music, get cozy, and enjoy the process of creating these delicate little decorations. There’s something extra special about a Christmas tree filled with handmade ornaments, especially ones you’ve put so much love and care into making!
Here’s even more DIY Christmas ornament ideas:


Now available
Low-Mess Crafts for Kids Book
72 cute and fun crafts that kids and parents alike can enjoy. All with as little mess as possible!
Where to buy:
You can purchase Low-Mess Crafts for Kids from Amazon, or wherever books are sold:
Amazon | Barnes and Noble | Books-A-Million | Indiebound | Amazon Canada



Leave a Reply