
How to Make a Paper Quilling Christmas Tree Ornament
Follow our step-by-step photo instructions and use simple supplies to make this adorable paper quilled ornament. It's a great Christmas craft for tweens, teens, adults, and seniors.
Yield: 1 paper quilling Christmas ornament
Cost: $1
Equipment
- Sewing needle (or toothpick)
Materials
Instructions
Step 1: Find what you need
- Gather your supplies and materials.
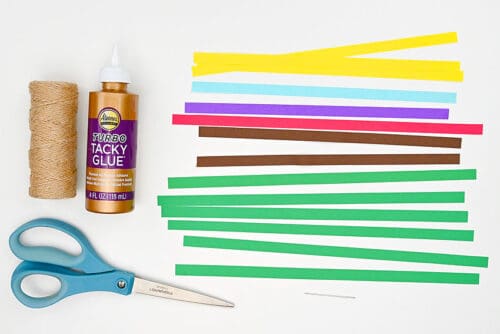
Step 2: Make the coils
- Begin by cutting a piece of green quilling paper in half.
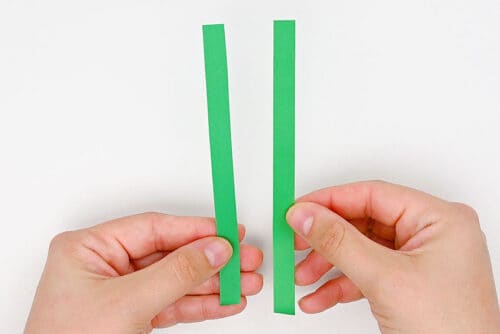
- Repeat with 11 other pieces of quilling paper so you have 24 pieces total. (We'll be using 23 of them for our tree.)

- Roll one of the paper strips into a 1/4 inch sized coil. To do this, hold a needle or toothpick on top of the paper. Roll the paper around it.Once the roll is secure you can remove the needle and continue rolling. Once the whole length is rolled, release the tension on the roll until it’s about 1/4 inch across.
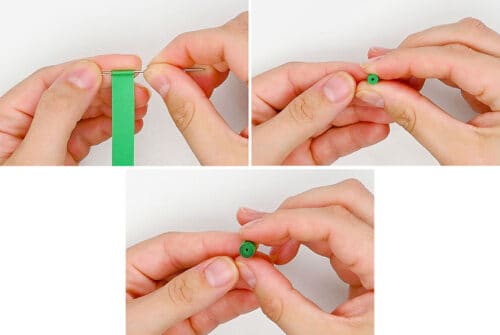
- Hold the roll and add a thin line of tacky glue to the end.

- Press the end in place and hold until the paper stays on its own.

- Repeat, making 23 green rolls.

- Now grab 3 to 4 colours of quilling paper to make ornaments.

- Cut these papers in half as well and roll them into 1/4 inch coils. You'll need 5 "ornaments" if you make the exact same design as we did.

Step 3: Assemble the tree
- Add tacky glue to one side of a green coil.
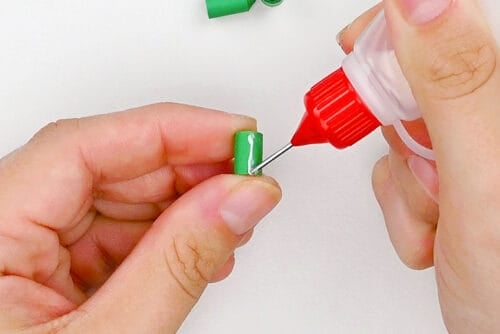
- Connect it to another coil.
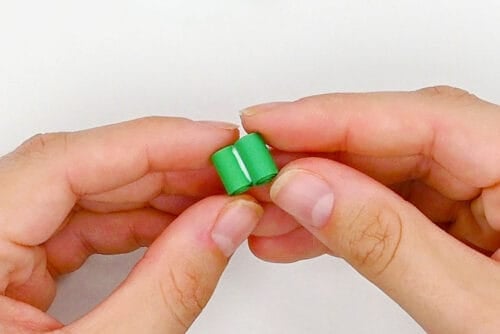
- Add glue to another coil and attach it between the first two, creating a little triangle shape.This third coil will be the top of the tree (Row 1).
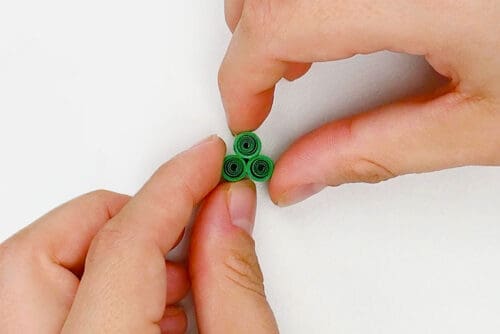
- Glue a coloured coil (ornament) between the 2 coils on the other side (opposite the tree top).

- Add 2 more green coils on either side of the ornament, creating a row of 3 coils. (Row 3)
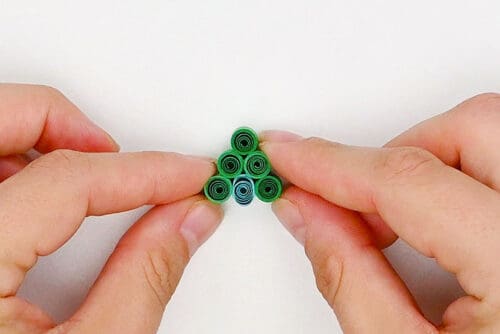
- Next will be a row of 4 coils (Row 4). Use 3 green and 1 ornament (spacing it apart from the first ornament).It's easiest to start in the middle so you can get the spacing right. Each row will be wider than the one above it.
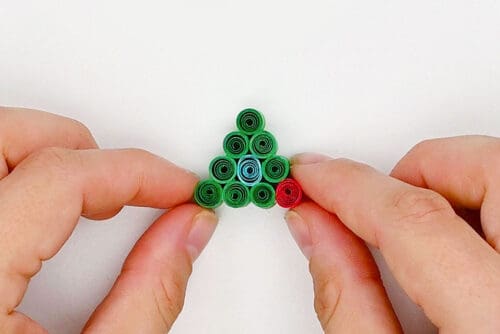
- Glue the next row with 4 green coils and 1 ornament. (Row 5)
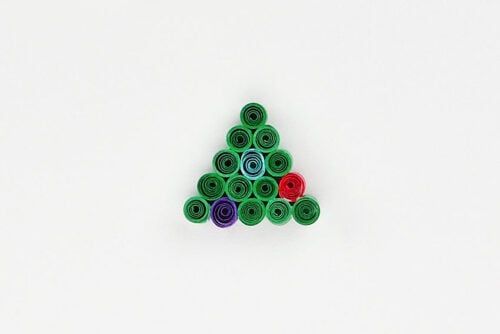
- Row 6 is made with 5 green coils and 1 ornament.
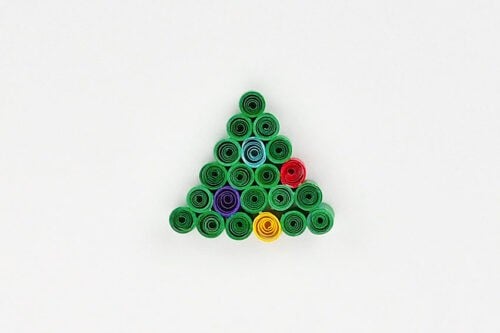
- Finish off the tree with 6 green coils and 1 ornament. (Row 7)
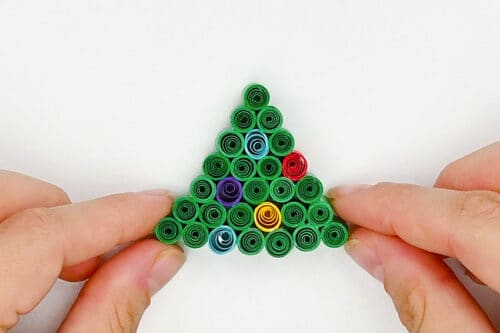
Step 4: Add a tree trunk
- Cut 2 pieces of brown quilling paper in half.
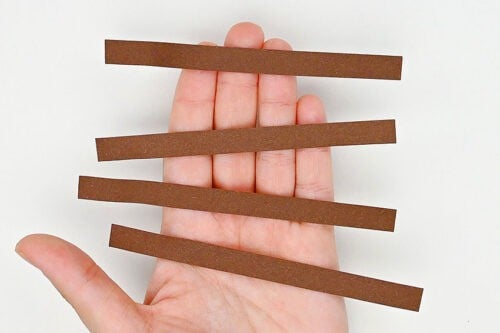
- Roll and glue them into 1/2 inch coils.
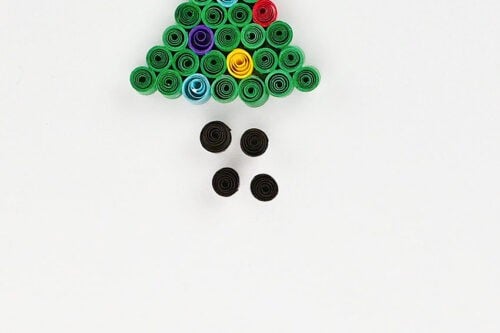
- Glue these coils together to make a square, 2 on top of the other 2.
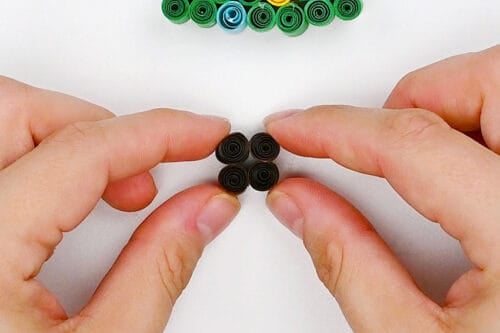
- Glue the trunk to the bottom center of the tree.

Step 5: Attach a star topper
- Cut 2 pieces of yellow quilling paper into thirds, creating 6 pieces.

- Roll and glue one of them into a tight 1/8 inch coil.

- Make the other 5 pieces into 1/2 inch coils.

- Pinch one side of a 1/2 inch coil with your fingertips, creating a teardrop shape.

- Repeat with the rest of the 1/2 inch coils, so you have 5 teardrop coils.

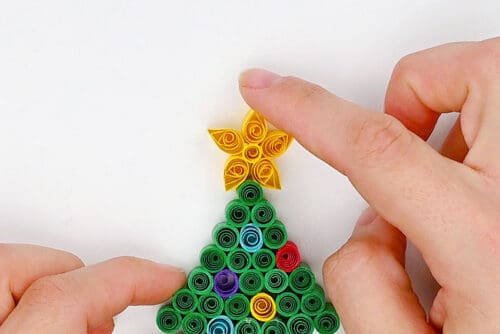
- Glue the teardrops around the small coil with the pointed edges facing out, creating a star.

- Add glue between 2 of the teardrops and attach it to the top point of the tree.
Step 6: Add an ornament hanger
- Cut a 6 inch piece of twine
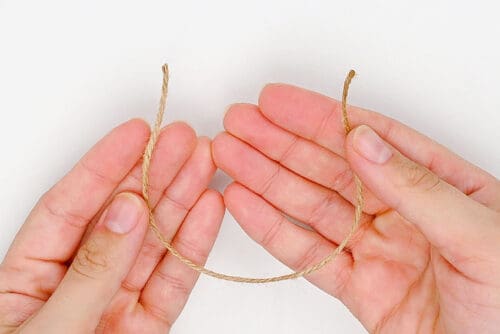
- Fold it in half and tie a knot, creating a looped ornament hanger.
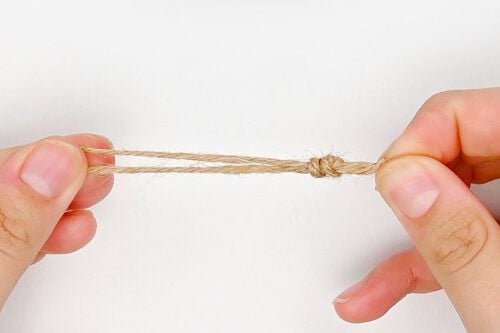
- Add a generous amount of glue to the knot.

- Press it to the back of the star and allow to dry before touching. (You can also use a small amount of hot glue to attach the hanger.)

- Your paper quilling Christmas ornament is complete!

- Keep reading below for instructions to make wreath and snowflake ornaments as well!

Notes
Looking for more paper quilling crafts? Here's a few of our favourites:
Paper Quilling Heart Cards
Cactus Paper Quilling
Paper Quilling Fireworks