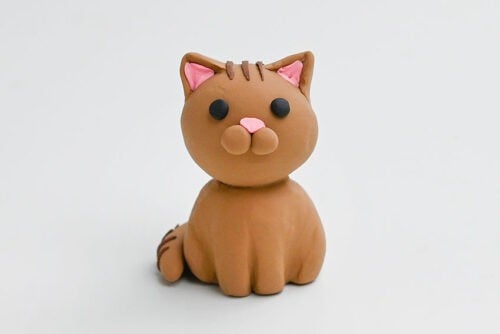
This clay cat is the cutest little polymer clay project, with a round head, tiny paws, pointy ears, and a sweet little face. It’s simple enough for beginners, but still has lots of fun details you can play around with — like stripes, a curled tail, pink inner ears, and tiny clay cheeks.
Use your favourite cat colours to make an orange tabby, grey cat, black cat, calico, or a mini version of your own pet. This polymer clay cat is fun to shape, easy to customize, and makes an adorable little handmade figurine for kids, teens, and cat lovers of all ages.

This post contains affiliate links. If you use these links to buy something, we may earn a small commission at no extra cost to you. This helps support our website and allows us to keep creating fun, free content.
How to Make a Clay Cat
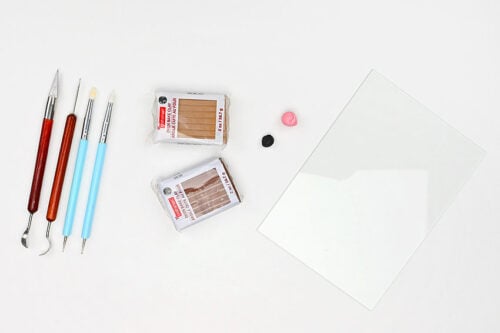
Materials:
- Polymer clay (tan, brown, black, pink)
Equipment:
- Acrylic or glass sheet (working surface)
See the craft in action:
Instructions:
Step 1: Find what you need
- Gather your supplies and materials.

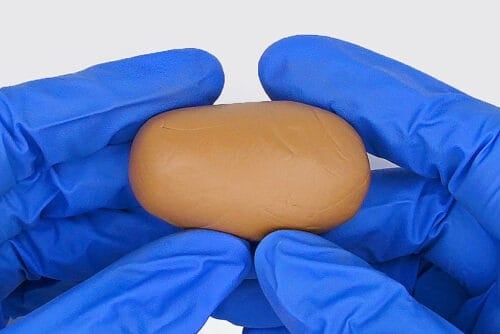
Step 2: Condition the clay
- We recommend working with gloves to prevent fingerprints on the clay. Work on a dust-free, smooth surface such as plexiglass, glass, or a silicone mat.

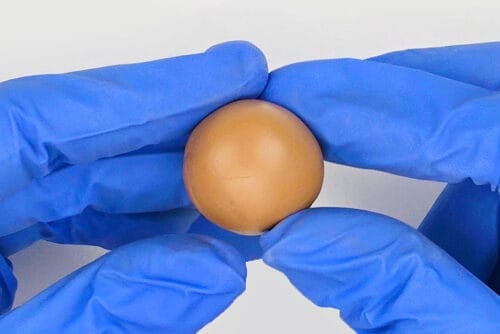
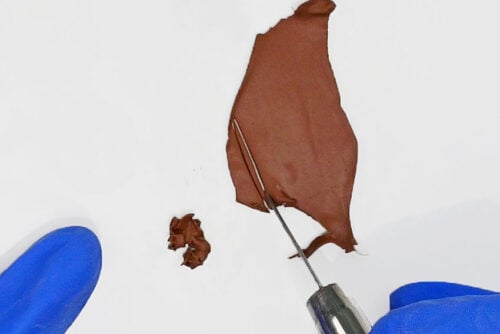
- Condition about 1 ounce of clay, using your hands to squish and roll the clay into a smooth, workable ball.
- Break the clay into 2 equal pieces, and then take a small piece off each section. One piece will be the head, one the body, and the small section will be for the cheeks, ears, and tail.

Step 3: Make the cat’s head
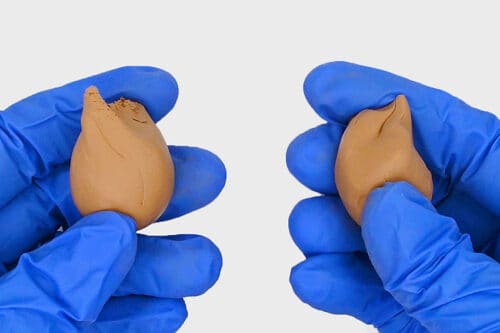
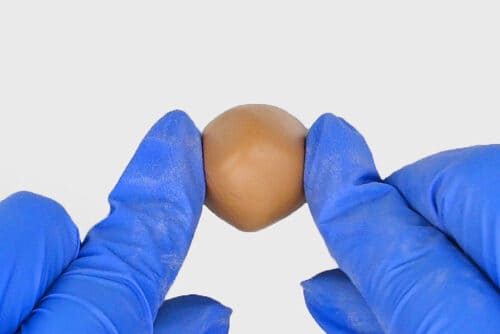
- Roll one of the larger balls into a circle, creating the cat’s head.
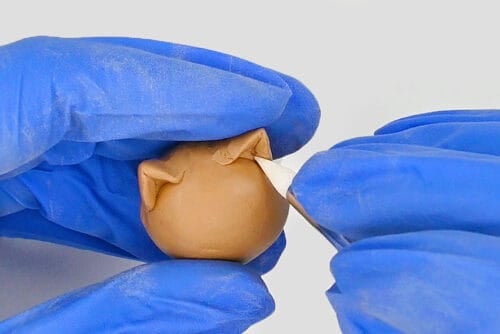
- Break off 2 pieces from the small piece of clay for the ears. Begin by rolling them into balls.
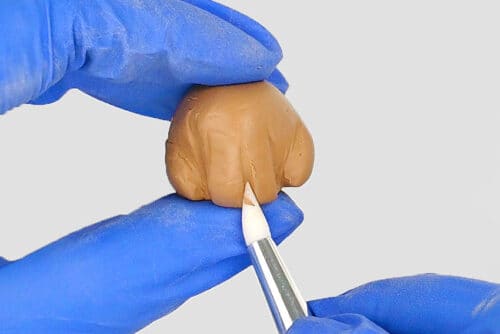
- Use your hands to shape the ears into triangles and then press a clay knife into the clay to make the ear’s indents.
- Attach the ears to the top of the head and use a silicone brush to connect them, smoothing out the clay.
- Roll out another 2 small balls.
- Attach them to the front of the cat’s face for the muzzle (or “cheeks”).

Step 4: Make the cat’s body
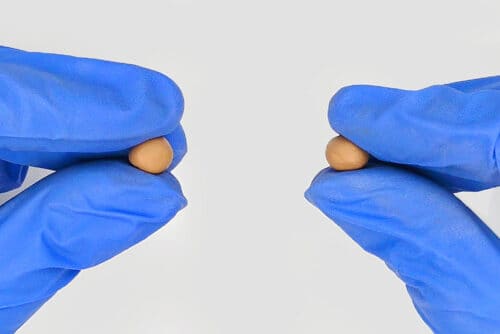
- Roll the other large clay piece into a ball. Then place it onto your working surface to flatten the bottom and shape it into the cat’s body, where it’s a bit smaller close to the top.
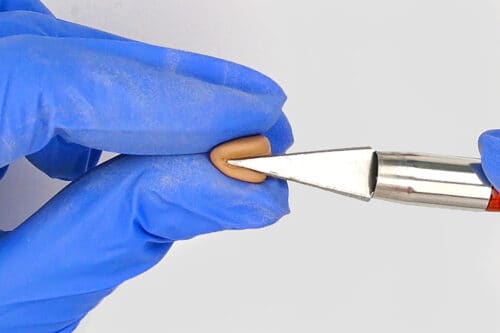
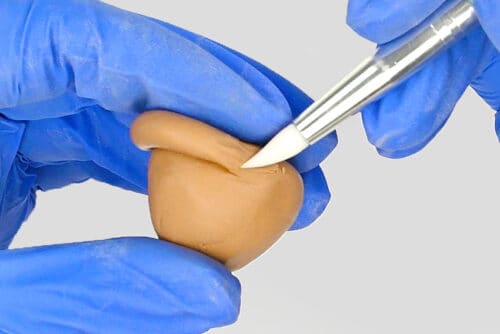
- Use the silicone brush to sculpt lines into the front and sides of the body for the cat’s legs.“Carve” a rounded hind leg into each side, and make the front legs by pressing a vertical line on the front that goes about 3/4 of the way up.
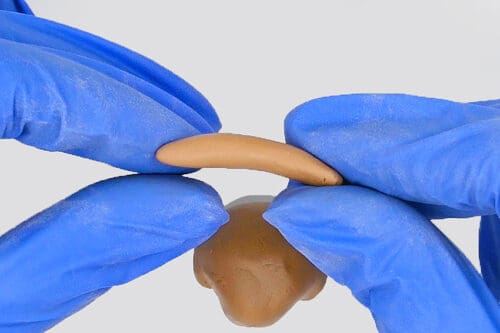
- Roll the rest of the clay into a coil (or “snake”) for the cat’s tail.
- Attach the tail to the center bottom of the cat’s back and have it wrap around one side of the body. Use a silicone brush to smooth the base of the tail into the body.
Step 5: Add the head and create the face details
- Attach the head to the body, pressing it down without distorting it too much. Then use a silicone brush to smooth the connection, helping it stay in place.
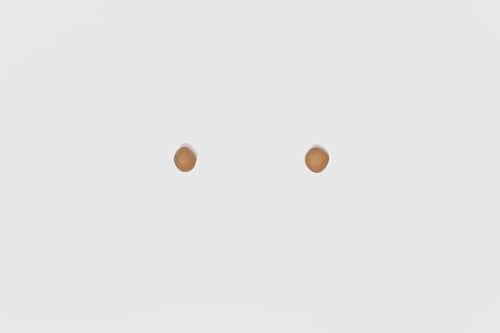
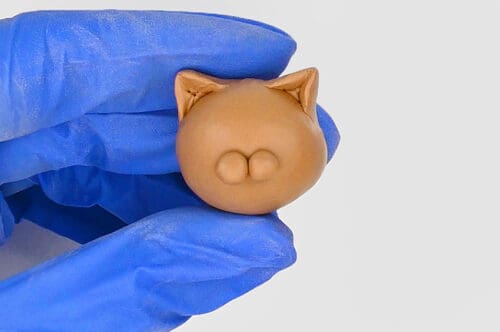
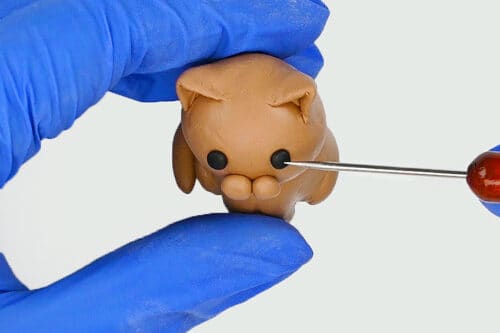
- Make 2 small balls from conditioned black clay. Flatten them and press them on for the cat’s eyes. Use a needle tool to help press them on.
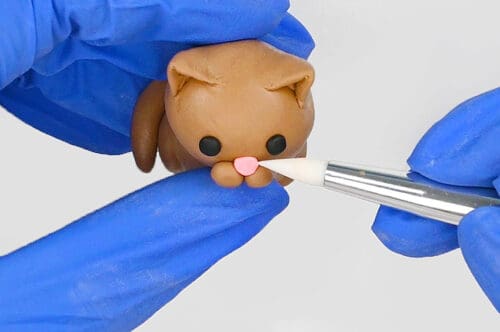
- Make a small triangle with conditioned pink clay for the cat’s nose. Place it at the top center of the muzzle and use a silicone brush to shape it and press it into place.
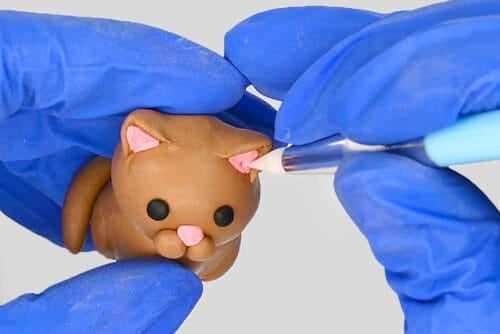
- Then form 2 tiny pieces of pink clay for the inner ears. Use the silicone brush to press them into the ears, smoothing out the clay.
Step 6: Add the last details and bake
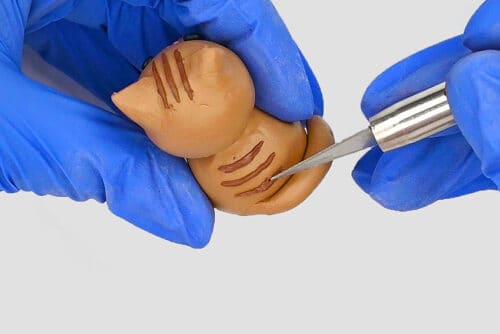
- If you want to add spots, stripes, or other details to your cat, choose a complementary colour of clay. Condition it and roll it out.
- Use a clay knife to cut out the pieces.
- Then press them onto the cat using the knife to place them and keep them in shape.
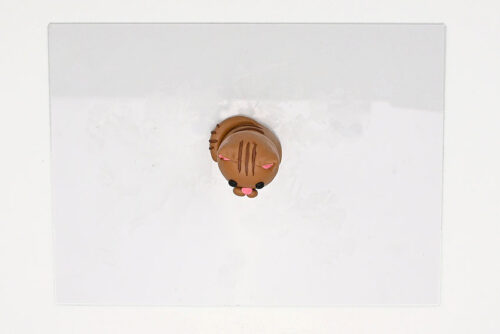
- Once you’re happy with your cat’s design, it’s time to bake it! Place it on a parchment lined baking tray and bake in the oven according to package directions.Our clay recommends 275F for 15 minutes per 1/4 inch thickness.
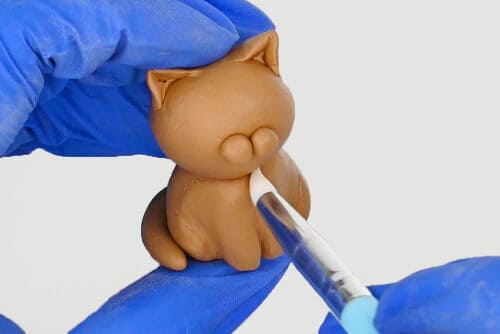
- Your clay cat is complete!
- Have fun making cats in different sizes, or using different colours and patterns.

Helpful Tips:
- Condition the clay before you start shaping: Knead each colour of polymer clay until it feels smooth, soft, and easy to roll. This makes it easier to shape the pieces of the cat.
- Keep your hands and work surface clean: Polymer clay picks up dust, lint, and tiny crumbs really easily, especially lighter colours. Wipe your work surface and wash your hands or switch gloves before switching colours.

What type of clay is best for making a clay cat?
Polymer clay works best for this clay cat craft for several reasons. It comes in a lot of colours, it holds small details well, and becomes firm after baking for a short time.
Air dry clay will definitely work for this craft too. You’ll need to wait a couple days for the cat to dry, and then, since most modeling clay comes in white, you’ll have to paint it with acrylic paint to add the colour details.

How do I bake a polymer clay cat?
Bake your polymer clay cat according to the directions on the clay package, since the time and temperature can vary by brand. Place the cat on parchment paper, a ceramic tile, or another oven-safe surface, and let it cool completely before touching it.
Make sure the clay pieces are pressed together securely before baking so the ears, tail, paws, and face details stay attached.
Do I need to seal my polymer clay cat?
No, polymer clay doesn’t need to be sealed after baking. Once it’s baked and cooled, the clay is already waterproof.
But if you want a shiny finish for your cat you can add a polymer clay-safe glaze or varnish, like Sculpey gloss glaze. Sealers like polycrylic or UV resin are also good choices.

How can I make my clay cat look like my own pet?
First, choose a base clay colour that matches your cat’s fur. You may want a couple of main colours, depending on your cat’s pattern.
You can use clay sculpting tools to add little details like stripes, spots, and patches. Look at your cat and decide what details to add — like a white belly or a coloured tail tip. Choose the right colour for the eyes and nose, and then shape the ears, tail, and body position to look more like your cat.
For an extra cute touch, add a matching clay collar or name tag. You can even make accessories for your clay cat, like a food bowl, water fountain, or their favourite toy.

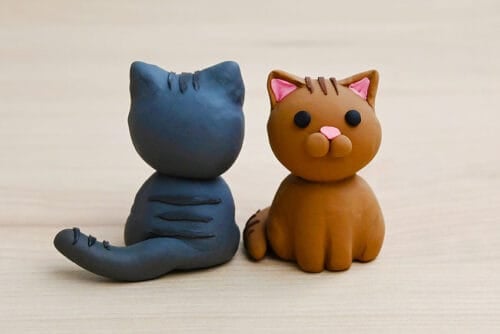
These clay cats are small, simple, and full of personality. They’re exactly the kind of project that’s fun to make more than once. Change the face, tail shape, ear size, or add different clay markings, and suddenly each cat has its own look!
Make a tiny cat family in different colours and display your finished polymer clay cats on a shelf, desk, or windowsill. It’s a cute handmade craft for cat lovers, and a fun way to turn a few pieces of clay into something adorable.
Here’s even more cat craft ideas:


Now available
Low-Mess Crafts for Kids Book
72 cute and fun crafts that kids and parents alike can enjoy. All with as little mess as possible!
Where to buy:
You can purchase Low-Mess Crafts for Kids from Amazon, or wherever books are sold:
Amazon | Barnes and Noble | Books-A-Million | Indiebound | Amazon Canada


Leave a Reply