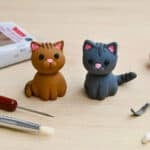
How to Make a Clay Cat
This clay cat is truly adorable! Have fun making a tiny polymer clay cat in your favourite colours and patterns. You can use simple tools and shapes to create a super cute cat that looks great on your shelf and makes a fun personalized homemade gift.
Yield: 1 clay cat
Cost: $1
Equipment
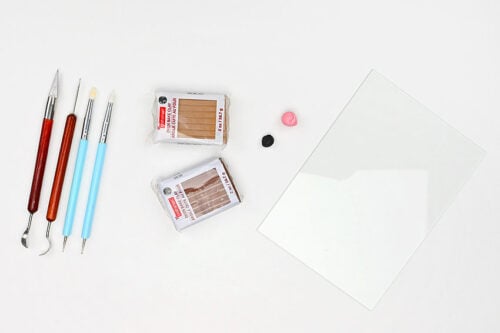
- Acrylic or glass sheet (working surface)
Materials
- Polymer clay (tan, brown, black, pink)
Instructions
Step 1: Find what you need
- Gather your supplies and materials.
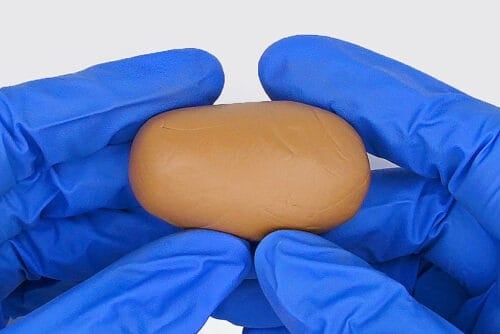
Step 2: Condition the clay
- We recommend working with gloves to prevent fingerprints on the clay. Work on a dust-free, smooth surface such as plexiglass, glass, or a silicone mat.

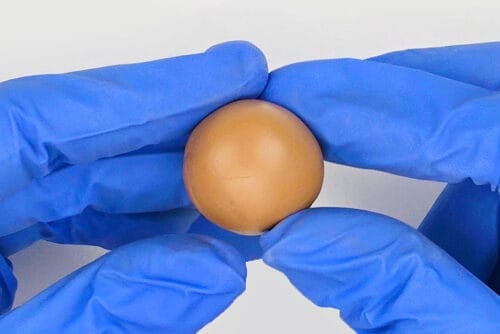
- Condition about 1 ounce of clay, using your hands to squish and roll the clay into a smooth, workable ball.
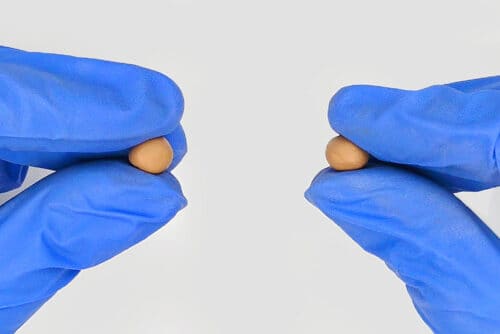
- Break the clay into 2 equal pieces, and then take a small piece off each section. One piece will be the head, one the body, and the small section will be for the cheeks, ears, and tail.
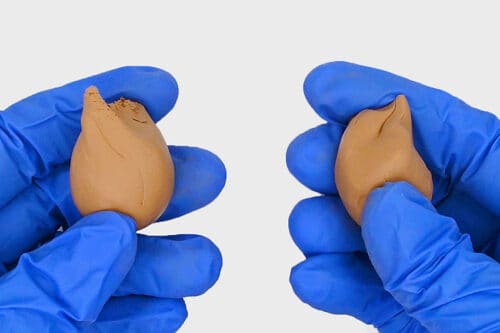
Step 3: Make the cat's head
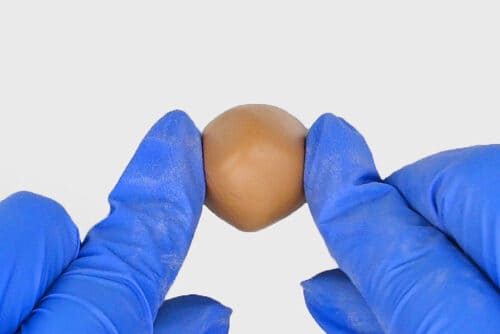
- Roll one of the larger balls into a circle, creating the cat's head.
- Break off 2 pieces from the small piece of clay for the ears. Begin by rolling them into balls.
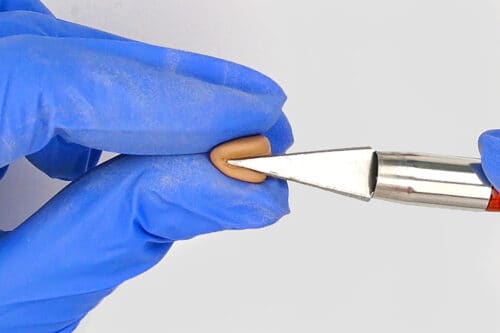
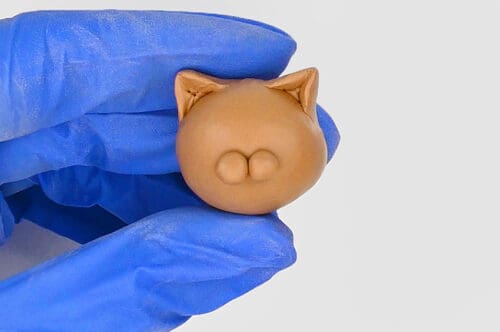
- Use your hands to shape the ears into triangles and then press a clay knife into the clay to make the ear's indents.
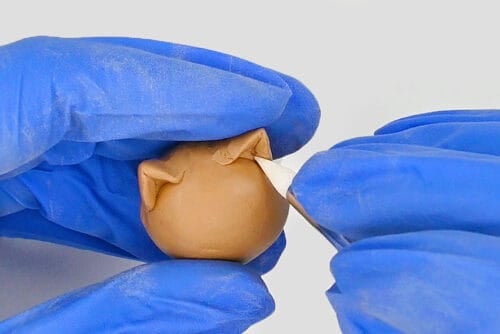
- Attach the ears to the top of the head and use a silicone brush to connect them, smoothing out the clay.
- Roll out another 2 small balls.
- Attach them to the front of the cat's face for the muzzle (or "cheeks").
Step 4: Make the cat's body
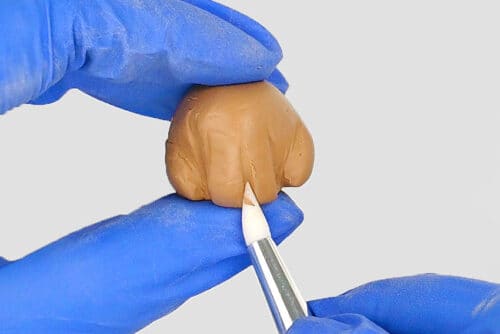
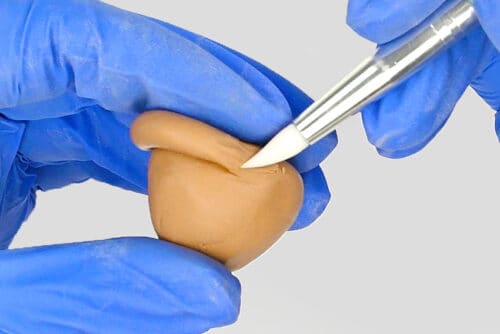
- Roll the other large clay piece into a ball. Then place it onto your working surface to flatten the bottom and shape it into the cat's body, where it's a bit smaller close to the top.
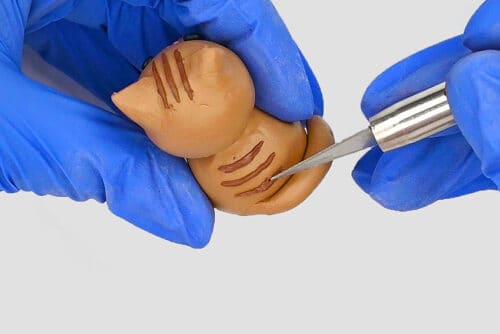
- Use the silicone brush to sculpt lines into the front and sides of the body for the cat's legs."Carve" a rounded hind leg into each side, and make the front legs by pressing a vertical line on the front that goes about 3/4 of the way up.
- Roll the rest of the clay into a coil (or "snake") for the cat's tail.
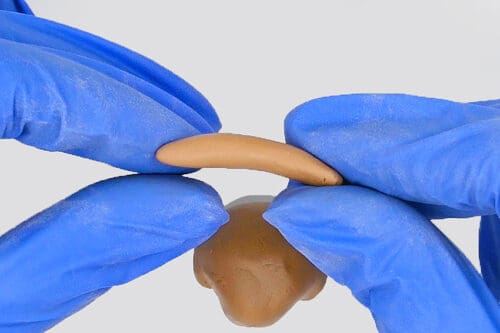
- Attach the tail to the center bottom of the cat's back and have it wrap around one side of the body. Use a silicone brush to smooth the base of the tail into the body.
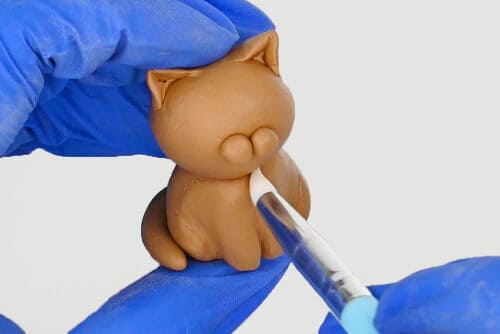
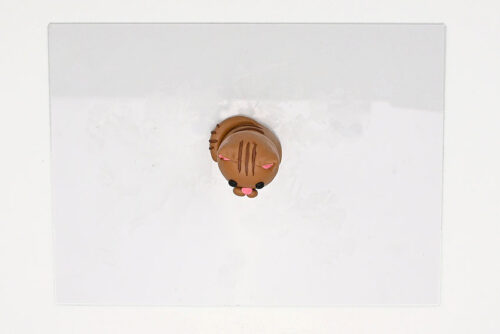
Step 5: Add the head and create the face details
- Attach the head to the body, pressing it down without distorting it too much. Then use a silicone brush to smooth the connection, helping it stay in place.
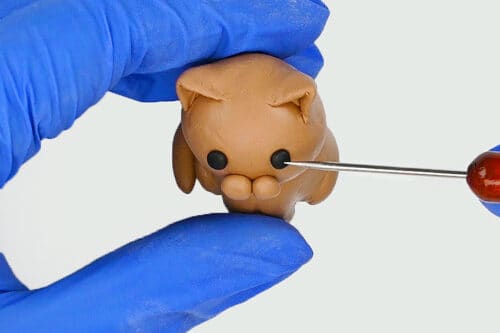
- Make 2 small balls from conditioned black clay. Flatten them and press them on for the cat's eyes. Use a needle tool to help press them on.
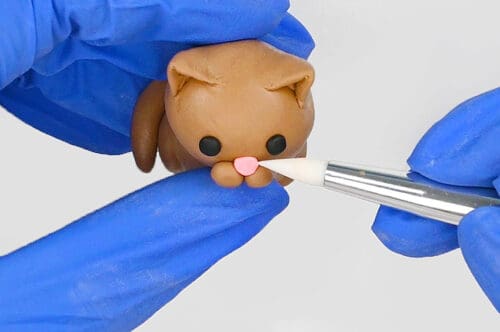
- Make a small triangle with conditioned pink clay for the cat's nose. Place it at the top center of the muzzle and use a silicone brush to shape it and press it into place.
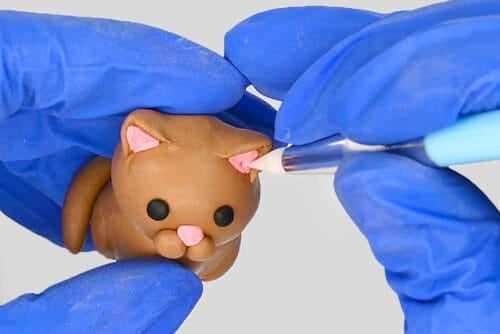
- Then form 2 tiny pieces of pink clay for the inner ears. Use the silicone brush to press them into the ears, smoothing out the clay.
Step 6: Add the last details and bake
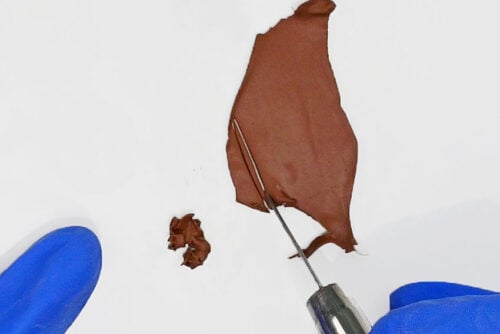
- If you want to add spots, stripes, or other details to your cat, choose a complementary colour of clay. Condition it and roll it out.

- Use a clay knife to cut out the pieces.
- Then press them onto the cat using the knife to place them and keep them in shape.
- Once you're happy with your cat's design, it's time to bake it! Place it on a parchment lined baking tray and bake in the oven according to package directions.Our clay recommends 275F for 15 minutes per 1/4 inch thickness.
- Your clay cat is complete!
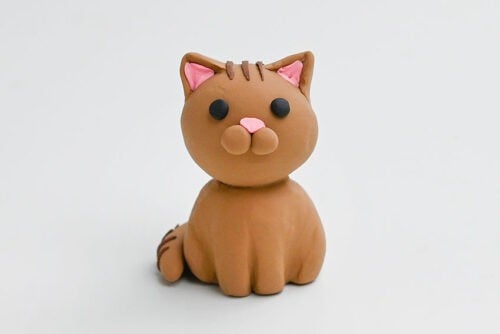
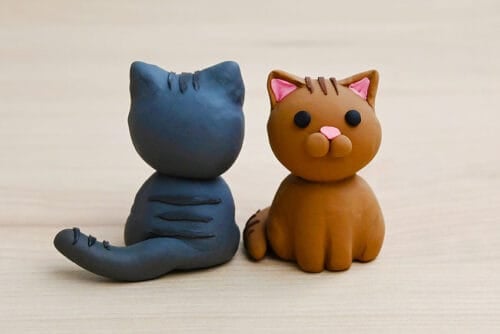
- Have fun making cats in different sizes, or using different colours and patterns.
Video
Notes
Looking for more cute clay crafts? Here's a few of our favourites:
How to Make a Clay Penguin
DIY Clay Cactus
Mini Clay Pies