
Add a touch of handmade charm to your holidays with these beautiful pine cone angels! Made with natural pine cones, soft yarn hair, and shimmering ribbon wings, they’re simple to make but look wonderfully elegant.
This Christmas craft is perfect for teens and adults who love glittery holiday accents. Customize your angel with different metallic shades, and use them as ornaments, mantel decor, or handmade gifts. Wherever you place them, these DIY pine cone angels are sure to bring a warm, rustic glow to your holiday celebration!

This post contains affiliate links. If you use these links to buy something, we may earn a small commission at no extra cost to you. This helps support our website and allows us to keep creating fun, free content.
DIY Pine Cone Angels
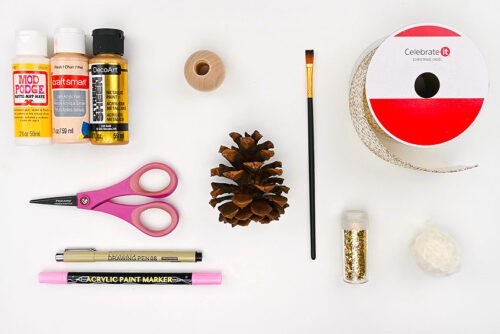
Materials:
- Pinecone
- Metallic acrylic paint (gold)
- Matte Mod Podge
- Glitter (gold, to match paint)
- Wood beads (1-1/2 inch)
- Acrylic paint (skin tone)
- Black fine tip marker (0.5mm)
- Acrylic paint markers (pink)
- Yarn (neutral hair colour)
- Metallic pipe cleaner(s) (gold)
- Gold wired ribbon (2-1/2 inches wide)
Equipment:
Instructions:
Step 1: Find what you need
- Gather your supplies and materials.

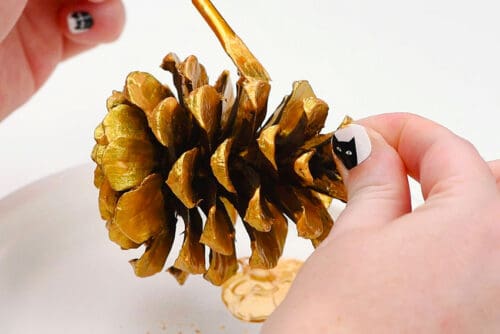
Step 2: Decorate the pine cone
- Paint the tips and top of each “petal” of the pine cone with gold acrylic paint (or another metallic colour). Allow to dry.
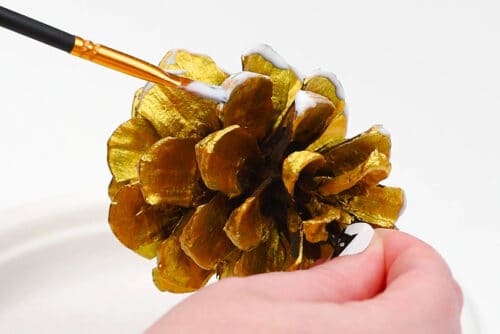
- Then, once the paint is completely dry, add Mod Podge just to the edges of each petal.
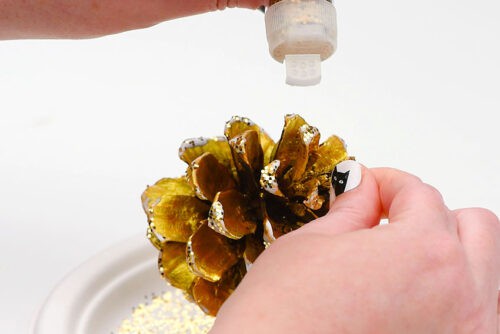
- Sprinkle gold glitter over the Mod Podge, making sure it gets well covered. Allow to dry again.
Step 3: Make the angel’s head and halo
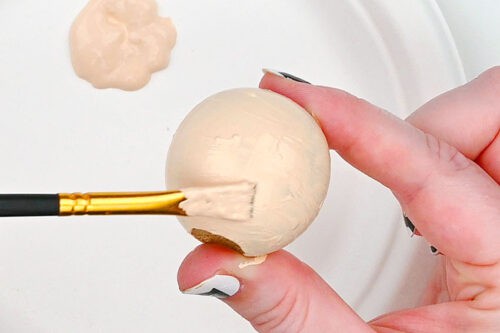
- Paint a wooden bead the flesh tone of your choice.Once we painted most of the bead we found it helpful to stick it on our pinkie finger. This allows you to get all the way around without smudging the paint near the edges.Allow to dry.

- Draw eyes and a mouth with a fine tipped black marker or drawing pen. Then use a pink paint pen or marker to add 2 rosy cheeks.
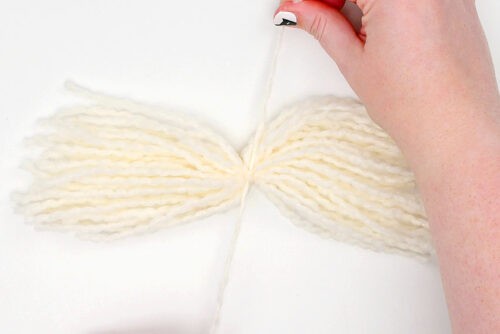
- Cut 30 strands of yarn to be about 9 inches long. Use another piece of yarn to tie a double knot in the middle, creating the angel’s hair.(This creates a generous amount of hair. Use less strands if you want a finer look.)
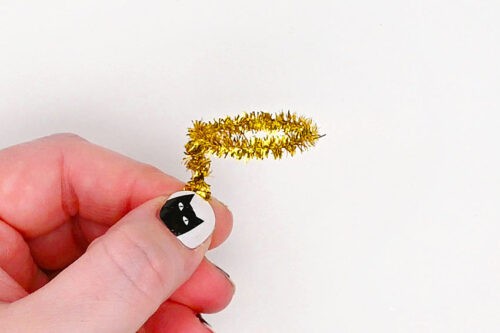
- Form a circle with a gold pipe cleaner (we wrapped it around our glitter container, but you can also form it yourself).Secure the circle with a few wraps, and cut off the excess, leaving a straight section at least 1/2 inch long. Bend it at a 90 degree angle to the circle to create the angel’s halo.
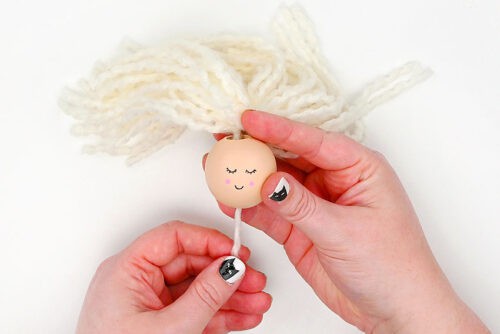
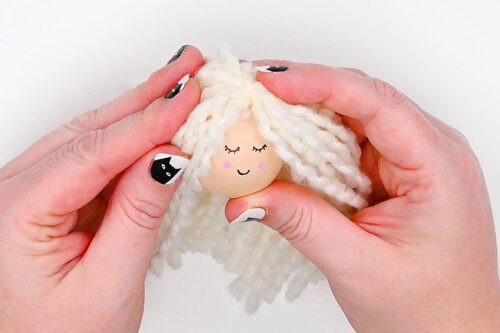
- Attach the hair to the head by pulling the tied strands down through the bead.
- Use hot glue at the top of the head and at the base of the bead to keep the hair in place. Cut off the excess yarn at the base so it doesn’t stick out of the head.
- Then add glue to the sides of the head and gently press the hair down so it sits where you’d like.
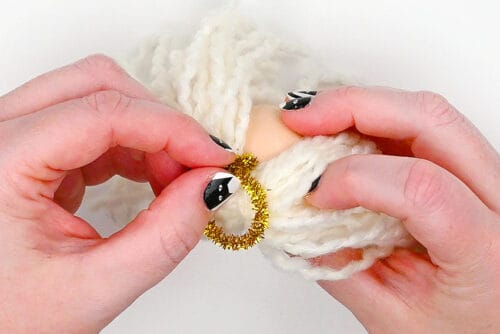
- Add the halo to the head by pushing the hair to the side and adding some glue into the bead hole.Stick the end of the halo into it and adjust it so it’s straight and centered. Then push the hair back around it.


Step 4: Create the wings
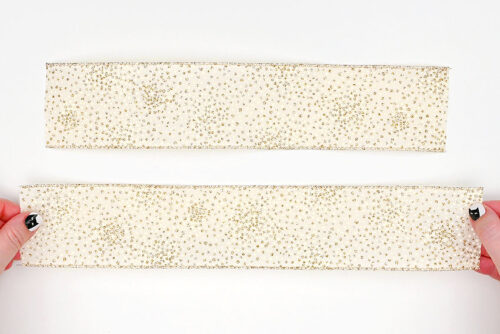
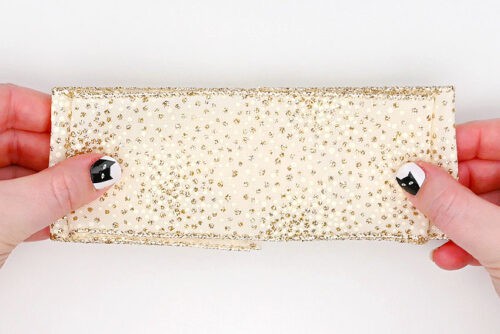
- For the angel’s wings, cut 2 pieces of wired ribbon, one 12 inches and another 14 inches.
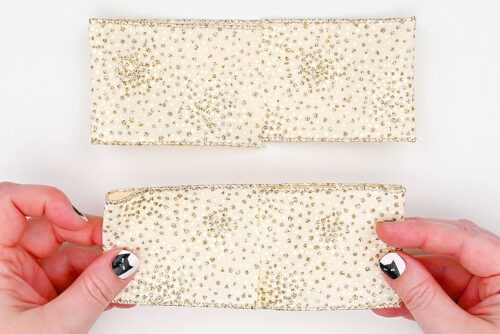
- On both pieces, fold the edges in to the middle, so that the good sides face outwards.
- Then set the smaller piece on top of the larger, with the open edges on the inside.
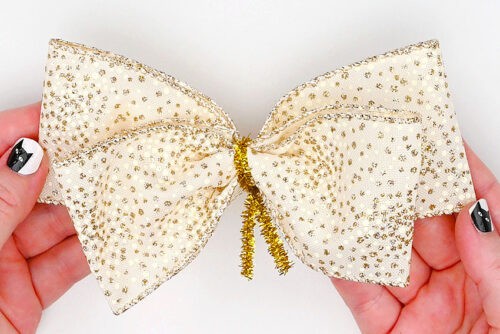
- Pinch the ribbons together in the middle and secure the “bows” with the rest of the gold pipe cleaner. Pull the edges of the smaller bow down.Make sure you’ve left at least 1/2 inch of pipe cleaner sticking out on the front of the bow (the side with the shorter “bow” in front).
Step 5: Assemble the angel
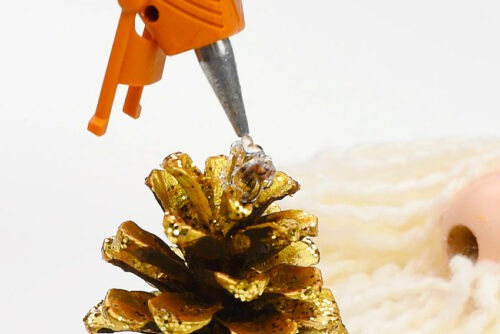
- Decide what “side” of the pinecone will be the front of the angel. Then add a generous amount of glue to the top of the pinecone.
- Place the angel head on top of the pinecone, adjusting it at the proper angle and holding it in place for a moment while the glue dries.
- Figure out where the wings will sit and add glue to the back of the pine cone. Stick the pipe cleaners into the pinecone, between the petals, and press the wings down until they stay in place.
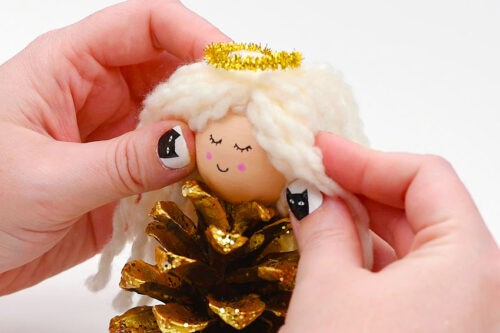
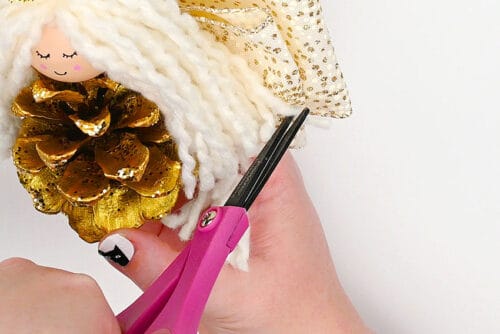
- Separate the hair so some is at the front and some is at the back. Then trim the ends so they’re nice and even.
- Then add glue to the back of the head, pressing the hair down gently so it stays in place and the bead doesn’t show through.
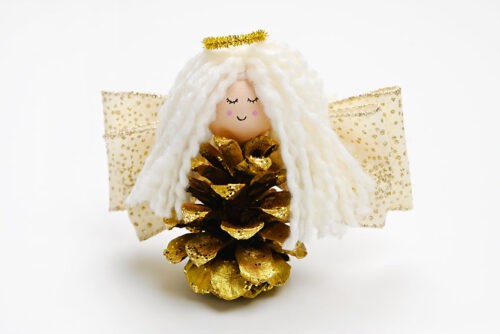
- Your pine cone angel is complete!


Helpful Tips:
- Work out of order: The steps above are grouped by section (body, head, wings, etc.), but it actually makes sense to jump around. For example, make the hair and wings while the pine cone and wood bead are drying.
- Adjust for size: These angels were made using large pine cones from Michaels. If your pine cones are smaller, scale down the bead size and ribbon width for the best proportions.
- Glue the hair carefully: Separate the yarn hair into front and back sections before gluing, and secure it where you’d like it to sit. This ensures the wood bead doesn’t show through.

How do you make yarn hair for pine cone angels?
The hair in our video uses a naturally wavy yarn, which gives the angels a soft, textured look. You can also separate thicker yarn into two or three thinner strands to create a wavy, lightweight effect. This takes a little patience, but the result is gorgeous!
For longer hair, you can wrap yarn around a book or piece of cardboard, then cut along one side, rather than cutting piece by piece. And if you’d like realistic doll-style hair, comb out the yarn and gently straighten it with a hair straightener on a low setting.

What should I use to make the pine cone angel wings?
We used 2-1/2 inch wired ribbon with a hint of gold glitter for an elegant holiday look, but there are so many options to try! Tulle works beautifully, especially when layered or used in gold tones, while lace creates a more delicate, vintage feel.
For a natural, rustic style, raffia looks lovely. You can also cut wings from glittery scrapbook paper or even make them from pipe cleaners, like we did for our pipe cleaner angel craft.

Where can I get pinecones to make this angel craft?
You can gather pine cones on a nature walk in your neighbourhood or local park — just be sure to clean and dry them to remove any dirt or insects.
For a simpler option, craft stores and online shops often sell pre-cleaned or lightly scented pine cones, which adds a nice holiday touch. Try to choose large, nicely shaped cones (around 3 to 4 inches tall) that can stand upright.

These pine cone angels are a wonderful mix of creativity and Christmas charm. They’re the kind of handmade project that feels both relaxing and rewarding to make.
Whether you’re crafting them as gifts, ornaments, or keepsakes, each little angel adds a touch of warmth and meaning to the season. With their natural textures, soft yarn hair, and glittery wings, they capture that magical holiday feeling that makes homemade decor so special!
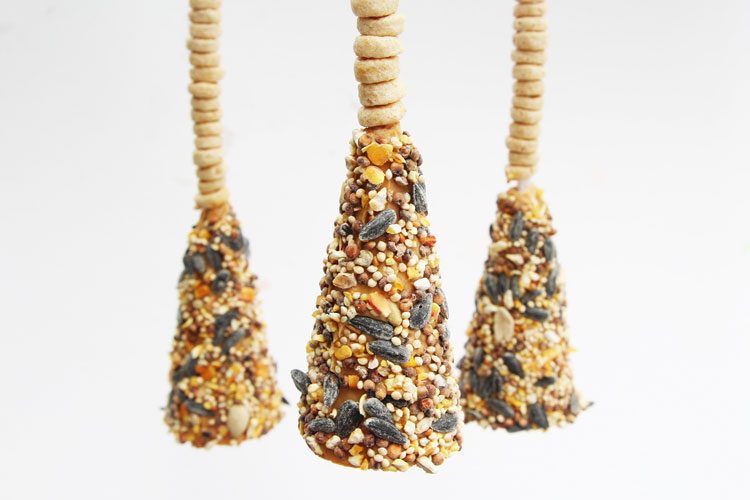
Here’s even more pine cone craft ideas:


Now available
Low-Mess Crafts for Kids Book
72 cute and fun crafts that kids and parents alike can enjoy. All with as little mess as possible!
Where to buy:
You can purchase Low-Mess Crafts for Kids from Amazon, or wherever books are sold:
Amazon | Barnes and Noble | Books-A-Million | Indiebound | Amazon Canada


Leave a Reply