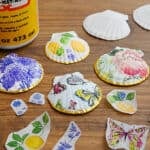
How to Make Decoupage Shells
These decoupage shells are incredibly easy to make, but they turn out so beautiful! Use simple craft supplies to make this fun and pretty beach craft, perfect for kids of all ages and adults.
Yield: 1 decoupage shell
Cost: $1
Equipment
Instructions
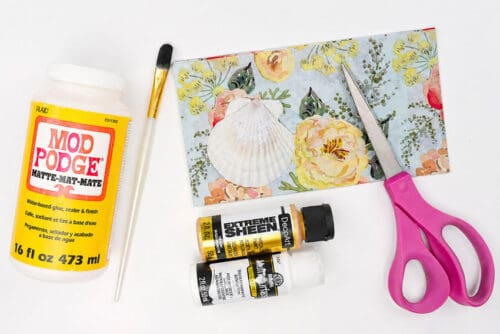
Step 1: Find what you need
- Gather your supplies and materials.
Step 2: Cut a piece of napkin and prepare the shell
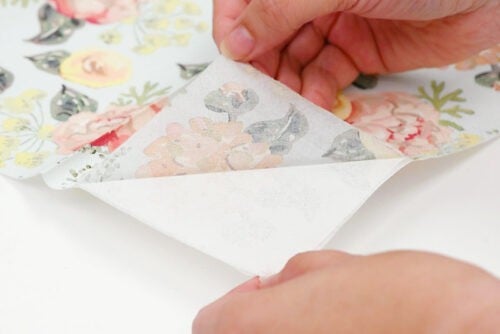
- Peel off the top patterned layer of the napkin. You'll only be using this single ply when decoupaging.
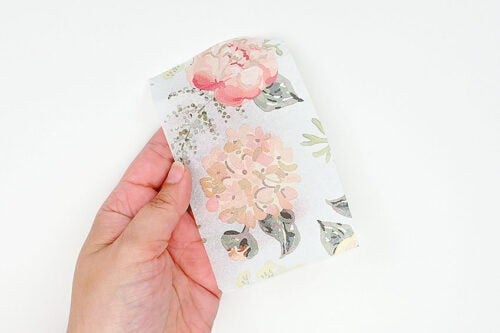
- Then cut the napkin so it's just a bit bigger than your seashell.
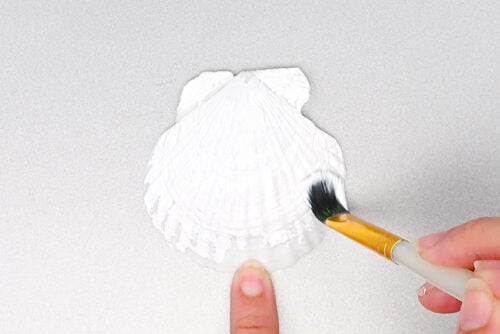
- Optional: Decide what part of the shell you're going to decoupage and add a white base coat of paint to that part of the shell (the inside or the outside).This is important for darker or patchy looking shells so the napkin pattern shows nicely.
Step 3: Decoupage the seashell
- Once the paint is dry, use a brush to apply a thin coat of Mod Podge.
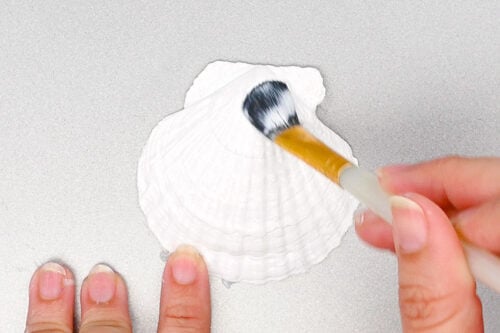
- Set the napkin on top of the Mod Podge and press it down gently.
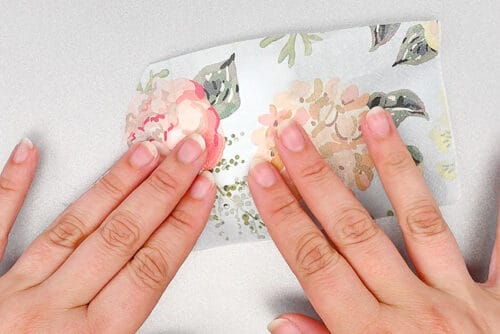
- Use your paintbrush to really adhere the napkin to the shell. Brush gently and try to keep the napkin as smooth as possible.
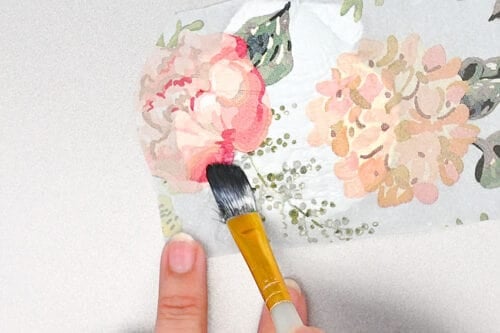
- Add more Mod Podge on your brush and smooth down the napkin at the edge of the shell.
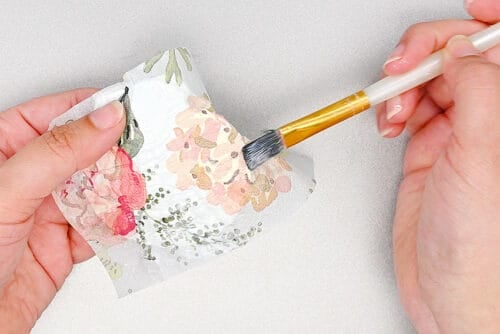
- Once the napkin is nicely stuck down you can rip off the excess around the edge.Another option is to wait for the Mod Podge to dry and then use a nail file to smooth out the napkin at the edge of the shell.
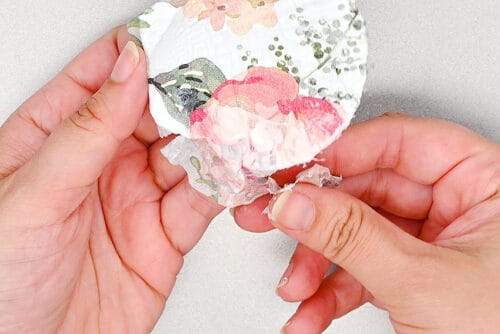
- If you've ripped off the napkin use your brush to make sure the edge of the napkin is nicely smoothed down. Allow to dry.
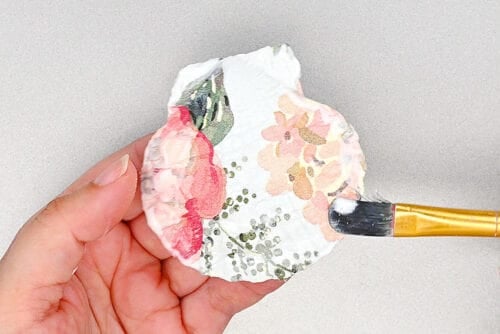
Step 4: Add a gold border
- Paint a line of gold acrylic paint around the edge of the shell. Allow to dry.
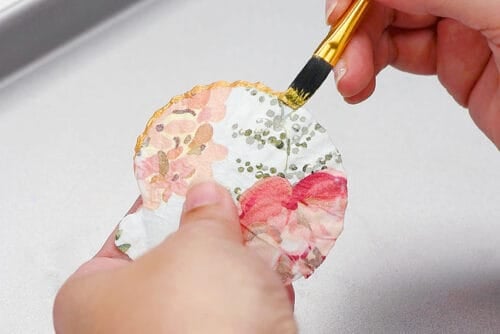
- Your decoupage shell is complete!
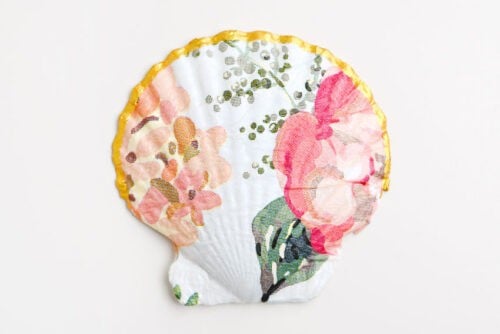
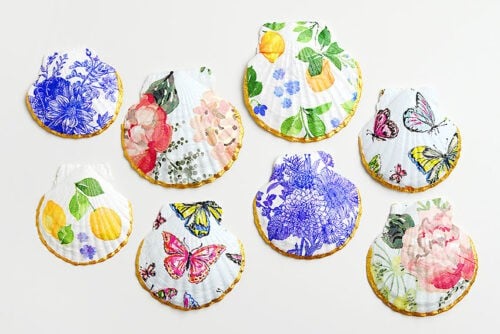
- Have fun making decoupage shells in all different patterns and colours!
Video
Notes
Looking for more decoupage crafts? Here's a few of our favourites:
Tin Can Planters with Decoupage
Decoupage Flower Pots
Decoupage Easter Eggs