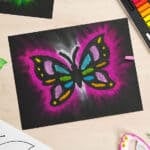
How to Make Butterfly Chalk Art
Learn how to make bold and beautiful butterfly chalk art! This fun art project is perfect for spring and summer, and you can design your own colourful butterfly in only a few simple steps. Follow our step-by-step tutorial below and keep reading for more helpful tips and information!
Yield: 1 chalk art butterfly
Cost: $1
Equipment
- Q-tips (optional)
Instructions
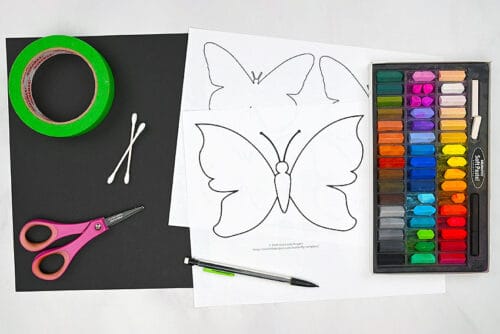
Step 1: Find what you need
- Gather your supplies and materials.
Step 2: Design your butterfly
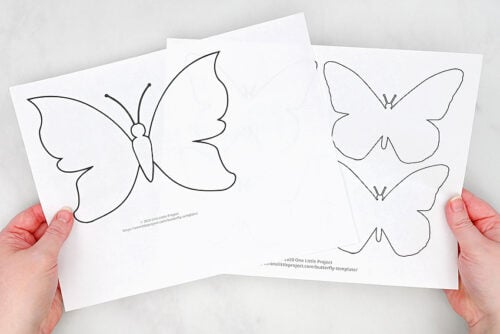
- Print one or more of our butterfly templates! There’s a link in the materials list above with more links and details below the tutorial.
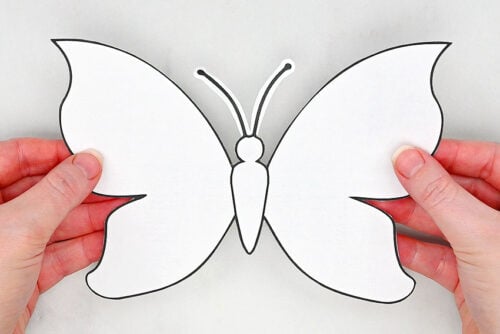
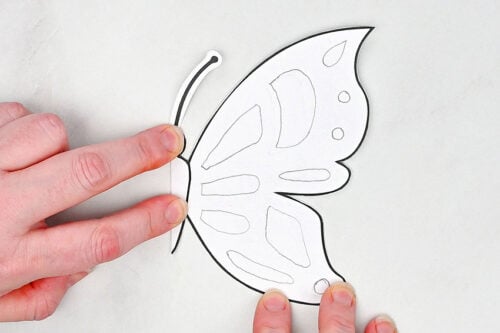
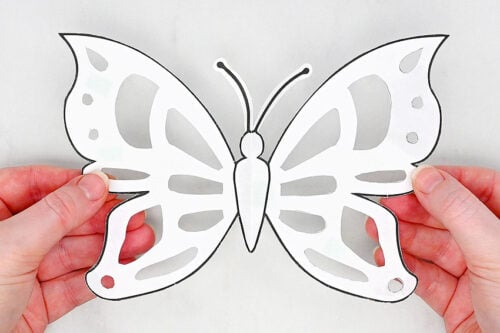
- Cut out the butterfly shape. Leave a bit of white space around the antennae.
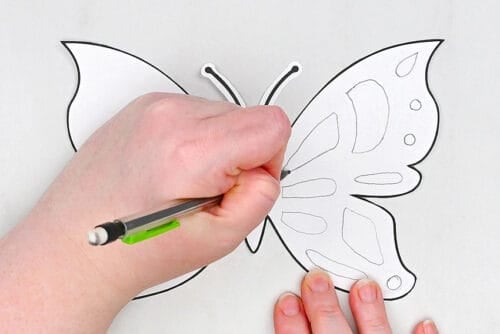
- Draw a design on one wing of the butterfly. You can try to create realistic details, or have fun drawing little flowers, hearts, and/or stars.
- Fold the butterfly in half.
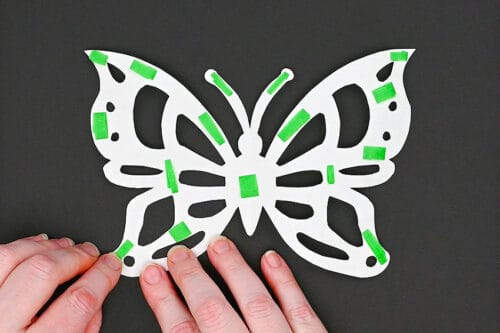
- Add a few loops of painter's tape inside, making sure you're placing the tape outside of the drawn lines.

- Fold the butterfly in half again, so the tape stops it from moving. Make gentle folds in each of the drawn areas, allowing you to make little snips inside.
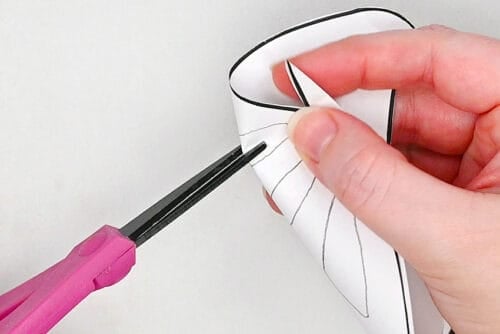
- Then cut out each of the pattern sections.
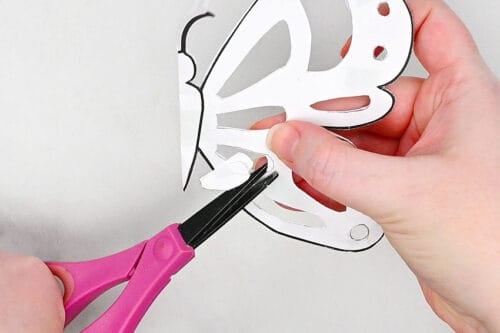
- Open the butterfly to reveal the pretty matching pattern!
Step 3: Add the butterfly template to paper
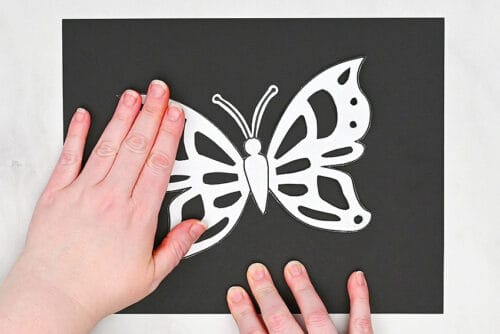
- Add more loops of painter's tape to the back of the butterfly, covering both sides.(Making all of the tape loops is tedious and does take awhile, but you definitely want to make sure the butterfly will stick well in all areas.)
- Set the butterfly on a piece of black paper or cardstock. Press down to make sure it's nicely set in place.
Step 4: Colour the butterfly
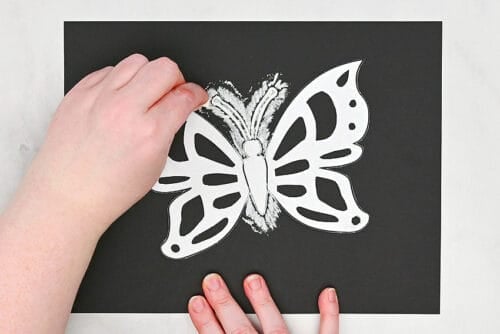
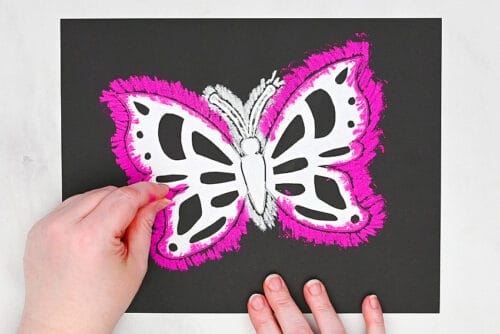
- Use white soft pastel to colour from the edge of the antennae onto the black paper, pressing firmly and extending the colour out about 1/2 inch. Do the same for the bottom of the butterfly body.
- Repeat, adding a colour (we chose pink) around the butterfly's wings. Blow off the excess chalk dust.
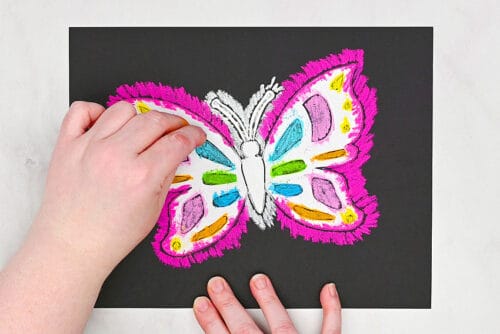
- Now add different colours inside the butterfly. Try to make the wings matching, so if you put blue in one particular spot on the one wing, do the same on the other.
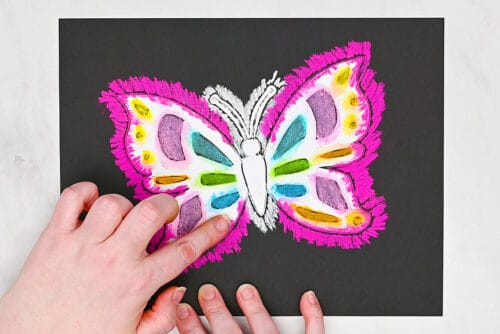
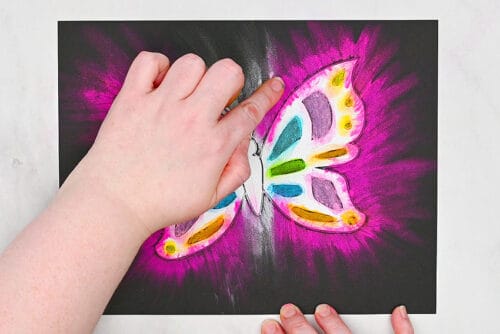
Step 5: Spread the chalk
- Begin by lightly brushing your finger on the coloured areas of the wing. Go to the edges of each section to ensure that the full shape is coloured nicely.Be sure to wipe your finger between the different colours.
- Then use your finger to smudge the white chalk outwards, away from the template.
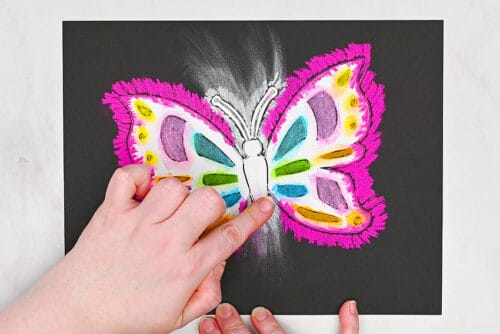
- Do the same thing with the coloured chalk around the outside of the wings. Use a gentle touch and add more chalk if you think you've removed too much.
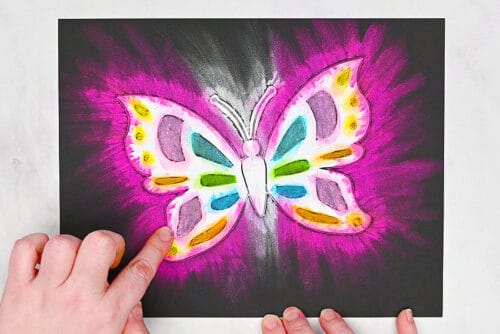
- You might also want to lightly trace around the edge of the butterfly with your finger. This ensures that the perfect shape of the butterfly template has been made.
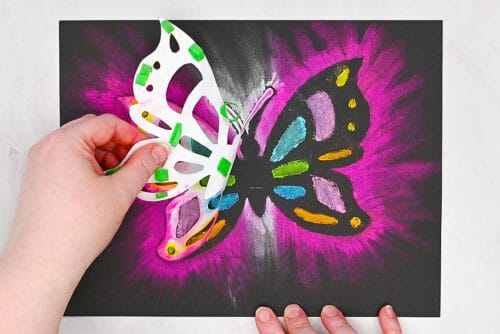
Step 6: Remove the template
- Blow off any chalk dust again and then remove the template.You can rip it off in smaller pieces or try to get the whole butterfly at once, whatever is easiest.
- Optional: Use a Q-tip to remove any smudges inside the butterfly silhouette.
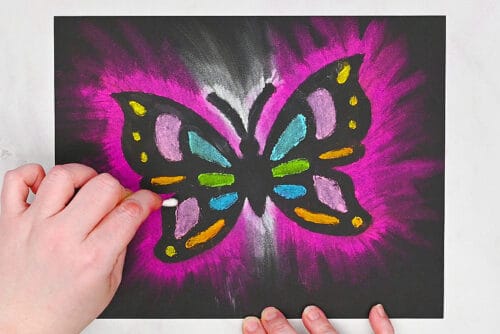
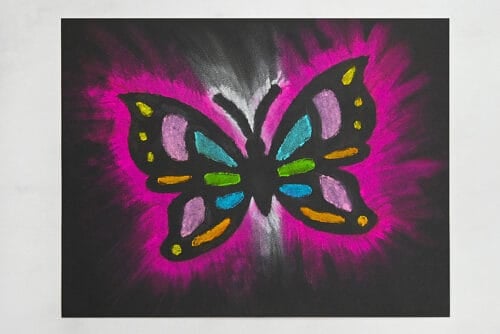
- Your butterfly chalk art is complete!
Video
Notes
Looking for more chalk art craft ideas? Here's a few of our favourites:
Flower Chalk Art
Halloween Chalk Art Silhouettes
Fall Leaf Chalk Art