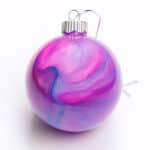
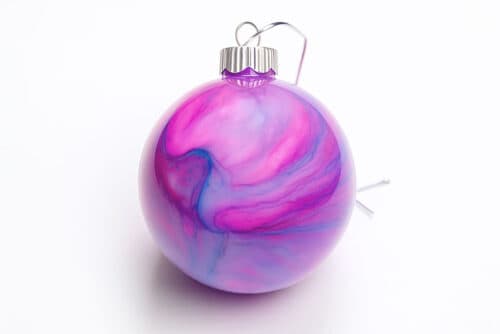
How to Make Alcohol Ink Ornaments
Create stunning alcohol ink Christmas ornaments with beautiful marbled colors and a glossy, professional finish. This easy and fun DIY holiday craft is perfect for adding a unique, handmade touch to your Christmas tree decor.
Yield: 1 alcohol ink ornament
Cost: $2
Materials
Instructions
Step 1: Find what you need
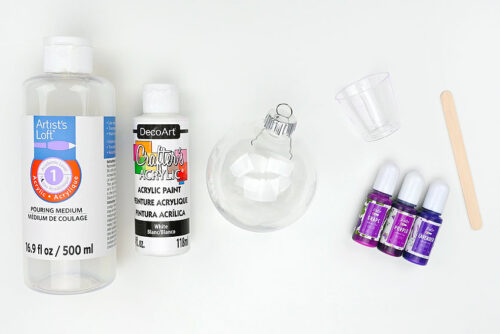
- Gather your supplies and materials.
Step 2: Prepare your supplies
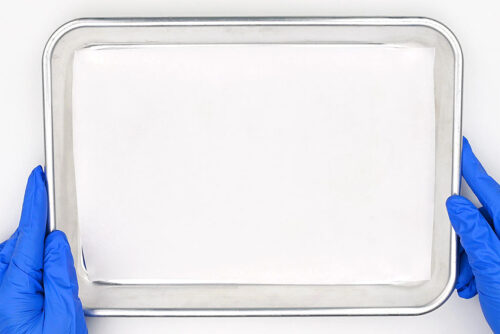
- Prepare a covered surface to work on, like a drop sheet, tablecloth, or a tray covered in parchment paper. You should also wear nitrile gloves when working with alcohol ink.
- Place a small cup or dish on the tray -- something you can set the ornament on to keep it steady.
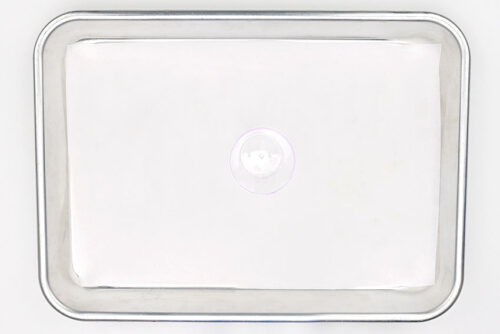
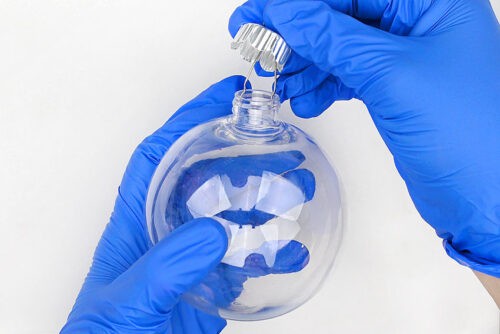
- Remove the top from a glass or plastic clear ornament. To do this, simply pull up on the cap.
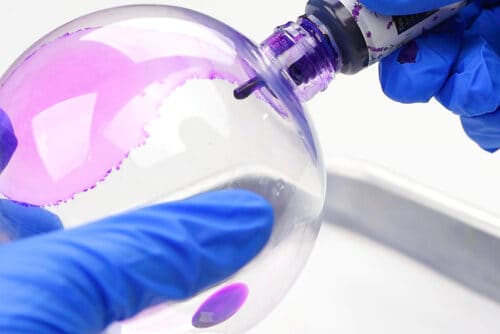
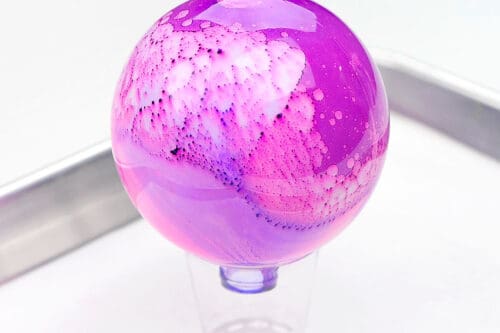
Step 3: Add alcohol ink to the ornament
- Add a drop of alcohol ink into the ornament.
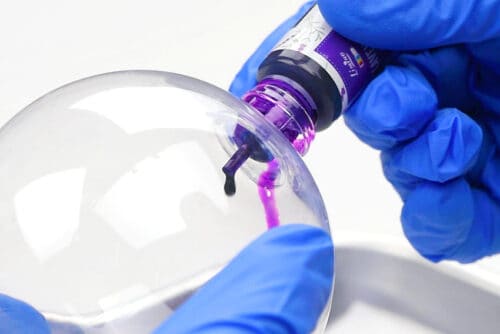
- Move the ornament around to spread out the colour.
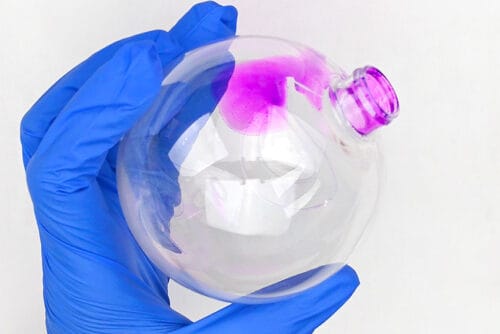
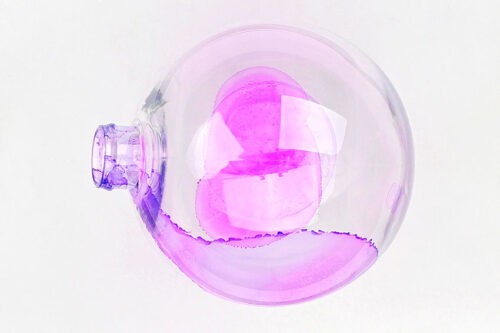
- Set the ornament on the cup to dry for a couple minutes. Set it down with the coloured area at the bottom, so that gravity won't spread the ink too much.
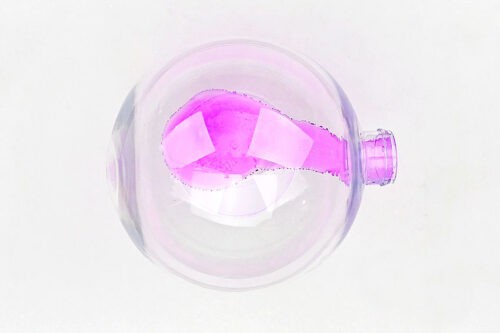
- Once that drop of ink is mostly dry, add another drop of the same colour to a different area of the ornament.
- Again, twist the ornament around to spread the colour. Set it down, remembering to place it with the most recent drop at the bottom.Wait 10 minutes before adding a second colour.
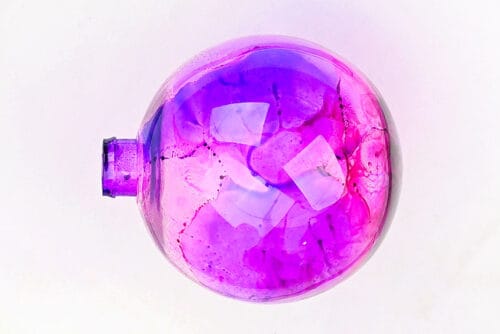
- Repeat this same process with a second colour. Allow to dry for another 10 minutes.
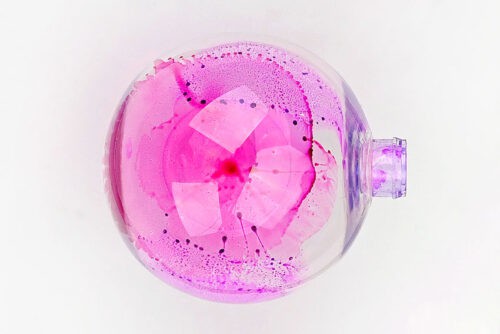
- Add drops of your last colour and then allow to dry for at least 1 hour.
Step 4: Add a layer of white
- Add equal parts of white acrylic paint and paint pour medium to a cup.
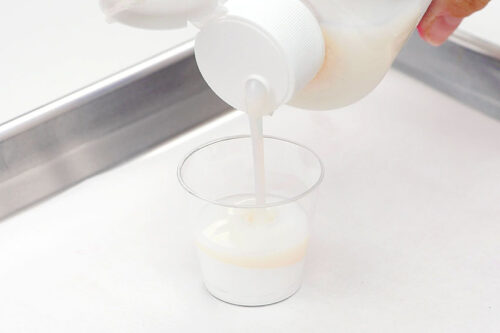
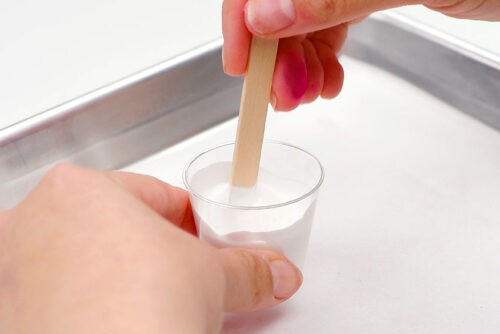
- Use a popsicle stick to mix them together.
- Pour the pour paint into the ornament.
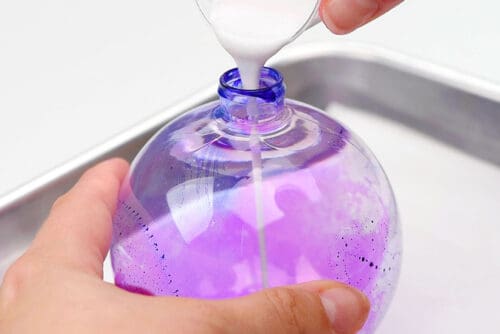
- Move the ornament around to spread the paint, covering the whole inside.
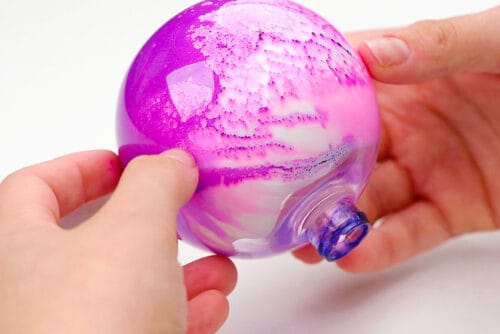
- Set the ornament onto the cup with the opening at the bottom. This will let the excess paint drip out.Allow to dry overnight.
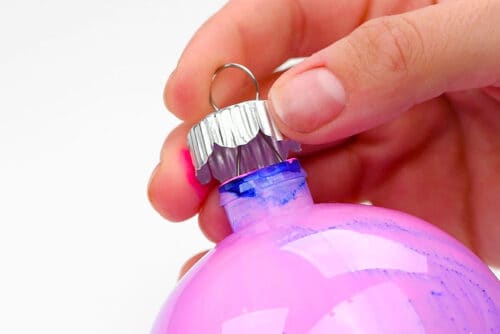
Step 5: Finish off the ornament
- Once the ornament has dried overnight, replace the top. To do this, pinch the wires together, insert them into the ornament, and push the cap down.
- Optional: Tie a piece of ribbon or string through the top of the ornament to make an ornament hanger.
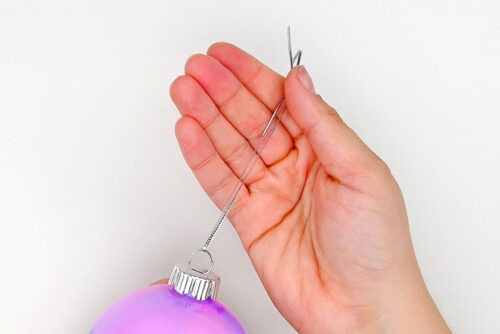
- Your alcohol ink ornament is complete!
Notes
Looking for more alcohol ink crafts? Here's a few of our favourites:
DIY Alcohol Ink Bookmarks
Alcohol Ink Crinkle Bowls
Alcohol Ink on Glass