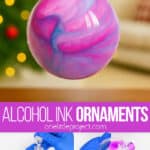
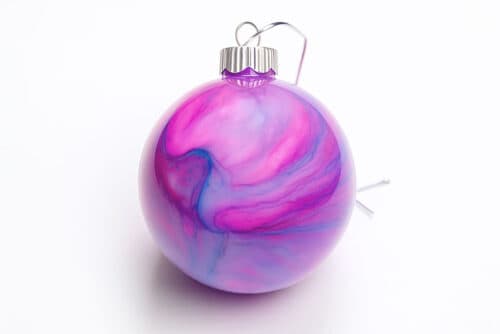
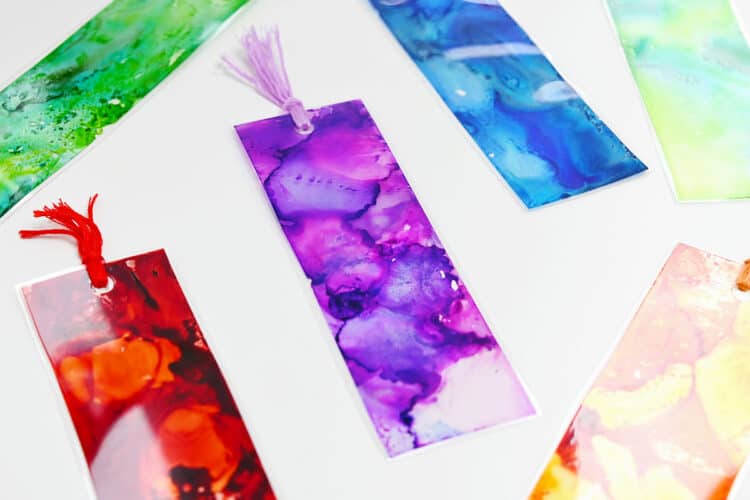
These alcohol ink ornaments are absolutely stunning! Each one turns out beautifully unique with its own swirls, marbled patterns, and dreamy bursts of colour. It’s such a fun and creative way to make custom Christmas ornaments that look like they came straight from a boutique!
Working with alcohol inks is relaxing and a little mesmerizing. Watching the colours blend and flow is half the fun. The results are always gorgeous, with rich tones and one-of-a-kind designs that catch the light beautifully on your tree. So let’s get started!

This post contains affiliate links. If you use these links to buy something, we may earn a small commission at no extra cost to you. This helps support our website and allows us to keep creating fun, free content.
How to Make Alcohol Ink Ornaments
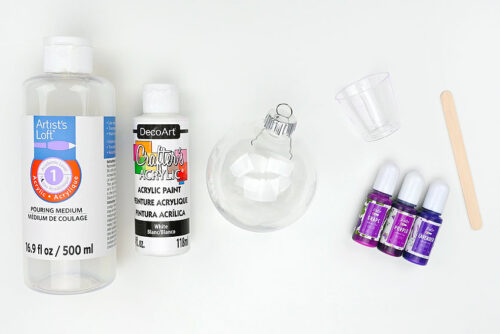
Materials:
Instructions:
Step 1: Find what you need
- Gather your supplies and materials.

Step 2: Prepare your supplies
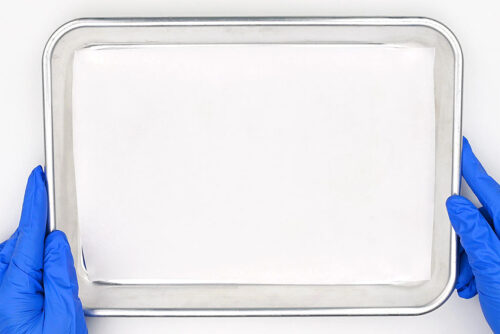
- Prepare a covered surface to work on, like a drop sheet, tablecloth, or a tray covered in parchment paper. You should also wear nitrile gloves when working with alcohol ink.
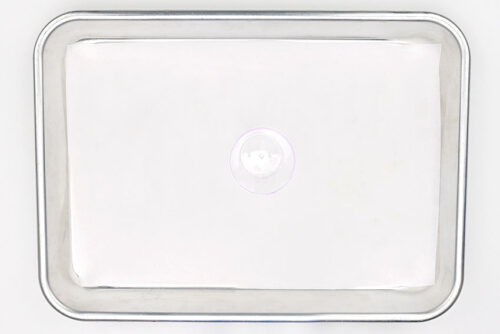
- Place a small cup or dish on the tray — something you can set the ornament on to keep it steady.
- Remove the top from a glass or plastic clear ornament. To do this, simply pull up on the cap.
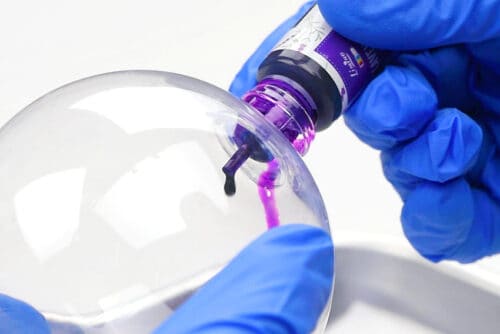
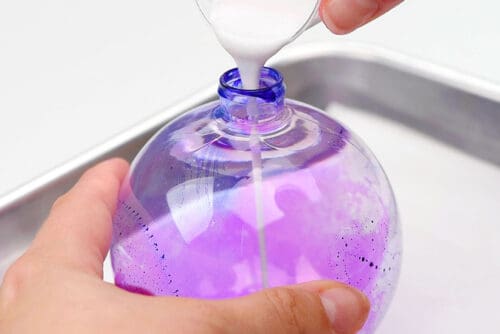
Step 3: Add alcohol ink to the ornament
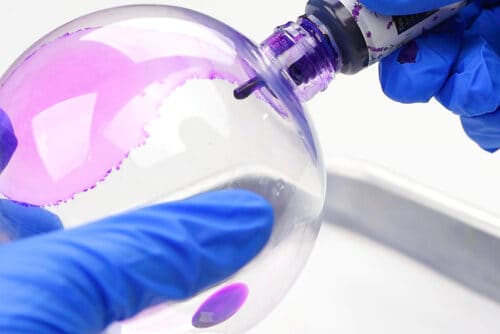
- Add a drop of alcohol ink into the ornament.
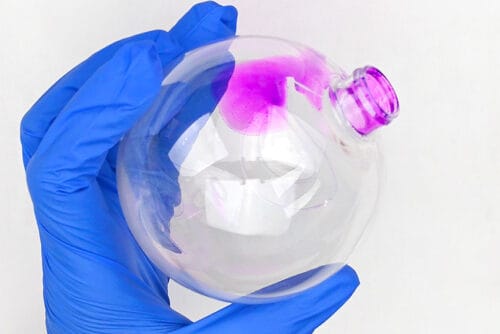
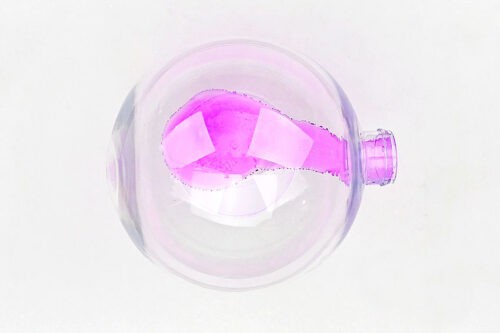
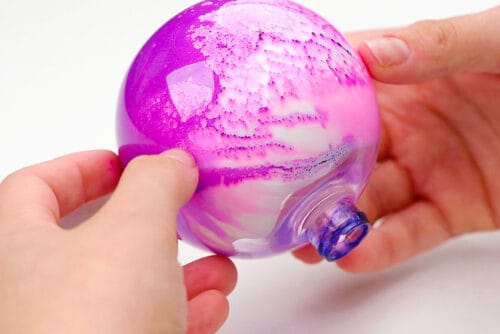
- Move the ornament around to spread out the colour.
- Set the ornament on the cup to dry for a couple minutes. Set it down with the coloured area at the bottom, so that gravity won’t spread the ink too much.

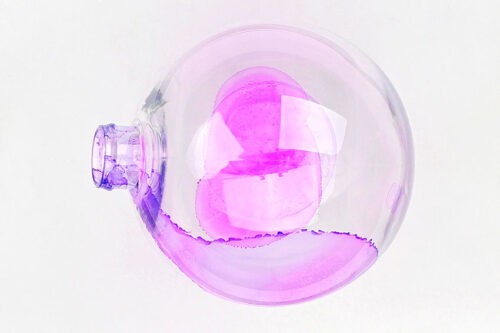
- Once that drop of ink is mostly dry, add another drop of the same colour to a different area of the ornament.
- Again, twist the ornament around to spread the colour. Set it down, remembering to place it with the most recent drop at the bottom.Wait 10 minutes before adding a second colour.
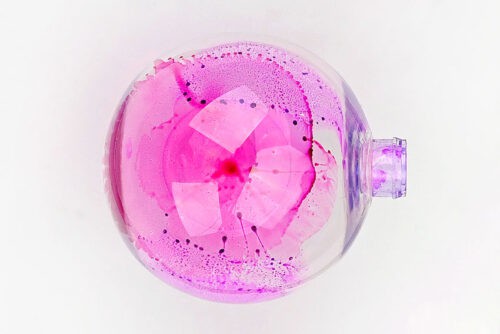
- Repeat this same process with a second colour. Allow to dry for another 10 minutes.
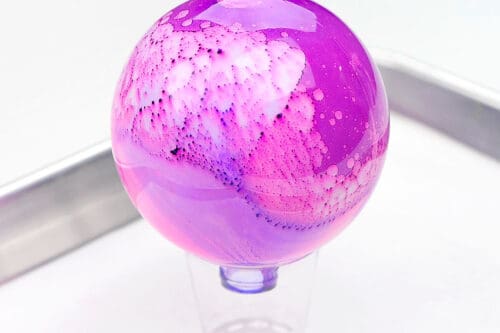
- Add drops of your last colour and then allow to dry for at least 1 hour.
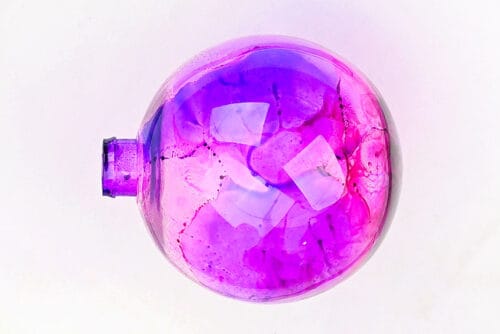
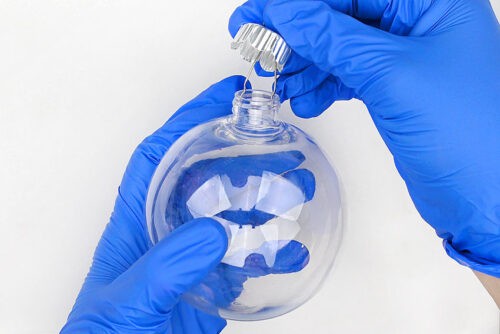
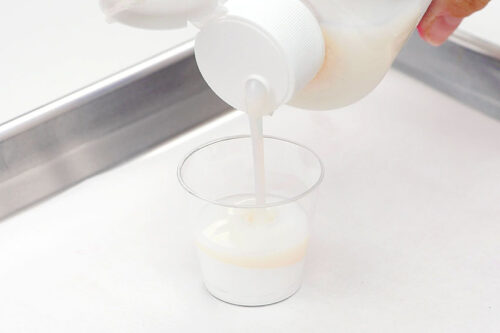
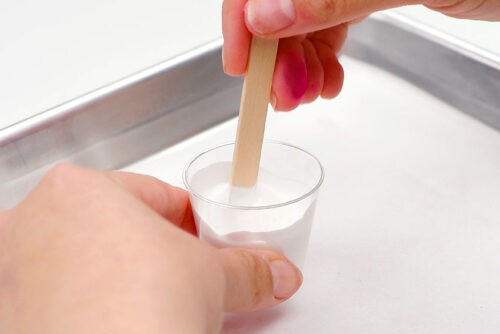
Step 4: Add a layer of white
- Add equal parts of white acrylic paint and paint pour medium to a cup.
- Use a popsicle stick to mix them together.
- Pour the pour paint into the ornament.
- Move the ornament around to spread the paint, covering the whole inside.
- Set the ornament onto the cup with the opening at the bottom. This will let the excess paint drip out.Allow to dry overnight.
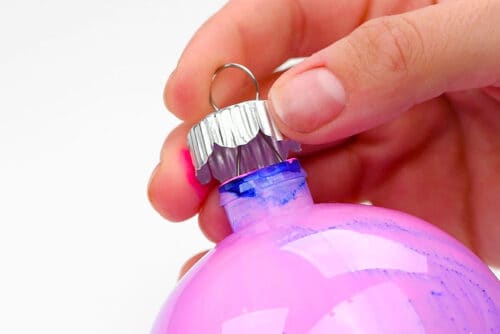
Step 5: Finish off the ornament
- Once the ornament has dried overnight, replace the top. To do this, pinch the wires together, insert them into the ornament, and push the cap down.
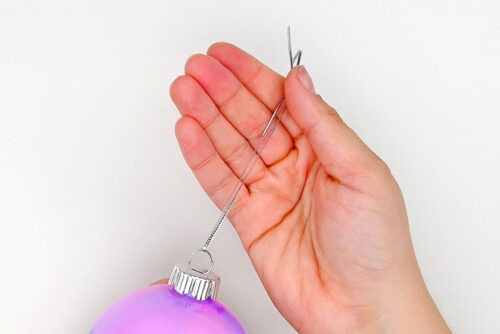
- Optional: Tie a piece of ribbon or string through the top of the ornament to make an ornament hanger.
- Your alcohol ink ornament is complete!
Helpful Tips:
- Try a stained glass look: Skip the pour paint if you want a more translucent effect — the light will shine beautifully through the colors for a pretty, stained glass look.
- Play with colour combinations: Use your favorite shades to create any look you like! Try different colour mixes or blend a few tones from the same colour family for a soft, elegant finish.

Should I use glass or plastic baubles to make these alcohol ink ornaments?
We used plastic ornaments for ours, but alcohol ink actually adheres better to glass, and the colors show up richer and more vibrant. If you can find glass ornaments, definitely give them a try. Plastic still works though, and gives lovely results too!

What are the best colour combinations when making alcohol ink Christmas ornaments?
Different shades of the same colour always look gorgeous and blend seamlessly. Any colours that sit next to each other on the colour wheel (called “analogous colours”) will also mix beautifully. Our favourite combo is purple, pink, and blue.
You can also create rainbow ornaments, but you have to be really careful about what colours go next to each other. Since this can easily turn muddy, make sure you wait a long time for the first colour to dry before adding another.

Do I have to use clear baubles to make alcohol ink ornaments?
To make them just like ours, yes — clear ornaments are required for the marbling technique we used.
But you can also use alcohol ink on the outside of light coloured or white ornaments. Try adding drops of alcohol ink directly to the surface. Then use a paintbrush dipped in rubbing alcohol to gently spread the colour. This creates a soft, watercolour-style effect that’s also quite beautiful!

These marbled DIY Christmas ornaments are so much fun to make! A great holiday project for teens, adults, and seniors, these alcohol ink ornaments have such a cool process, and you can really make each ornament your own. They’re stunning to display on the Christmas tree and are the perfect project for anyone who loves to add creativity and colour to their holiday decor!
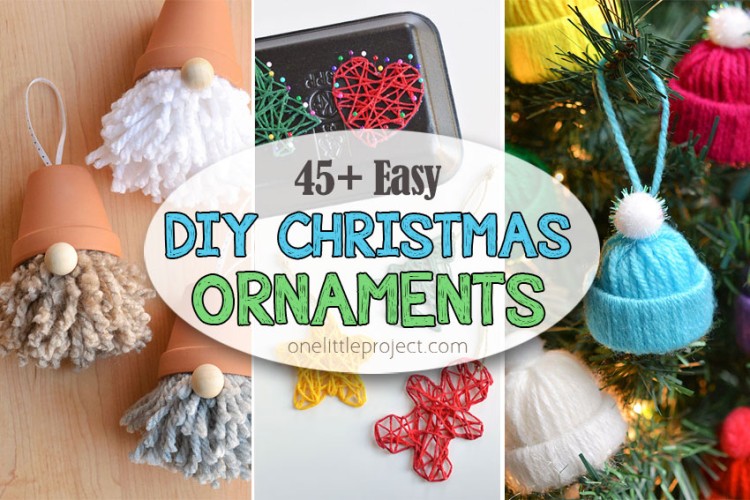
Here’s even more DIY Christmas ornament ideas:


Now available
Low-Mess Crafts for Kids Book
72 cute and fun crafts that kids and parents alike can enjoy. All with as little mess as possible!
Where to buy:
You can purchase Low-Mess Crafts for Kids from Amazon, or wherever books are sold:
Amazon | Barnes and Noble | Books-A-Million | Indiebound | Amazon Canada


Leave a Reply