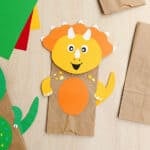
How to Make a Dinosaur Puppet
Have fun making a cute dinosaur puppet using a paper lunch bag, cardstock, and one of our printable templates. These dinosaur puppets turn out so cute and they're a lot of fun to play with!
Yield: 1 dinosaur puppet
Cost: $1
Equipment
Materials
Instructions
Step 1: Find what you need
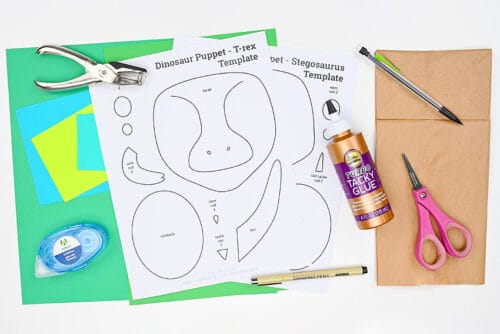
- Gather your supplies and materials.
Step 2: Cut out the template pieces
- Print the dinosaur puppet template of your choice (find a link in the material's list above). We have options for a T. rex, stegosaurus, and triceratops.Cut out the template pieces.
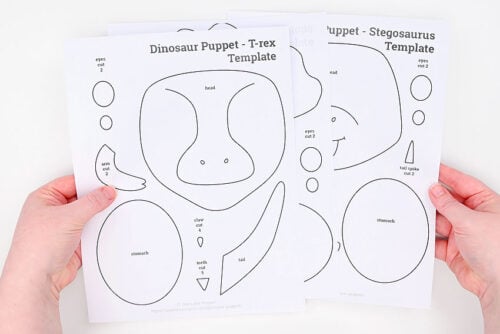
- Trace the pieces onto cardstock and cut them out.
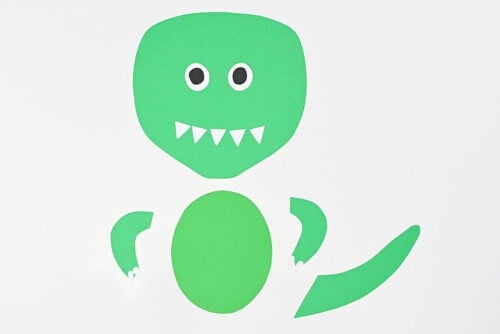
Step 3: Make the dinosaur head
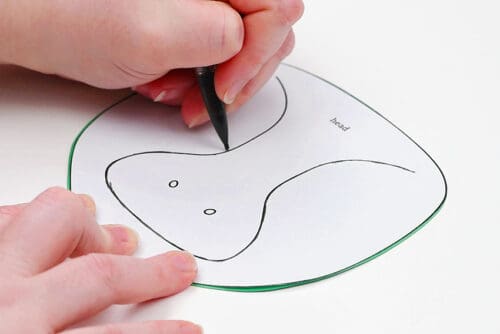
- If you want the same face structure for your dinosaur puppet as our template has, place the template on top of the cardstock.Then trace the lines with a pencil, pressing hard. This will make indents in the paper for you to follow.
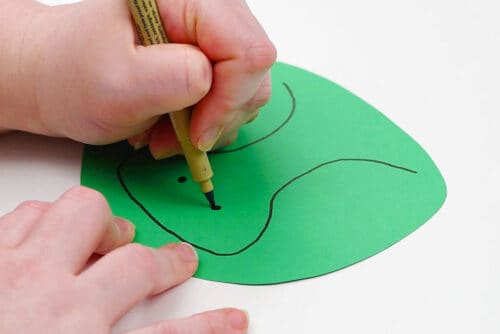
- Trace the indents with a black marker. (You can also make light pencil lines first.)
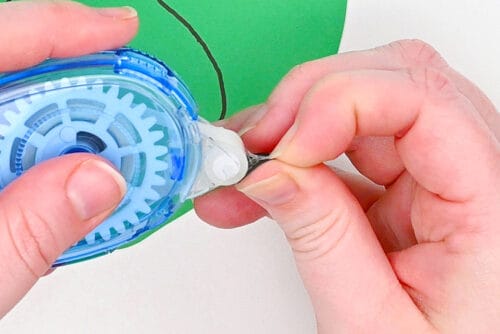
- Use glue tape on the back of the black inner eye.
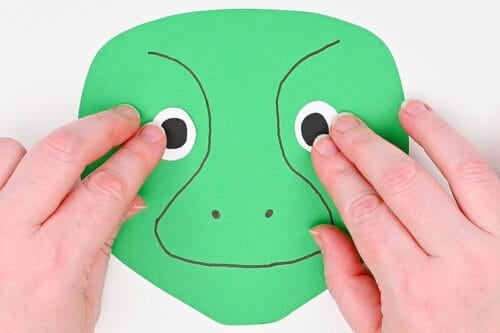
- Then connect the inner eye to the larger eye piece. Repeat with the second eye.
- Use a one-hole punch on white cardstock, making 2 holes.
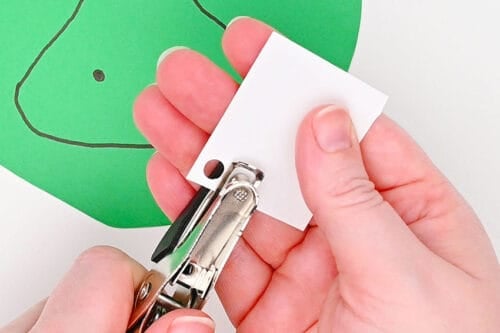
- Glue these small circles onto the black part of the eye. Repeat with the second and then use glue tape to attach the eyes in place.
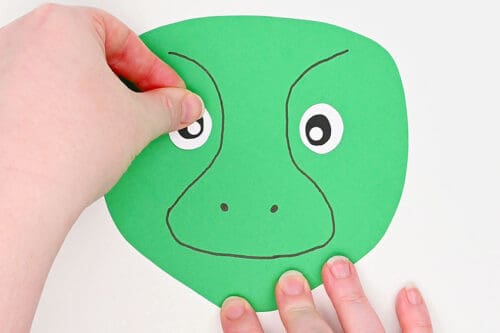
- Then glue the teeth below the snout line. Start with the center tooth and space the others evenly.
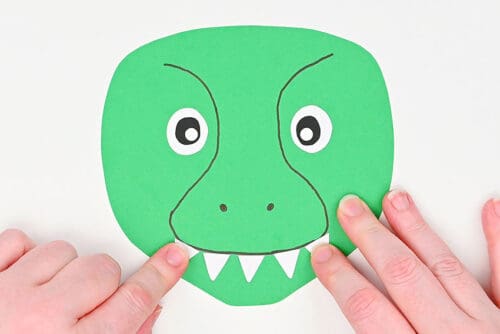
Step 4: Decorate the dinosaur stomach
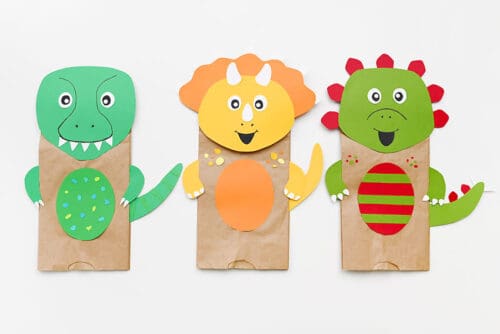
- Gather several colours or shades of cardstock to decorate the T. rex's stomach.(Note: our triceratops has a plain stomach, and our stegosaurus has stripes of one colour. You can choose whatever stomach decorations you'd like for your dinosaur.)
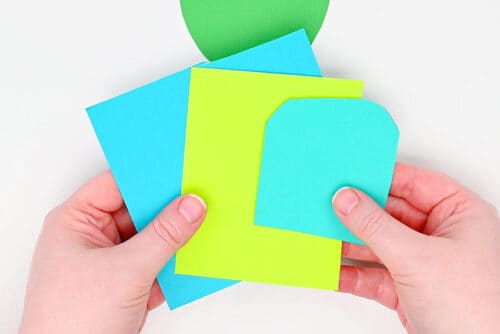
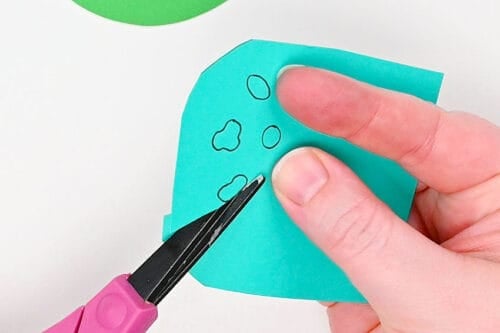
- Draw random circles and shapes on the cardstock and cut them out.
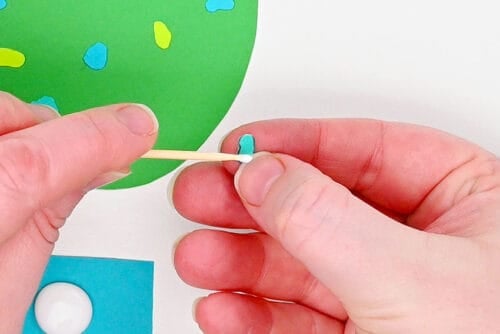
- To attach these tiny pieces we found it much easier (and more secure) to use tacky glue. Use a toothpick to add small dots of glue to each piece.
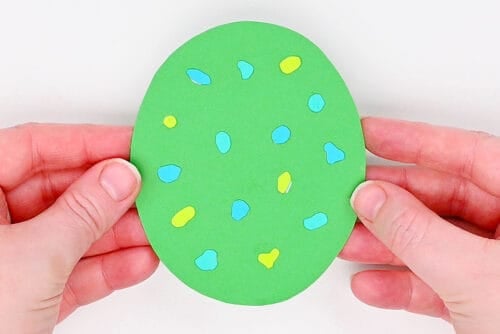
- Arrange the different shapes and glue each one in place.
Step 5: Add the claws and tail decorations
- Add small dots of tacky glue to the end of the arms.
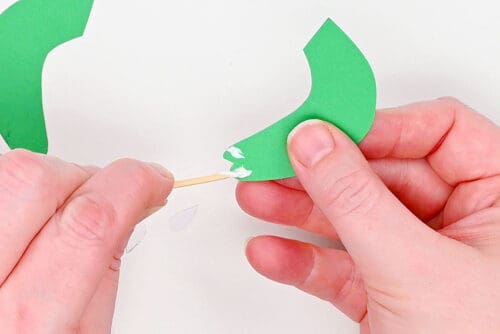
- Press the claws in place on the arms, pointy end out.
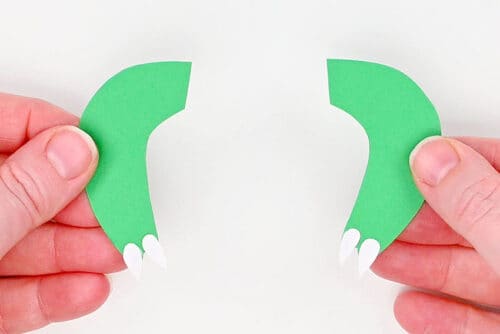
- To decorate the tail we cut random wavy strips of cardstock in a complementary colour. Start with a piece of cardstock that's wider than the tail.
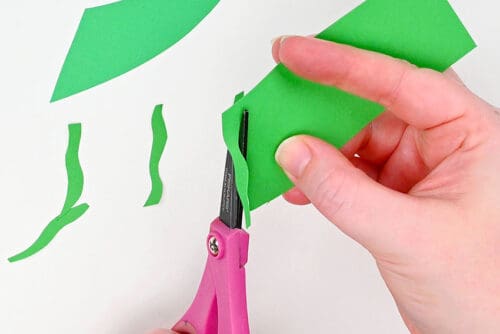
- Use glue tape (or tacky glue) to attach the strips to the tail. They'll overlap the tail right now, which is fine.
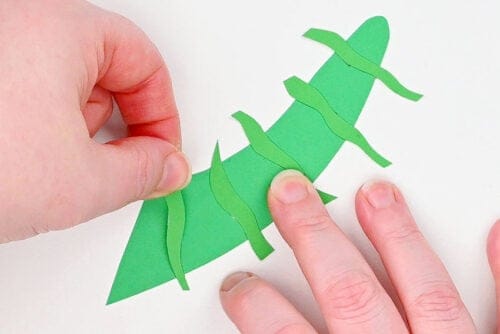
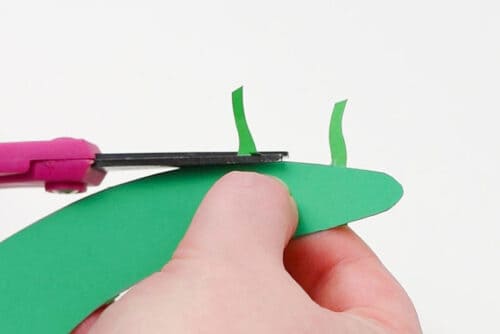
- Then trim the tail decorations down so they fit to the size of the tail.(This is much easier than trying to cut the pieces to a perfect width before gluing!)
Step 6: Put your dinosaur puppet together
- Place the dinosaur head on top of the paper bag, lining it up. The bottom of the bag should be facing up when you do this.
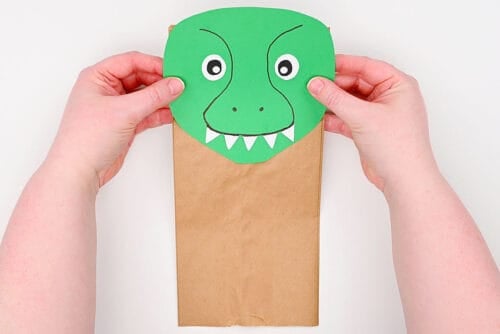
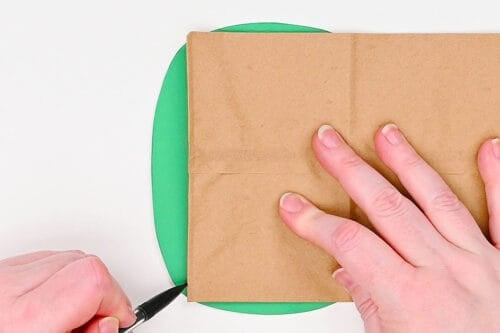
- While holding the head in place, flip the bag over and trace where the head overlaps the bag.
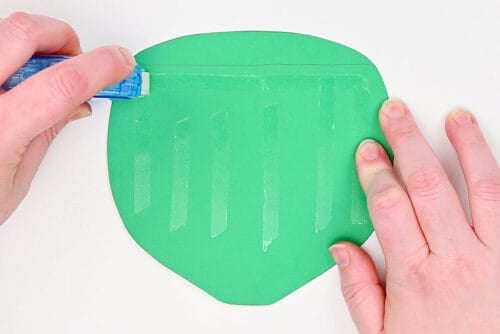
- Add glue tape to the back of the dinosaur head, making sure you don't put any too low on the face or outside the areas you marked.
- Attach the head to the top of the bag, and then glue the stomach in place.
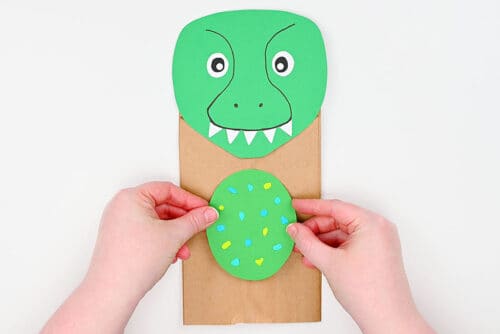
- Add glue tape to the front top of the arms and attach them inside the bag folds.
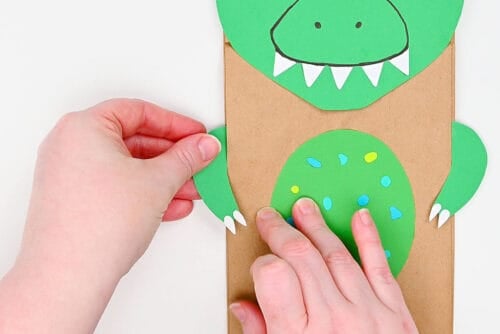
- Then add glue tape to the back base of the tail. Attach this inside the bag folds as well, but on the back part.
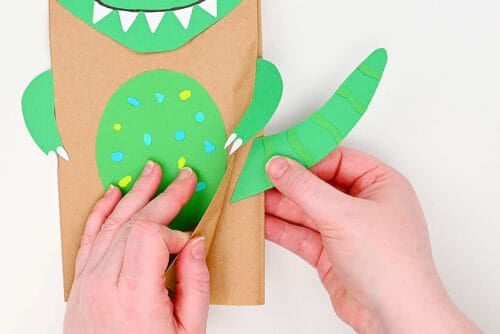
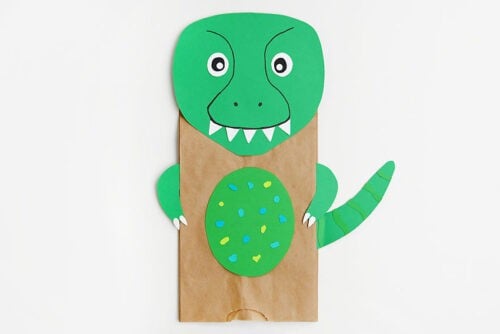
- Your dinosaur puppet is complete!
- Have fun making every variation of dinosaur, in whatever colours you'd like!
Video
Notes
Looking for more DIY puppet fun? Check out a few of our favourites:
Groundhog Paper Bag Puppet
Cotton Ball Sheep Craft
Wiggly Worm Puppets