
DIY Banner
Make a DIY banner for your next special occasion. These customized paper banners work great for birthdays, anniversaries, baby showers, or any holiday party, like the 4th of July or Christmas.
Yield: 1 paper banner
Cost: $2
Equipment
- Cardboard
Materials
- FREE Printable Banner Template (more templates below)
- FREE Printable Happy Birthday Template (more letters below)
- Coloured printer paper
- Printer paper
- Glue tape
- Twine
Instructions
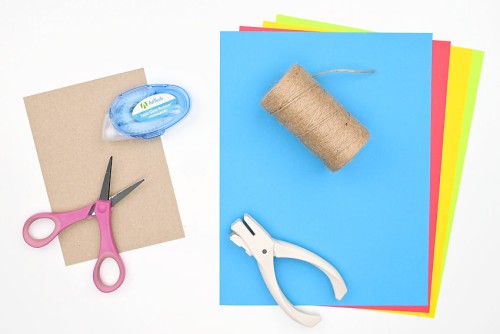
Step 1: Find what you need
- Gather your supplies and materials.
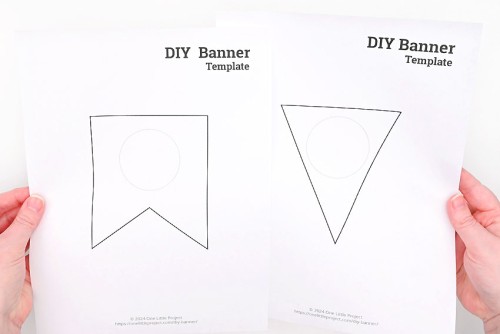
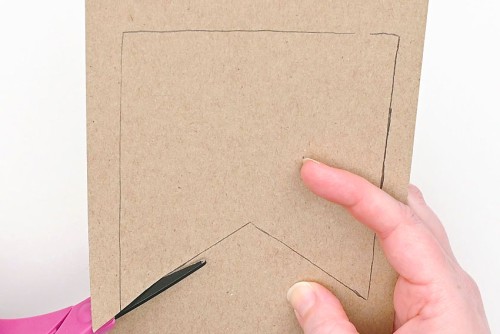
Step 2: Make a cardboard banner template
- Print the banner template of your choice! Find one of the links in the materials list above, with more templates found below this tutorial.If you print the banner templates directly onto coloured paper you can skip all of Step 2!
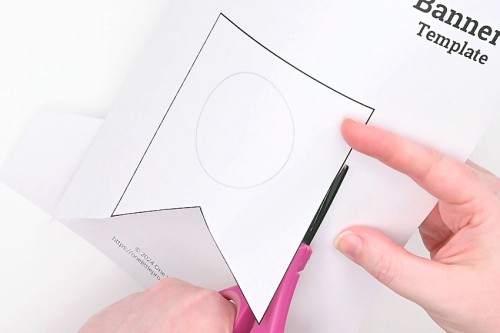
- Cut out the banner template shape.
- Place the template on a piece of cardboard and trace around it.A cereal box, soda case, or Amazon box from your recycling will work nicely.
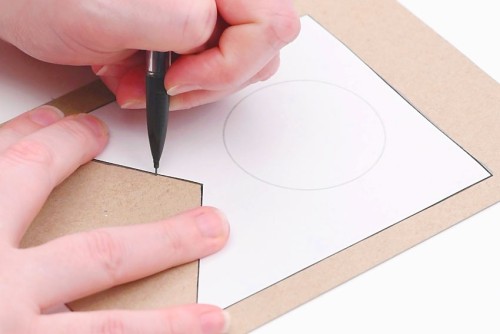
- Cut out the traced banner template.
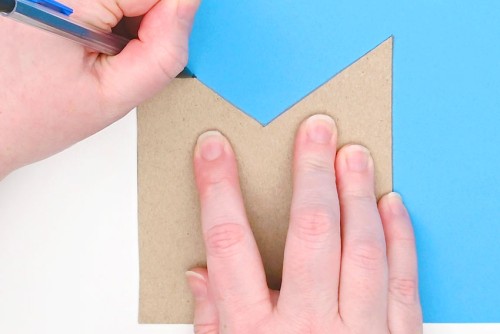
Step 3: Cut banner pieces in multiple colours
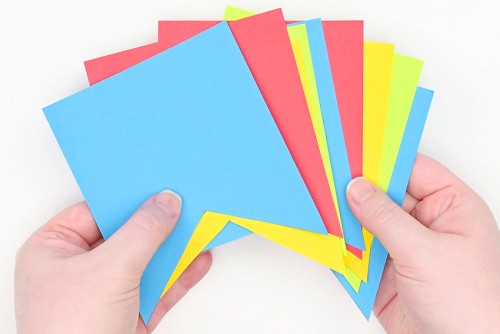
- Trace the banner template onto coloured paper.
- You can fit 4 banner pieces onto a piece of 8.5 x 11 inch printer paper.
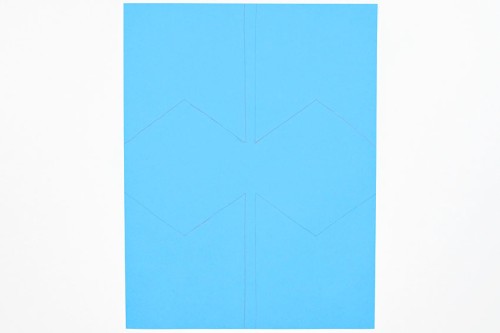
- Cut out the banner pieces.
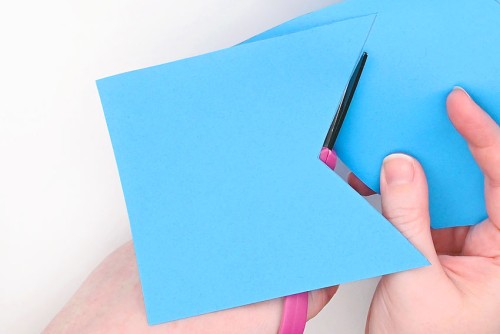
- Repeat with different colours of paper until you have enough pieces for the length of banner you'd like to make. (Or for the number of letters in your message.)
Step 4: Cut letters and attach them to your banner pieces
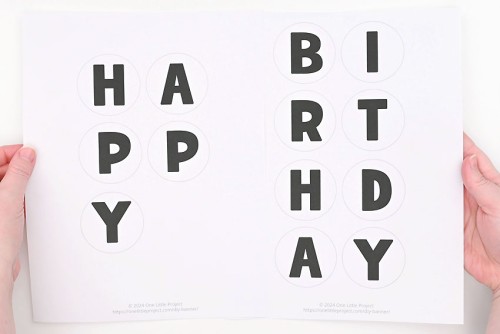
- Print our free letter templates!We're making a Happy Birthday banner here, but we have more word options for you to download and print below the tutorial.
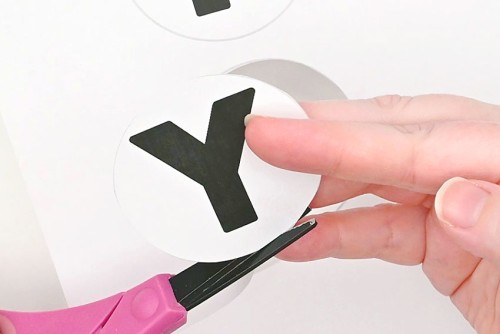
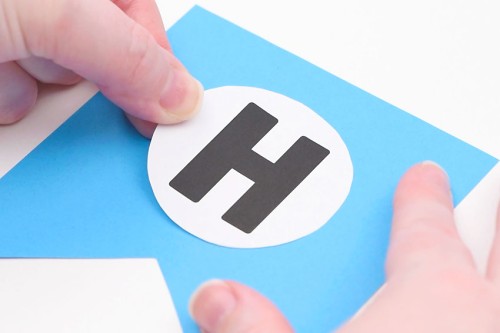
- Cut out each of the letters.We recommend using short bladed detail scissors for a nice circle shape.
- Add lines of glue tape to the back of your first letter.
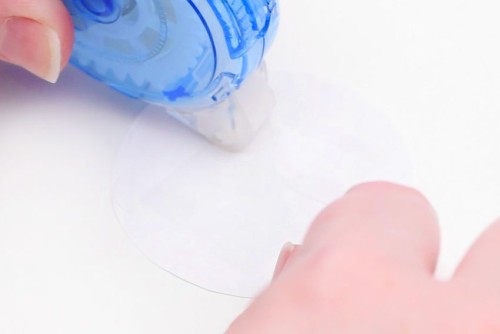
- Attach the letter to a banner piece.
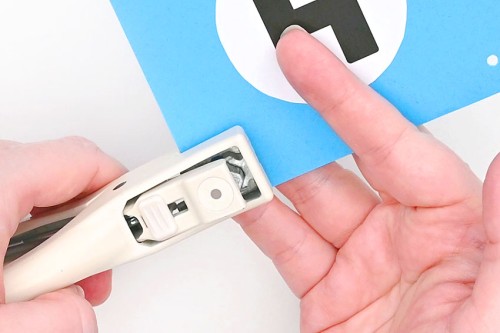
- Use a one hole punch to make holes at the top of the banner piece, on either side.We used a smaller hole punch (1/8 inch), but a regular single hole punch also works.
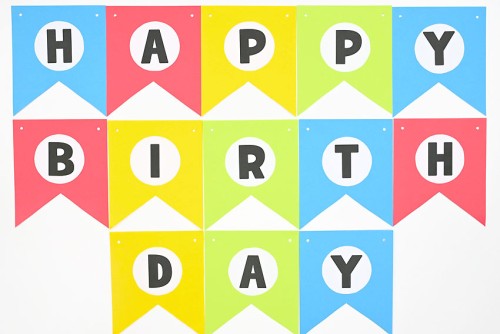
- Continue adding the rest of the letters to your banner pieces.Before gluing on the letters, we recommend laying out your pieces to see what order of colours you like the best.We made a pattern of blue, red, yellow, green.
Step 5: String the banner onto twine
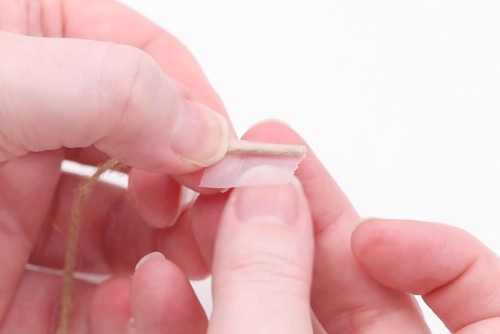
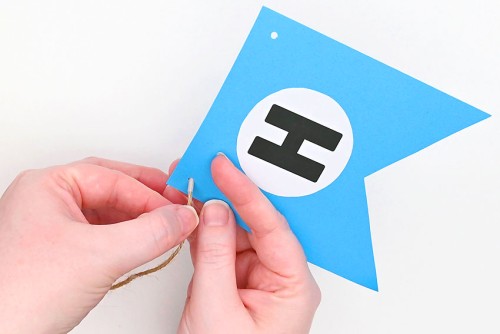
- Choose what type of string you'd like your banner attached to. We like the natural look of twine, but you can also use ribbon or yarn.Roll a piece of tape around the end of the twine to make it easier to string through the holes of the banner.
- Unless you know the exact length you'll need, keep the twine attached to the roll as you string the banner pieces on.Start with the first letter of your banner, and bring the twine down through the left hole (from the front).
- Then bring the twine up through the other hole, bringing it to the front of the banner.
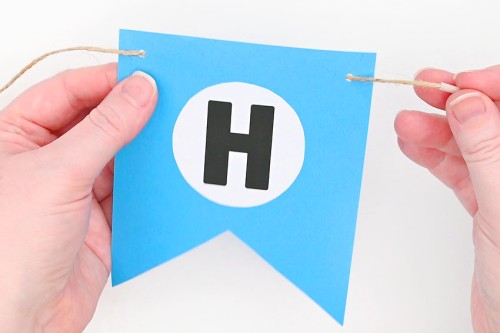
- Move the first letter down the twine and attach the next letter in the same way.
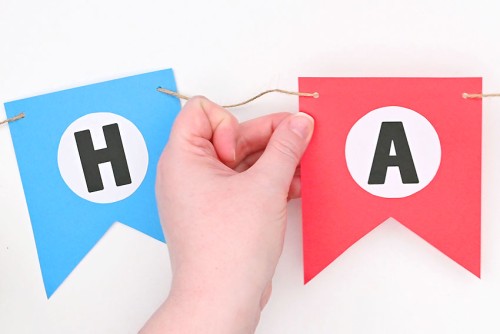
- Repeat with all the pieces of the banner.If you have a banner with two words you can string them onto 2 separate twine pieces, like we did here, so that one word can hang above the other.

- Hang up your banner on the wall, above the fireplace, in a doorway, or above your party table.Your DIY banner is complete!

Video
Notes
Looking for more DIY party decorations? Here's a few of our favourites:
DIY Balloon Garland
How to Make a Pinata
DIY Confetti Popper