
How to Make Resin Ornaments
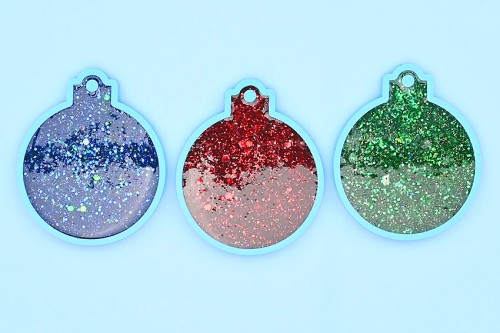
This glittery resin ornament is BEAUTIFUL, and it's surprisingly simple to make! Try them in all your favourite Christmas colours!
Yield: 3 resin ornaments
Cost: $5
Equipment
- Jumbo popsicle stick (or silicone stir stick)
- 3 Disposable plastic cup(s) (or small silicone cups)
- Cricut tools (weeding tool, scraper, tweezers)
Materials
Instructions
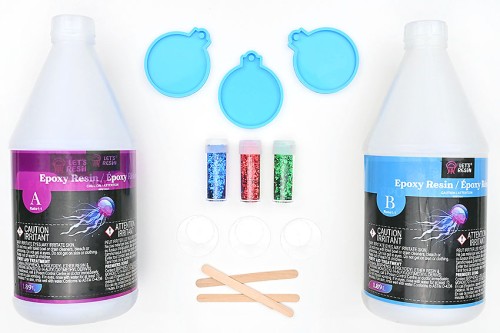
Step 1: Find what you need
- Gather your supplies and materials.Pictured below are the basic supplies that you'll need to make your ornament. Check the supply list above for more details.You'll also need vinyl and a vinyl cutting machine (we used a Cricut) if you'd like to add words on your ornaments.
Step 2: Mix the resin
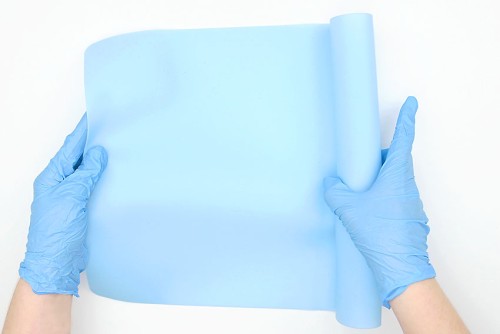
- Begin by protecting your working surface with a silicone mat, and be sure to wear protective nitrile gloves and eye protection.You may also need to wear a respirator, depending on the resin. Check your resin label for the safety requirements.
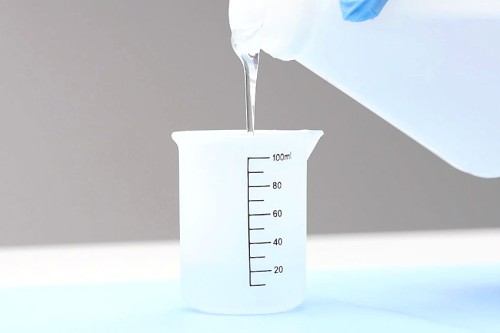
- Mix the amount of resin needed for the number of ornaments you'd like to make. Our molds need 15ml of resin each, and we made 4 ornaments (one was off camera) so we mixed 60 ml of resin total. You'll need to adjust the resin amount depending on the size of your molds.Start by adding 1 part of Part A to the silicone measuring cup. The amount of Part A should be half the total amount needed. (In our case, 30 ml)Follow your specific resin's instructions for ratios, drying times, and curing times.
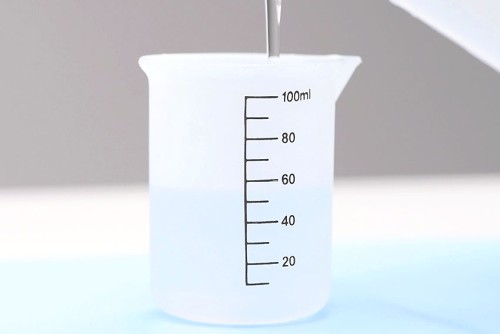
- Add an equal amount of Part B to the measuring cup. Or whatever ratio your brand of resin suggests. (In our case, 30 ml)
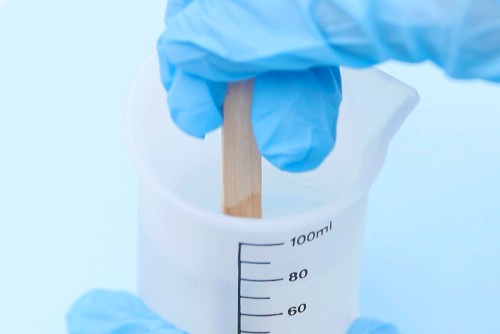
- Mix the resin and hardener together with a popsicle stick or a reusable resin stir stick.Stir slowly, scraping down the sides and bottom of the measuring cup. Continue mixing for 3 minutes or until the mixture is clear.
Step 3: Add glitter to the resin
- Pour the resin into separate plastic cups (1 cup per colour of ornament you want to make).

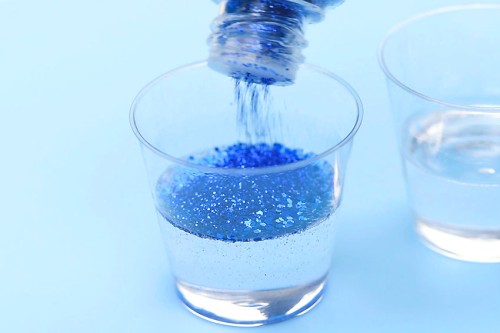
- Pour glitter into the resin cups. You'll want to use about 1 teaspoon of glitter total per ornament, between several different types of glitter.
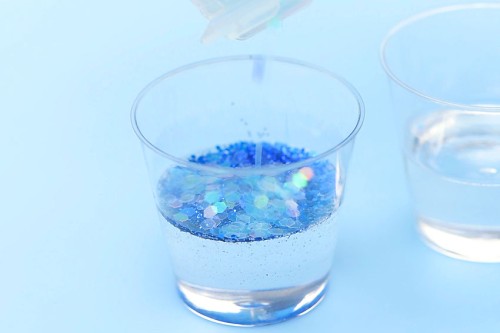
- Try using fine glitter, chunky glitter, and holographic glitter to help catch the light.The different textures of glitter will give the ornament depth.
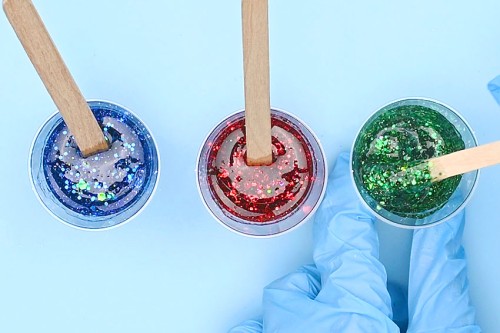
- Stir well to mix the glitter in. The resin mixture should be thick, and there shouldn't be any transparent spots.
- Pour the resin into the ornament mold.You may want to use the stir stick or a toothpick to get rid of any air bubbles around the edge of the ornament.

- Repeat with the other ornaments and let the ornaments sit, untouched, for the recommended dry (or demold) time.Our resin's dry time is 12 - 18 hours, but we recommend waiting 24 hours so that the ornaments are definitely hard enough to handle without warping.
Step 4: Unmold the ornament and prepare the vinyl lettering
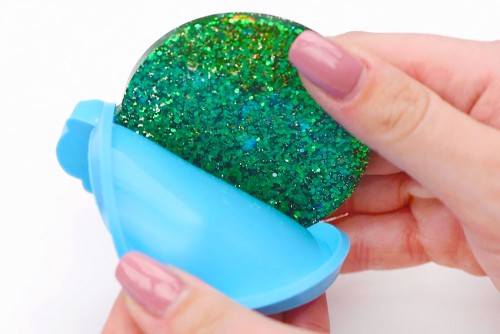
- Once your resin ornament is dry you can demold it.Grab the side of the mold and stretch it a bit as you pull it back. The ornament should come out easily.
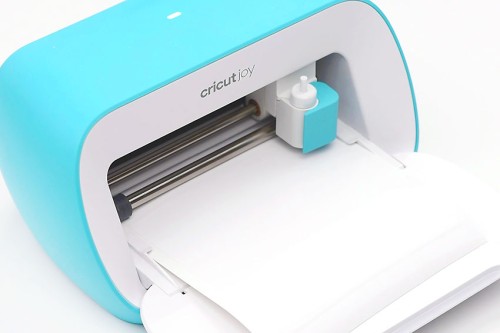
- Print your Christmas message, or whatever you'd like your ornament to say, on vinyl using a Cricut or other vinyl cutting machine.Find the link for our templates in the materials list above, or below this tutorial.
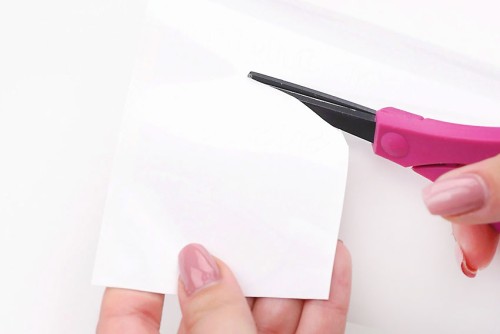
- Cut around the vinyl design.
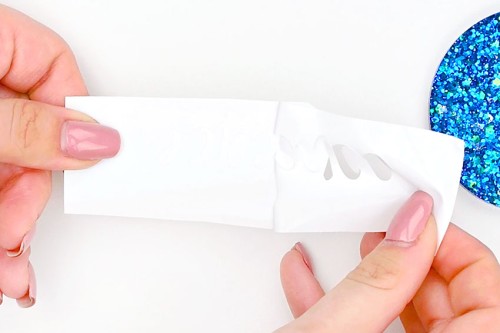
- Peel off the outer layer of vinyl carefully, so that only your word design remains.
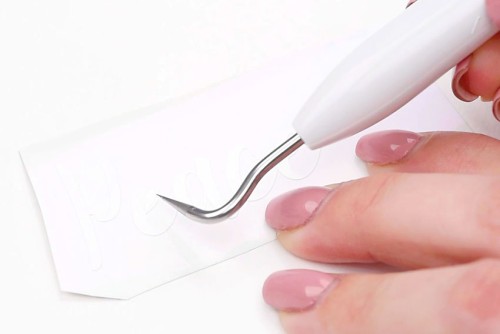
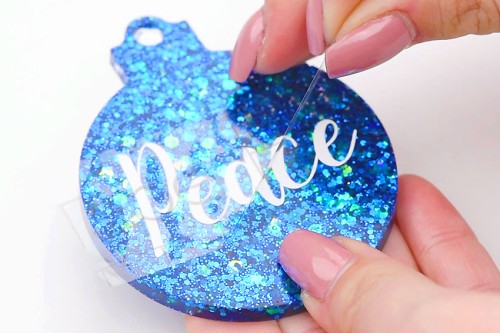
- Use the weeding tool to take out any small pieces from inside the design (eg. the inside of an "e" or "a").
- Cut a piece of transfer tape to be the right size to fit on your design.
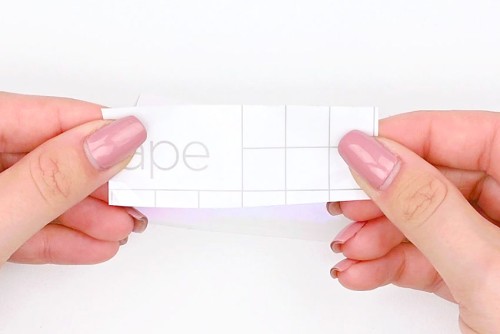
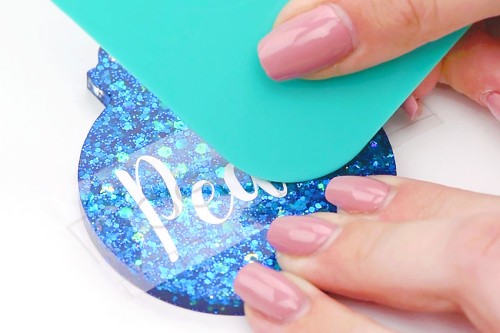
- Place the transfer tape on top of the vinyl word and use a scraping tool to make sure the vinyl is stuck nicely to the transfer tape.

Step 5: Add the lettering and an ornament hanger
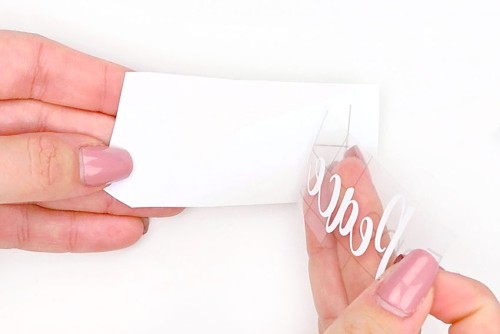
- Peel the transfer tape off, bringing the vinyl design with you.
- Carefully place the design on the ornament and press it down.

- Use the scraper tool again to really ensure the vinyl is adhered to the ornament.
- Remove the transfer tape, peeling it off carefully.
- Repeat, adding Christmas messages to your other ornaments.

- Cut a thin piece of ribbon to be about 8 inches and insert it through the hole in the ornament. Tie the ends into a knot, creating an ornament hanger.Repeat for the other two ornaments.

- Your resin Christmas ornaments are complete!

Video
Notes
Looking for more fun craft ideas? Here's a few of our favourites:
Resin Coasters
How to Preserve Flowers in Resin
Christmas Wax Melts